Paradox J5

This is my second build and a truly scratch-built bass; I designed everything myself – the shape, the string layout, all dimensions and the complete configuration. I’ve only used a plunge router, a drill (press) and a jigsaw as power tools; the rest is done by hand. This blog is an extensive diary of my adventures as an amateur luthier.

More sanding…

Had another sanding session tonight. Right now I’m about halfway with the 120 grit. All going well, still need to remove some scratches from the 80 grit, but I’m happy with the progress:

Radius sanding progress

Today I spent another hour sanding in the radius. I switched to higher quality sandpaper (not very good, but at least better than what I was using before) and the result is stunning. In contrast to the previous sanding session, the fret slots and the complete nut slot actually filled up with dust in minutes. Whereas after an hour of sanding last time the centers of all slots where still completely clean.. I’m now almost finished with the 80 grit, got a small area around the higher frets that still needs to be rounded, but this sure is a motivator.

Some images to go with the progress:

You can see this sandpaper is much more effective, judged by the amount of dust piling up around the neck. It also leaves quite visible marks, so I have to switch to a higher grit soon.

Started sanding the radius

Tonight I started sanding the 20" radius in the fingerboard. I made the following setup, taping my neck to the table and clamping a straight (in this case flamed maple) blank next to the neck, to guide the sanding block:

It’s very basic, but it works quite well. First I thought of guiding it on both sides, but that would lock up the sanding block constantly and I found out having the guide on one side only is enough. Here’s an action photo:

After this picture was taken, I continued sanding for over 45 minutes and got just past the fret markers. The result of one hour of continious sanding… It’s tough sanding through ebony, even more with the medium quality 80 grit sandpaper I’m using. Maybe I will try to find better quality sandpaper or switch to 40 grit, although I feel that might leave quite deep marks in the pearl, so I think I’ll stick to 80 grit.

I guess I need at least two or three more of those exercises to complete this task. So, to be continued…

Fine-tuned the body routes

Encouraged by some fellow TalkBass members, I picked up working on the body again. The neck, as well as both pickups, didn’t fit yet, so those routes needed to be retouched. At first, I tried sanding the edges, but that came out to be completely impossible.

I worked out different ways of coping with this task in my mind, but making a perfect setup to re-route didn’t seem easy. But today, I felt lucky and went for the eyeballing and working ‘by feeling’ way of building….

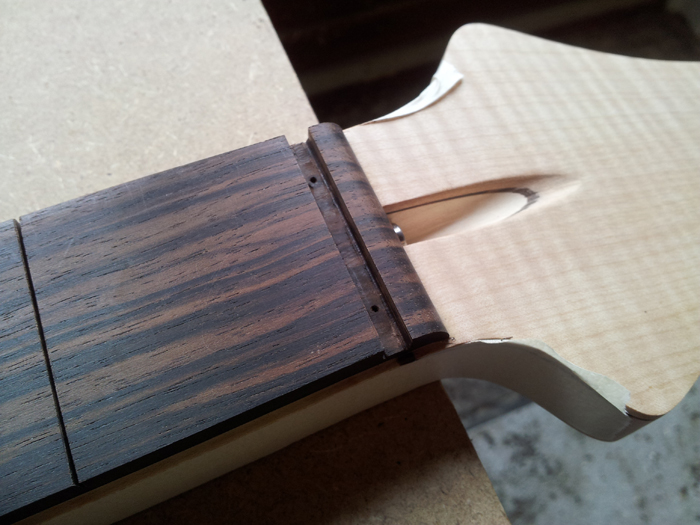
So, I used the shifting-the-original-template-technique twice to reshape the neck pocket in several spots, and to my surprise, it came out spot on… wow!

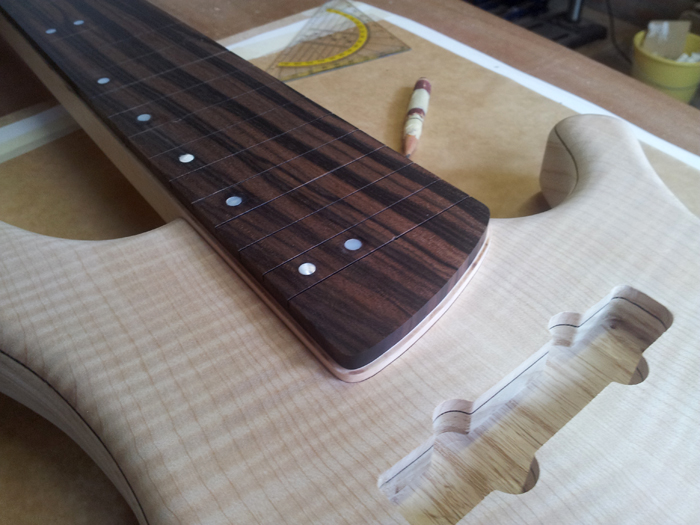
It doesn’t sit in awfully tight, but I consider that a good thing, because now, there’s still room for the finish. If I add one layer of thin masking tape to the neck, it doesn’t fit anymore at all, so with the finish on, I think it’s just perfect.

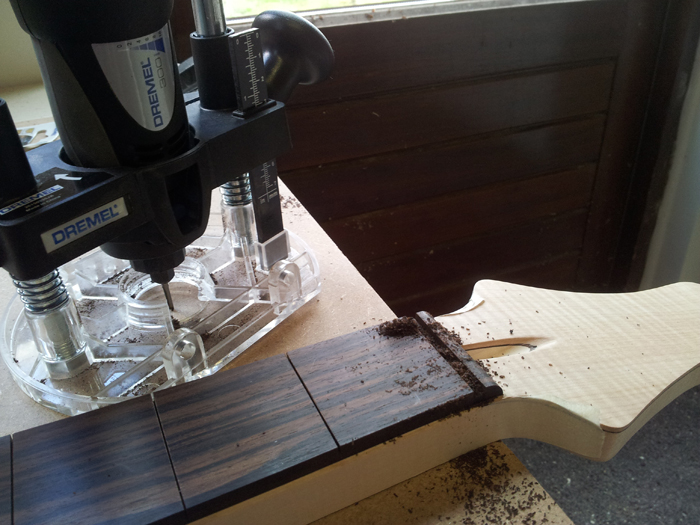
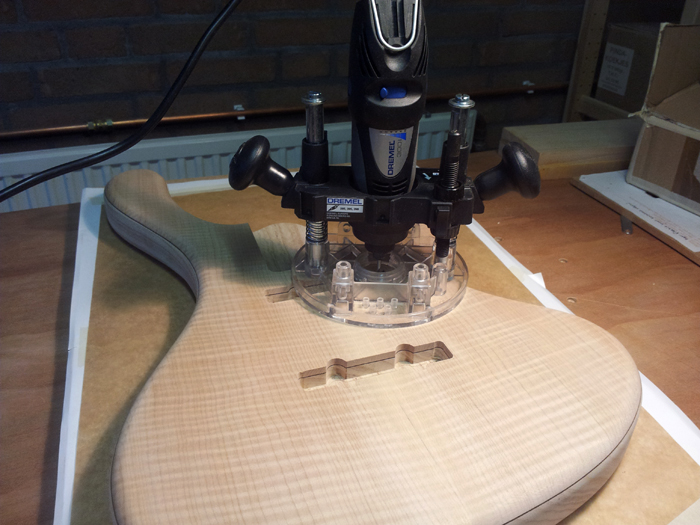
Onto the pickup routes.. that got me thinking for a while too, because I cannot use my guided router bits to widen up the corners, as the radius of those bits is too large. Sanding doesn’t work and filing isn’t providing consistent results either. But then, I got an idea: I used my Dremel with its router base and a very small router bit (+/- 2 mm) and let the shaft ride the template. I used the template-shifting-technique to widen up the routes, but also routed a few corners freehand.

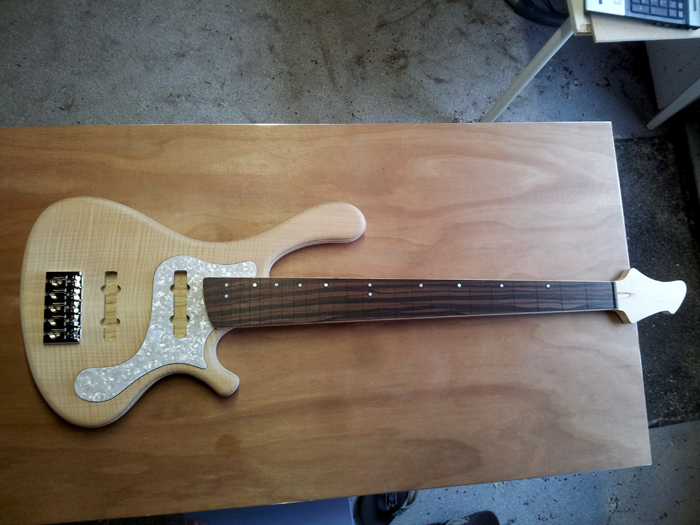
And after some nerve racking moments, the neck pickup fitted well in it’s new home:

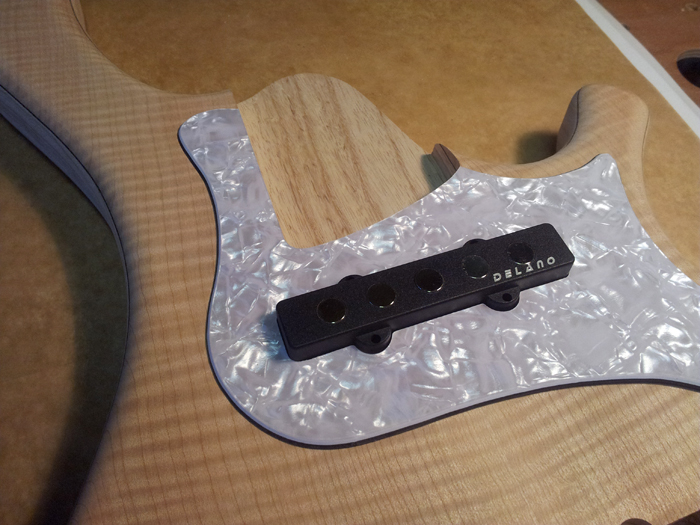
And after that, so did the bridge pickup. Being happy with the results, I just couldn’t resist….

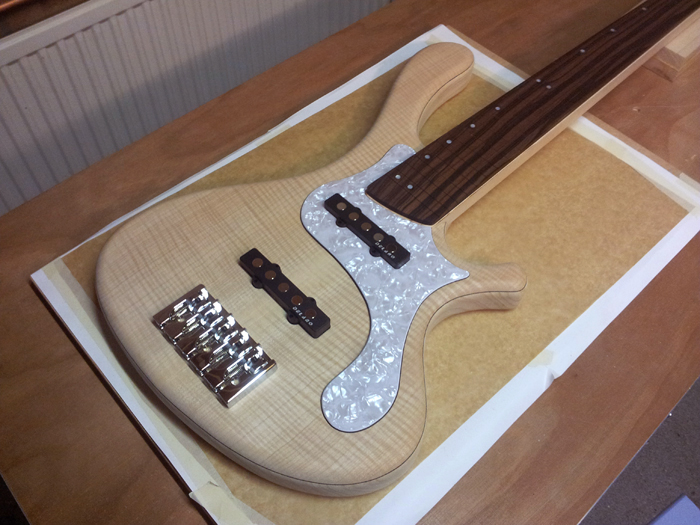
Don’t you just love it when a plan comes together?

Ordered a new sanding block

Well, I’ve started building a radius block myself, but I lost motivation very early in the process. For only 18 euro incl. shipping I’ve ordered one on eBay that should be wide enough (if the given measurements are correct). Now I only have to wait two more weeks or more before I can proceed with the neck. But I can do some work on the body until then… if I have time.

Full mockup

And whenever you don’t know how to proceed or solve a ‘problem’ (like the radius block that doesn’t fit), it’s always good to turn around and look at what you’ve already achieved, so here’s a quick full mockup:

That made me smile again, so it helped :-).

Pictures of inlayed fingerboard

As promised, some pictures of the inlayed dots (you can still see some glue around the dots, but I hope that disappears when sanding in the radius):

And oh, one more thing.. this morning I was in for an unpleasant surprise: the sanding block is only 7 cm wide and my neck is 7.5+ cm at it’s widest point…

Dots glued

Had some very busy weeks, so not much happened with the bass… but today I drilled the holes for the position marker dots and glued them in with CA. I didn’t take pics because my phone ran out of power, but I’ll prob shoot some tomorrow. The result is okay – it’s very, very hard to get everything perfectly aligned when drilling by hand (even with a drill press), but I guess I’m satisfied with the result. Only one is a few tenth of a mm off.

Today I also received the 16" radiusing block. So next step will be radiusing. Then, I’ll recut fret slots if necessary and do the binding, followed by the side markers. Apart from fretting, neck profiling and installing machine heads, the neck will then be done and I’ll move to the body to touch up the pickup routes and neck pocket. So we’re approaching the finish line, but at a very slow pace..

Routed binding and nut recess

Had a chance to work on the bass for an hour today and managed to do a few minor things.

Routed the binding channel around the fingerboard, a little bit hard to see, but here’s a close up:

Routed the recess for the nut with my Dremel:

And the finished recess for the nut:

A new fret saw!

Not so much progress last week, but I did buy a new fret slotting saw: a Japanese fret saw! It’s the best upgrade ever! From a small saw that had a lot of binding, which made fret slotting a nightmare, to a saw that easily slides through Ebony. I wish I bought it in the first place:

The reason I bought the Japanese saw, is that I couldn’t get deep enough with my original fret slotting saw. So tonight I redid all the fret slots and cut them to the required depth, also taking into account the inteded radius:

Next steps are routing for the binding and installing the pearl position marker dots.