Paradox J5

This is my second build and a truly scratch-built bass; I designed everything myself – the shape, the string layout, all dimensions and the complete configuration. I’ve only used a plunge router, a drill (press) and a jigsaw as power tools; the rest is done by hand. This blog is an extensive diary of my adventures as an amateur luthier.

Gluing on the fingerboard

Today I made the second cut for the nut and I’ve routed the fingerboard ending towards the headstock. Then, I spent some time to perfectly align the board to the neck and made a fixture to hold the neck for drilling the alignment holes. I solved the problem of not having the right drill bit for the size of nails I have by simply drilling the hole with a nail. It works like a charm, wouldn’t have thought it would, but it does . I used 1.2 mm nails through the nut area and the 24th fret. Then I covered up the truss rod (which is just sitting in without any glue, kit or tape, except the plastic tube around the rod that came with the TR) and put some Titebond on the neck. I removed the tape and put the fingerboard on, aligning it with the nails. I’m very pleased and happy using this method, because there’s absolutely no moving around. Here’s the neck and fingerboard with some clamps on it:

After about one hour, I remove the clamps and clean everything up. At this stage, the glue has set, but the excess is still easy to remove. I also removed the nails at this point. Here’s before removing them:

And after I removed them you can see the result of the fingerboard end at the nut, with the TR slightly protruding. I’m satisfied with this result. The little holes will be gone after putting in the nut:

I also put tape around the neck before glueing, so I can easily remove excess glue afterwards. A great tip I’ve got a long time ago and I always use it. I hate sanding of excess glue if I don’t have to:

And after I’ve cleaned everything up, I put it back into the clamps so the glue can cure completely over night. I had a slight forward warp in the neck, so I made sure I clamped the sandwich (first time also) to a flat part of my workbench. As far as I could see it already helped a bit. So with the clamps back on, I can get some sleep now :-).

Fingerboard dots and roundover

Tonight I did some tests for the fingerboard. I routed the roundover at the nut end of the fb (I am going to place the nut in the fingerboard, not against it). I think I will hand shape it afterwards, but this is a good starting point. It’s going to be radiused afterwards anyway, but this will be done before it goes on the neck. I also did my first ever pearl dot inlay, not difficult at all, but I still wanted a test before I started drilling in the fb itself. By the way, I used gold pearl I had lying around; for this bass it’s going to be white mop instead of the ‘gold’. My test piece:

(The photograph doesn’t really show the quality of the pearl, it actually looks a lot better then this….)

And this is how the transition is going to look roughly:

My drawing / original design has 6 mm dots. But actually, I like the 5 mm ones quite a lot! So, now I’m in doubt… There’s very little space for two offset 6 mm dots in the 24th fret and since I’m doing an offset layout, I think 5 mm looks a little bit more subtle than 6 mm dots.. which look better when placed on the centerline. This is a test with 5 mm dots:

Next time I will probably cut out the slot for the nut, route the fb ending roundover, rough taper and glue the fingerboard on. Not sure yet if I drill for the dots before or after glueing the fb to the neck. Oh, and the truss rod will go in without glue, I’ll just slide it in there.

Fingerboard in the works

Fingerboard’s in the works… all slots are cut and I drew the centerline and outline on the ‘blank’. I hope to glue it on the neck this weekend, but I’m not yet sure how to keep it in place while glueing:

The neck pocket seems to fit after some sanding, I got the neck in there succesfully, but it’s still *very* tight. So I’ll do some more fine tuning… but at least I held the bass for the first time with the body and neck together, feels good!!

Fret slotting update

Small update: I finished cutting the initial fret slots. Since they are exactly the fret tang height in depth, and I will radius the board, I need to do another pass; but at least, the positions are marked. The result is reasonable. Deviation is within my tolerance boundaries (one way, up to a maximum of 0.25 to 0.3 mm).

The ebony wasn’t a lot of fun to cut with such a little saw, by hand. You can tell it’s been done manually, although probably after fretting and finishing it’ll be nearly invisible. But I imagine I would get far better results with either a good saw and miter box or a tablesaw configuration…

Now, I need to line up the board, cut it out and glue it to the neck. I’ll keep you posted.

Fret slot cutting

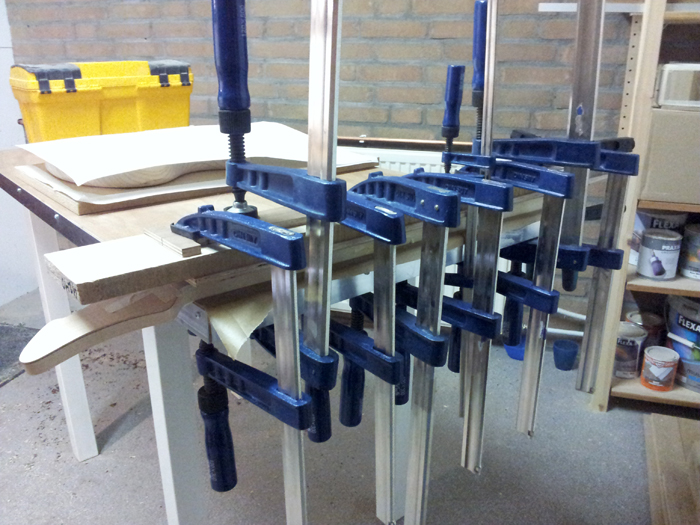
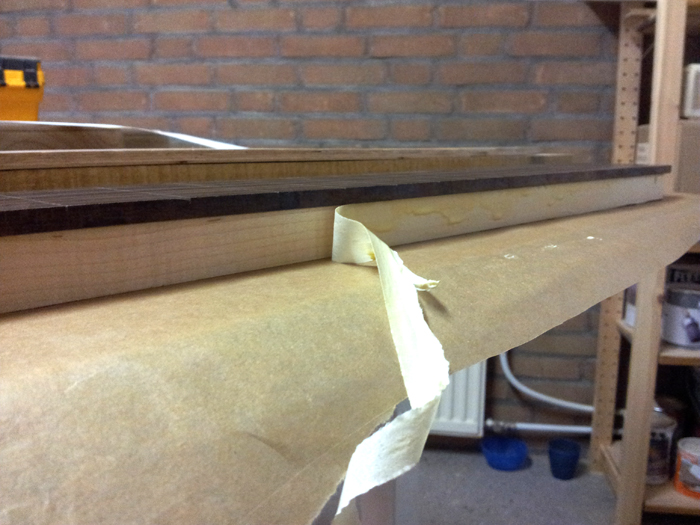
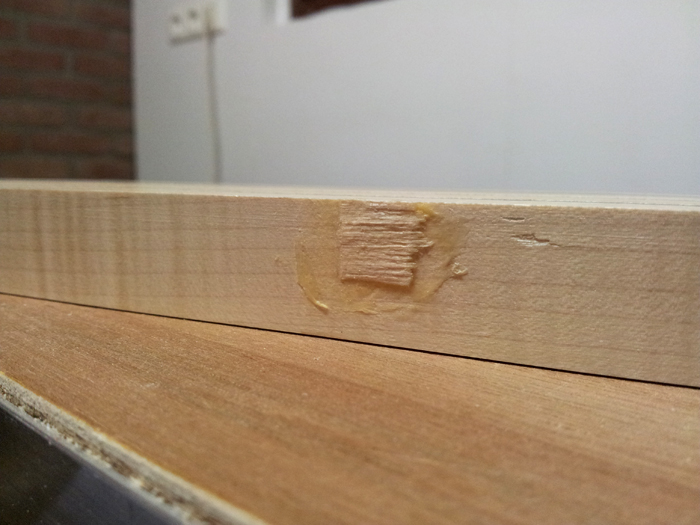
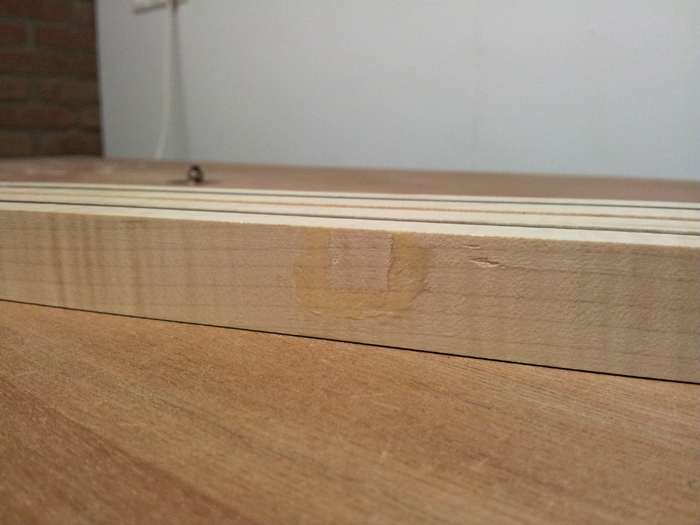
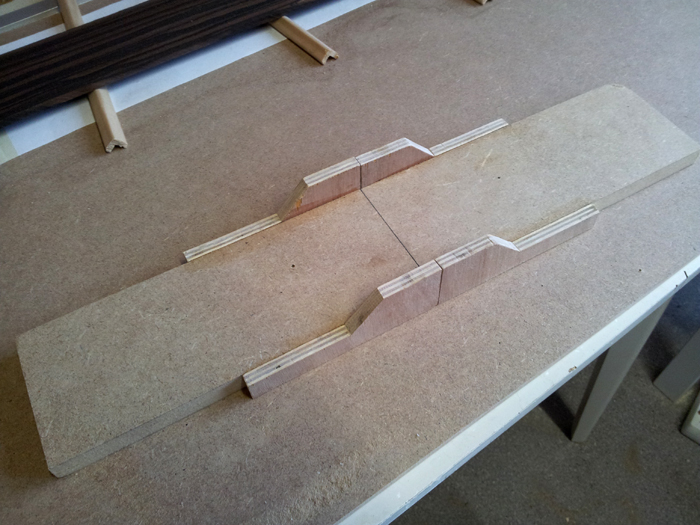
Because I think the miter box from StewMac or LMII is too expensive and since the one from StewMac doesn’t even fit around my fingerboard blank, I decided to build one myself:

Resulting in this poor man’s fret slot miter box, built in just over an hour from scrap wood:

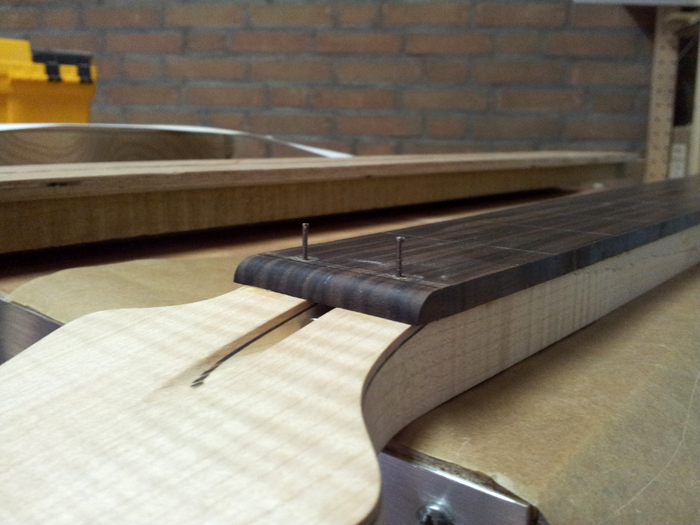
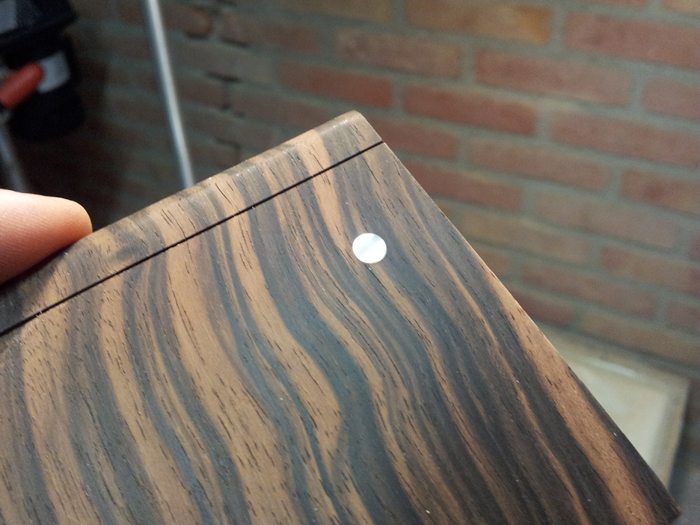
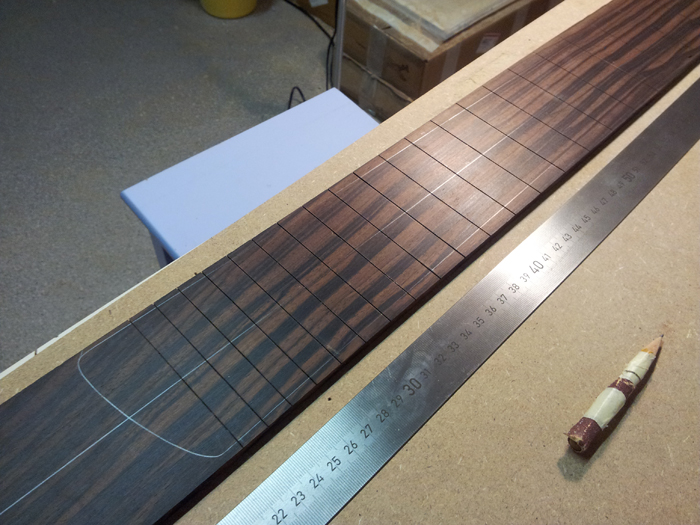
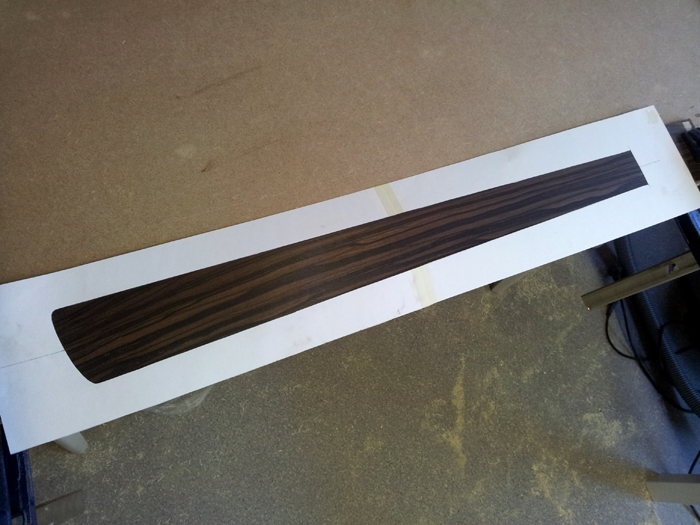
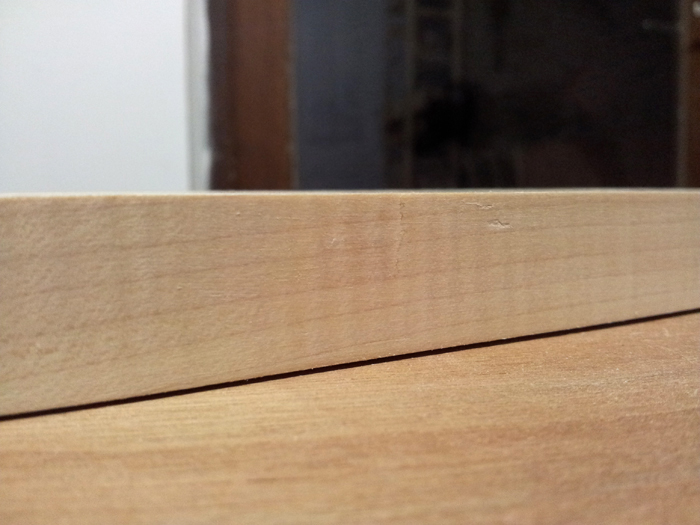
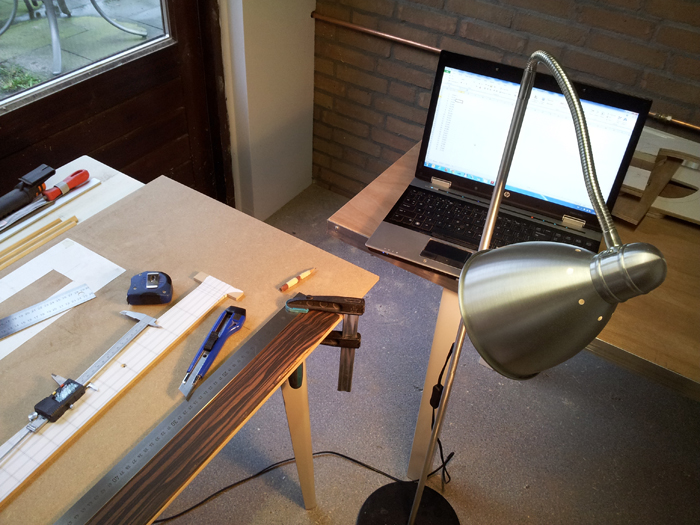
I also decided to mark the fret positions by hand. I do not trust printing, as it always has some deviation, while ordering a plotted drawing takes another week and costs another 12 euros or so (including shipping). I clamped a long ruler to my fingerboard blank, set up an Excel-sheet to calculate the fret positions (+10 cm so I don’t have to start with the edge of the ruler) and a sharp knife to do the markings, which is much more precise than a pencil:

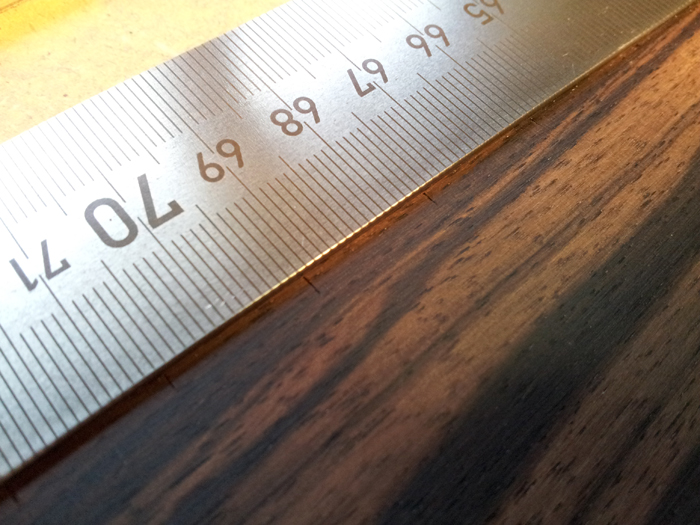
I’ve made a close up so you can see the markings next to the ruler:

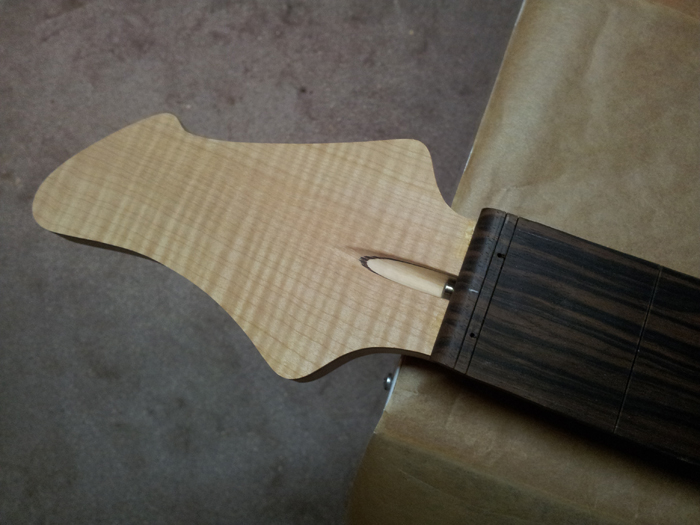
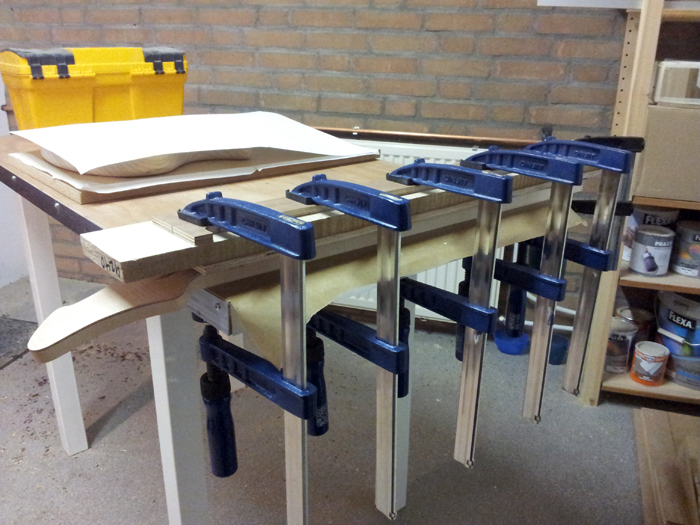
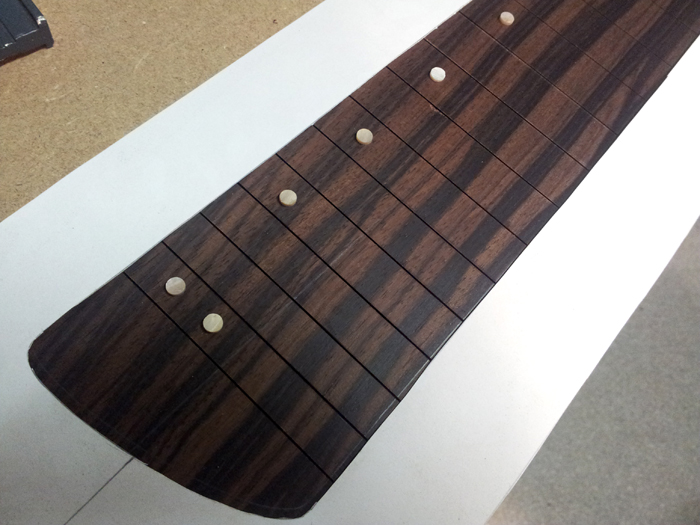
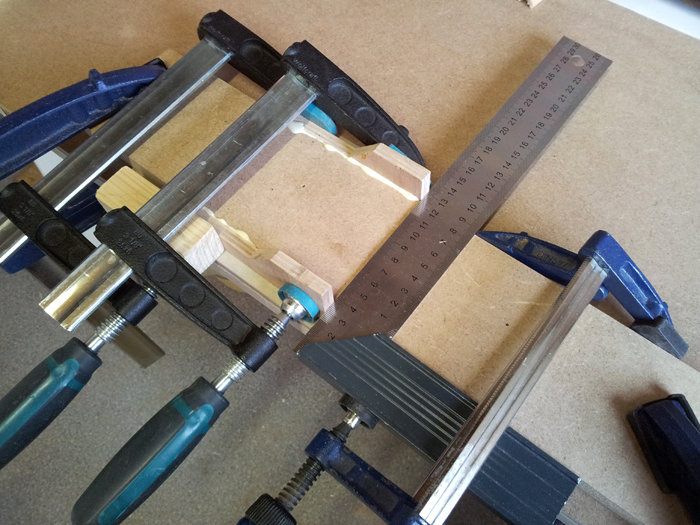
Lastly, I clamp the board in my miter box, align a mark with the saw, tighten the clamps and start cutting. This is the last photo I’ve made, but I got to 10 fret slots today:

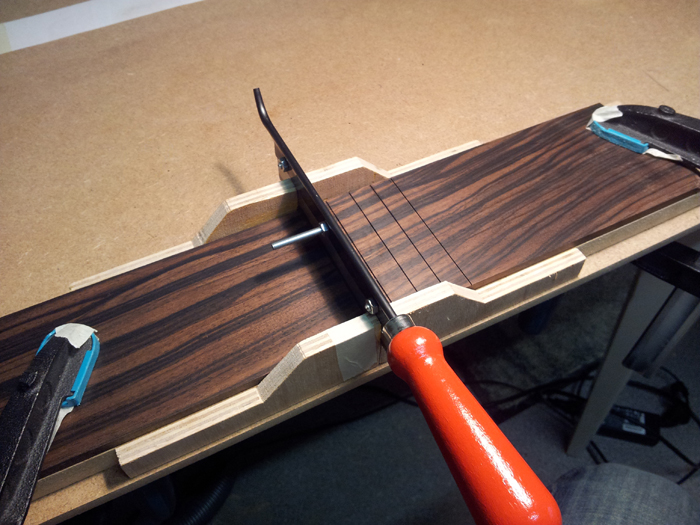
The slots aren’t deep enough, they exactly match the fret tang depth and I will deepen them to the required depth after radiusing. That’s also a lot easier, because the board is at full width right now and that’ll change after cutting it out.

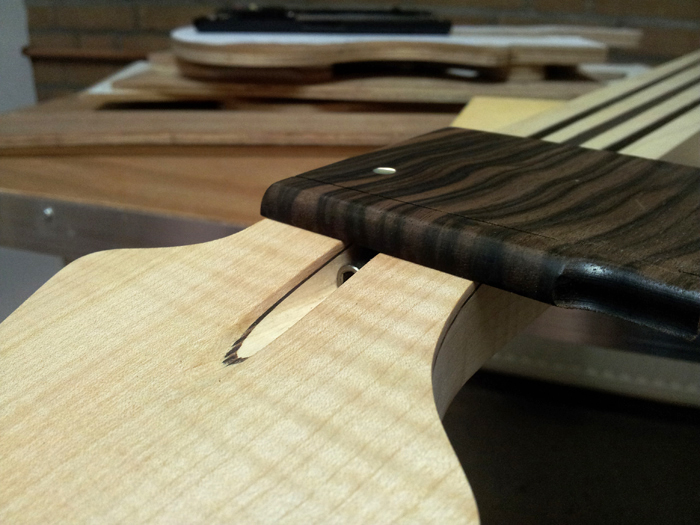
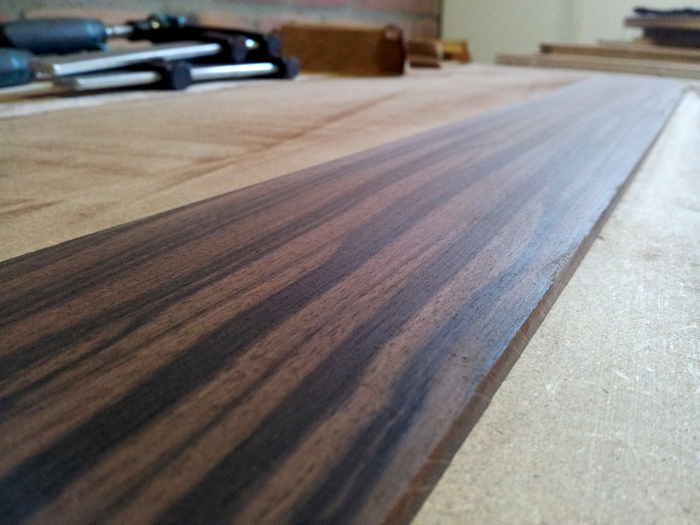
The saw I have isn’t the best there is (I’d rather have a Japanese saw for this) and the Macassar is hard like hell.. if I slip, the saw doesn’t even scratch the Ebony.. (I did manage to scratch my fingers a few times though). I just don’t like this job like this and I really have to learn playing fretless, or save up for a better saw I guess.

Preparing the fingerboard blank

I tried to fit the pickups – they do not fit well yet because I did not yet clean up the routes with a chisel and some sandpaper, but I’ve got a good starting point. While at it, I almost started to doubt if I should dye the body… but I still think red looks killer and I want to get experience with that part of guitar building too.

The fingerboard blank wasn’t flat, I ordered it at 7 mm thickness, but the thickness varied between 6.30 and 6.95 mm… that’s over half a mm and to my standards not good. So I took my ‘planing jig’ and routed the blank to 6.35 mm:

You could see some minor router marks, but the result was pretty nice. Thickness now varies from 6.25 to 6.45 mm, which lives up to my standards and it’s close to the desired thickness of 1/4". Then, I sanded it with 40 grit, followed by 80 grit, to remove the router marks. It’s looking great already:

You’ve gotta love ebony! At least, I do!

And save the dust…

Body routes

Today I thought just checking the body status wouldn’t harm, so I released it out of the clamps. Turns out, the warp didn’t disappear completely, but got noticable less. Especially the horns became straight again very well. The lower bout still has some cupping, but I can live with that. You cannot see it by eye. I hope it stays like this, maybe I let it sleep in its clamps for a while to be sure. So this is what I’ve got:

I’m not ready to start on the fingerboard blank, so I decided to go for the neck pocket and pickup cavities. I started out by drilling the pickup cavity corners with a 7 mm drill. My router bit’s diameter is too large for those tight corners and this is my solution to cope with that:

Then, I aligned my previously made template on the body. It has a protruding support surrounding the neck pocket, so my router doesn’t tip over at the edge and I clamped it down with three heavy clamps well outside the routing area. The clamps also held the body flat against the table, so my cavities have a flat bottom as well:

I used a template guide to get to the right depth, removed it and used the ball bearing to clean up the cavities. This is how it looked after routing:

And without the template, it’s starting to look like a bass:

I couldn’t resist to try the pickguard on there. It fits remarkably well, I’m happy with it!

The neck doesn’t fit yet, the template was very tight already and on the hardwood it seems to have lost its flexibility opposed to the MDF and plywood template… but that’s for another time.

Starting with the fingerboard

Preparing to make the fingerboard right now. This is a paper template over the Macassar Ebony to select the grain and to see how it’ll turn out:

I hope to start working on the fingerboard soon, but I’m still puzzling how and where to start. I’ll keep you posted!

Correcting wood cupping

My bass’ body developed a slight cup over time, after glueing the laminates… here I’m trying to get it back to flat again… I moistened the top and clamped it like this:

In the meantime, I will work on the fingerboard (planing, cutting), cutting the fret slots, gleuing the fingerboard on the neck (have to install the truss rod before I do that.. shouldn’t forget.. making mental note..) and do some radiusing. I can even start shaping the neck profile, so I don’t have to get bored while the body is in the clamps for a few weeks.

Fixed some tearout

Today I worked on fixing the tearout on the side of the neck. Last post you saw the tearout and the glueing of the wood chip. Out of the clamps, it looked like this:

I used the router table with a bottom bearing guided router bit to clean up the fix. I let the bearing ride the clean lower half of the neck next to the fix and got this:

That’s looking hopeful! Let’s take the sandpaper out!

Pfew, that went well. I think I’m happy with this for now. There’s a very minor line that’s still visible and two tiny scratches on the right, but I will leave it like this and take care of what’s left while shaping the neck. I hope that it still stays looking this good while shaping, because I will create a cross section of the fix so to speak. But from now on, it’s not a problem area anymore.