Florence JB4

This is my first hand-built bass guitar, based on my own design. I am very pleased with the overall result and the sound of this semi-hollow custom jazz bass is very sweet! I had no real woodworking experience before I started this endeavour and I learned most of the techniques from reading books and online forums.

It’s finished!

Finally, it’s finished. And I took some time to make better photographs. I am really pleased with the result, both visually and sound-wise. The playability could be better, but considering it’s my first bass, I’m happy with it.

Here she is:

Soldering and assembly

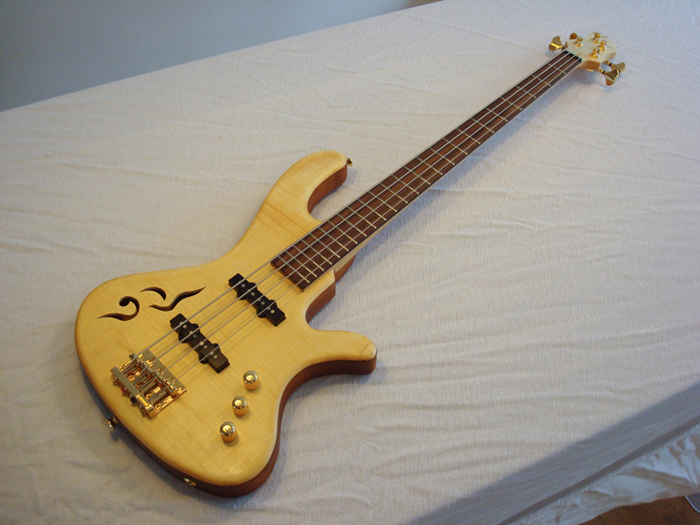
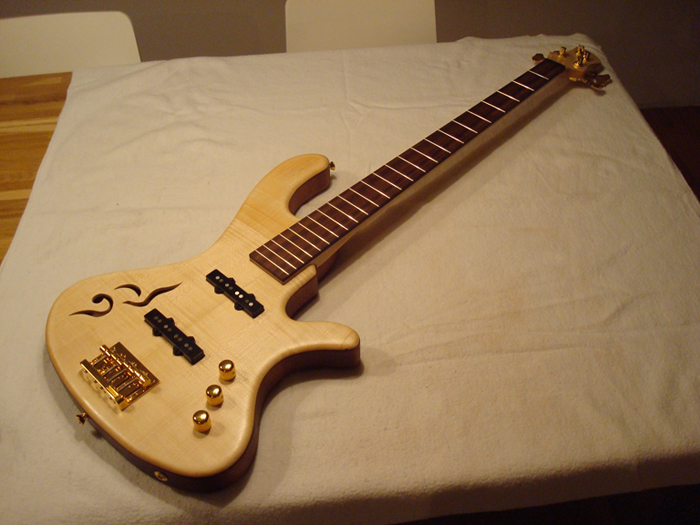
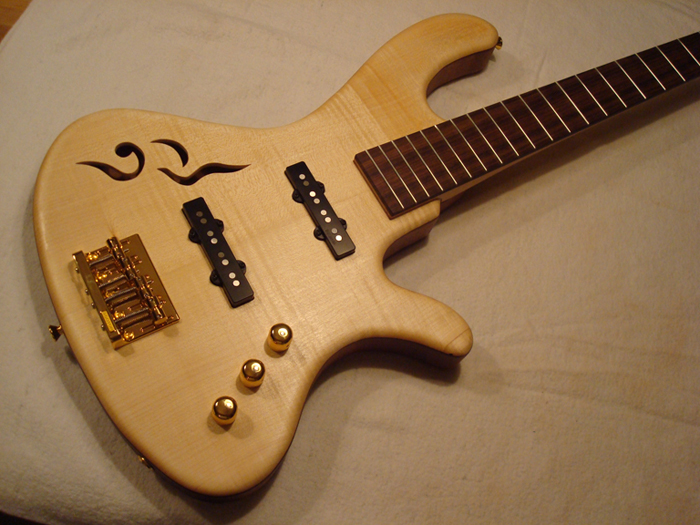
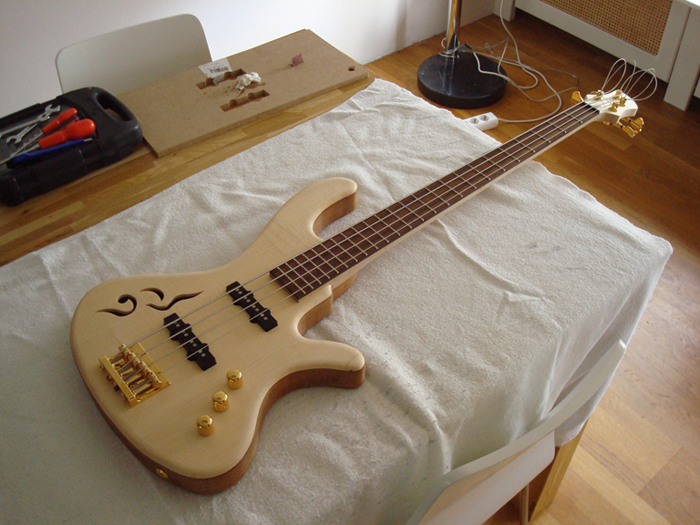
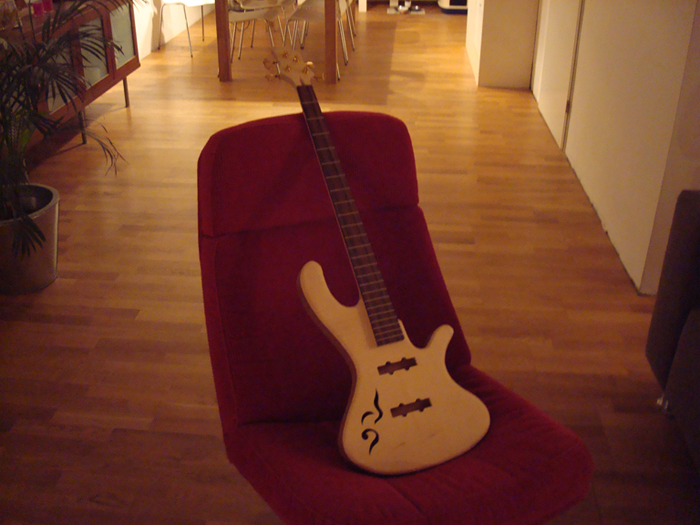
It’s finished! More or less… Still need to fine tune some more (like action, relief, pickup height and such things). It’s okay, but it can be better I think and it’s needs some time to set anyway.

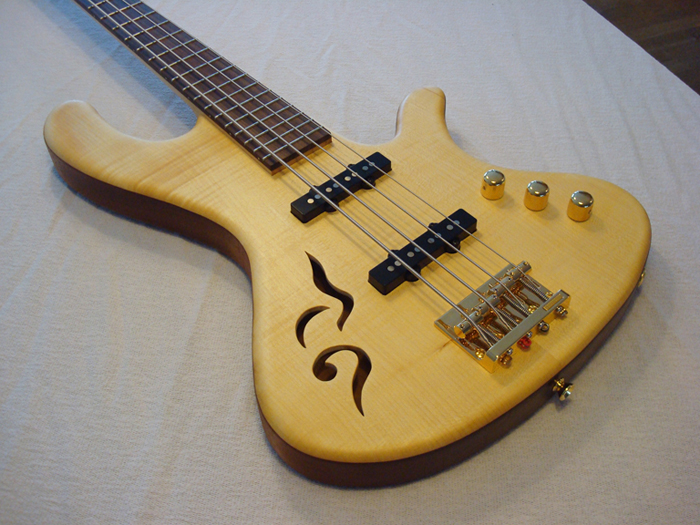
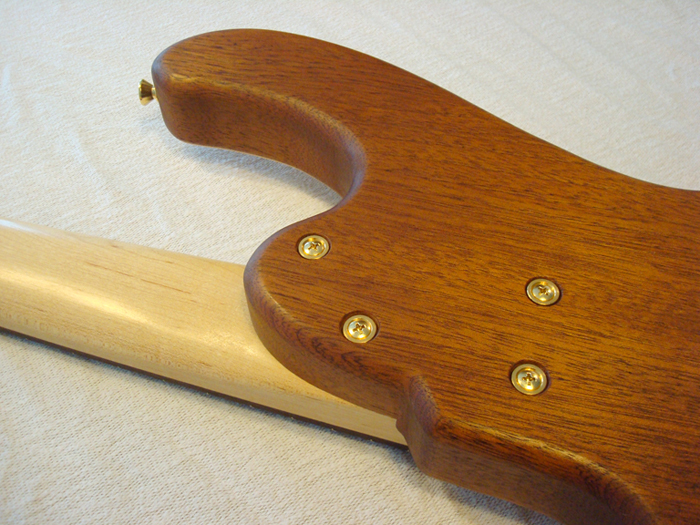
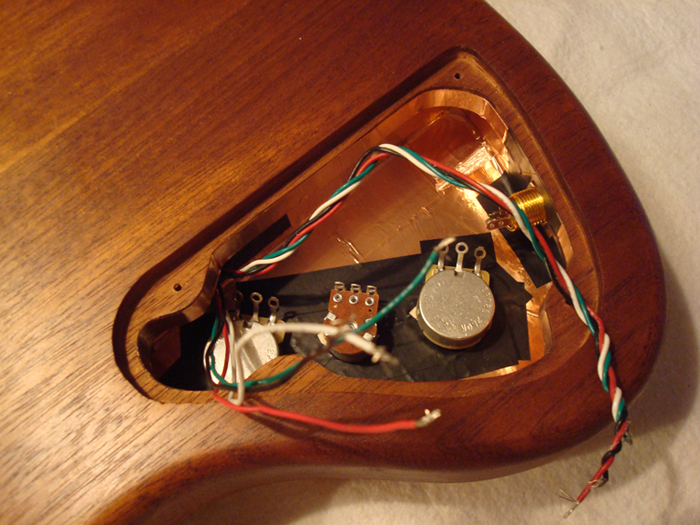
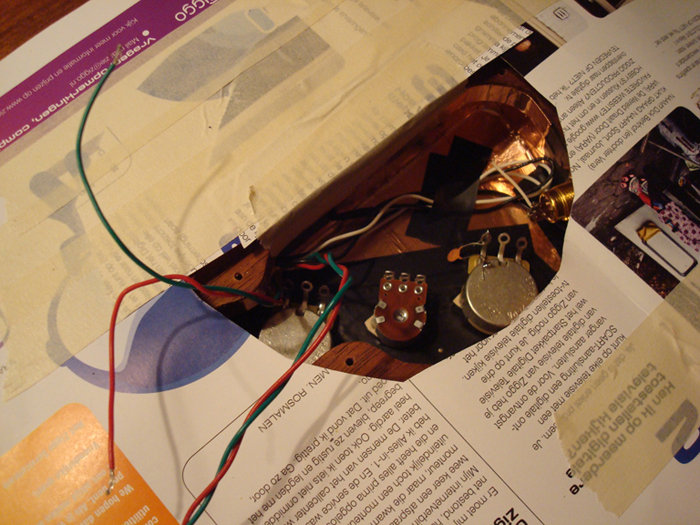
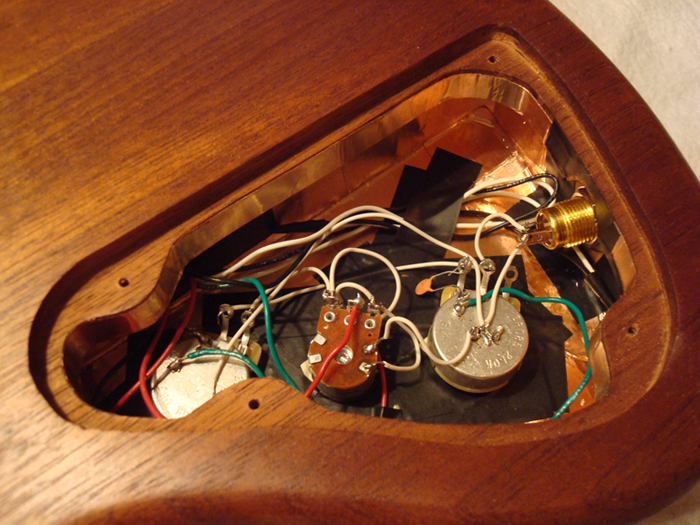
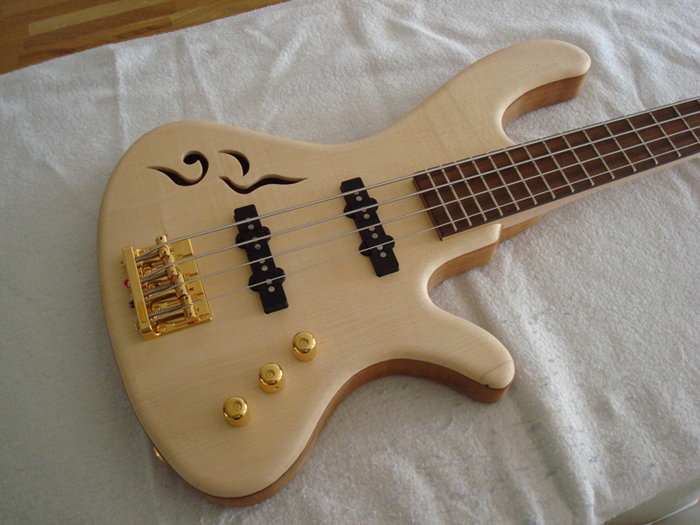
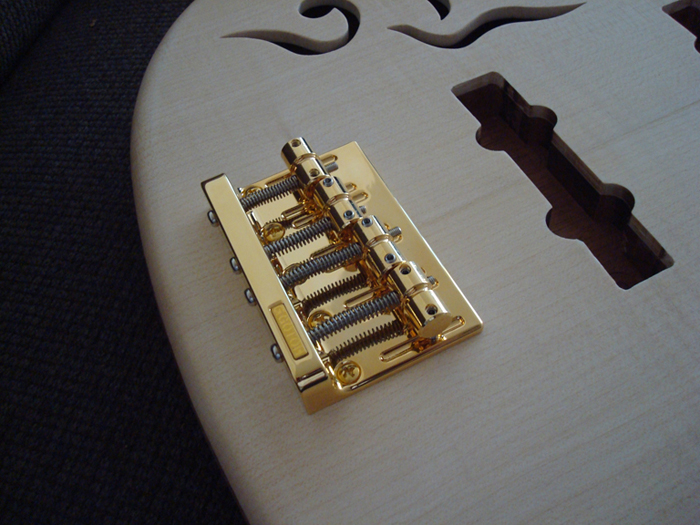
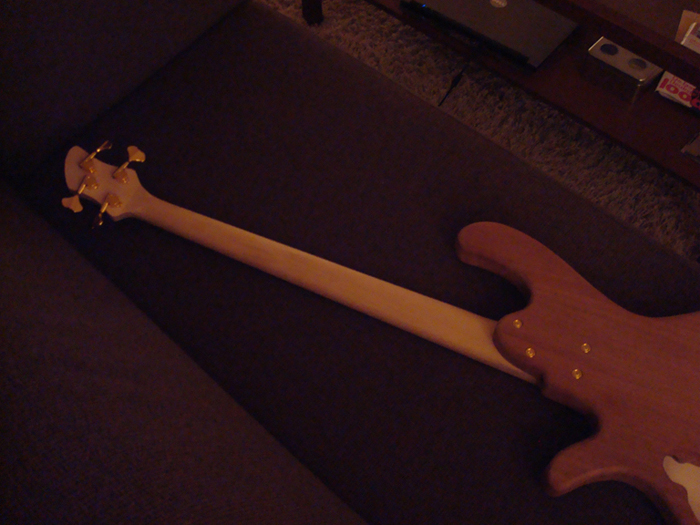
By the way, the hum is completely gone. It’s as quiet as could be. I drilled a hole from under the bridge into the cavity and grounded the bridge. I didn’t dare drilling through the bass at first and I thought I could get away with it.. but it turned out to be a very useful thing to do actually..

I tuned it up, set the action with the truss rod and adjusted the pickup height. Then I tried it with my guitar amp (don’t have a bass amp yet) and all the electronics work like a charm.

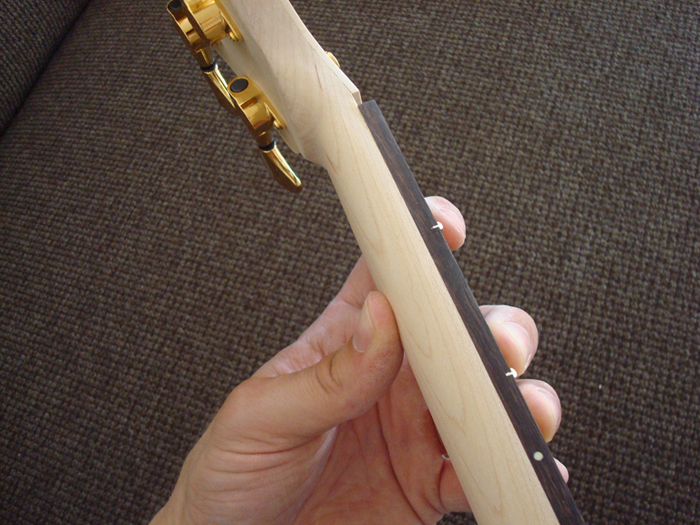
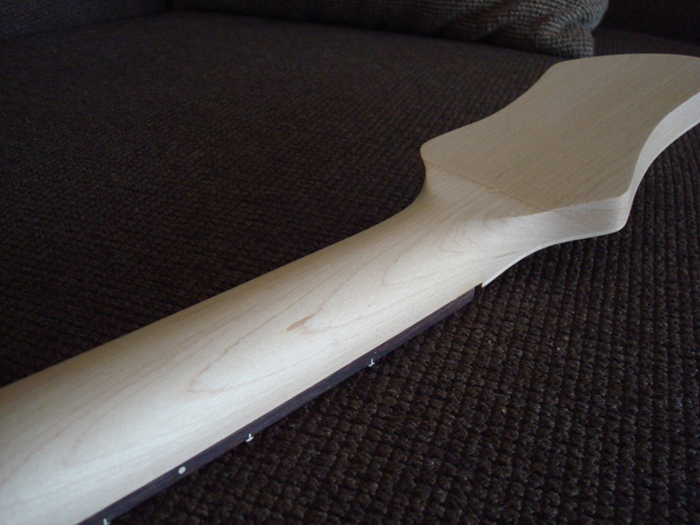
I don’t know how it really sounds, since I need a bass amp for that, but as far as I can hear it right now it sounds warm but clear (doesn’t get fuzzy). It doesn’t pop like a jazz bass but has a more acoustic tone. The flat fingerboard plays very, very well and the balance is just spot on!

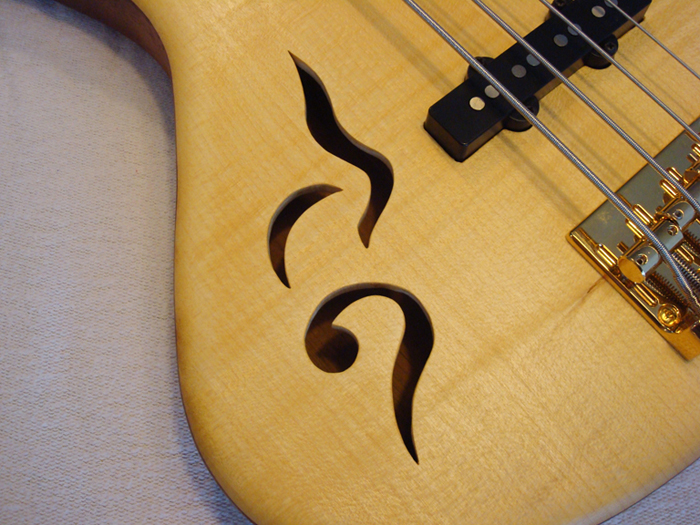
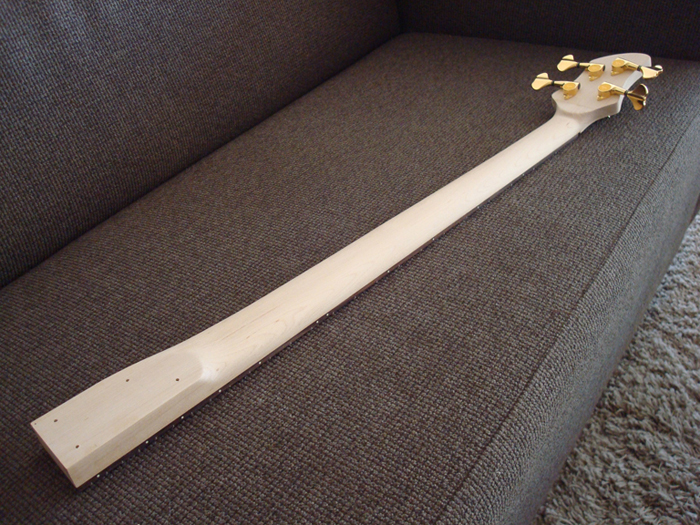
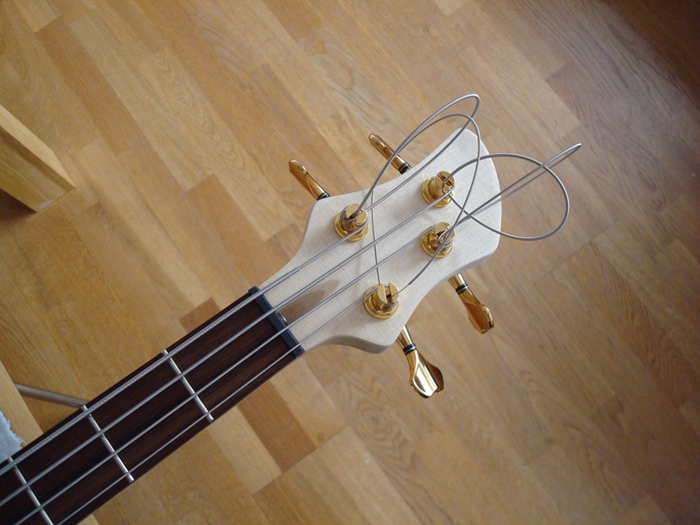
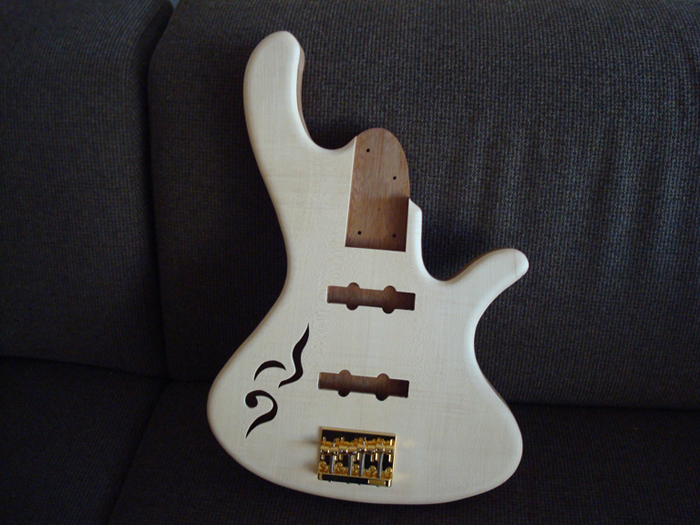
Here’s one picture. I will find someone who’ll make some nice shots of it later on and record some sound samples soon!!

Inlaying, soldering and assembly

Last week, when the oil had to dry and harden, I thought it would be fun to try a piece of inlay as a logo for the truss rod cover. I chose an easy character type to start with (not!) and found out this is kinda hard. It took me three tries and two nights before it came out well. I inlayed a rosewood ‘H’ into a figured maple piece of scrap, as you can see on the pics.

Tonight I started assembling the bass. I first shielded the control cavity and cover, than isolated the controls, installed the pickups and control pots and started soldering. Didn’t forget to cover up my bass, since it would be a pity to accidently burn some marks in it at this stage.

I really hate soldering. I just don’t like it. But after the first couple of joins I got the hang of it and it came out to be very relaxing and enjoyable. I copied a scheme from a picture I found on the internet and didn’t really know what I was doing… but it works. Only not sure about the level of hum, but I hope that’ll be fine tuning.

Rustin’s Danish Oil

Today I sanded the whole bass up to grid 320, by hand. The result was really smooth, especially on the hard maple neck! Then I moistened the body to open up the grain. This brings out the figure and makes it easier for the oil to get into the wood.

After that, I started rubbing on some Rustin’s Danish Oil on the neck and body. I was surprised by the ease of use and even more by the result! It needs to dry for at least 6 hours and I need to apply 3 layers at least, so the it will take another week before the final result, but I’m already very happy with it.

Losing the fat neck

As stated in the previous post, the neck had to loose some weight and get a thinner profile to improve playability and action.

First, I made a jig that allowed me to route of most of the wood. This jig has a built in slope, to get a taper towards the headstock. After that, I spent an evening shaping the neck with a spokeshave blade and some rasps and files. The second evening I spent shaping the transitions. I am more or less satisfied with the result, although I think it could have been better if I got it right in the first place.

The neck now measures a little under 21 mm at the first fret and about 23 mm at the 12th. The profile is slightly asymmetrical, being more of a C-shaped profile at the lower half of the neck and more of a D-shaped profile at the upper half of the neck.

Then I tuned it up and found out three things greatly improved:

  1. It plays a thousand times better, actually, from awful to very good!
  2. The strings bend the neck and the truss rod actually works now, to counteract the tension.
  3. The balance is sooo much better, first, it had some serious neck dive issues and now, it balances just fine.

So, call me satisfied!

My first notes

Today I assembled and strung up the guitar. However, I didn’t solder the electronics yet, because I still have to lacquer it. With the strings on, I was able to file and shape the nut to set the action (for now).

It is a very nice experience to see it coming together and to hear it for the first time! The sustain is ridiculous and it sounds very good over all. The only issue is that the neck is still too fat. Because of this, the neck stays as flat as the table it lies on and hence, there’s no relief whatsoever.. resulting in the strings rattling against the frets. Also, it is a bit hard and uncomfortable to play. Solution: I’m going to thin the neck down alot! For the rest, it’s perfect!

Edit: I forgot to mention the things that went remarkably well: the frets are all spot on, the notes all sound very well. The action is easy to set. Everything is as straight as can be. It all fits. The distance between the strings is perfect. The balance isn’t bad at all and will only get better when making the neck less fat. The tuners are perfectly in line with the strings and the angle of the headstock is just fine. Oh.. and did I mention it sounds good? …and isn’t she beautiful??

Drilled

Today I drilled the last holes, apart from those needed to install the strap holders. I installed the controls and the output jack. The hole for the control knob in the middle is smaller, because it is a different one (balance pot) and from a different manufacturer. I test fitted them to see if I had enough space in the control cavity. Everything seems fine so I can carry on.

Now only making the nut and dressing the frets is needed before putting some finish on it. I tried to shape the nut, but it didn’t go very well, so I stopped.. following one of my basic rules: if it doesn’t work out or something goes wrong, just stop and go on the next day.

Another update…

Got some more things done today: I drilled holes for the bridge and mounted it to see if it fit nice and straight, drilled the holes for the pickup screws and mounted the control cavity cover with four ‘pickguard’ screws. Apart from the control pots, strap holders and output jack, I’m done with drilling. After that I will have to make the nut, dress the frets and solder all the electronics.

Back on track

Last week I did some small things like drilling the wiring channels from the pickup cavities to the control cavities, cleaning up the scarf joint and bevelling the edges of the frets. I also sanded the whole neck and body up to grid 180.

On Thursday I finally received the parts I ordered. But, in fact.. I needed a drill press to assemble most of the parts and I didn’t have one. I thought about buying one for a few weeks now and yesterday I made the decision. So here’s my latest toy: a brand new drill press!! I am very happy with it and it already proved it’s value today. I spent several hours working on the bass and got two major things done. I installed the tuners and made the bolt-on connection between neck and body. Both came out well and having this done I’m getting close to finishing this project!

There’s only one thing that bothers me a bit. When I attached the neck to the body, I got to feel the balance of the bass and as I expected it’s neck heavy. This is caused by the combination of a fat neck and a relatively small body. If you point the neck upwards, it’s playable, but it’s not ideal. I think correct placement of the strap holders is really important and could improve the balance. And maybe, installing the pickups, electronics and bridge will also help a bit, but this might or is going to be the only ‘negative’ habbit of this bass ;).

Neck profile and electronics

Last week I spent shaping the neck profile to make it thinner. I also found out which electronics and finish I want and made a list of all parts I still need to finish the bass. I ordered all of those parts and now it is time to do some final sanding and start putting this bass together!