
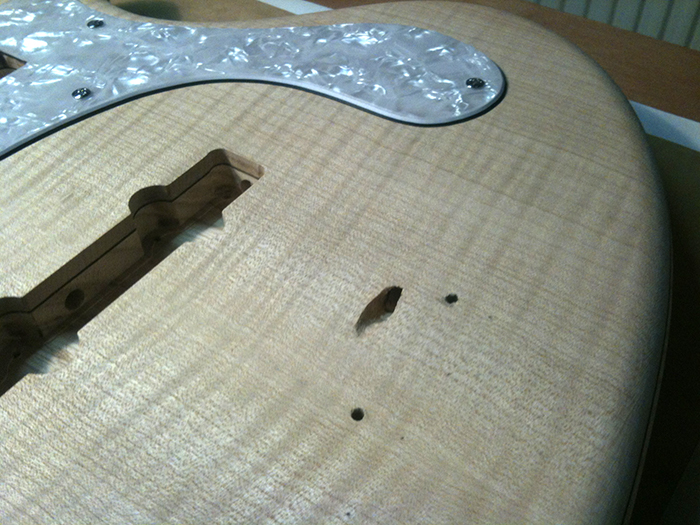
Yesterday I drilled the wiring channels between the pickups and to the control cavity. I also drilled the pickup attachment screw holes and… the scariest hole of them all: the grounding wire channel for the bridge! Man do I hate that. But with careful measurements and some extra care it came out the way I intended. I really haven’t been this nervous on the entire build as with this task.
Here you can see the wiring channel and some of the pickup attachment holes:
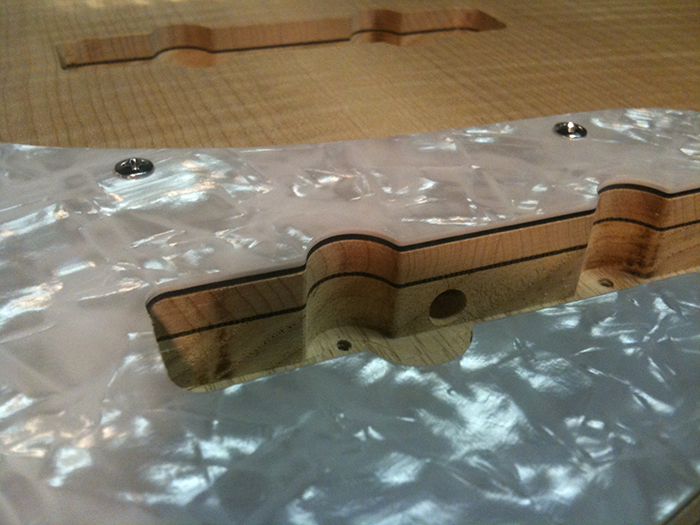
And the dreaded bridge grounding wire channel:
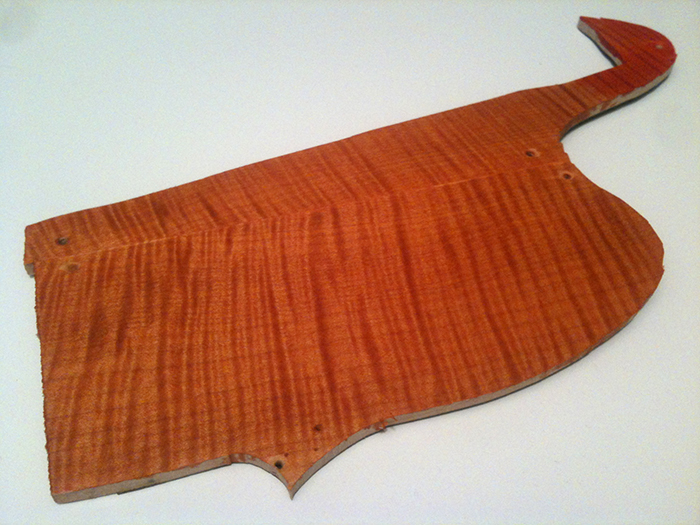
I also did some colouring tests. First with a local product ‘Ecoline’ from Talens, a concentrated water ink, just because I happened to have that lying around. The first test failed, trying to achieve a nice mix between sienna red, vermilion and bright yellow. It came out too orange and watery:
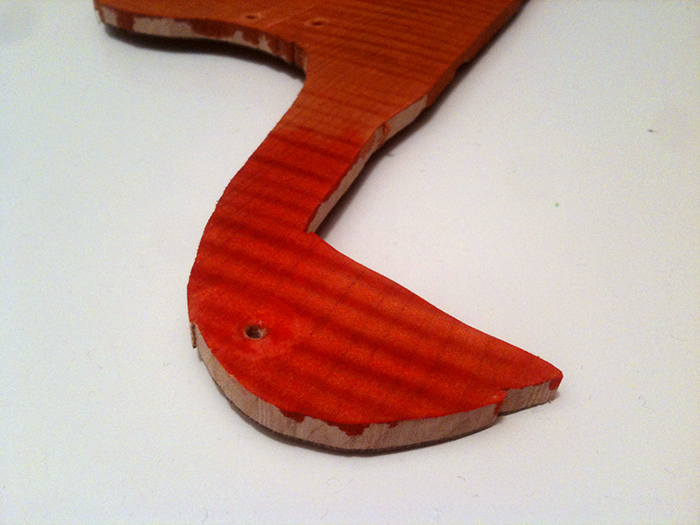
The second one is a small piece I painted with pure vermilion (for the first test I mixed the ink with water), and the colour came out rather nice, but I still do not like working with this product for this application. I also heared that it loses colour over time, so I better stick to commercially available dyes that are intended for this purpose.
So this was fun, but I ordered bright red and black dye (the latter to enhance the figure) right after this test. We’ll see if that works out.