Another update!
I wasn’t satisfied with the bridge placement. I kept looking at it and it just felt wrong. After taking careful measurements I found out it sat on at an angle of about 0.3 degrees. That doesn’t look like much, but if you extend the sides of the bridge to the fingerboard, the one at the bass side was 5 mm further away from the 24th fret end than the one at the treble side. That’s not good…
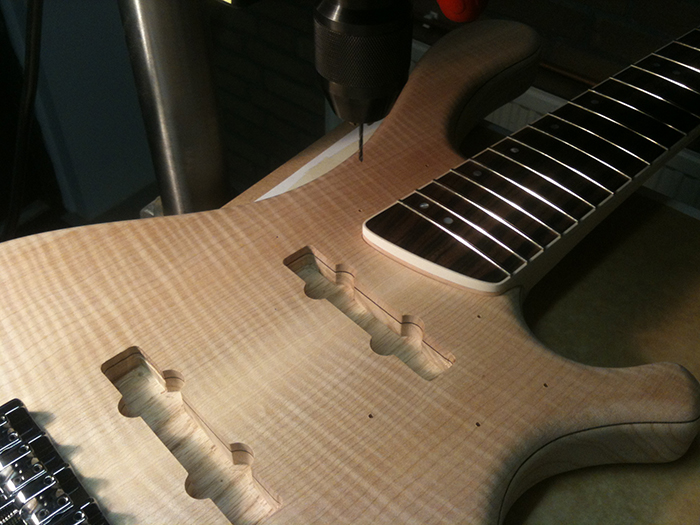
So I needed to fix the bridge placement. I decided to plug the two outer holes and keep the one in the middle to pivot the bridge, then mark and drill new holes and re-attach the bridge. Yesterday I plugged the holes with a small wooden dowel and some Titebond:
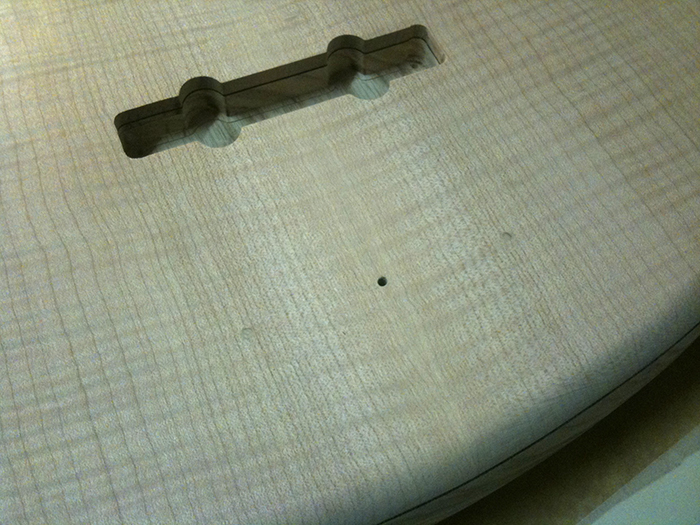
Titebond cures in half an hour, but I needed it to be fully cured because the new holes would only be shifted by 0.5 mm. I let it cure overnight and today I marked the new holes, using the center screw to pivot the bridge. Next time, I’m going to use this technique right away, because it’s much easier to get it right.
Now, it’s on _perfectly_ straight. And I’m happy.
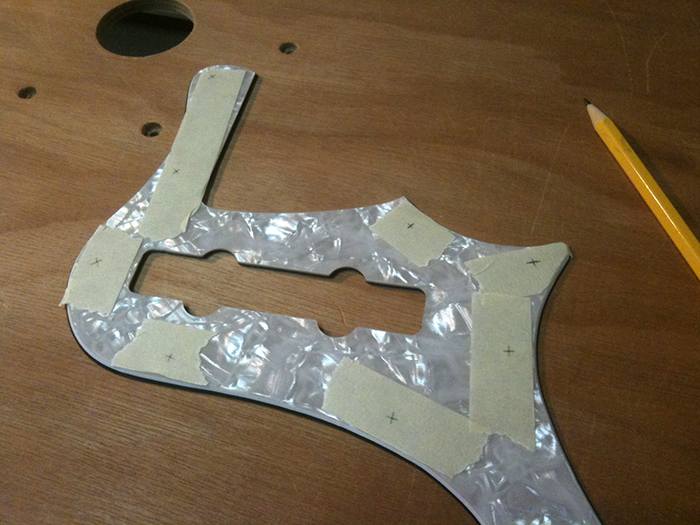
Time to move to the next assembly task. I marked the positions of all the pickguard screws through a paper template using masking tape to scribe on:
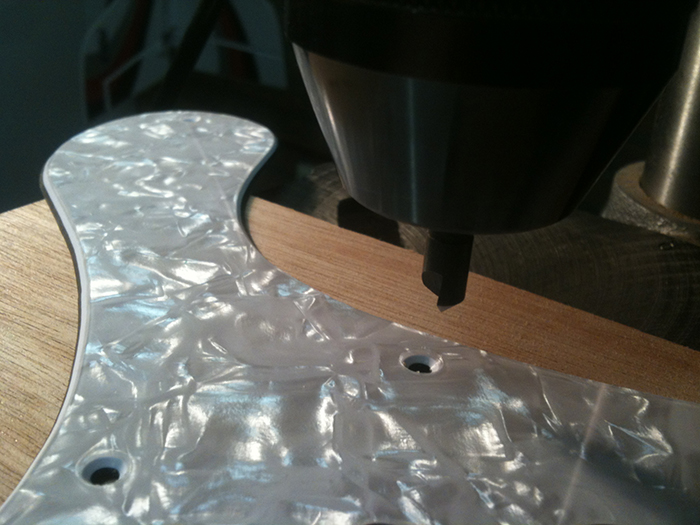
Then, I drilled all holes using a 3 mm drill bit, followed by a counter sink bit:
Marking through the freshly drilled holes onto the body and drilling 2 mm holes in the body was the next step:
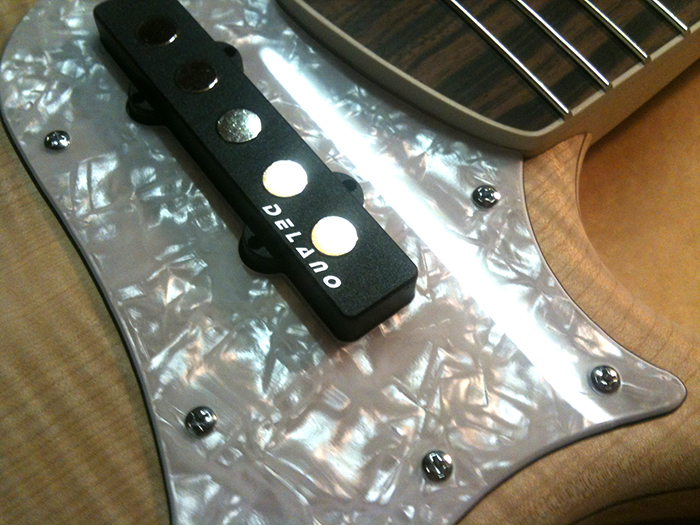
Et voila:
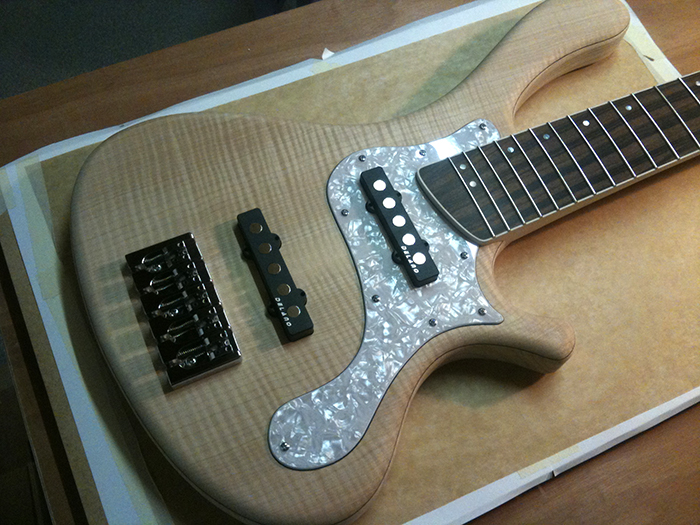
Looking cool! Looks like a lot of screws due to the small size of the pickguard, but I like the bling-bling style of it. A close up: