This is my second build and a truly scratch-built bass; I designed everything myself – the shape, the string layout, all dimensions and the complete configuration. I’ve only used a plunge router, a drill (press) and a jigsaw as power tools; the rest is done by hand. This blog is an extensive diary of my adventures as an amateur luthier.
Category Archives: Paradox J5
Finished routing the neck
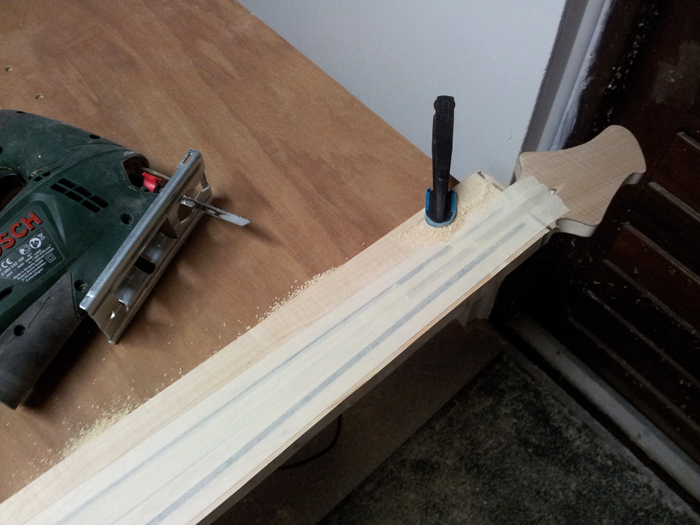
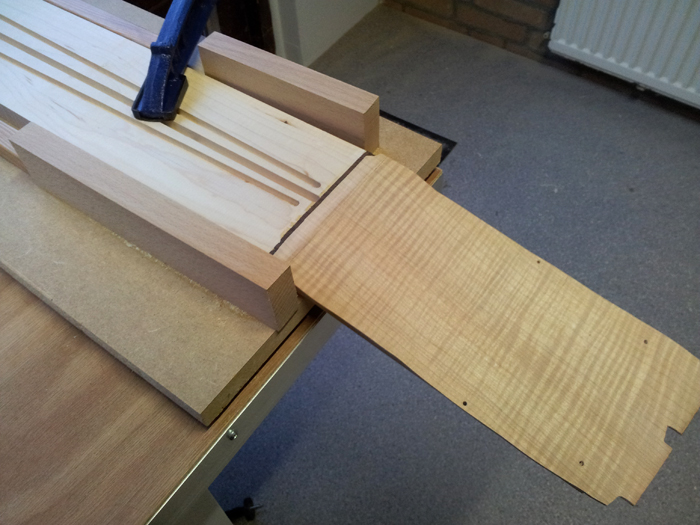
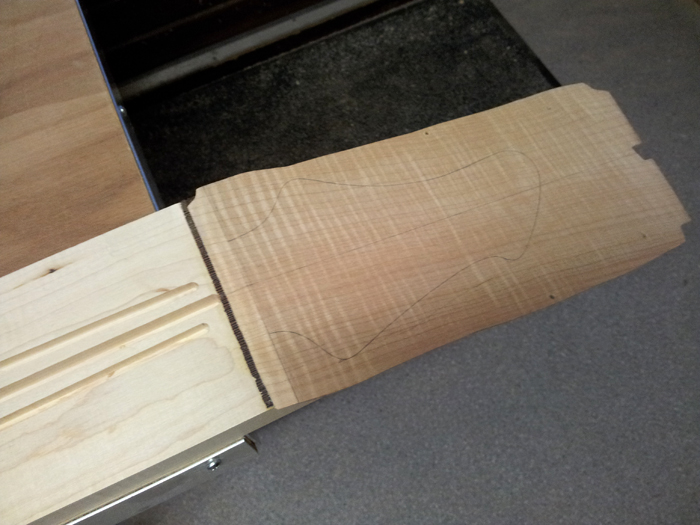
Today I machined the neck to it’s final shape (not the neck profile that is). I started out by cutting the neck well around the traced outline with a new jigsaw blade:
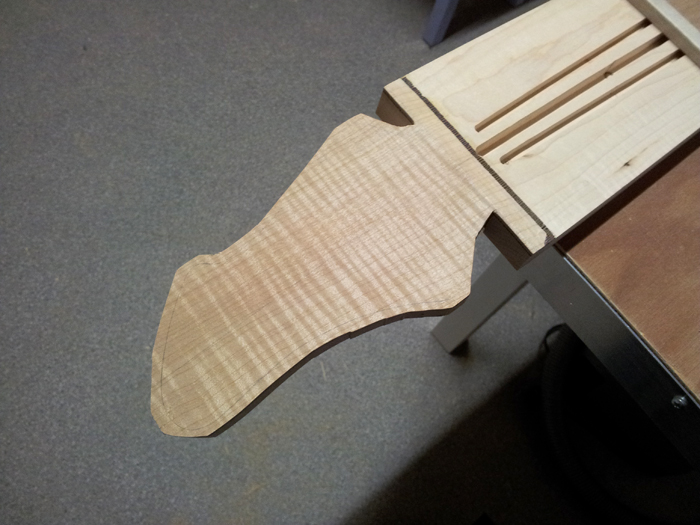
When done patiently and careful, this can’t go wrong, producing the rough shape of the neck:
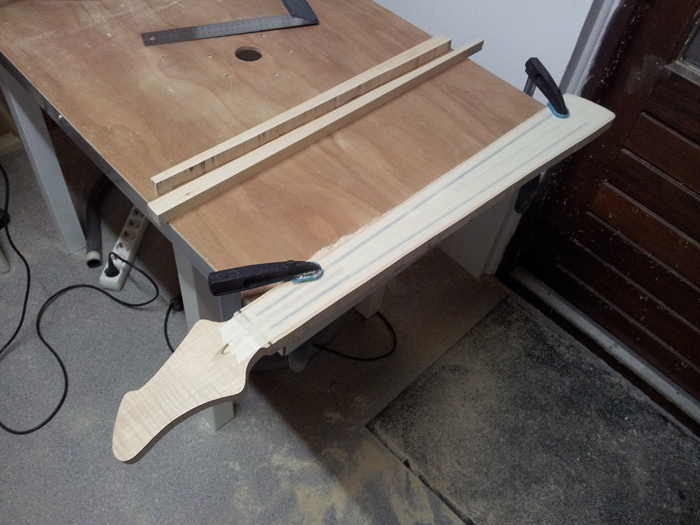
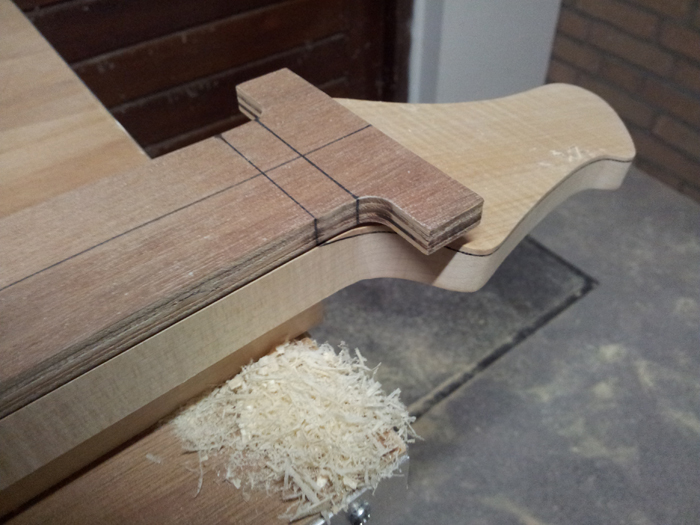
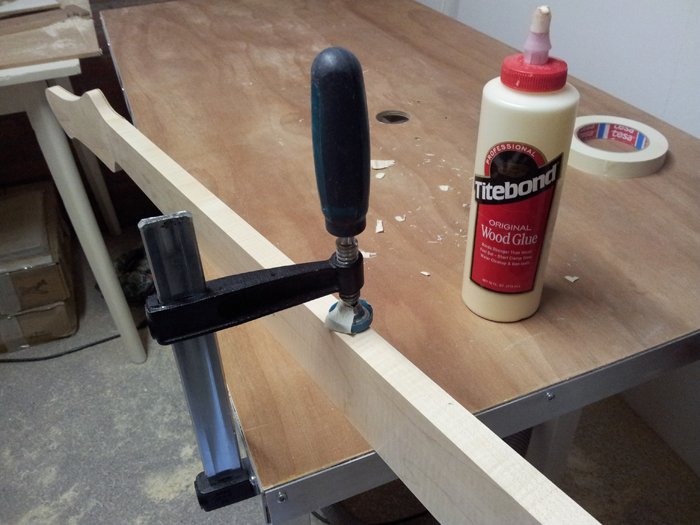
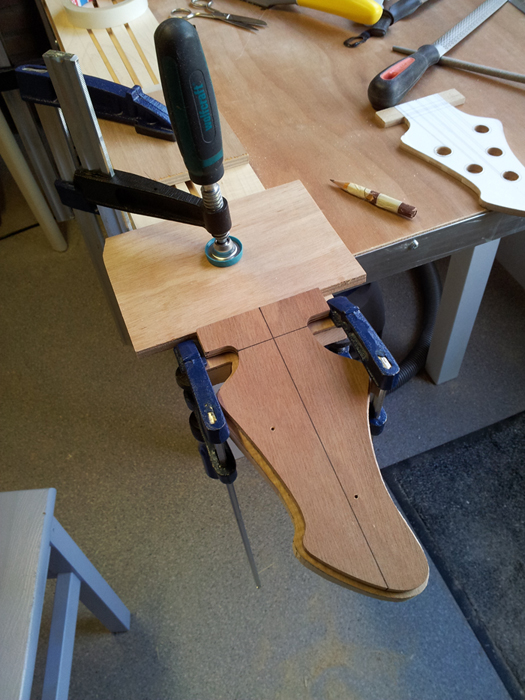
After that I aligned my neck template and started routing. I did not tape the template to the neck, because once the tape sticks it’s hard or impossible to do minor adjustments, so I clamped it in place. Here I’m almost done routing:
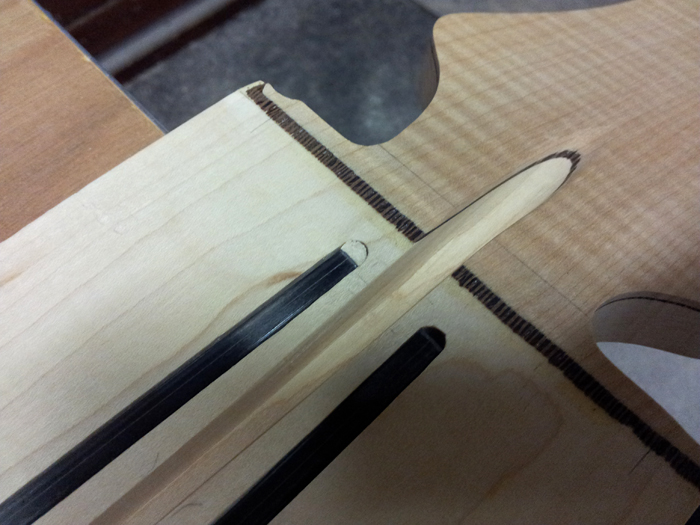
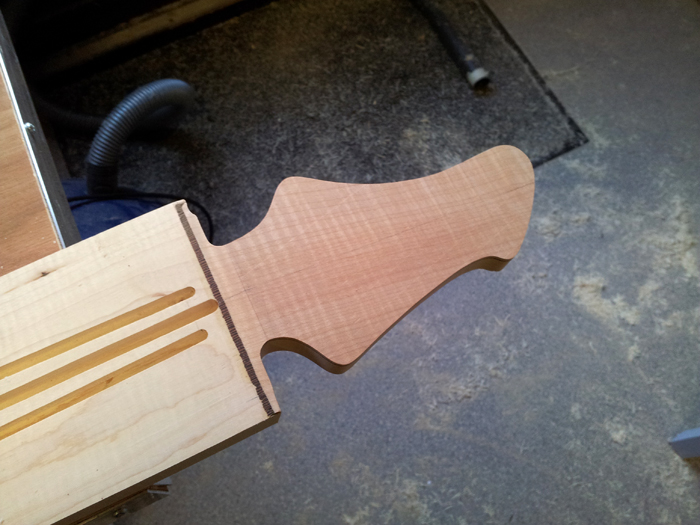
As you can see, the protrusions of the neck template pretty much explain themself right here. I also benefited from a well made template, because the neck to headstock transition is almost perfect after routing already, as I spent a lot of time to get the neck template and headstock template fitting together perfectly:
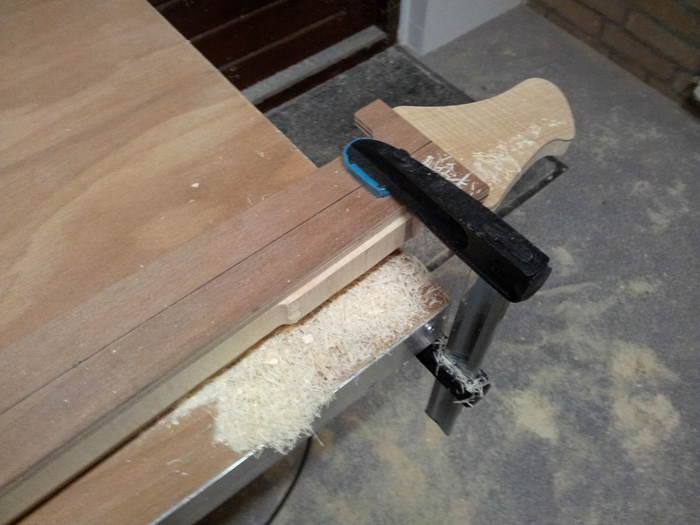
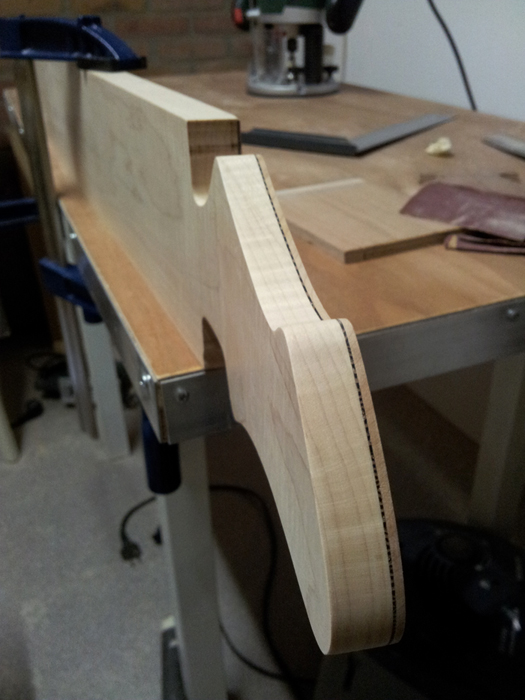
After routing, this is what I got left:
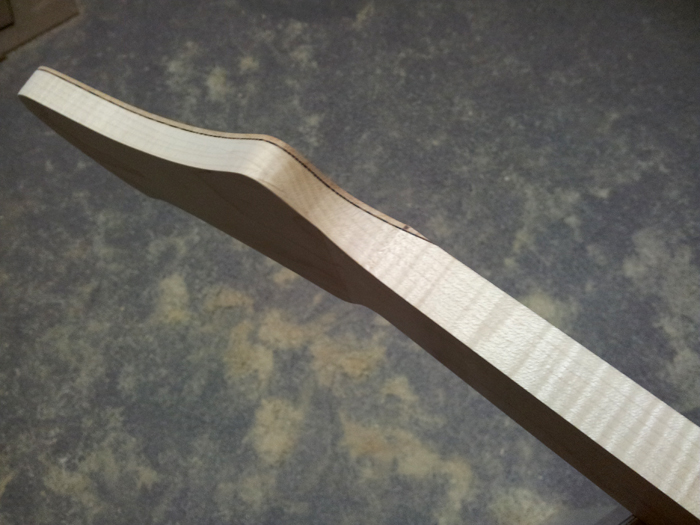
Here you can see the other side of the transition and.. I’m happy that I got some flames left, as they appeared mostly outside the outline of the neck shape:
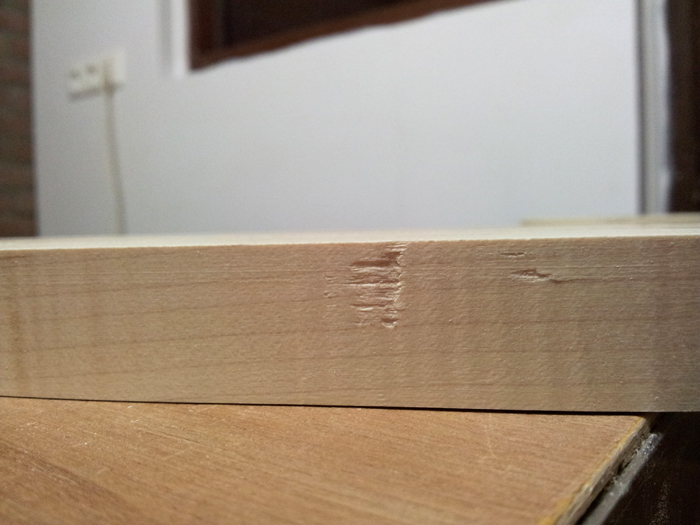
Did everything went well? No, sad enough, it didn’t. I had one very minor tearout where I stopped routing and started again after repositioning my clamps. That’s when I probably hit the grain in a delicate spot and got this:
So I dug into a pile of sawdust and wood chips and I think I’ve found the concerning wood chip, so, after some negotiation I found it willing to get the hell back where it belongs
This is what we’re waiting for right now:
Since I will bind the fingerboard and the neck will obviously be shaped, I guess most of the wood where the tearout appeared will be removed anyway, but just in case, I want to get this fixed before I proceed. Chances are good it will be invisble in the final product…
Matching body and headstock
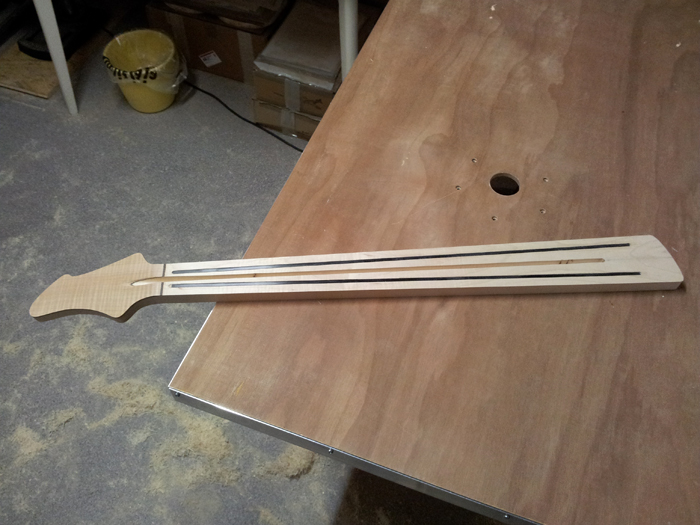
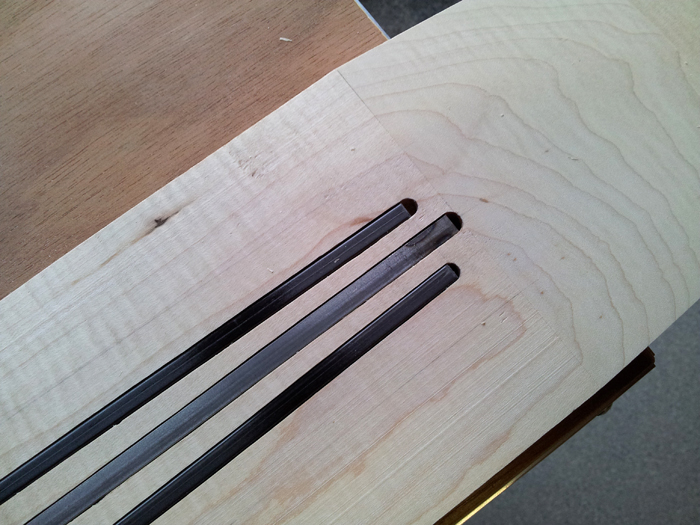
Carbon rods are glued in now, came out great! The wax paper really worked, didn’t stick at all – I used masking tape on my previous build and it was a pain to remove – and the rods lie in nice and flat. Very minor sanding to remove some excess glue and I’m done.
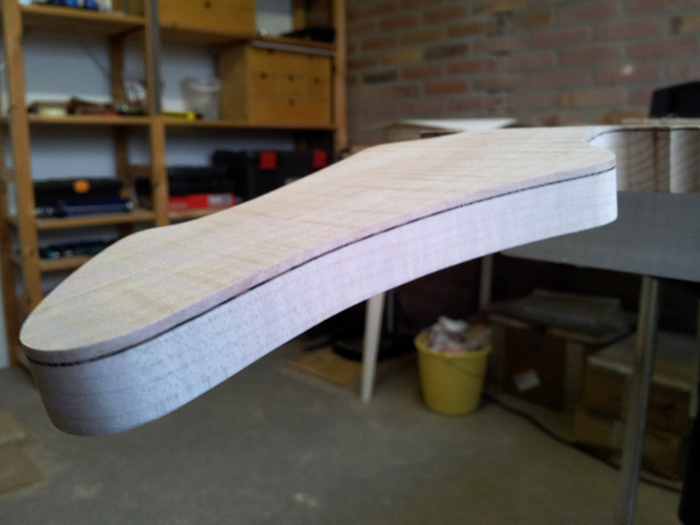
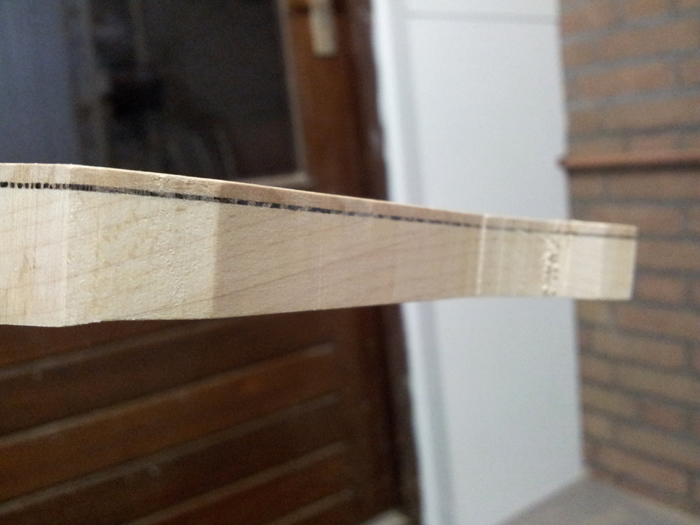
No further progress today, but I made this kinda cool shot, showing off the matching body and headstock wood laminates:
Gluing in the carbon rods
Before I was ready to glue in the carbon rods, I checked the depth of the channels a few times, made one of them deeper with a scraper and plugged the end of the left channel, because it was a little bit too long:
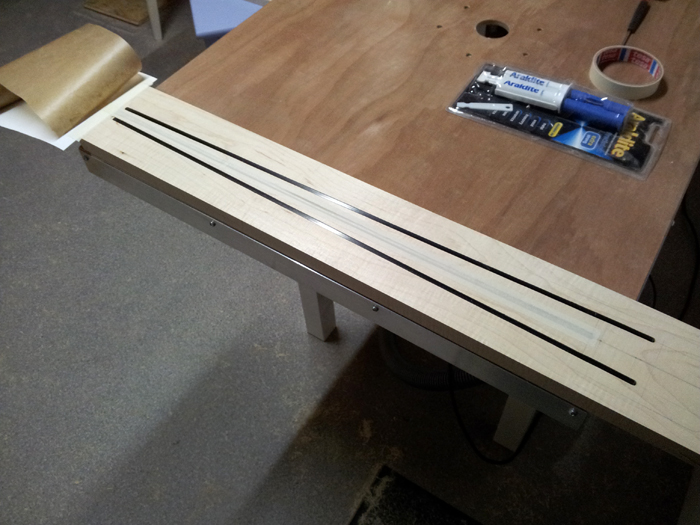
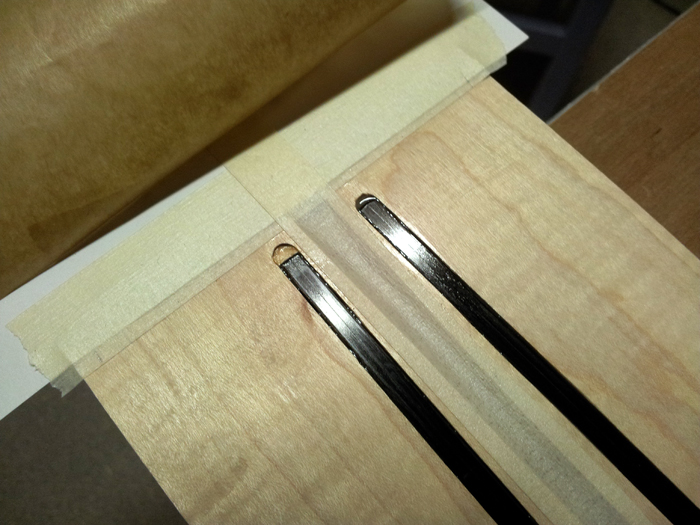
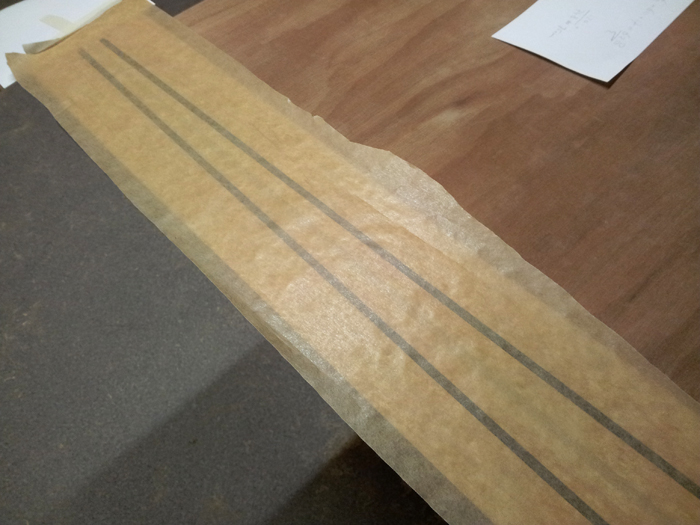
Then I prepared for glueing. I taped of the truss rod channel – don’t want any glue in there, masked the headstock for the same reason and attached a role of wax paper on one end:
I used slow setting epoxy from Araldite, gives you a 2 hour open clamp time, so no stress at all.
After applying a very thin layer of glue on three sides I carefully slided them in, wiped of the excess and rolled out the wax paper. I hope that this will be easy to peel off and it will definitely prevent that the clamping caul will get glued to my neck blank!
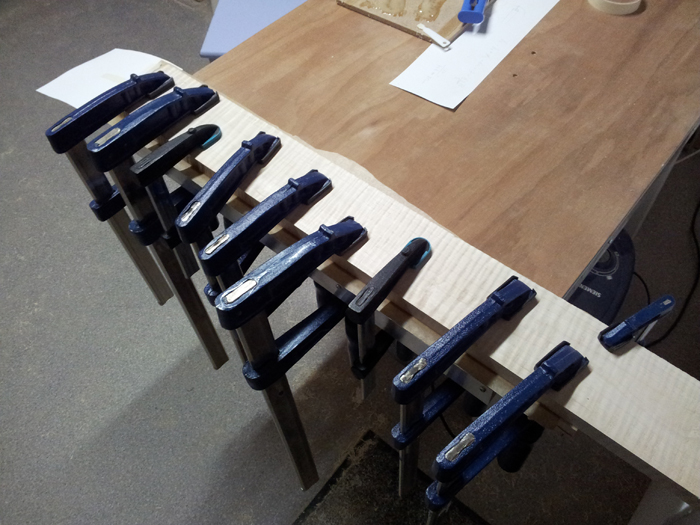
I used another neck blank as a clamping caul. I heard that such carbon rods tend to float out of the channel when using epoxy.. think I got that covered:
And I’ll leave it like that over night…
Truss rod access cavity
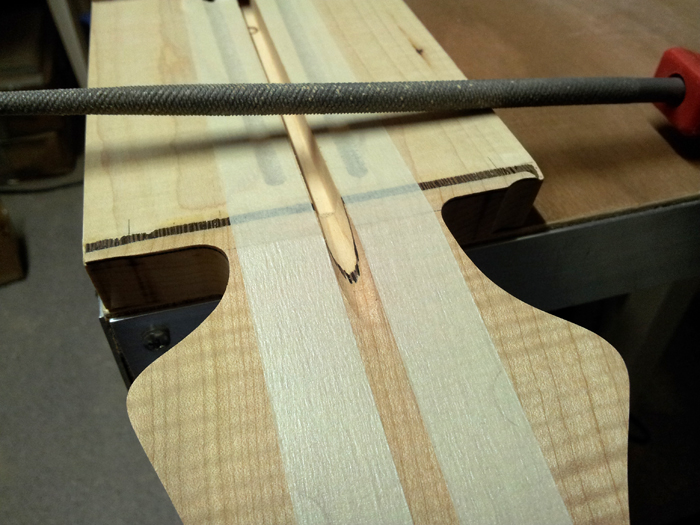
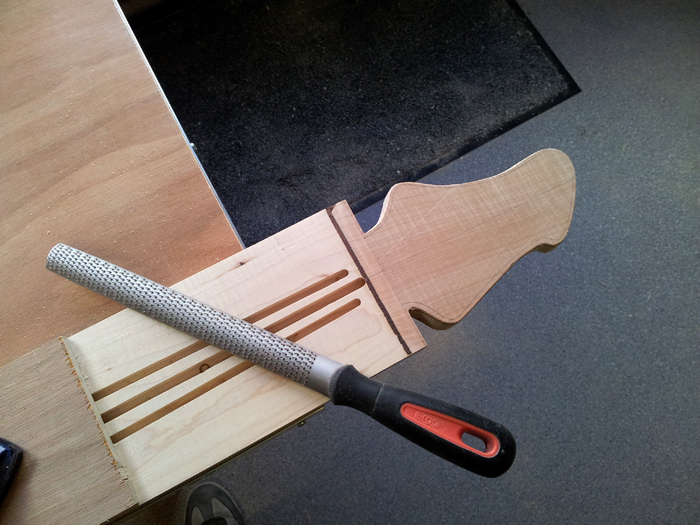
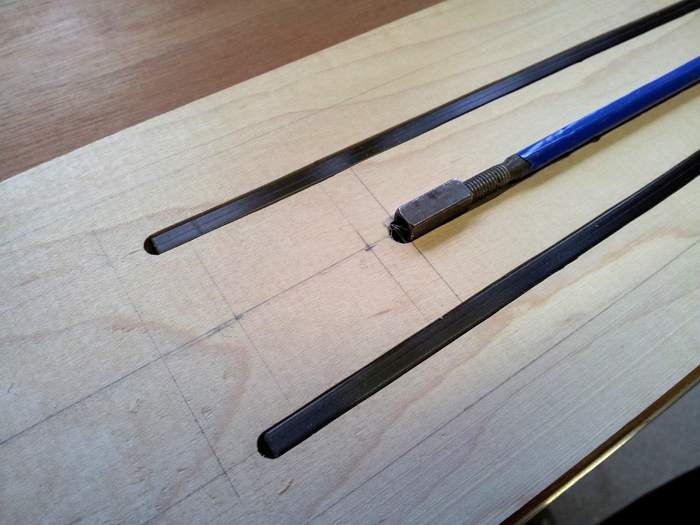
Onto the truss rod adjustment nut access cavity… I didn’t route the channel all the way to the headstock, but stopped just before where the nut goes. Then, I use a round file (and a lot of patience) to create this cavity. It’s not quick, but it gives you a lot of control, which I like for such task (you don’t want to remove to much wood at this spot and the result has to look good as well). After a while:
It took me exactly one hour to get a good fit and a nice result:
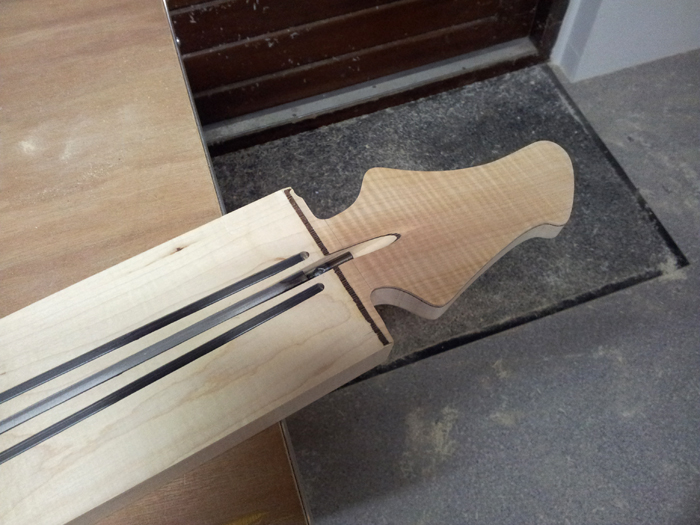
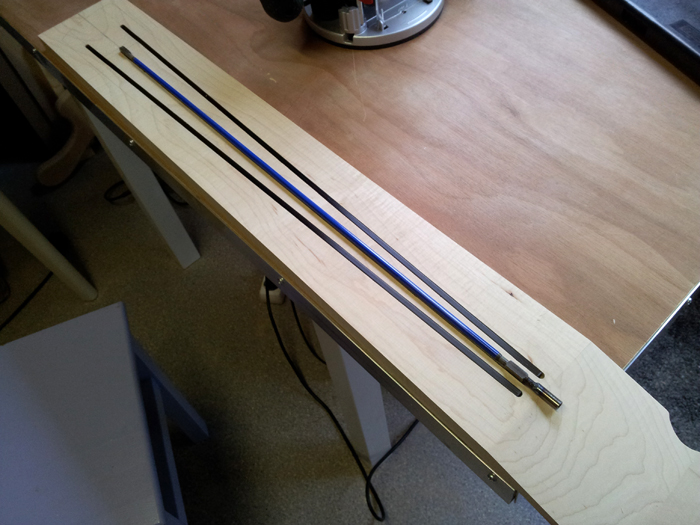
I test fitted all three rods and I think it looks good, so it’s time to do some finishing touches on the channels and glue the rods in. But first, the test fit:
Next stressful job is glueing the rods in with slow curing epoxy. I will probably only glue the truss rod at the end. I could also not glue it in at all, so I will be able to pull it out one day, when it needs a truss rod fix. The channel is tight enough so I think it’s possible. Not sure though…
Finishing up the headstock
So, I had another session with the headstock. More headstock pictures?? Yes! Sorry.. It just wasn’t finished yet.
First, I did some hand sanding on the contours / sides to straighten things out, remove burn marks et cetera:
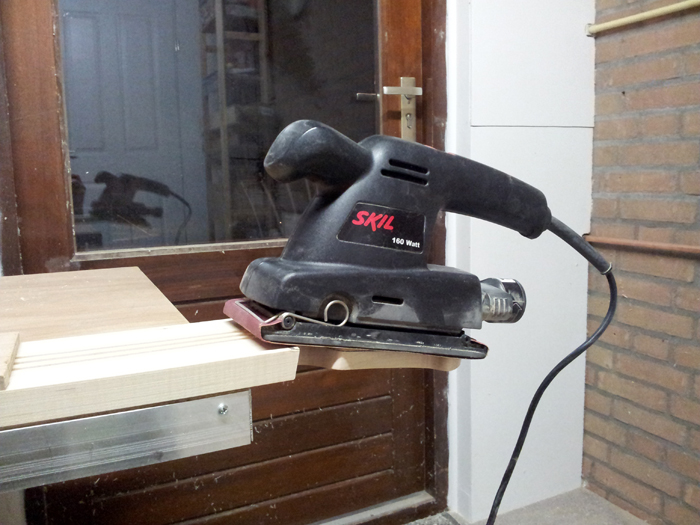
The top surface of the Maple veneer still showed some marks from the band saw from when it was bookmatched. So I asked Sir ‘Skil’ Sand-a-lot to help me out on this:
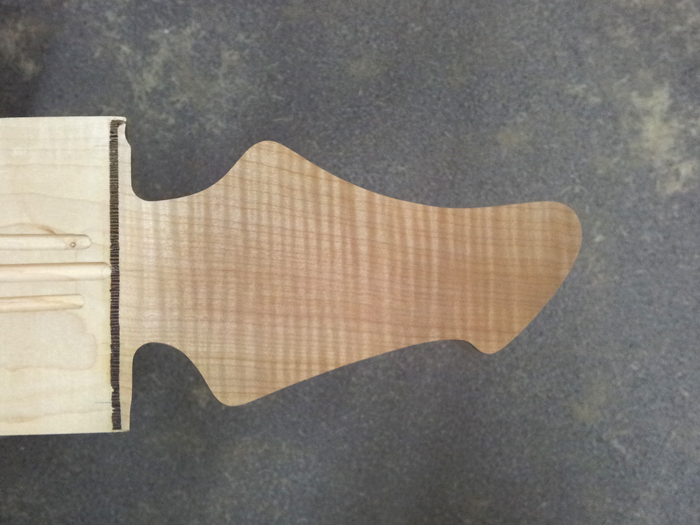
And this is how it came out in the end.. I really like the flame!
And the shape!
Next, I’ll file out the truss rod access cavity with a coarse round file. If the truss rod fits in, I can glue in the truss rod and carbon rods with epoxy. See you next time!
Routing the headstock
Proceeding with the headstock, I shaped it roughly with a rasp, bringing it closer to the intended outline:
aligned the template and taped it to the headstock:
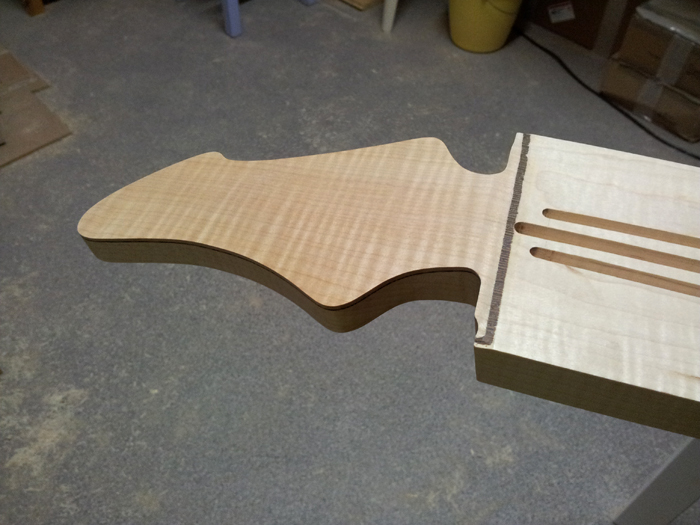
and routed it to it’s final shape. Say hello to Mr. Headstock:
And a note to everyone who wants to do it this way: don’t! The headstock is way too small to be a good base for the router. I pulled it off somehow, but it wasn’t a huge success. I had one tip over that I managed to fix and some minor tear out that I’m working on right now. It’ll be okay in the end, but on my first bass I shaped it entirely by hand and that was a much more satisfying and controlled way of coping with this task. On my next bass or guitar, I’ll either do it by hand again or find a better way to machine it.
Lastly, a not so sharp but cool close up:
Cutting the headstock
Learning for the Microsoft exam goes well, so I treated myself with some shop time tonight.
First, I cleaned up the endings of the veneers with my router, the part that will go under the nut and the fingerboard ending:
That looks better. So I measured like five times and drew the final headstock outline on the ‘blank’:
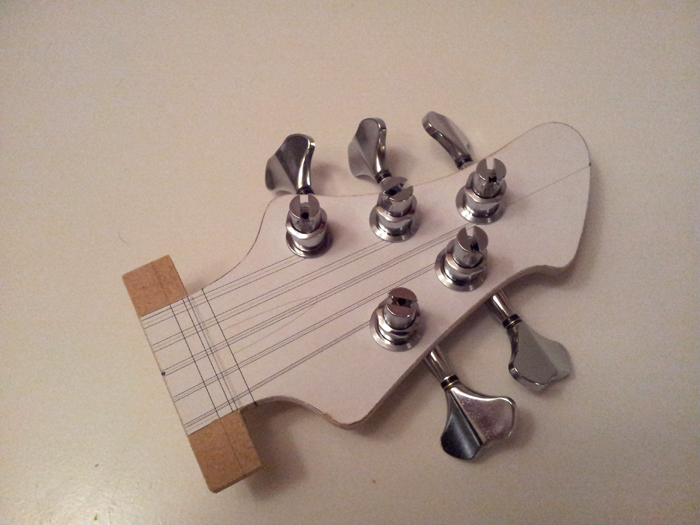
One thought crossed my mind before I was ready to start cutting up my blank… I didn’t test fit the tuners yet, only made the drawing on my computer.. what if they do not fit in the end? Better do a test fit first, so I used the master template for that. Looks good, tight, but I like it:
Cutting with a jigsaw is scary at this stage, no room for mistakes. I didn’t dare to cut closer to the outline than this, so I’ll do the last millimeters with a rasp before I’ll route the headstock to it’s final shape. The rough cut headstock now looks like this:
And a sideview. The veneers came out perfect, the scarf joint reasonably well, maybe a bit better than I expected and almost in the same direction as the grain, which helps hiding it in the end:
That’s it for today.
Peghead veneers glued
Time for another very small update.
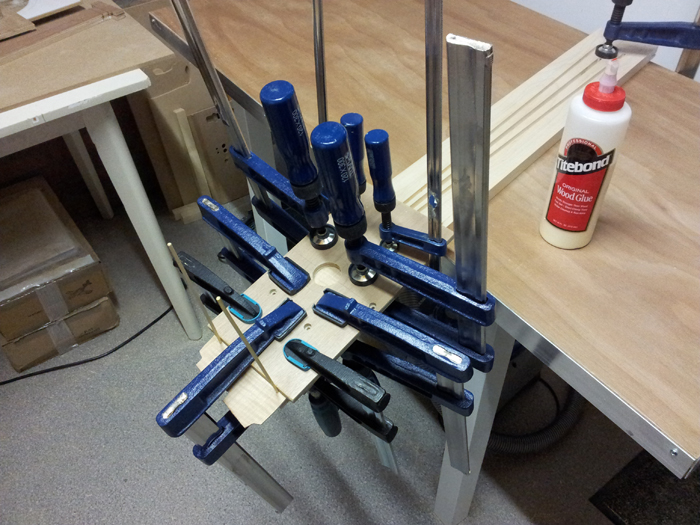
I glued the headstock veneers (0.6 mm Wenge and 2 mm Flamed Maple) on today, using a lot of clamps:
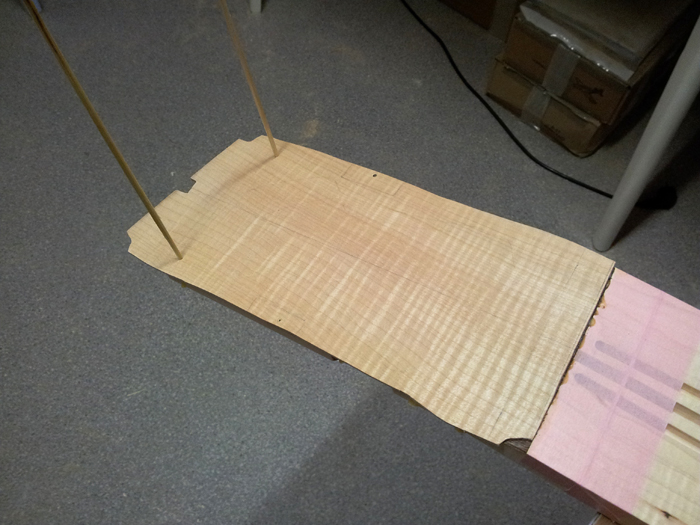
I did the alignment with cocktail sticks for the first time and I liked it! Spot on alignment and no shifting at all:
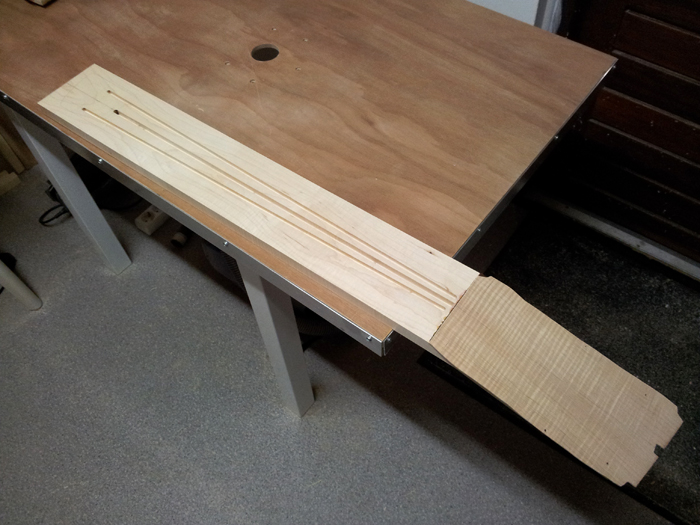
So, this is the neck in progress as I have it right now:
Not sure if I’ll make some progress next week, because I have to learn for a Microsoft exam on Friday, but I now only need to clean up the joint under the nut, file in the truss rod access cavity and then, I’m ready to cut out the neck! I might glue in the rods before I do that, but it’s going to be fun .
The truss rod channel
So, same story for the truss rod. First, a test run:
Then for real. This is a test fit (I know it’s upside down, but I did not create the access cavity at the nut yet, so the rod doesn’t go in all the way, and this way I can test fit the widest part of the rod):
A close up of the rod configuration at the body end:
And one at the nut (now, I flipped the truss rod over so I could see how it’ll fit when there’s room for the adjustment nut):
Now, I’ll first glue on the headstock veneers before I create the truss rod access / adjustment cavity.
Carbon fiber rod channels
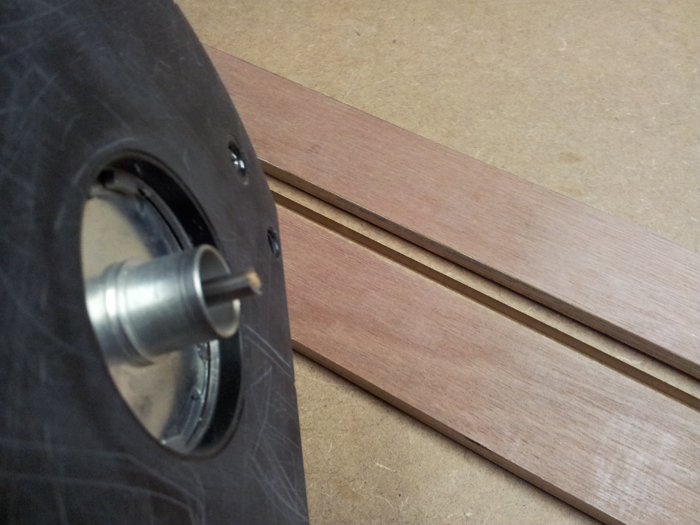
I’ve made the simplest jig ever, but very effective. I needed to route the truss rod channel and carbon rod channels, both of different width. On my previous bass, I’ve made a sled with guides to route parallel to the edges of the neck blank, but since I wanted to route the carbon rod channels at an angle, I needed something else. So I came up with this: make a template containing a 17 mm wide slot, use a copy bit (17 mm wide) and I’ll be able to clamp it onto the neck in various angles, route in a straight line and use different sized router bits:
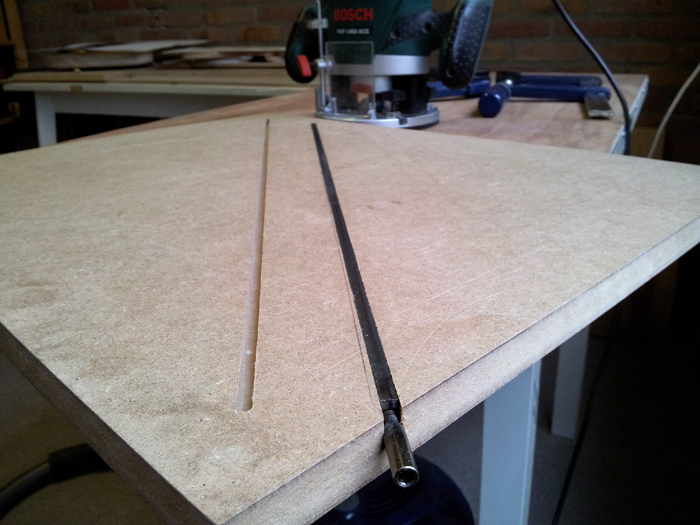
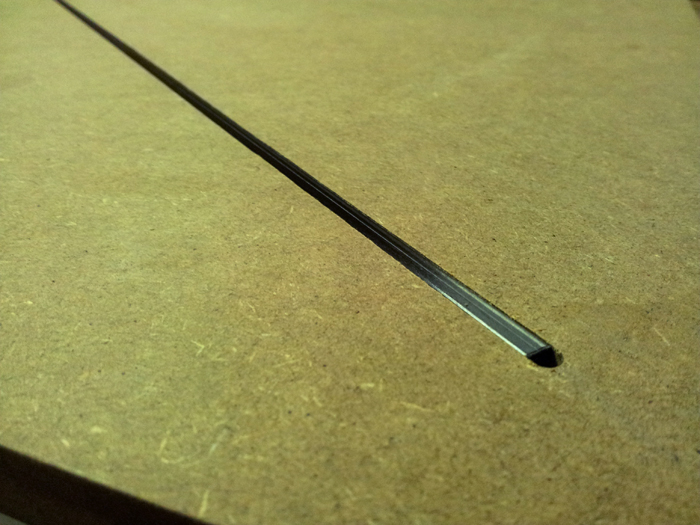
Routing a test channel for the carbon rods into MDF:
That worked like a charm:
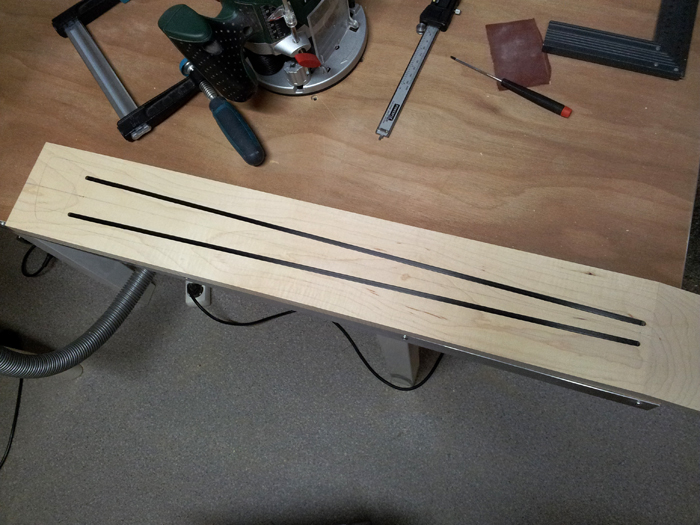
So I proceeded routing those channels into the neck. I may put a little piece of wood into the end of the top channel, being a little bit too long, but overall I’m satisfied:
And a close up:
I hope to route the truss rod channel tomorrow…

