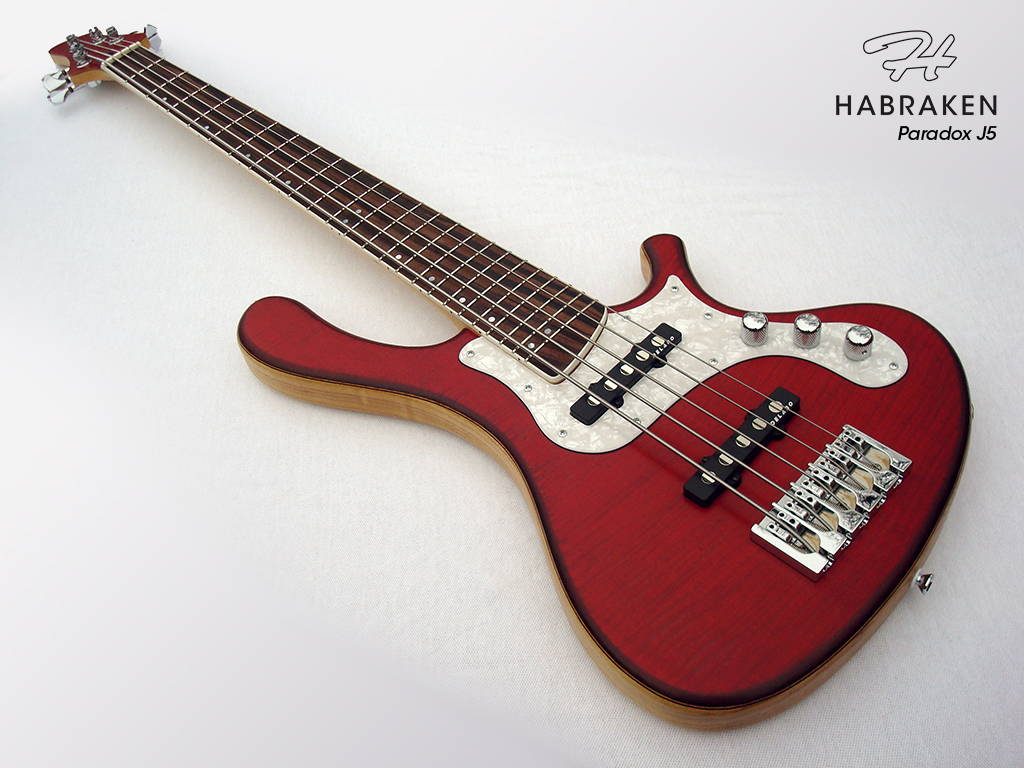
This is my second build and a truly scratch-built bass; I designed everything myself – the shape, the string layout, all dimensions and the complete configuration. I’ve only used a plunge router, a drill (press) and a jigsaw as power tools; the rest is done by hand. This blog is an extensive diary of my adventures as an amateur luthier.
Category Archives: Paradox J5
Mounting the bridge
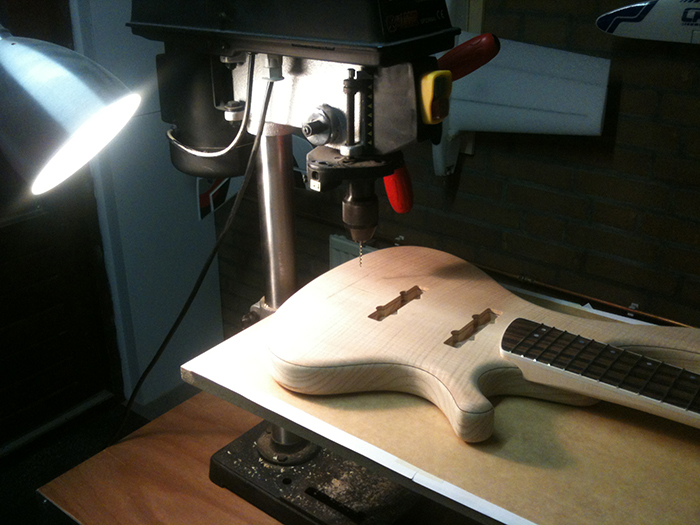
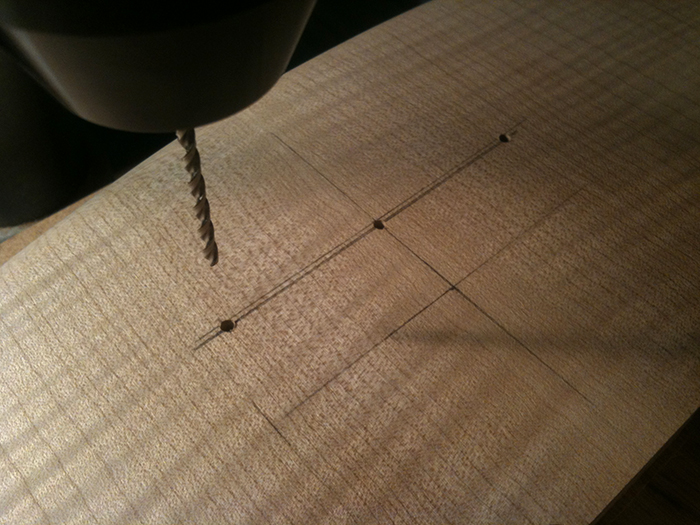
After checking everything again I prepared for drilling one of the scariest mounting holes of the bass:
And ready. Drilled exactly on the marked spots. So far, so good:
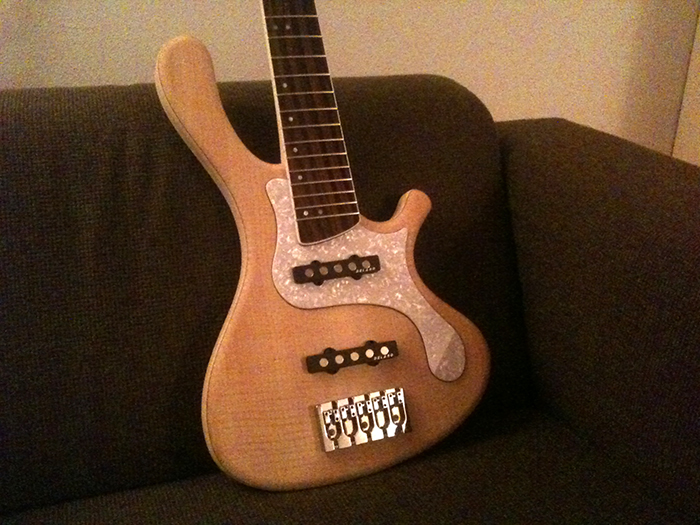
And the result:
String through holes are yet to be made. I tried fitting them in 11 mm holes and it’s a bit loose, but with only one to two layers of masking tape it’s a snug fit. With the finish incorporated, 11 mm is probably going to do the trick. Now I need to find a way to make the five holes align perfectly.
Only 49 holes left. And the neck profile.
Neck attachment
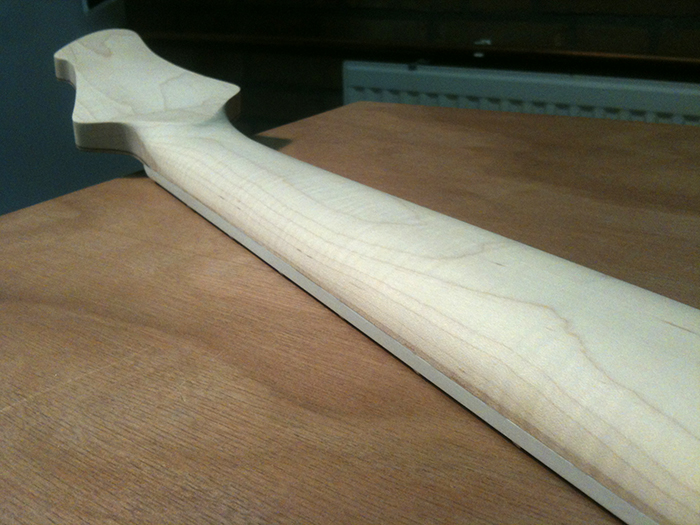
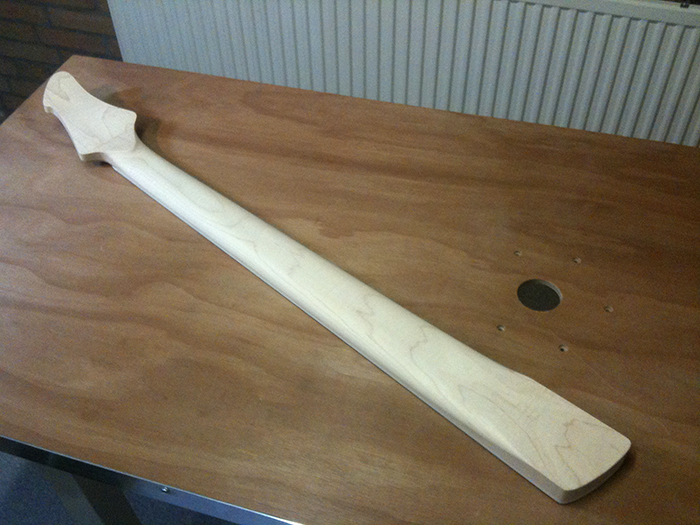
I worked on the neck profile again, and although it’s getting close, I’m still not satisfied. It still is too much of a D-shape. I don’t want a C-shape, but it does need to be more towards a C-shape from where it’s now. The current state of the neck now looks like this:
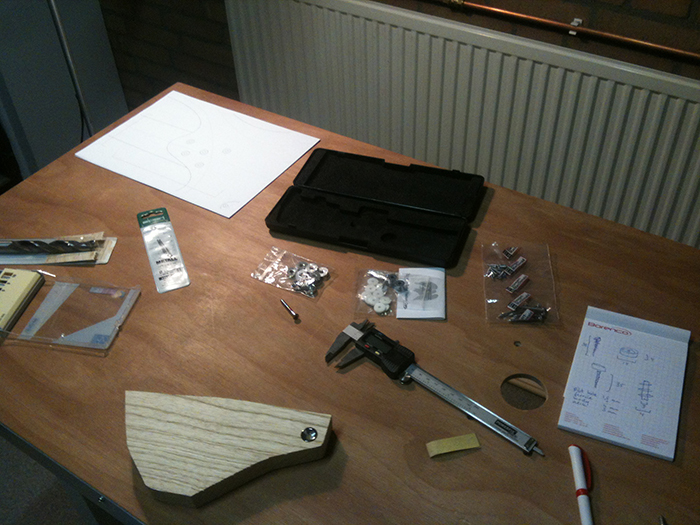
Needing a break from the neck shaping, I turned to the neck joint. First, figuring this out like drill size, location and order:
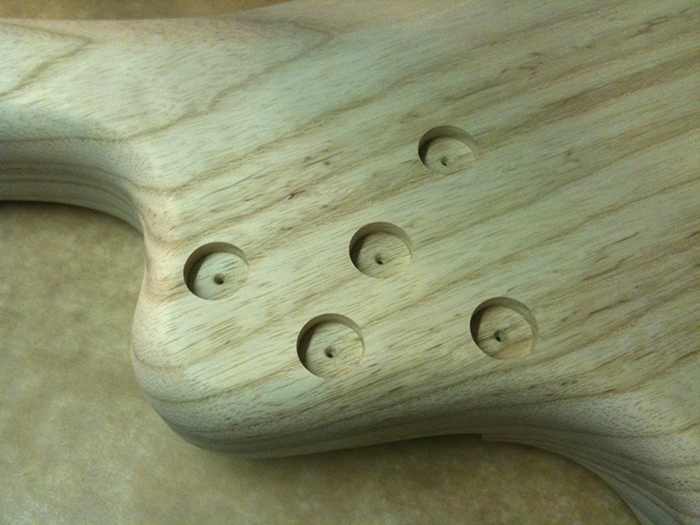
I first marked the locations of the neck screws from the inside of the pocket (easier to reference, since I have a one piece body under the top it’s a bit harder to determine the center line as a reference for any measurements). Then I drilled from within the neck pocket to the back of the body with a 1.5 mm drill bit. This gave me little guides for the ferrule holes
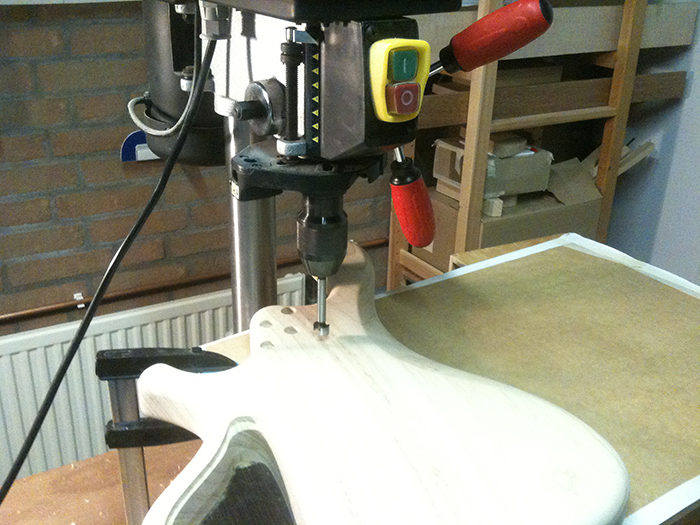
I first used a 16 mm brad bit for the 15 mm ferrules but I didn’t like the result, so I went to the hobby store for a 15 mm forstner bit and I think it’s worth every penny! The result is very clean and the ferrule just pops in, really nice. Didn’t work with this type of bit yet, but I love’em! So, an action shot of the ferrule hole drilling:
.. and the result, very clean:
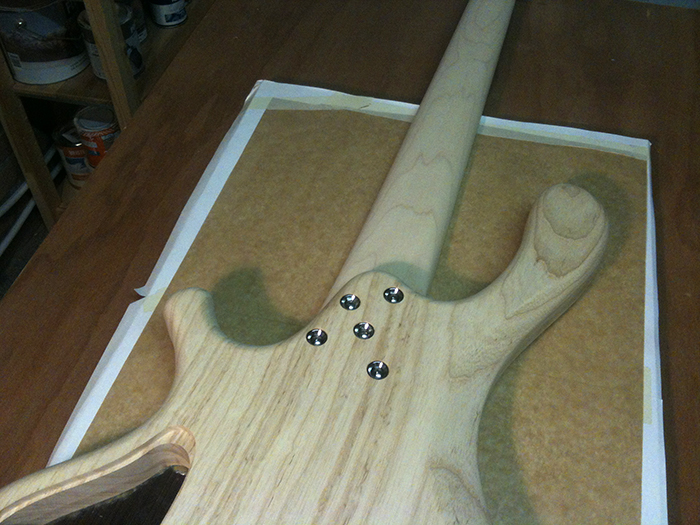
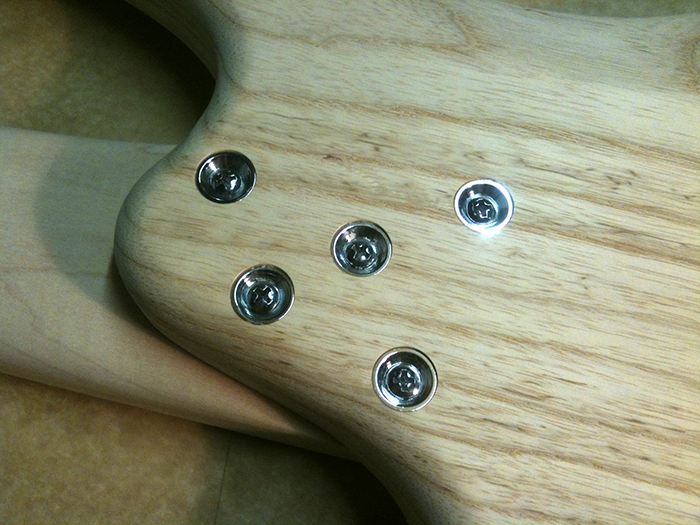
After drilling these holes, I used the marks made by the point of the forstner bit to center the drill for the screw holes. I drilled the 3 mm holes right through body and neck at the same time. Then, I re-drilled the holes in the body to 4 mm. Installation went perfect and I like the result a lot:
Of course, we need a close up:
It does look a bit dirty around the screws and ferrules, but that’s the candle wax I used to help the screws a bit. I can assure you, with the right measurements and drilling, using any kind of wax, the screws drive in perfectly and do not bind or snap at all.
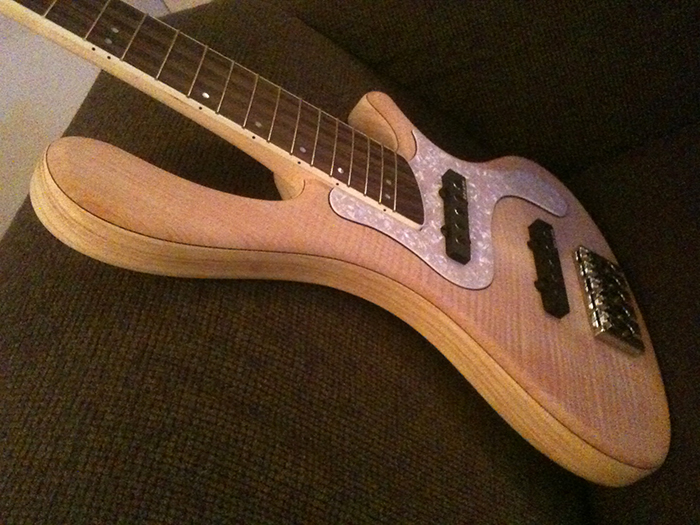
She’s coming together nicely:
Next step will probably be the bridge (string through!?), followed by wiring holes, pickup attachment screw holes and the tuner holes. Then, I’ll drill the electronics cavity cover attachment holes, neck strap holes and input hole. Shouldn’t forget the pickguard attachment screw holes too.
Some progress…
I reshaped the neck a bit tonight. I made the part between the 8th fret to the heel more round and in line with the rest of the neck (starting with the rasp again) and finally I improved the shape along the complete length of the neck with a shave. It’s a lot better now, maybe still not there, but close. It’s a flat regular D shape all along right now.
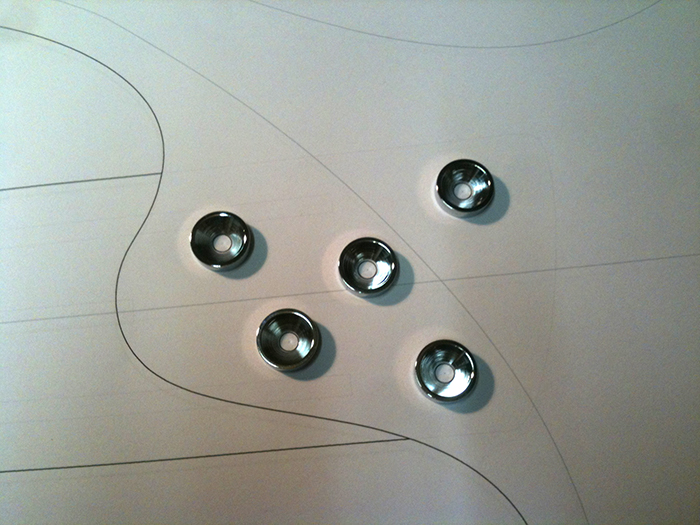
I also laid out the neck attachment layout with the actual ferrules over the CAD-drawing. It’s going to look like this:
Neck carving part 3
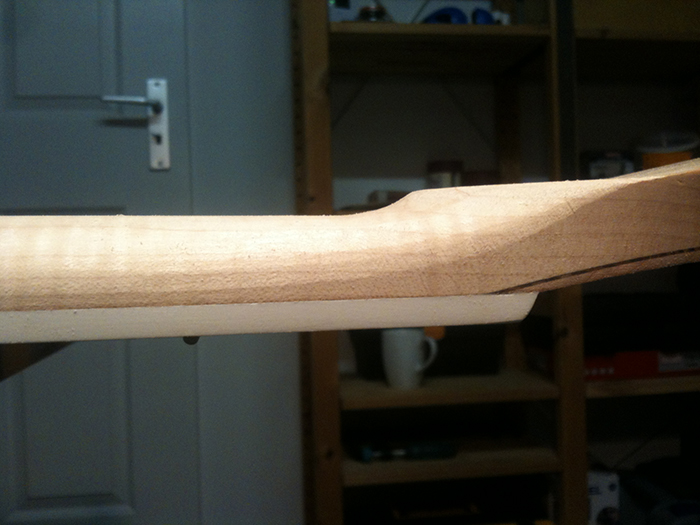
Tonight I worked on the heel transition of the neck and did some finishing touches:
Must say, it feels great, very wide and thin. The shape is still a bit ‘square’ … may be too much D-shaped, but I’ll leave it like this for now and check back tomorrow or the day after to see how it looks then.
So, I’ll present to you the more or less finished neck for my bass, I’m happy :-)
Neck carving part 2
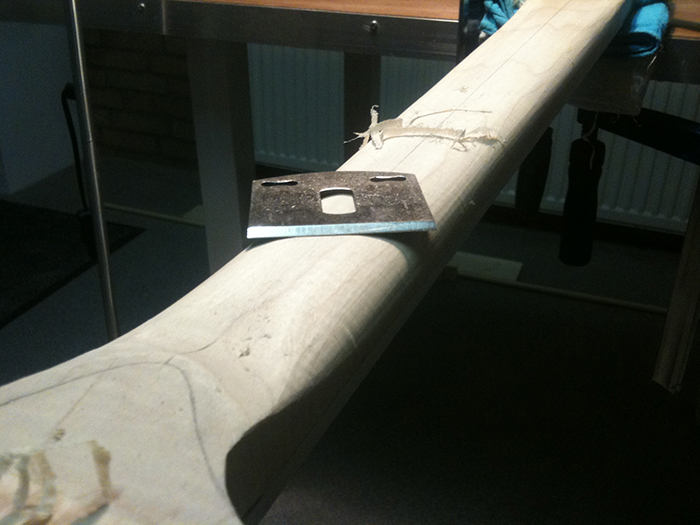
For the second carving session I concentrated on the overall neck shape and on the volute, mainly using a scraper (actually the blade from my spokeshave, but that works very well this way), sandpaper and sometimes a rasp or a file. I must say it’s taking shape rather well and I still like my approach so far.
Next time I will concentrate on the transition at the body end and the neck shape on that side of the neck. The fourth and last session should be the final touch and completion of the neck profile.
Neck carving part 1
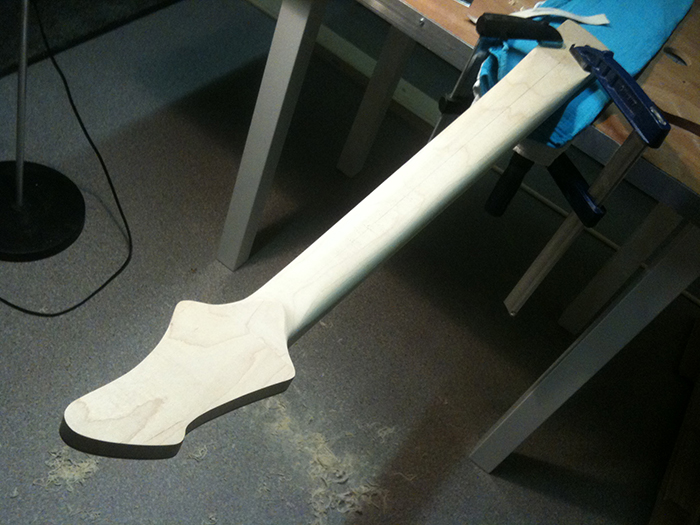
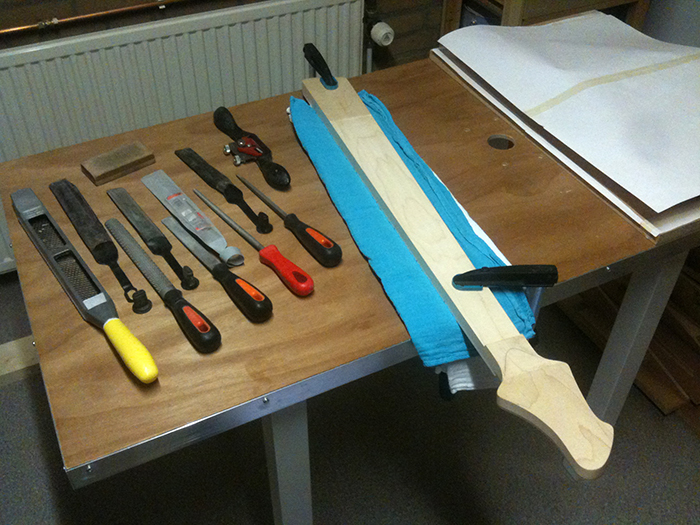
Last night I started carving the neck! I intend to go with a rather sleek profile, but maybe more of a D shape than C. You can see my main tools I use for this job (before the sandpaper kicks in). I mainly use rasps and files (round, half round and flat), a spoke shave (but still not satisfied with this one, so I use the blade alone for fine tuning the shape later on).
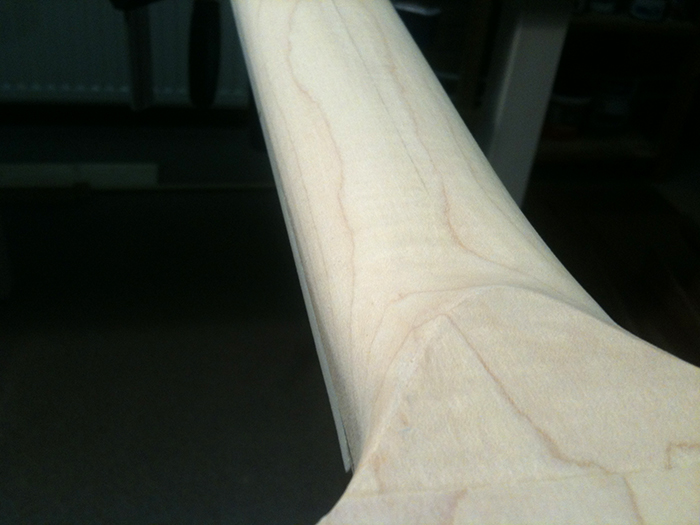
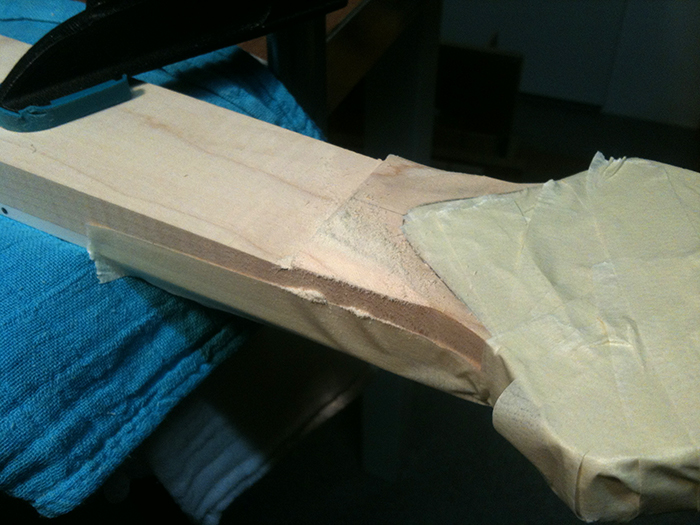
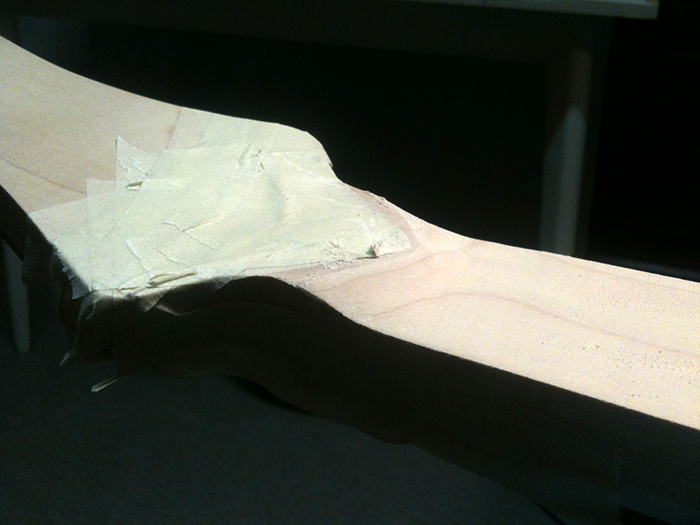
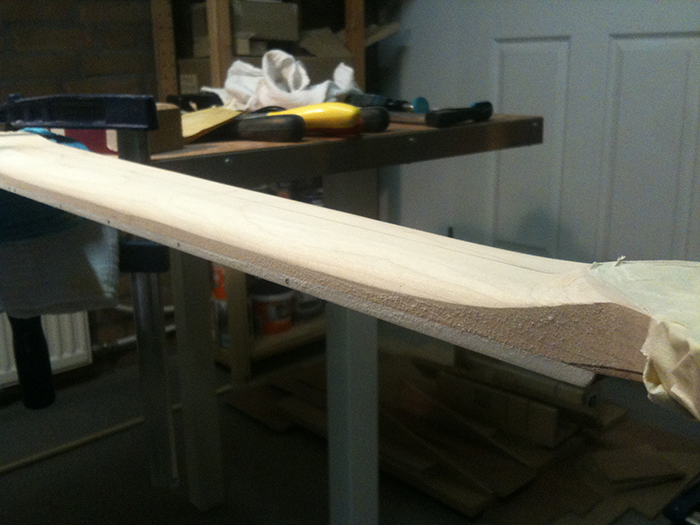
So, first, I start with the volute, I need to remove that ugly step created by the routing I did, without touching the routed part, because (at the center) that’s already at the desired thickness (+ 0.2 mm for sanding):
The lump of tape is to protect the back of the headstock and indicating the shape.
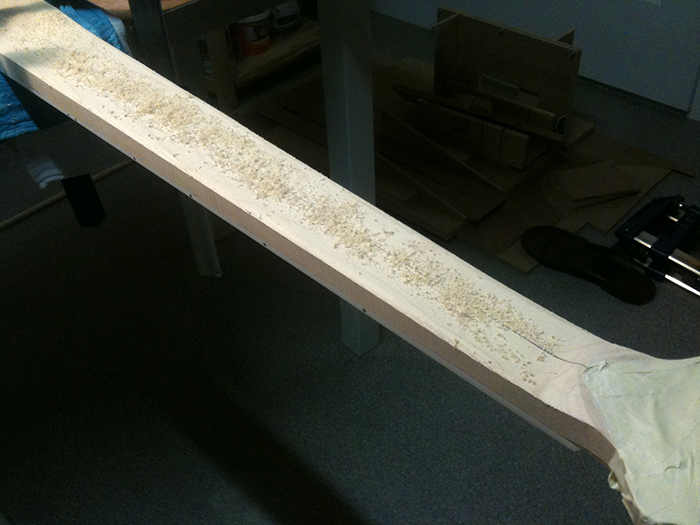
When that’s out of the way, as you can see here, I can carry on with the complete neck:
Well, I would like to have some sort of a stand to be able to clamp the neck to, but for now I just clamp the end of the neck on the table with a few cloths inbetween to protect the fingerboard, and start carving:
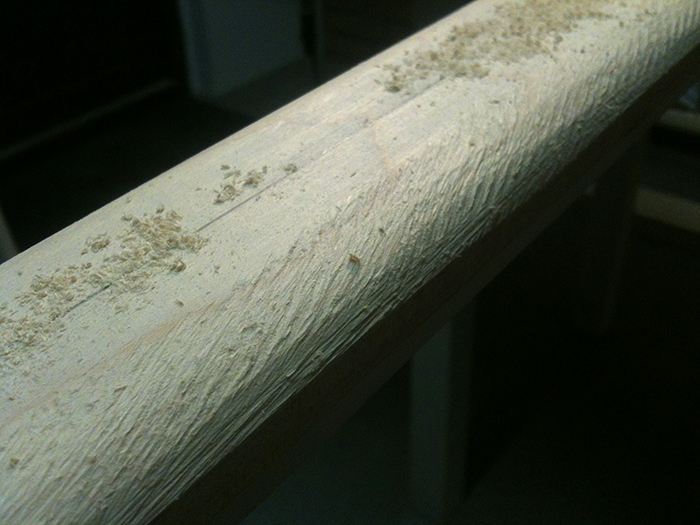
Here you can see I’m working my way gradually through the wood to meet the neck (remove anything that is not a bass neck) with the rasp:
After the rasp I switch to a file, slower process but less change of cutting too deep. This is from the treble side:
And this is what’s going on on the bass side. The volute will be deeper and more pronounced, but I will save that for later. I need to have a better idea of the neck shape before I know how to shape the volute:
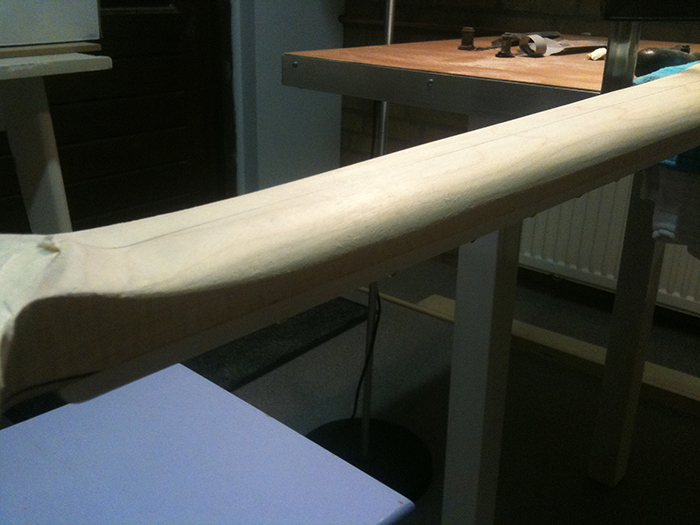
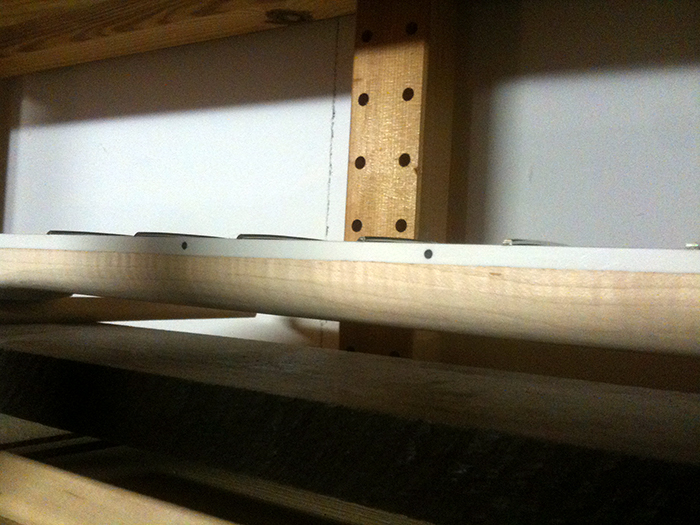
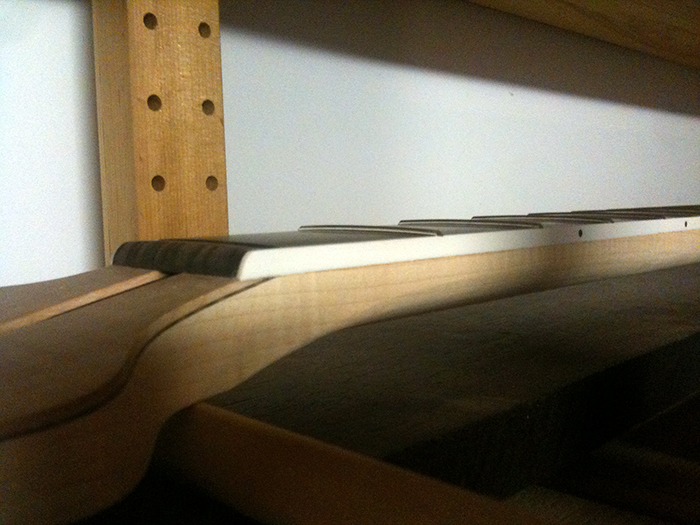
And some pictures from the other side, after I put it away on the shelf:
I must say it already feels superb! I know it’s not finished, but you can feel where it’s going and the dimensions are working well I guess. I hope the carving job comes out great in the end. Can’t wait for the next run.
Some last routing
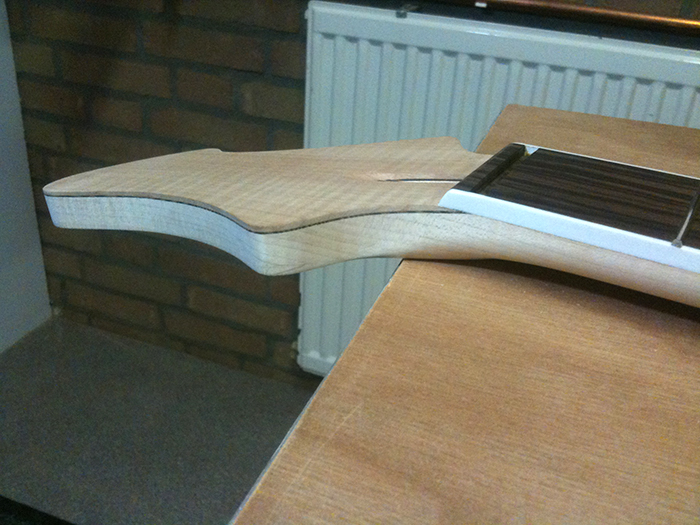
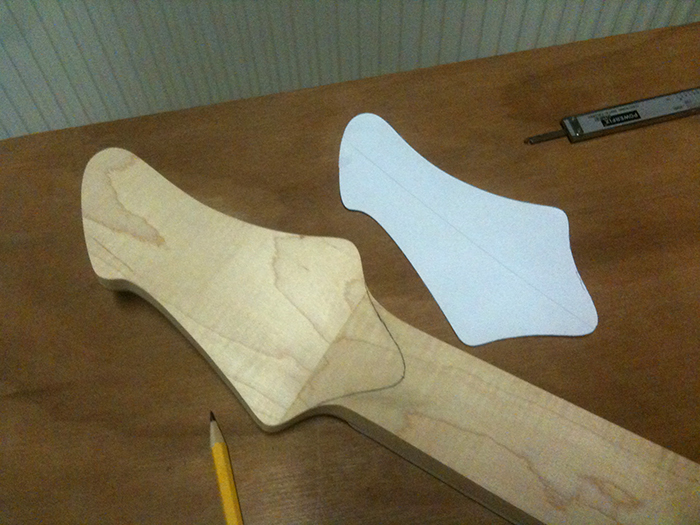
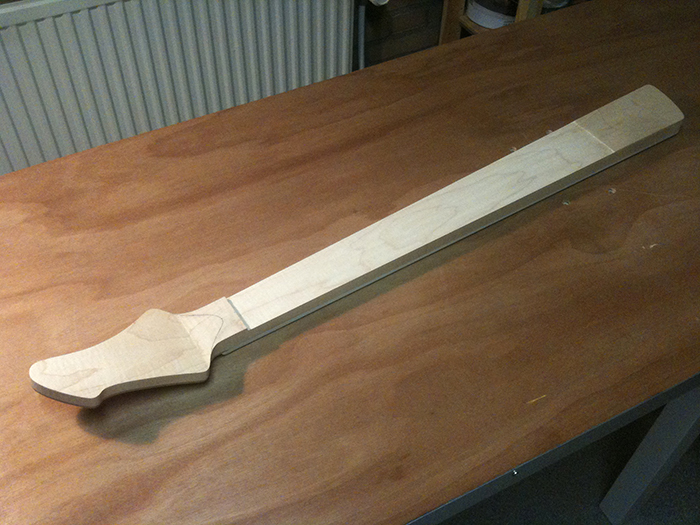
Tonight I took the plunge! The last routing job.. luckily it went just great. I first made a template of the backside of the headstock to determine the shape of the volute and drew it onto the neck:
Followed by a line that indicates the end of the routed part of the neck (the volute itself will be done completely by hand, of course):
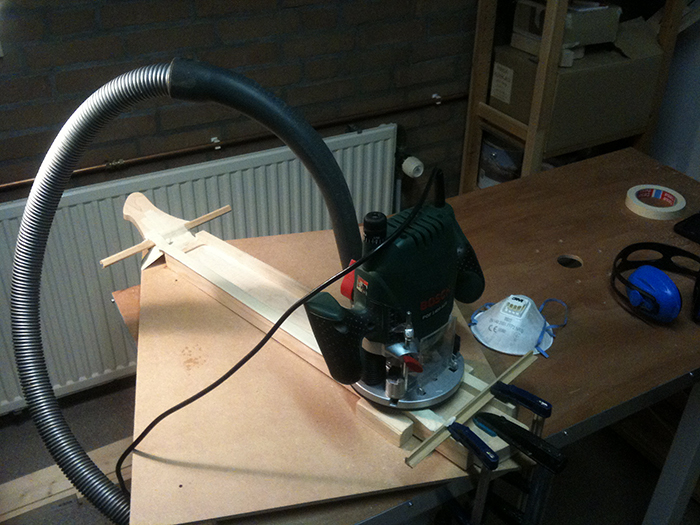
Clamped the neck into the jig I made, checked everything about three times and started routing. I plunged it only about half a mm a time, so the play would be minimal (opposed to routing rather deep at once, stressing the bit a lot more and thus resulting in a less smooth routed plane). Here I am about halfway:
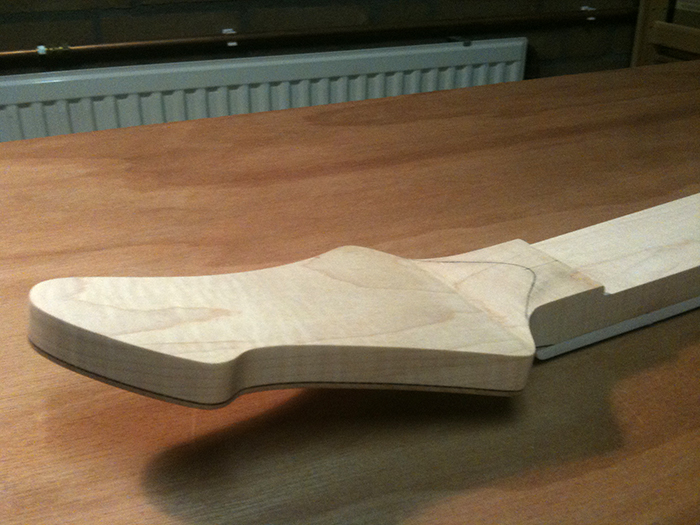
And we’re ready! I reached my desired thickness of 21.5 mm @ 1st fret rather well, just a few tenth of a mm above that, but I’ll probably sand that off in the process anyway. I’m very pleased it went this smooth! It’s the last job with the router, and a relief I didn’t had any accidents.. and my math was good too: no sign of the truss rod
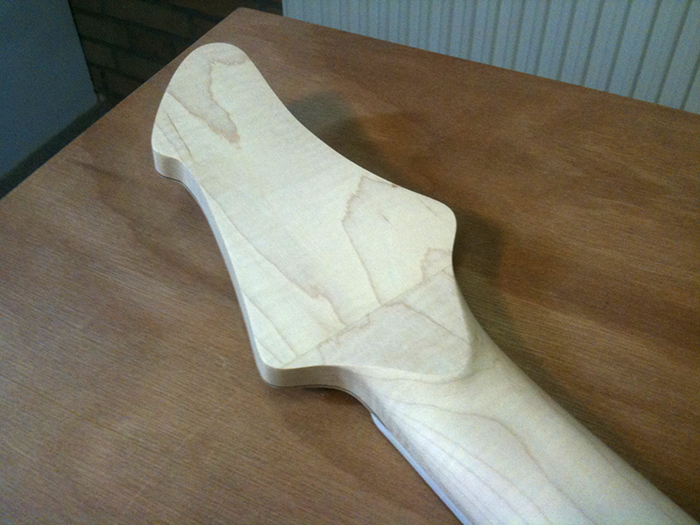
And a close up of the headstock:
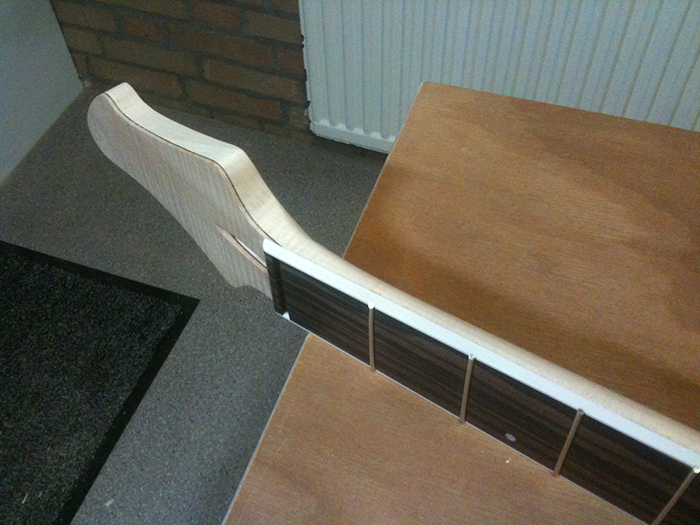
And one more from the side:
Now the fun part can start! See you next time,
Neck routing jig
… and I’m back again!
Cleaned out the shop, made some space again and started working on the bass. It’s not so warm anymore outside and it’s dark right after dinner, so we’re having better building conditions I guess.
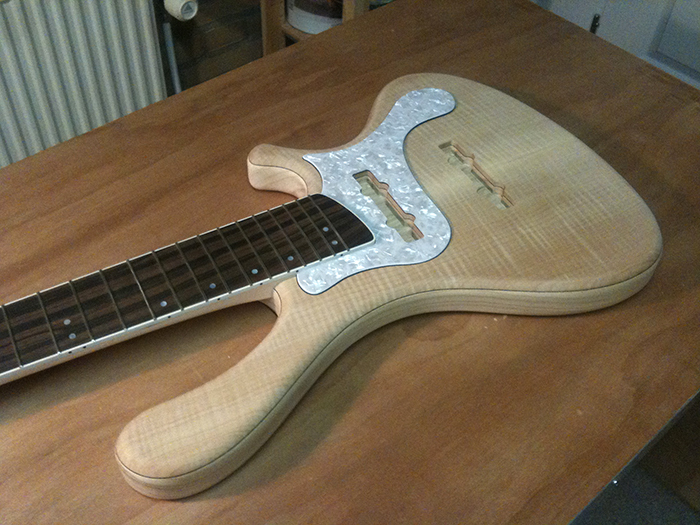
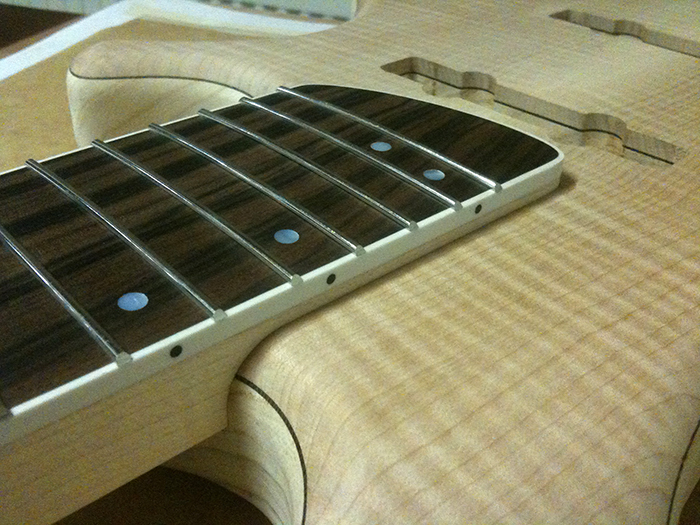
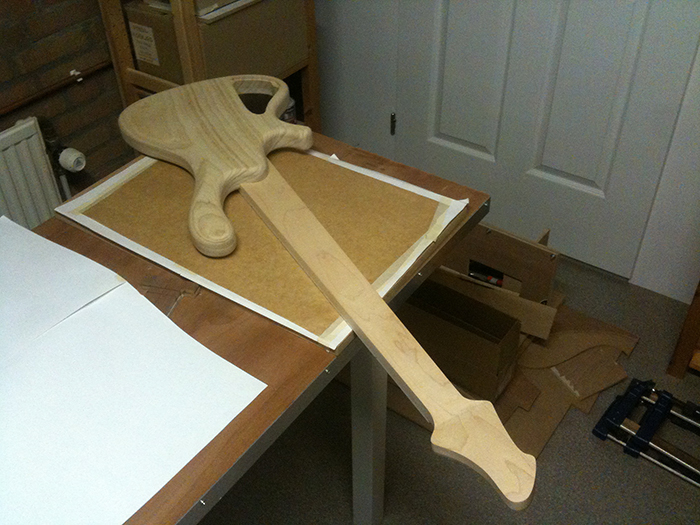
I needed some motivation to start with and tried the neck with fingerboard, position marker dots, binding and frets on for the first time in it’s future home. I found it a pleasure to look at, seeing the body laminates, neck woods binding, markers and such coming together (but still without the pickguard):
I also made this preview shot of the back for the first time. It’s cool and a bit understated opposed to the front (even more with the intended pickguard on it), but that’s a cool contrast I think:
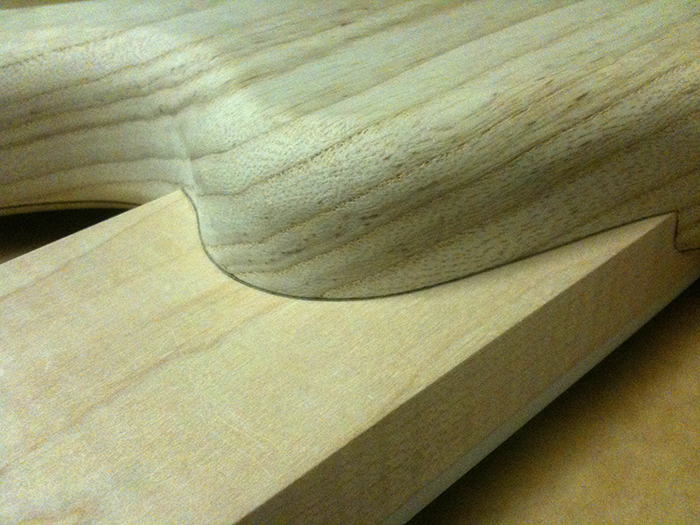
So, I marked the shape of the heel transition as a guidance for shaping the neck while it’s in there:
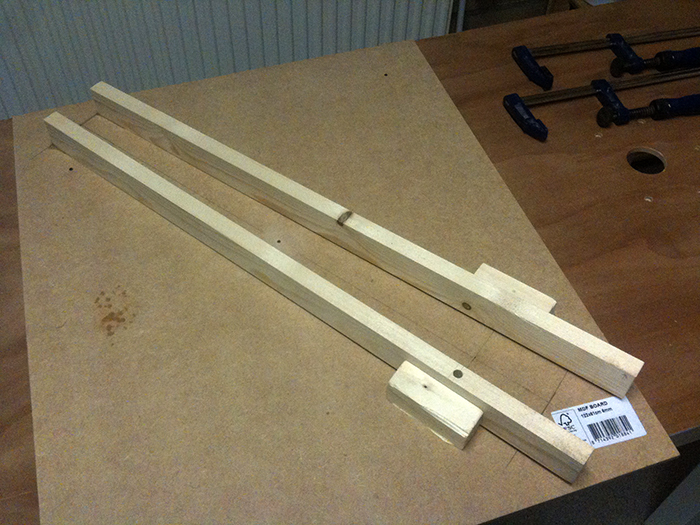
And the next step was to make a jig for routing the slope of the neck shape into the unshaped neck. I do not want to make this angle and straight line from the heel to the volute by hand, so I’ll route the correct angle in there before I start carving the neck. So tonight I made this:
It’s a tight fit around the neck, one or two clamps should be enough to fix it while routing. I only need to build in some stops to prevent cutting into the heel or the volute. I made the angle by drilling a hole and putting a dowel in at one end, which I then adjusted until I got the right angle, securing it with thin CA afterwards. Then I glued some blocks I had lying around to the rails to fix them in place and make them sturdy enough (otherwise they would rock on the dowels). The other end of the rails is secured by thin CA too. Very quick and easy to make.
So, when this is fully cured and I’m feeling lucky, I’ll starting routing the neck. That would be the last routing job on this instrument. After that it’s only hand shaping, drilling and sanding what’s left…
Summer break
Just sayin’ hello.. didn’t make any progress over the last month, but I did not forget my build either. Just waiting for some time, courage and the right mindset to carve the neck. After that things could go fast.
I ordered my home brew (not by me though) wipe on poly in the meantime. So that’s sorted. Now only the to-stain-or-not-to-stain decision is to be made regarding finishing the bass.
I would like to make some progress, but life get’s in the way a bit.. been working on the house and having fun with my family .
Also, to be honest, I kinda lost interest. I’m sure it will get back in a while. I re-discovered an old hobby, model flying (and building of course). So I spent my free time outside, enjoying our nice summer, flying and getting my flight certificate. It’s going really great and I found an absolutely great club, I’m really addicted, honestly. But when it’s getting colder and less ideal flying weather, I will finish the bass.
I will absolutely finish the bass, don’t worry, I am pleased with the results thus far and I have all the parts lying around already. Basically, I think I own a great five string bass in parts with an uncarved neck. So it would be stupid not to.
But for now, I guess I’m having a summer break
Ready for carving
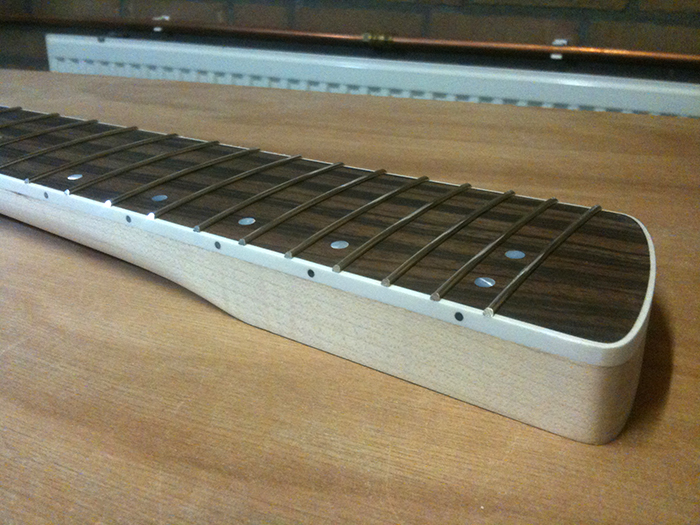
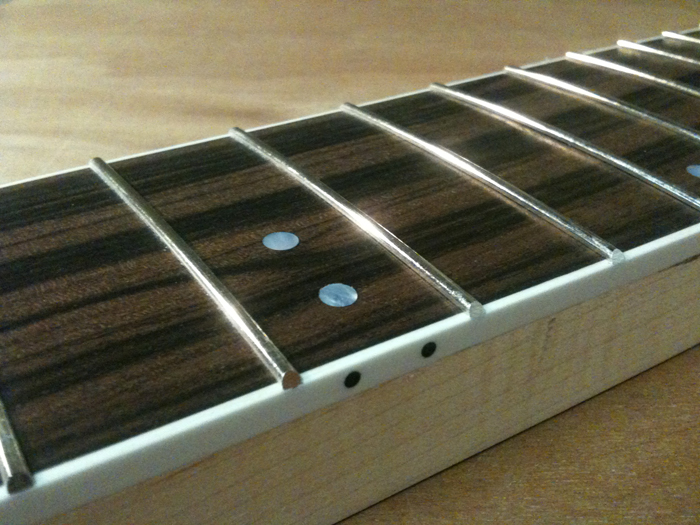
Today I glued the side dots in. Instead of buying new CA, I used my tube of UHU Allplast, which I think is a perfect glue for the task (the binding and dots both being plastic) and it is easier to remove if you spill any. I did not apply the glue directly from the tube, but used a toothpick to apply the glue. This prevented using too much glue, as with the binding. All went well, and after cutting off the excess material and sanding the dots flat with the binding, I got this:
So, now it’s time to show off a little:
(The colour of the video doesn’t do the Macassar justice, but you’ll get the idea…)

