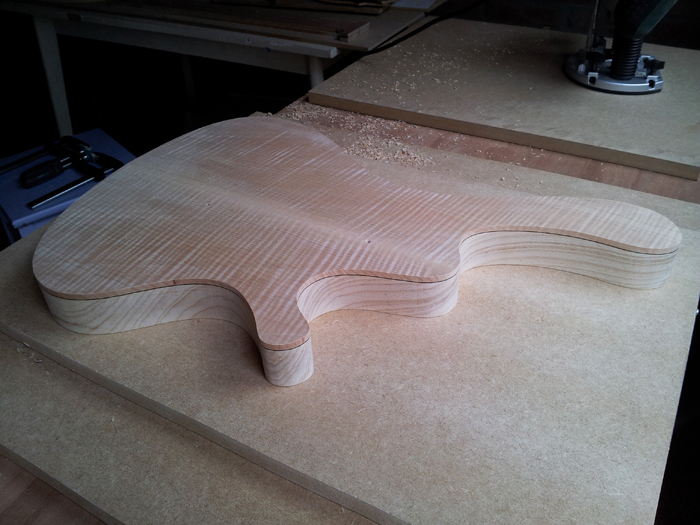
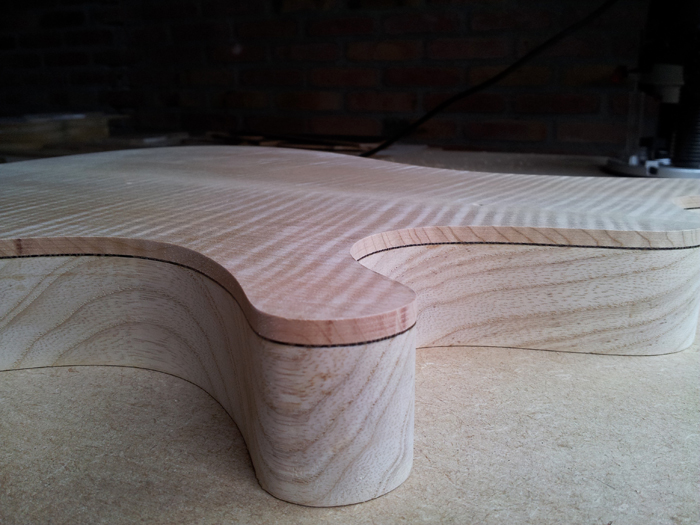
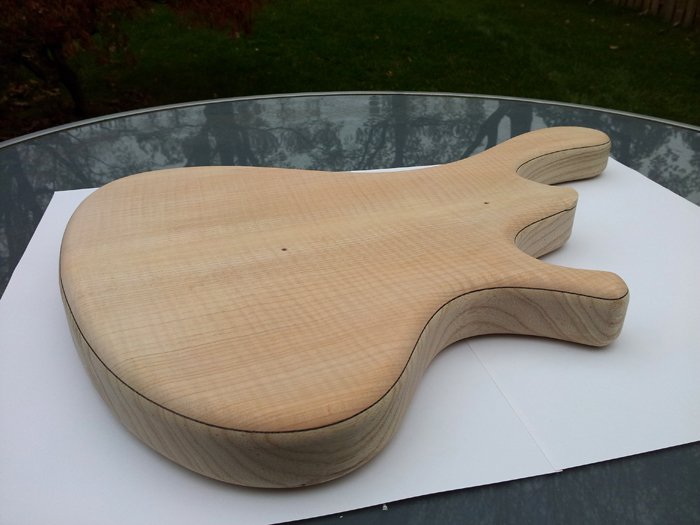
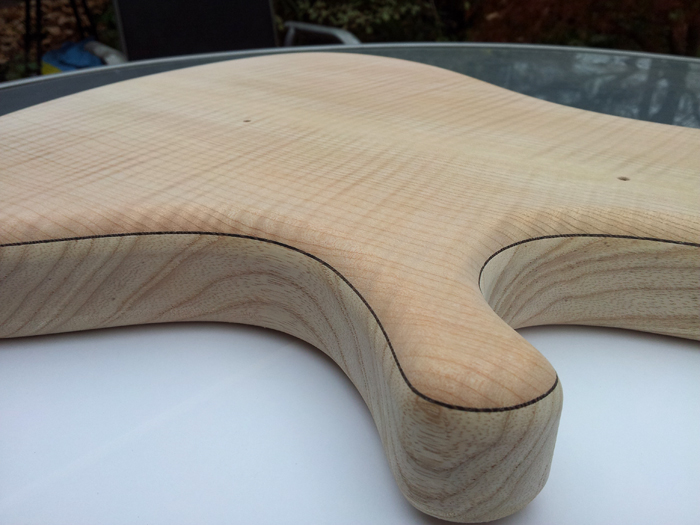
This is my second build and a truly scratch-built bass; I designed everything myself – the shape, the string layout, all dimensions and the complete configuration. I’ve only used a plunge router, a drill (press) and a jigsaw as power tools; the rest is done by hand. This blog is an extensive diary of my adventures as an amateur luthier.
Category Archives: Paradox J5
A new neck blank again
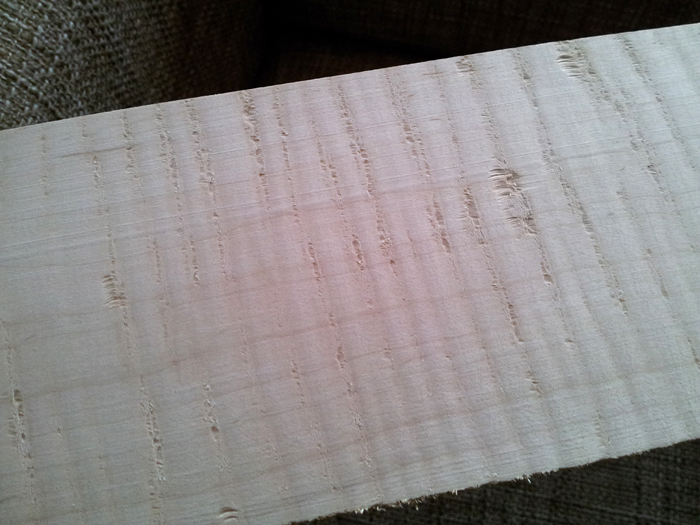
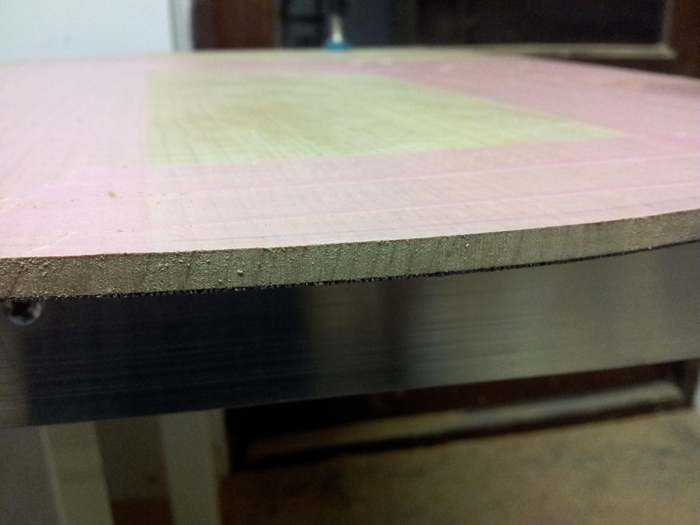
Visited a local cabinet maker today to get the neck blank planed and thicknessed. Before I went there, I saw there was some minor tear out on the blank, so I already new this wood was prone to tear out pretty easiliy. I told this to the cabinet maker and he especially sharpened the blade of the planer for me before feeding the piece through, but despite all efforts (different directions, taking off more or less wood at the same time et cetera) the end result was this:
Only a drum sander could fix this, but I do not have access to that and they’re pretty expensive around here.
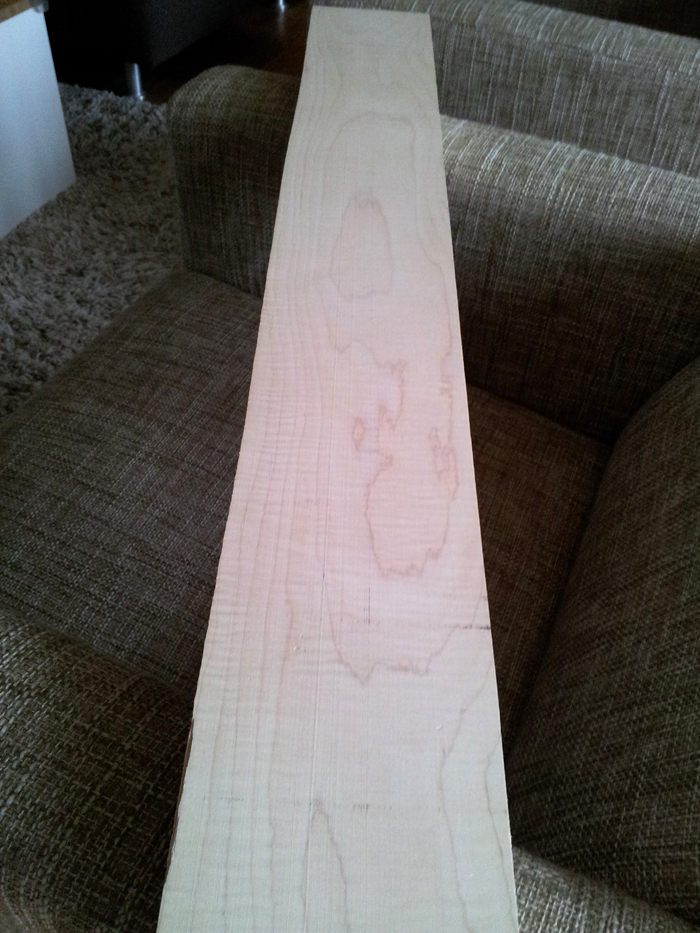
So, the cabinet maker offered me a piece of regular plain sawn maple, good price and he planed it to the right thickness for me. Would be my third neck blank for this bass, not particularly lucky with that…
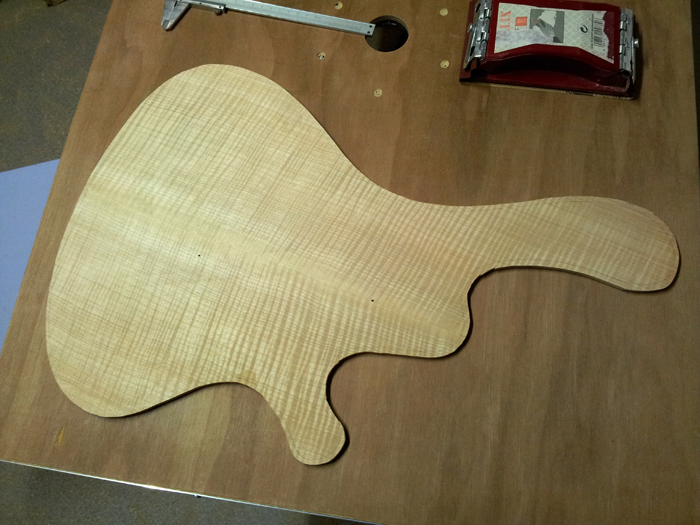
This is it:
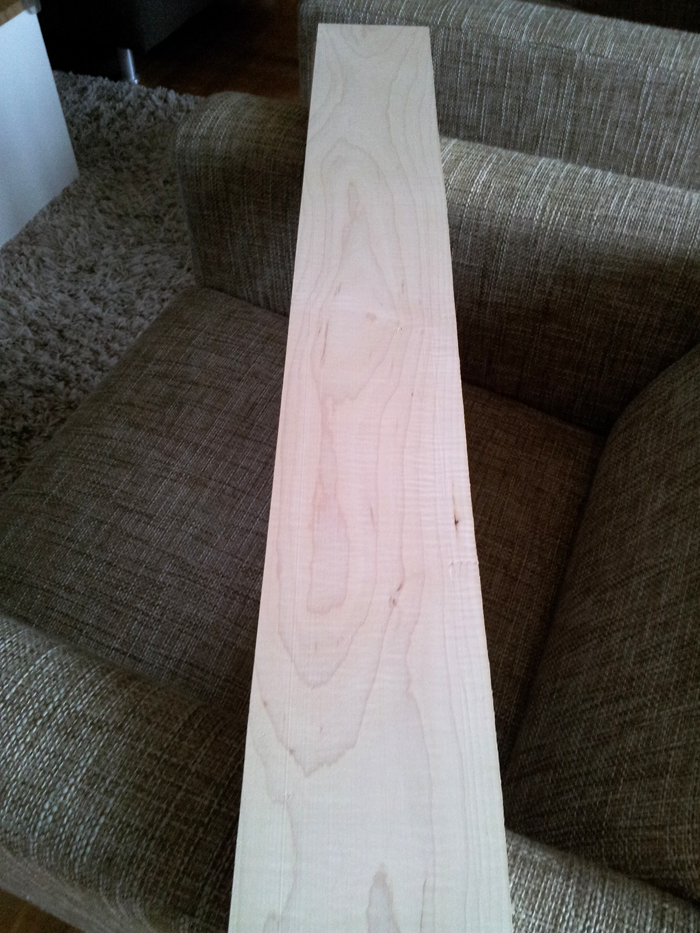
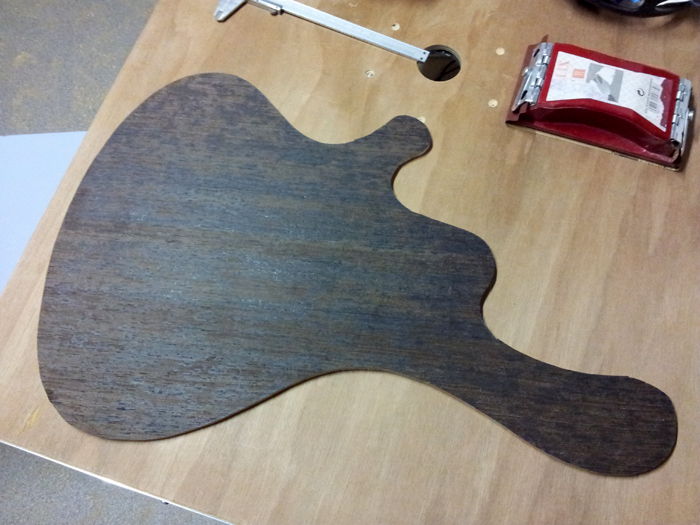
And the other side:
It’s a very nice piece of plain maple, it even has got some subtle flames in it.
In the meantime I’m working on my scarf joint jigs….
The tummy cut
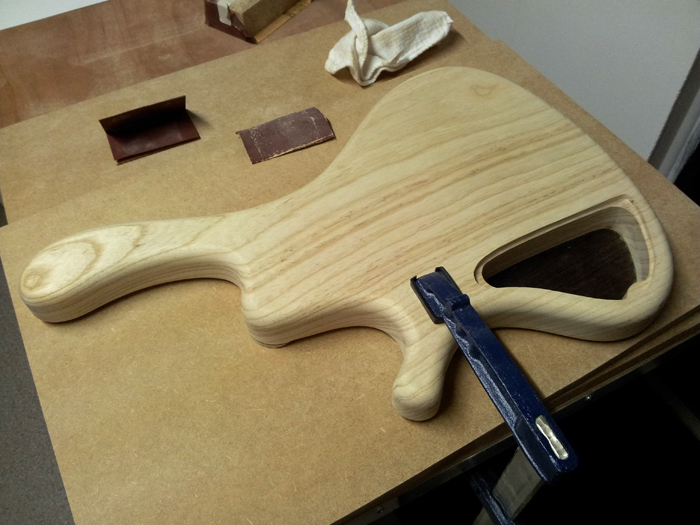
After practicing on my MDF-dummy I decided to dive in on the Ash of the real body today. It still is a very modest tummy cut, but the effect is great! The comfort of the body when seated has gone up way more than I expected, just perfect!!
I tried it in a playing position, resting on my left leg. The deep curve on the upper bout of the body falls nicely against your chest, while the tummy cut takes away the ‘sharp’ edge. Together with the lightness of the body you’re hardly aware of the fact that there’s a lump of wood on your lap, which is a good thing imo. Hard to explain, but I will post pictures of that sometime, you’ll see what I mean – although you actually would have to experience it yourself .
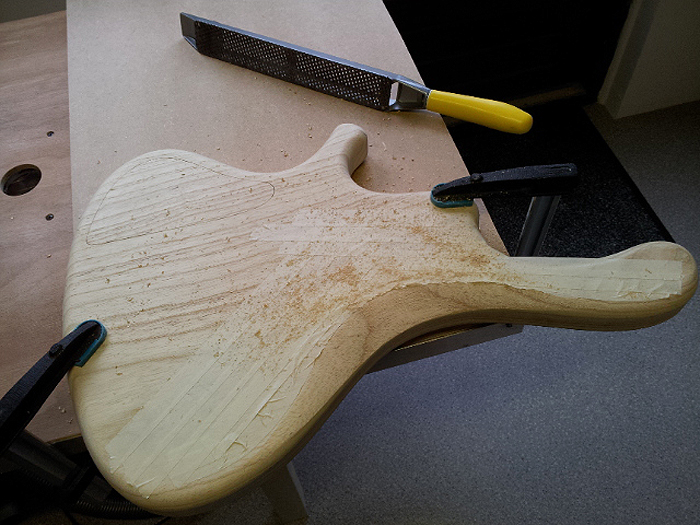
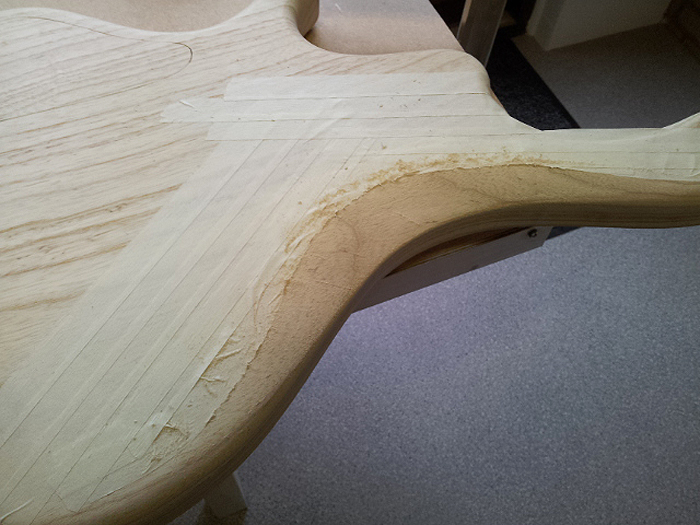
I drew a pencil line of the intended curve and used masking tape to follow that line, making it more visible when carving and protecting the rest of the body in the meantime. Started out with the great Stanley surform file:
working with hand tools on wood really feels good. I used a fine coarsed file to smooth things out:
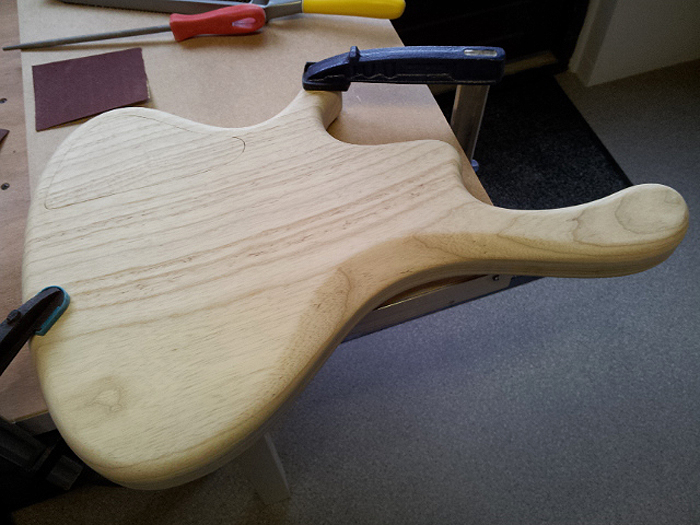
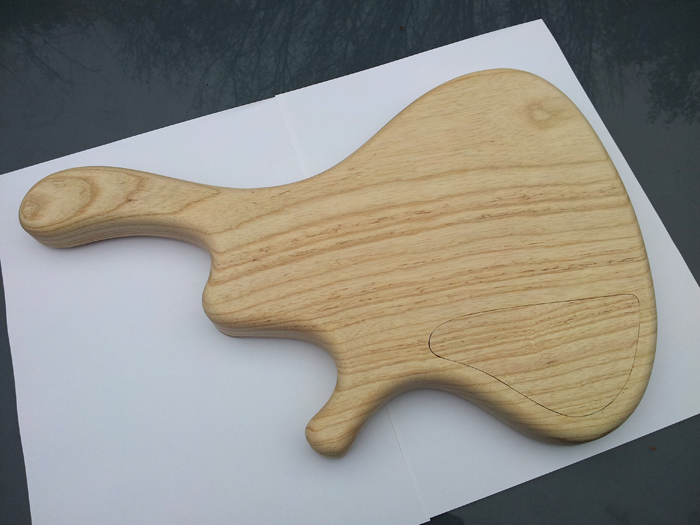
And here it is, finished and sanded up to 180 grit:
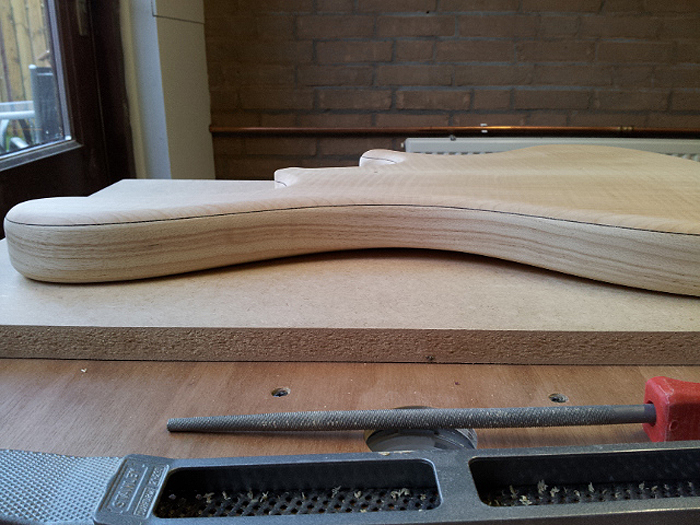
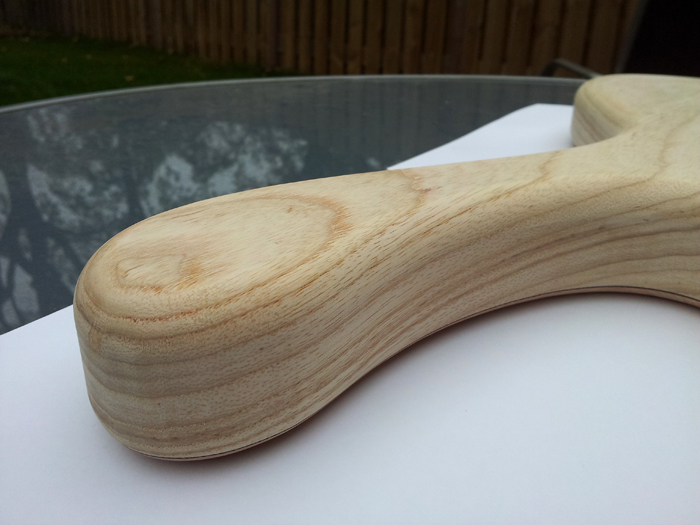
And from aside:
Some minor steps
There were a few things that needed to be done on the body part: I finally (!!) finished all my plywood templates today (now I’ve got the pickup cavities and neck pocket template as well). I also finished glueing up a prototype body (curing as we speak) to test the tummy cut and neck heel.
Before I start with the body I will practice these carvings first, decide if I’d go with a tummy cut, probably do the tummy cut on the real body and I may even route the pickup cavities and neck pocket already. After that, it’s time to move on to the neck. Slow build, I know, but limited time and taking it step by step..
A custom pickguard
I planned working on the last templates tonight, but actually I’m fed up with those tempates…. needed to do something a little bit more fun.
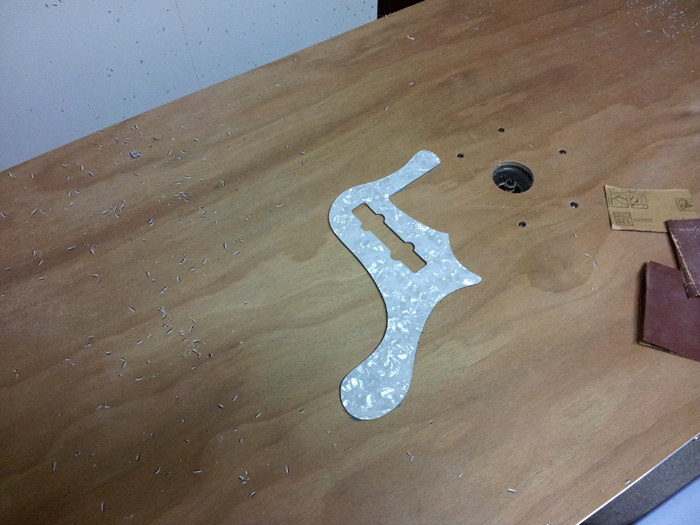
So here’s a freshly routed pickguard:
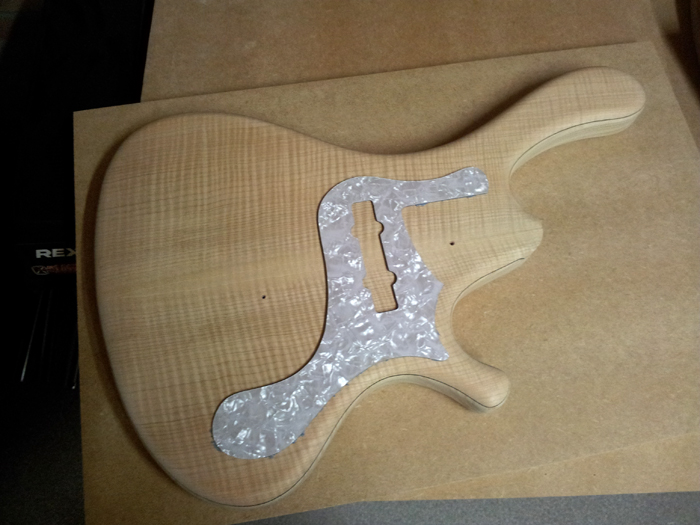
I still need to route the edges to a 45 degree angle, and the pickup route needs some attention, it’s not as smooth and straight as I want it, but this is how it’ll look on the body:
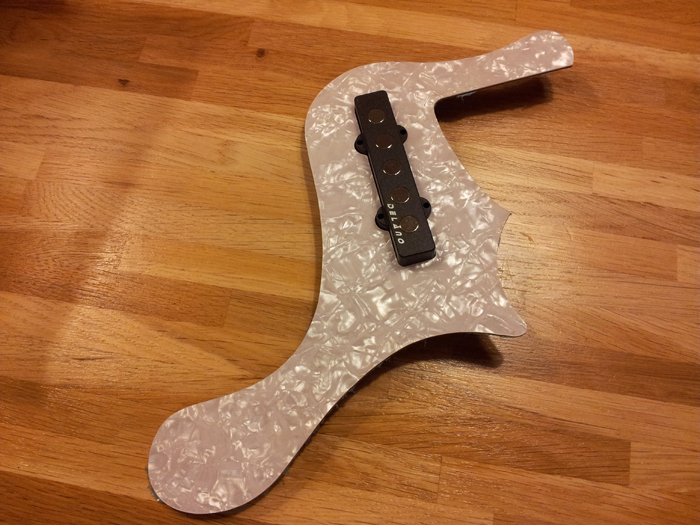
And a nice shot with the pickup:
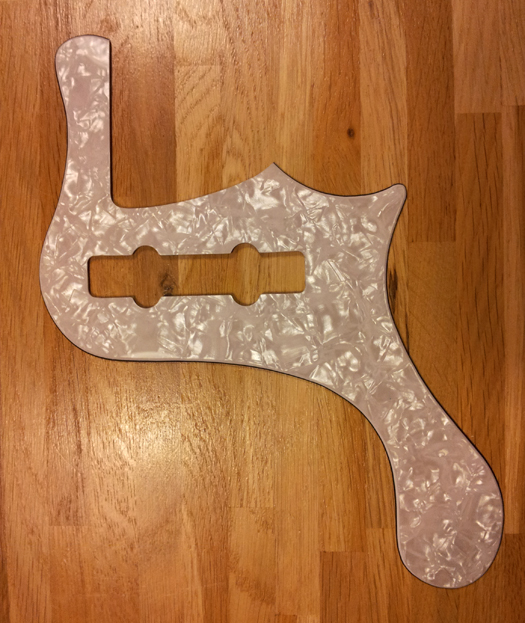
The next day I finished the pickguard.. dotted the I’s and routed the outer edges to a 45 degree angle. The result is pretty nice, I’m really excited about this. I will drill the holes during assembly.
Sanding the body
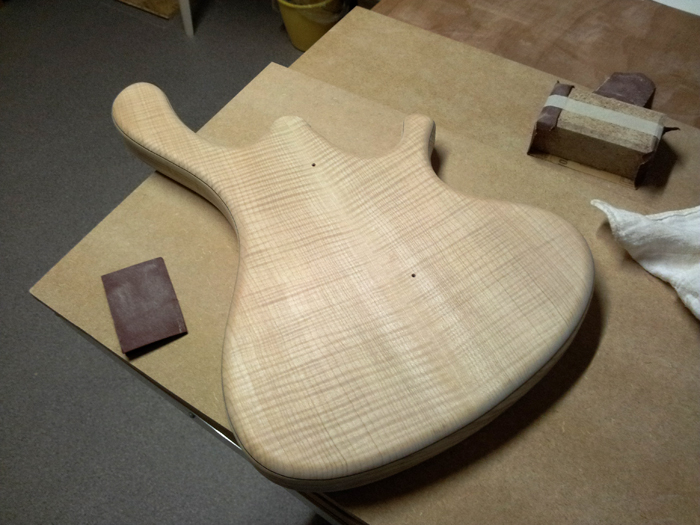
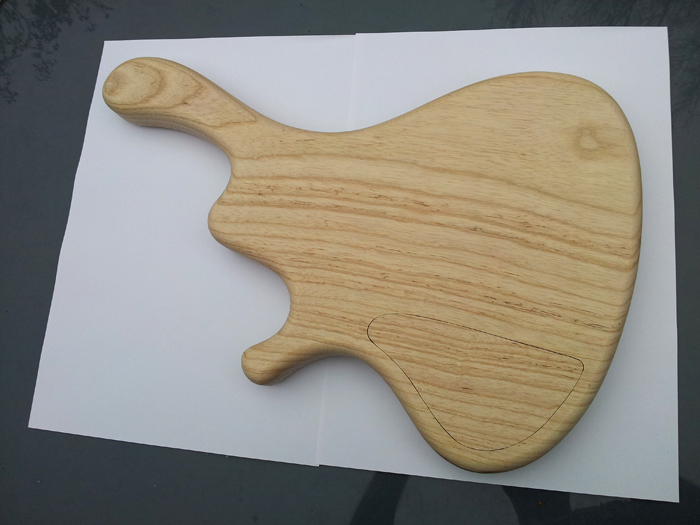
Tonight I spent a few hours sanding the body with 80 grit to smooth out the roundovers and remove minor marks from the router and planer. Now the body is ready for further carvings / routings. Not much difference with previous pictures, but otherwise it would be a rather uninteresting post:
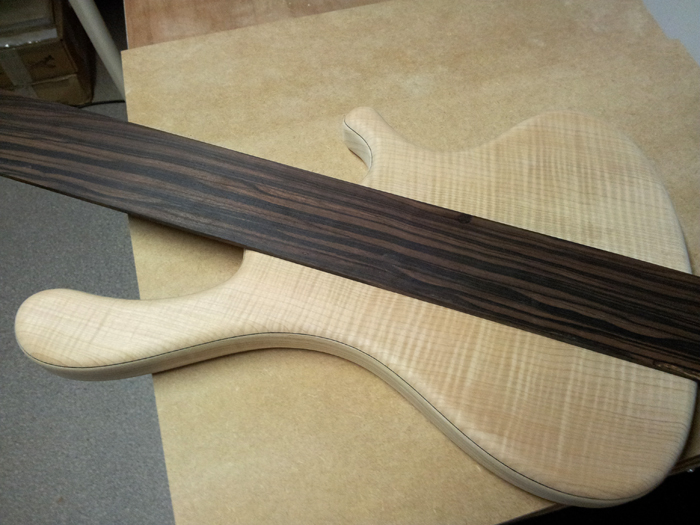
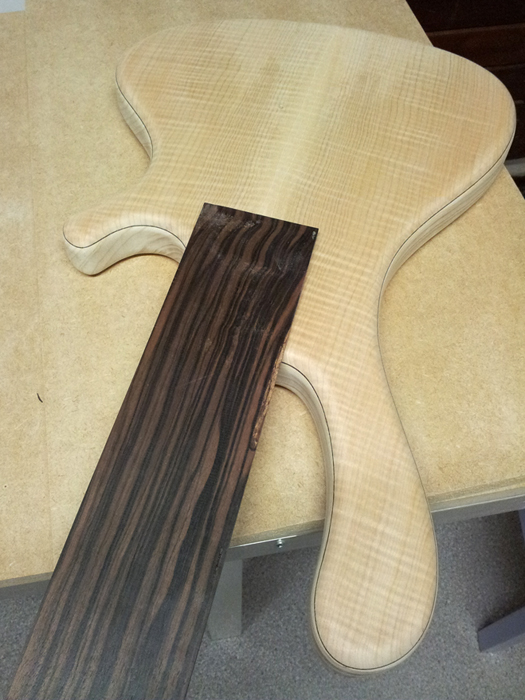
Furthermore I made these pictures to see how the Macassar fingerboard blank looks on the body:
Right now I’m a little bit in doubt about the pickguard and pearl block inlays, as they take away a considerable part of those good looking woods….
.. to be continued!
Routed the roundovers
It’s update time again… sorry for the pic heavy post, but I need to show today’s result from a few different angles.
This is what I started with, you can really see the flames with this light too:
And a detail of the flamed maple, wenge and swamp ash body sandwich:
/me doing some routings over here (no pictures of the process due to low battery level of phone and high stress level of builder)
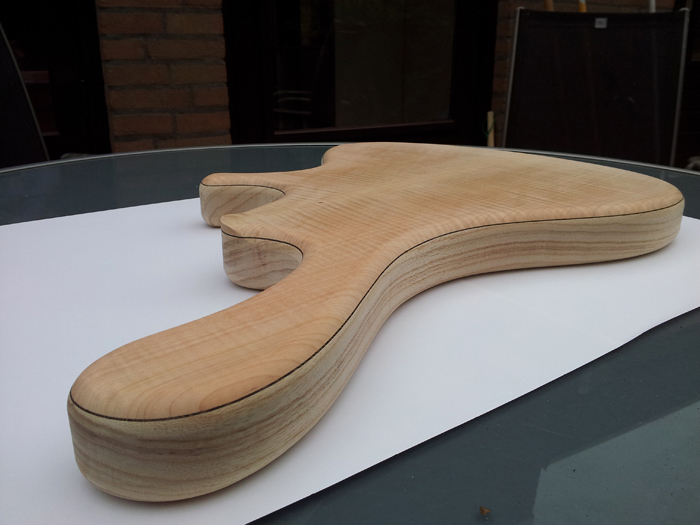
So, after an afternoon of routing, this is what I’ve got:
I really like how the accent layer turned out, the body thickness is just fine at 43 mm and the roundover’s also pretty neat. I need to do some sanding and maybe grain filling, I may carve a tummy cut and the transition from body to neck still needs some work… so there’s more to come.
Body laminate finished
It’s starting to get fun now ….
I removed the clamps after about 9 hours and got this:
I started routing the top flush with the body, revealing this:
So, today’s result is the following:
I now need to route the roundover, but that’s something for tomorrow (and frightening). Then, after some sanding, I’m ready to start with the neck. The pickup cavities and neck pocket have to wait untill I finished the neck, ideally, but I’m not sure if I’ll wait for that… (or if I’ll have the patience to wait for that).
Pictures of gluing the top
I’m happy … luckily, my worries were unfounded. After about 24 hours of clamping, it came out almost completely flat and the glue line turned out to be perfect .
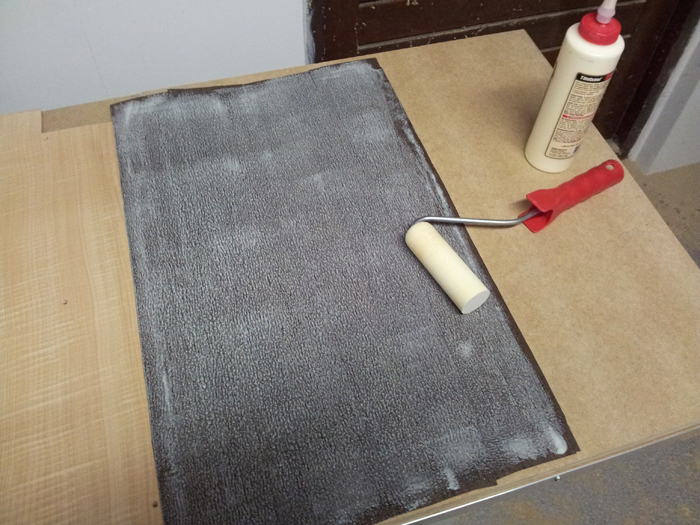
I applied the glue on the veneer with a roller:
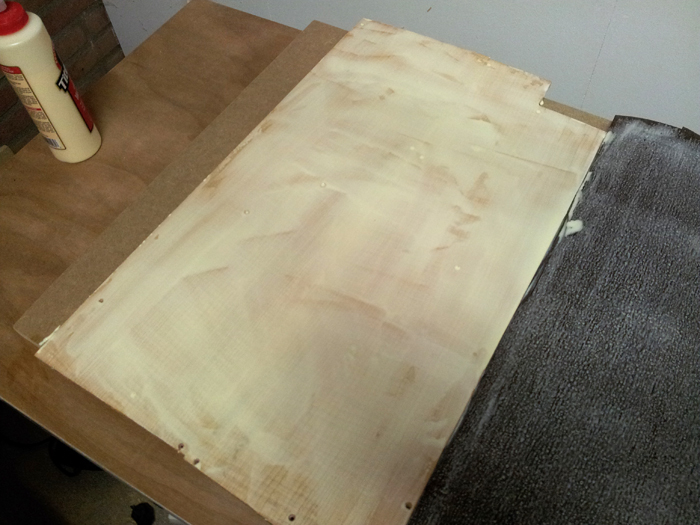
A thicker layer, spread with a piece of cardboard goes on the maple top:
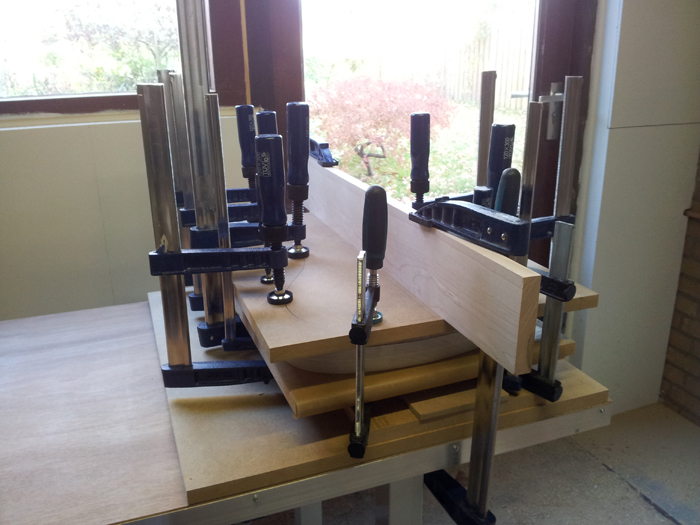
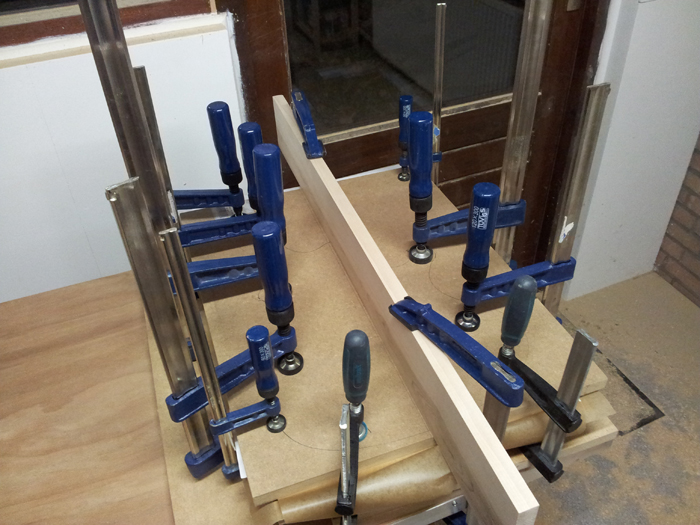
Then, I sandwiched this between two boards of 3/4" thick MDF to divide clamping pressure and attached all of my 12 clamps:
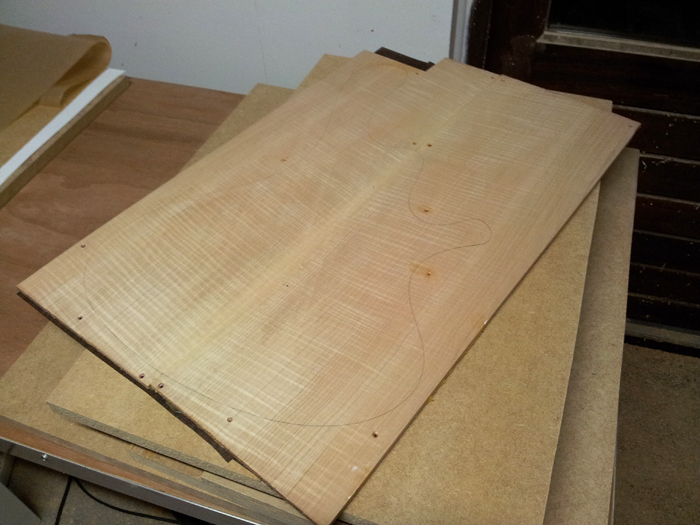
I left this for an hour, removed all clamps, cleaned up the excess glue and masking tape (at this stage, the top was curved due to the increased moisture content caused by the Titebond glue) and then reclamped everything for another 24 hours. After that, the glue was completely cured and the top came out way better then I thought it would, almost completely flat:
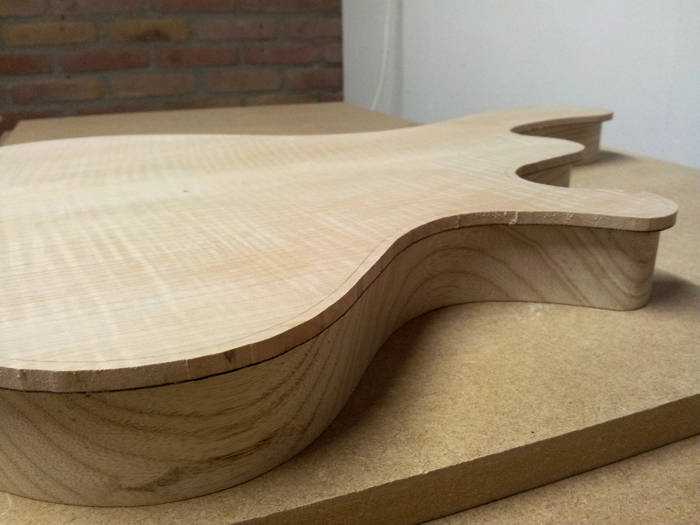
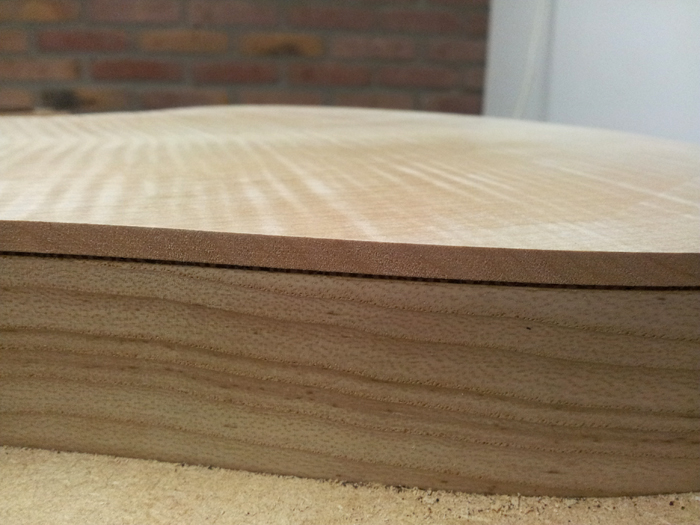
Cutting out the top safely outside the body contour showed the following glue line:
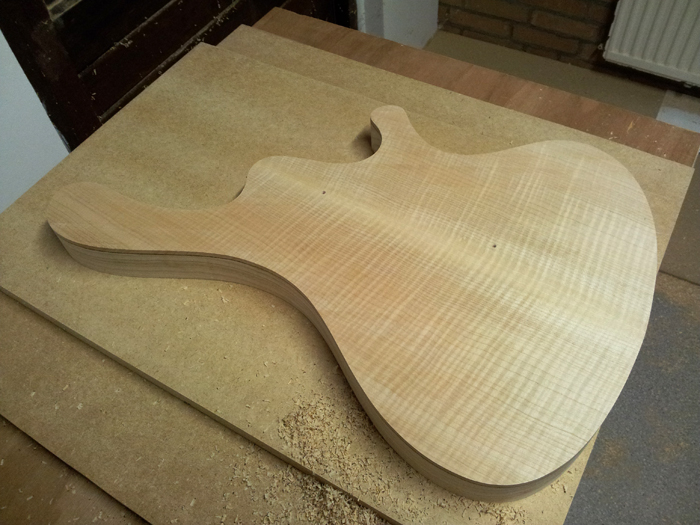
This is the cut out top from the front:
And this is how it looks from behind:
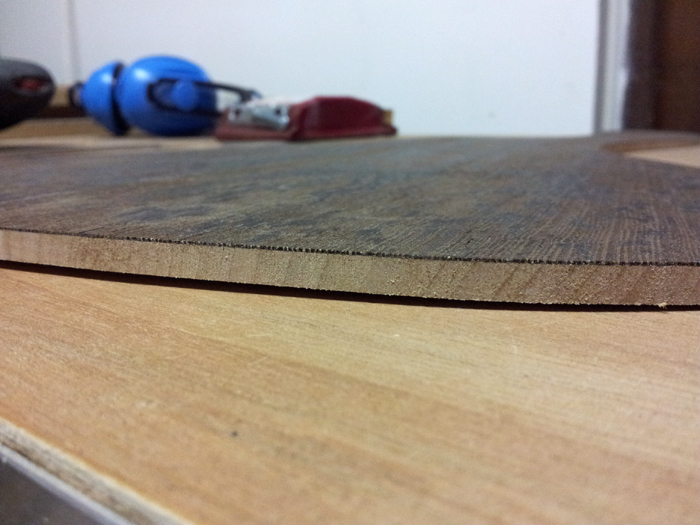
And another side view:
Up until this point, I’m very pleased with the results of my work and I got some of my confidence back. I took a long time figuring out how I would do this and took great care while glueing, still turned out to be pretty exciting, but in the end I was glad to see the preparation paid off.
Currently I’m figuring out how to align this correctly to the body core. I will probably glue that together tomorrow.
Glued veneer and top
Right now, I’m impatiently waiting to discover the result of my glueing job last night… I glued the veneer to the top, using the same procedure as with the test piece, but since it’s such a large area I found it very difficult to get everything done before open clamp time expired and I’m not sure I used the right amount of glue and if I got enough clamping pressure (I used 12 clamps and two 3/4" thick boards of MDF to divide pressure). I practiced the whole setup before I started glueing, but it still stays a nerve-racking job…
After leaving everything for about one hour, I removed all clamps and cleaned up the excess glue and removed the masking tape that held the two halves of veneer together. Then I put everything back in clamps with new pieces of wax paper. This way, I have less change my MDF clamp cauls get glued to the working piece and I’ve got less lumps of glue around my working piece when it’s completely dried out.
I noticed two things: because of the glue, the moisture content of the maple board increased massively on the side of the veneer, causing it to bend like crazy… with two of those tops I could’ve made a drum . The other thing was that the edges of the glue joint weren’t closed very well, but that’s somewhat logical, because the pressure was applied on the contour of the body, not on the edges of the whole board.
Tonight I might have time to cut out the top and that’s when I’m going to find out if I succeeded in getting such a nice glue joint as I did on the much smaller test piece.
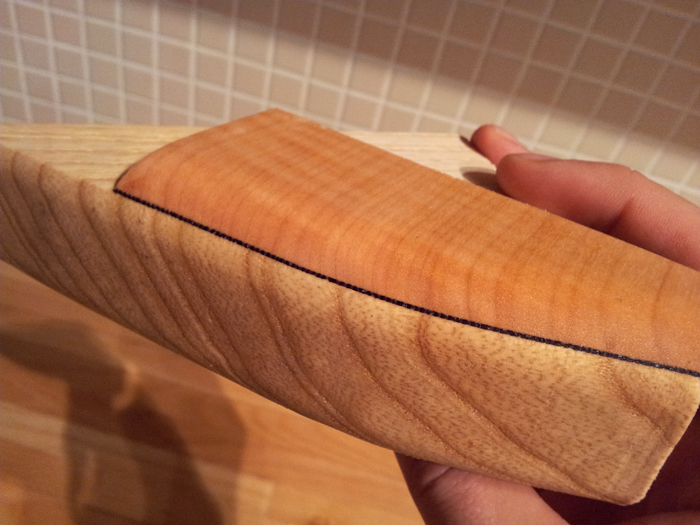
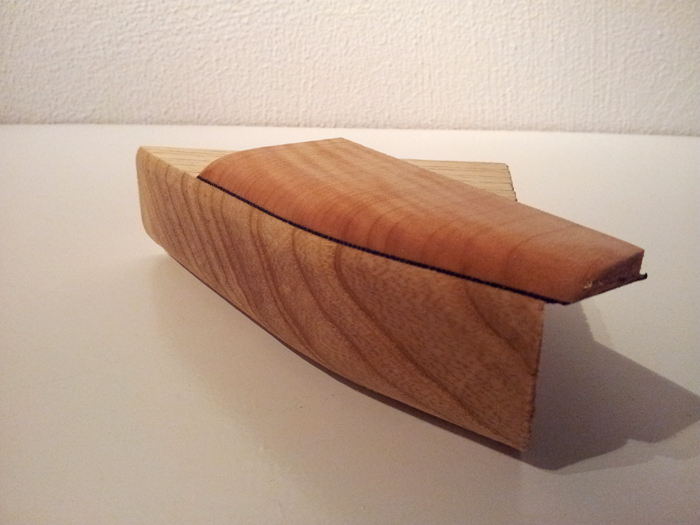
Body laminate test piece
I made a test piece to practice glueing the top and veneer and route the roundovers:
Pretty happy with that (mind that it’s not yet sanded really well).
I first glued the veneer to the top as a whole and then cut it out together with the jigsaw. This way, I didn’t have to cut the veneer with a knife, which causes cracks easier and then you’ll end up with the veneer protruding in your glued sandwich, which makes it easier to break.
So, after glueing the veneer to the top and cutting it with a jigsaw, I glued that to the ash core, routed the top and veneer flush with the body core and finally did the roundover in a lot of small steps.
First, I got burn marks from the router, but after lowering router speed and increasing feeding speed, I got it just right. No burn marks and a smooth edge. That’s what this test piece was meant for .
I used a small paint roller to spread the glue over the veneer in a very thin layer, making sure the grain was properly filled with glue. The other part (ash or maple) I spread the glue with a card in a much thicker layer. Pressed it together with as much clamp as available / possible. Before glueing, I also covered the sides of the ash with masking tape, so I do not have to sand the excess of.
Now, onto the real stuff…

