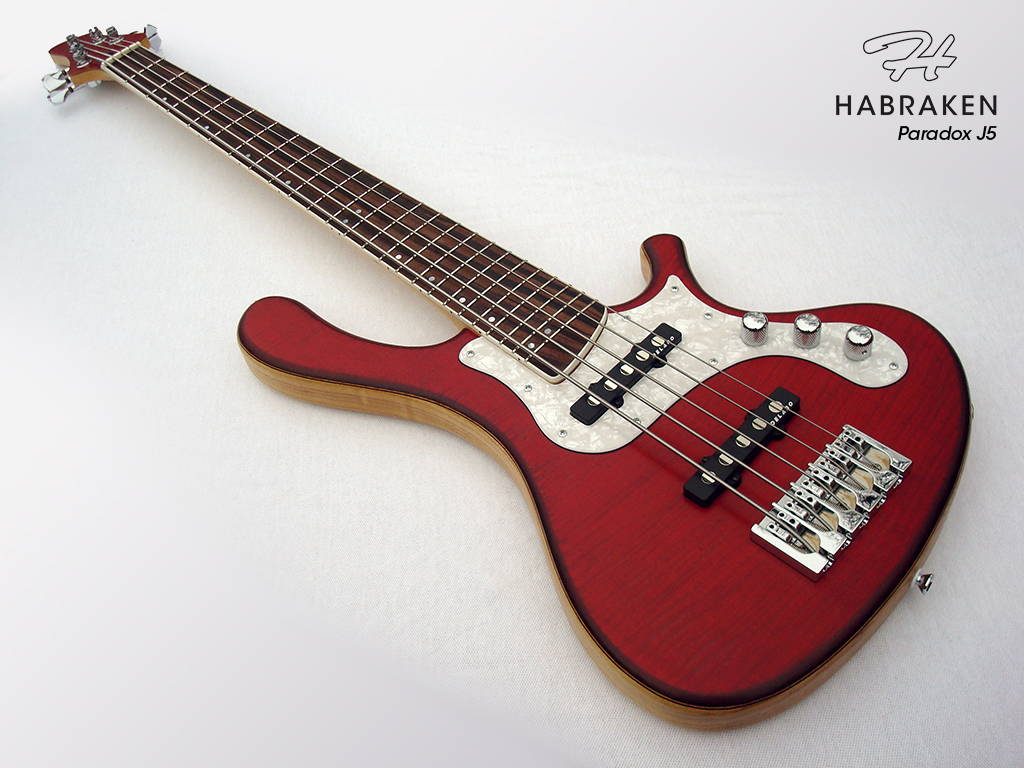
This is my second build and a truly scratch-built bass; I designed everything myself – the shape, the string layout, all dimensions and the complete configuration. I’ve only used a plunge router, a drill (press) and a jigsaw as power tools; the rest is done by hand. This blog is an extensive diary of my adventures as an amateur luthier.
Category Archives: Paradox J5
The scarf joint
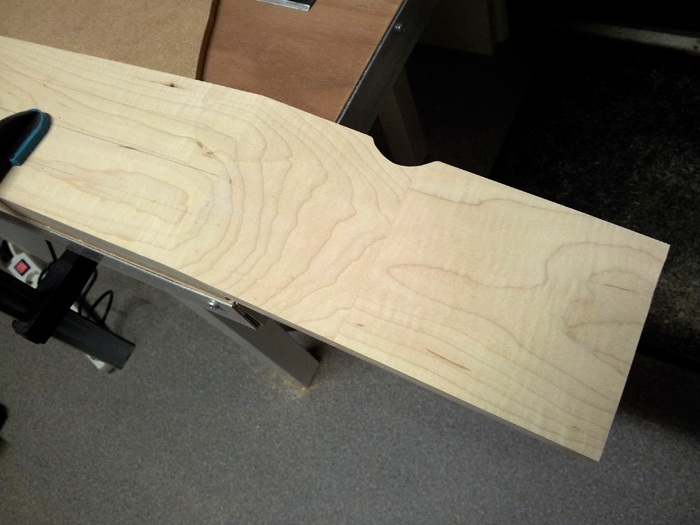
And the result, seems a nice joint:
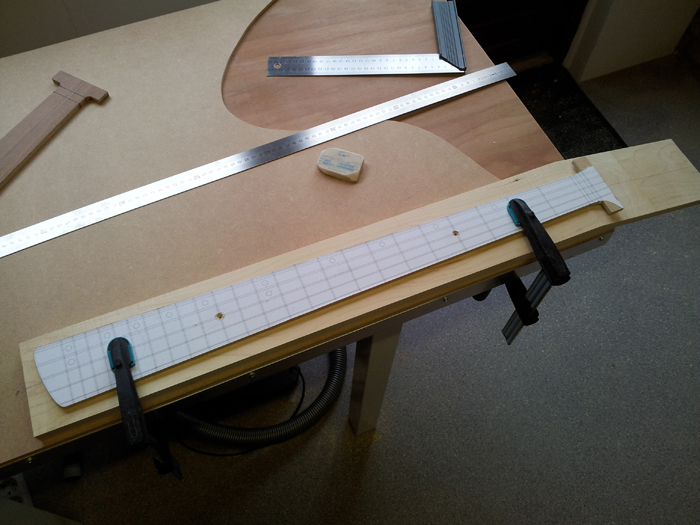
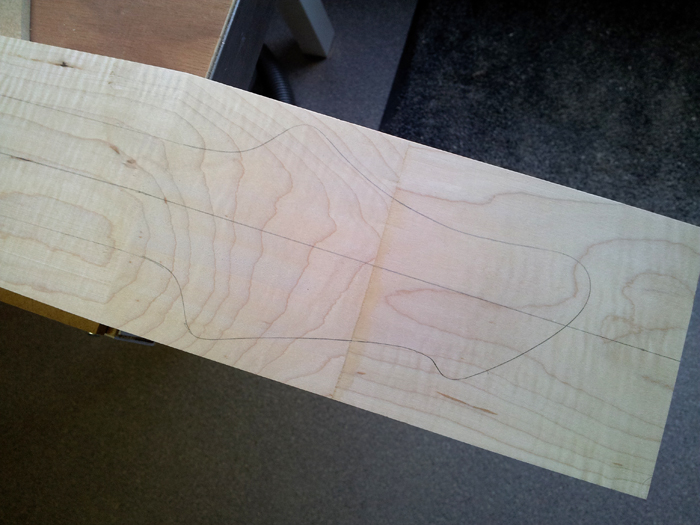
So I marked the center and layed out the templates on it:
This is how the headstock will look, I like it a lot myself!
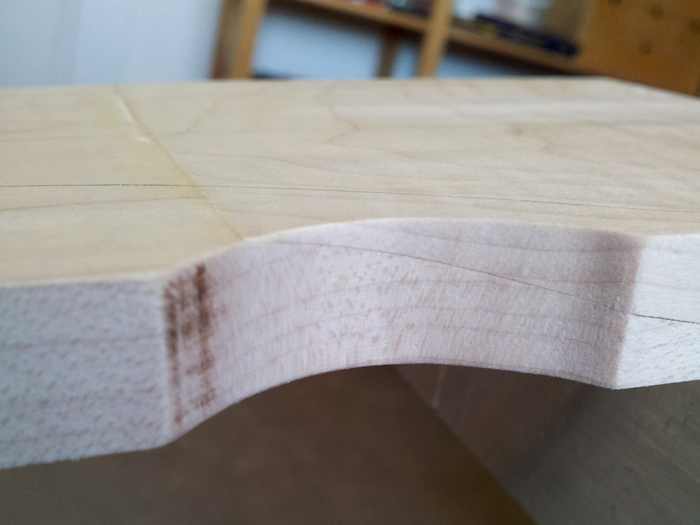
But on the other side the glue line didn’t look as good as I’d hoped. Although the pieces fit well, at the edge the glue line isn’t as invisible as it could be. I decided to carry on, I do not think it’s a problem structurally, but I hope it turns out better when shaped. But I do think it’s a pitty, I prepared this one rather well, but oh well.
I removed some material for inspection:
And cleaned up the face of the headstock part of the neck, over here the joint looks perfect. Seems I need to plane the surface better before gleuing next time, I guess:
Now onto the rod channels….
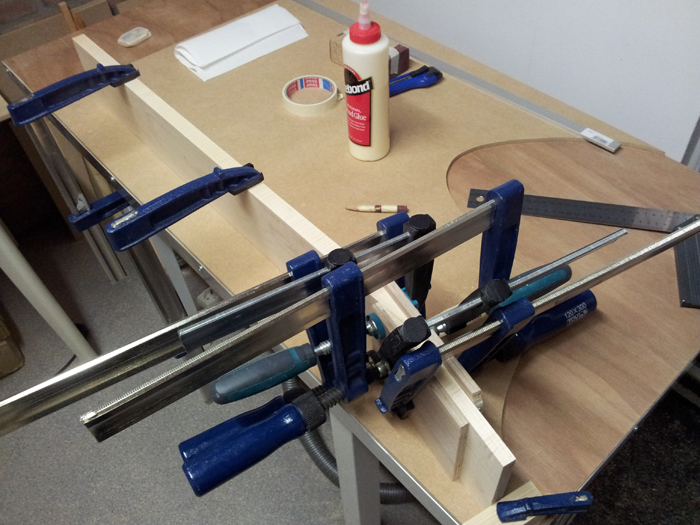
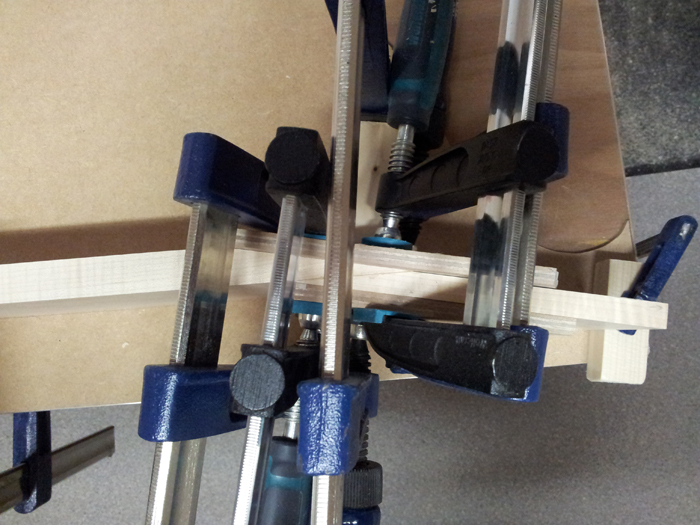
Gluing the scarf joint
Headstock parts
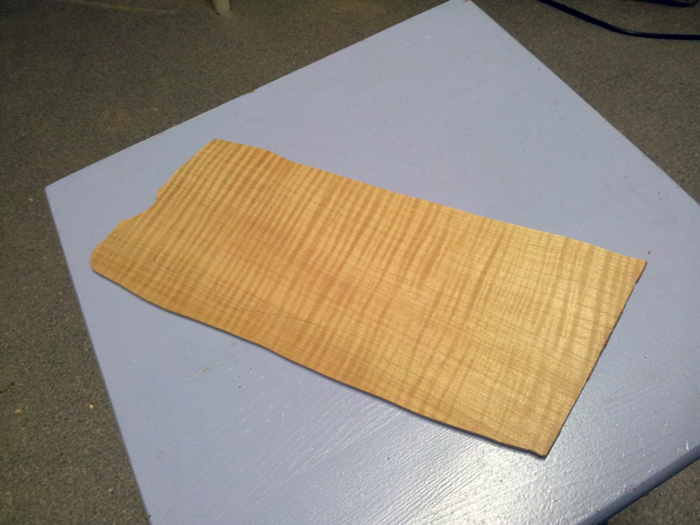
So, this are the parts that’ll become the headstock, including the previously thinned down flamed maple piece, matching the top of the body:
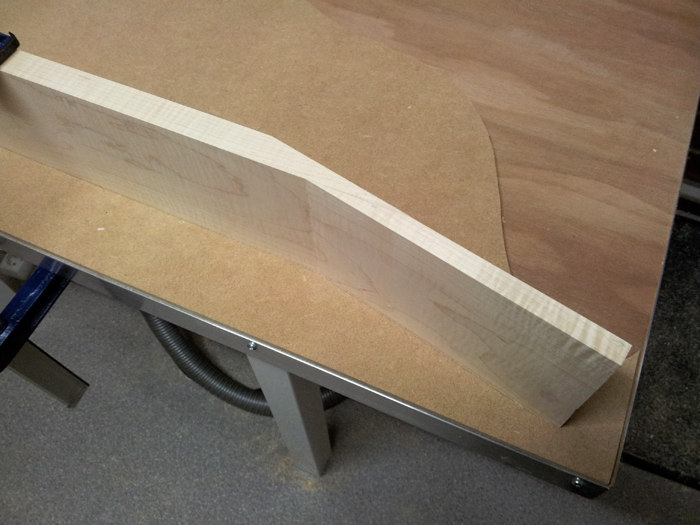
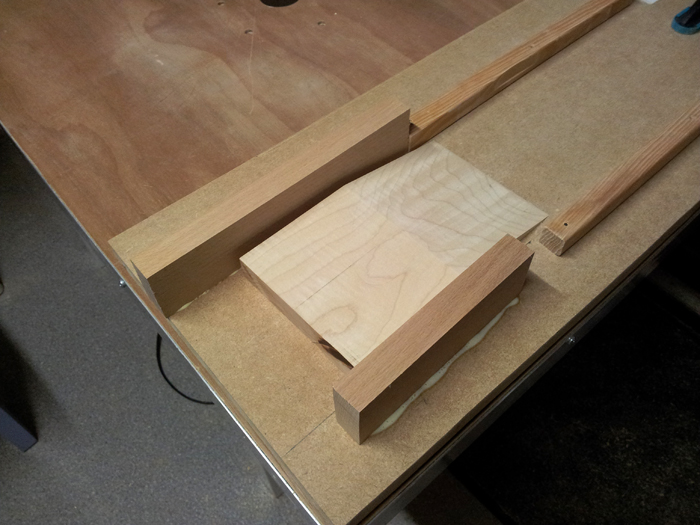
I made a quick planing jig to thin the headstock down from 20 mm to a tad under 13 mm:
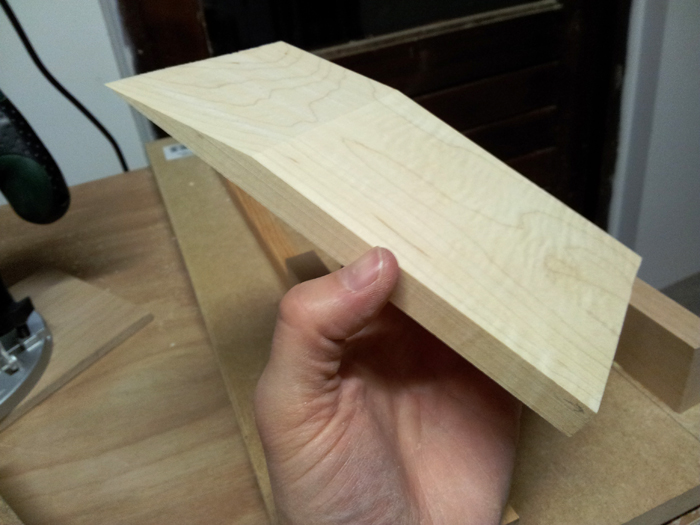
Came out great! The total thickness of the sandwich is 15.61 mm, so I have about 0.1 mm left to sand off during the shaping to get at my desired 15.5 mm headstock thickness:
Please be patient
Sorry to keep you all waiting for so long, but the slow pace is killing me too.. last weekend I finally had time to work on the bass for a little longer, but, of course, I got ill…
Today I threw a rail jig together to plane the peghead veneer down to 2 mm. No complications this time, but no pictures either (cell phone battery died). I routed it from the top using the enlarged router base plate I made for the scarf joint jig. Looks good and can’t wait to proceed with the neck.
Next I’ll plane the headstock down before glueing the scarf joint. After that the veneers and then onto the rods.
Peghead veneer
Some small progress again for today: I am halfway creating a peghead veneer.
I selected a piece of leftover from the flamed Maple top, with the Wenge veneer at the back. It’s about 6 mm thick and I need the veneer to be 2 mm thick in the end. Difficulty is that it bent like crazy with the already slightly warped Maple core, the Wenge veneer and lots of Titebond. So I made a sled and mounted the piece on it, forcing it back to flat. I figured that if I’d thin it from the back, I remove the Wenge and glue, so removing the stress from the sandwich and I’ll end up with a rather flat piece of Maple I can use as a veneer.
All went well, but when I was thinning the top with the sled on my router table, I noticed that when I reached 4 mm thickness, the center of the piece started to bend in the other direction… This would make my veneer uneven, so I stopped right away, removed the Maple from the sled and cut out the piece I needed from the larger leftover:
Now, I will need to find another way to plane it down further, but since this piece is smaller and a lot less bent, I think that won’t be much of a problem. But to continue the way I was planing the piece would’ve led to an uneven veneer.
This bass serves me a lot of experience working with wood that is not working with me. It’s slowing things down but it’s a great experience. In the meantime I’m pondering about my home made drum sander and dreaming about buying a jointer / thichkness planer and bandsaw.
Cutting the scarf joint
Body mockup
Today I did some thinking and puzzling on how to proceed. So not much to report, apart from this mockup I made (nothing new, just a cool picture):
Oh, and I weighed the body, it’s 1955 grams right now (4.3 lbs), so with the neck pocket and pickup routings it’ll be less than 4 lbs I guess. It feels very light (although it would’ve even been lighter without the Maple top, being a full Swamp Ash body). My previous Mahogany / Maple body was much heavier.
Finished scarf joint jig
After almost a week, I finished my new 12 degrees scarf joint jig for a hand saw and a router. If you have about one hour each few days, it’s going slow, especially with those less exciting tasks you have to get past to get to the good stuff.. but I wanted this to be as perfect as possible, it’s a crucial part of the final strength of the neck construction to get this right. Getting tired a bit of only having a router, jigsaw and drill press, but I’ll get there.. oh well.
Scarf joint jig
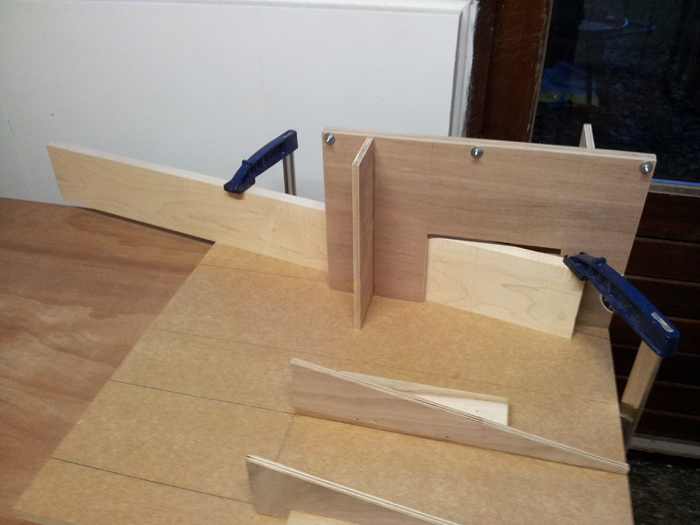
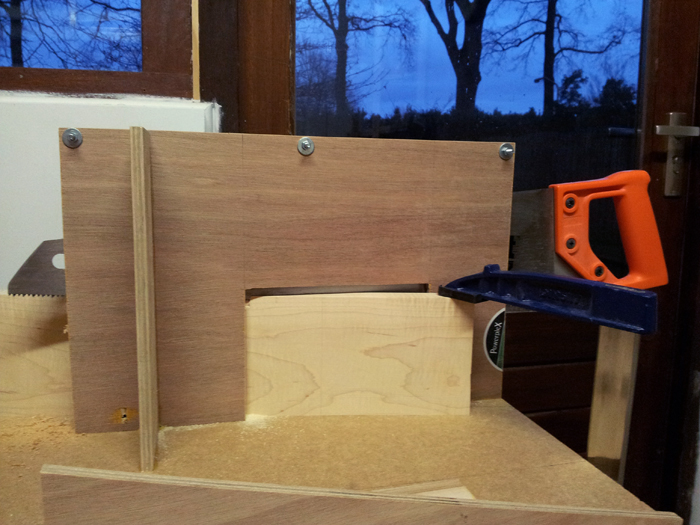
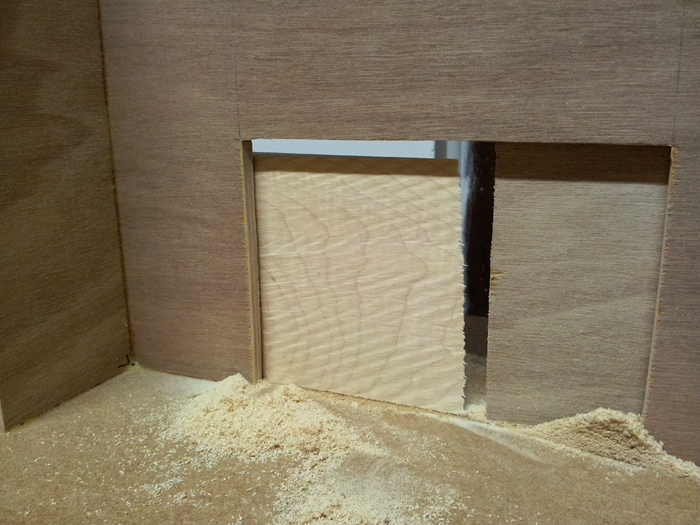
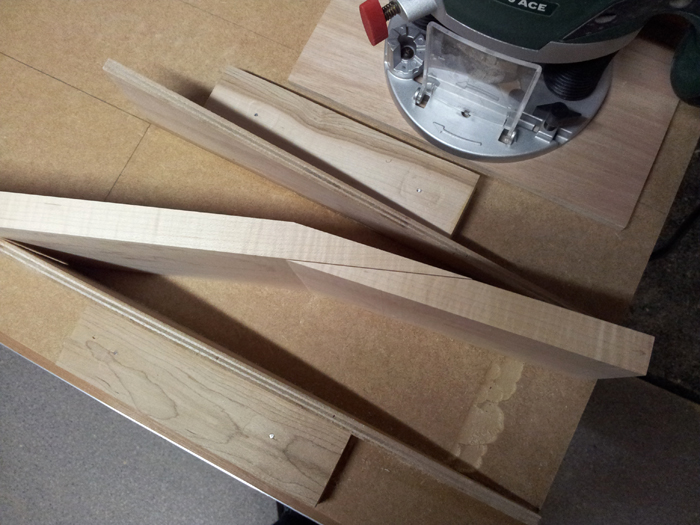
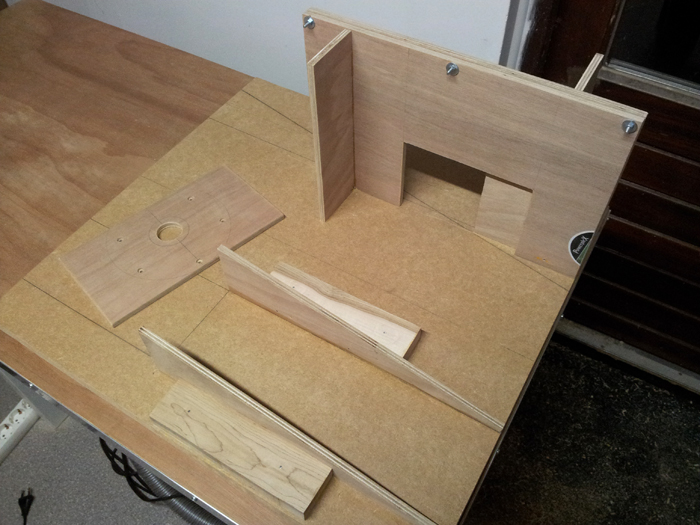
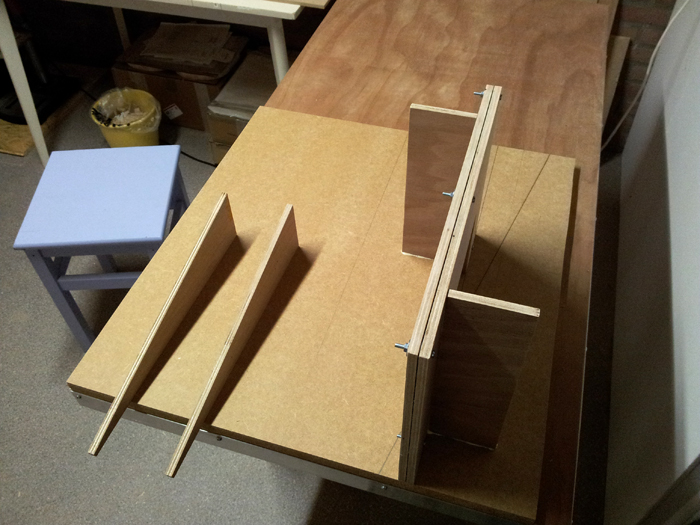
Due to the lack of decent machinery I’m going to have to cut the scarf joint by hand and clean it up with the router afterwards. This needs a jig and since I didn’t keep the previous one I’m making a new one right now:
This one will be decent and made to be used more than once. On the right a kind of miter box like jig that holds my saw straight and perpendicular to the workbench while cutting the neck blank at 12 degrees. On the left (not glued yet) the guides for the router sled.
I hope to finish this all soon so I can proceed with the good stuff again…
Planed the neck blank
Routed the plain maple straight and clean (4S now) and it turns out to be a rather nice piece, with a very subtle flame. Fits the macassar ebony very well.
The heavily flamed maple piece has to be saved and receives a rosewood fb for another build, maybe my first electric guitar.

