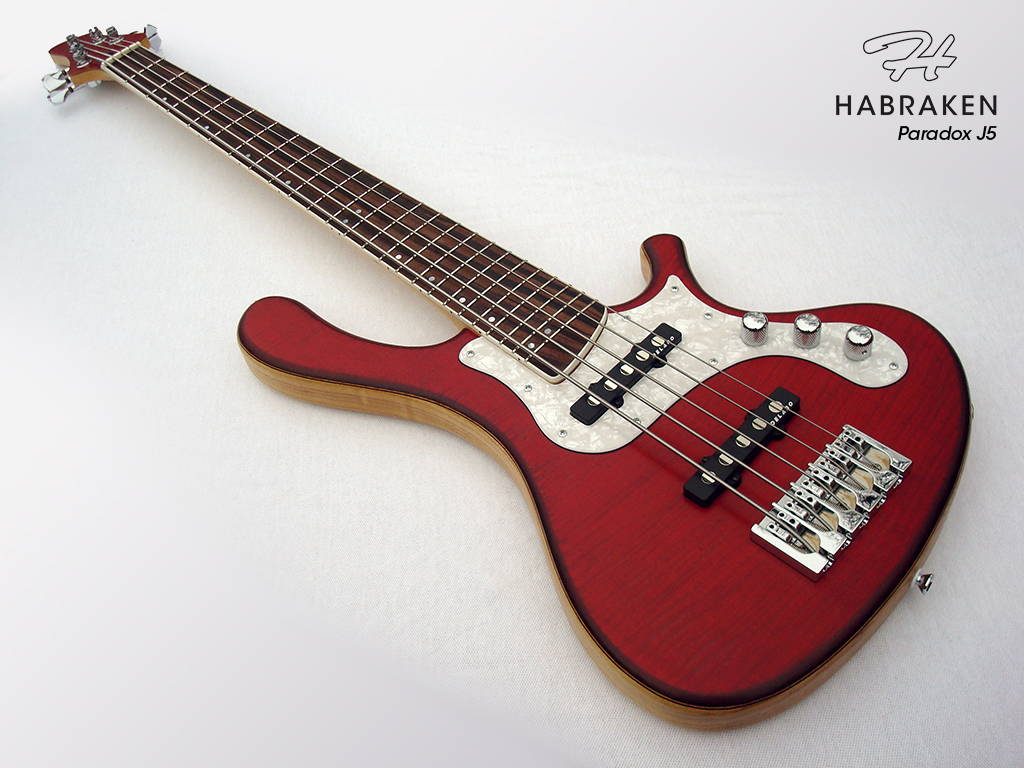
This is my second build and a truly scratch-built bass; I designed everything myself – the shape, the string layout, all dimensions and the complete configuration. I’ve only used a plunge router, a drill (press) and a jigsaw as power tools; the rest is done by hand. This blog is an extensive diary of my adventures as an amateur luthier.
Category Archives: Paradox J5
Cutting the body
Finally! Some real sawdust!
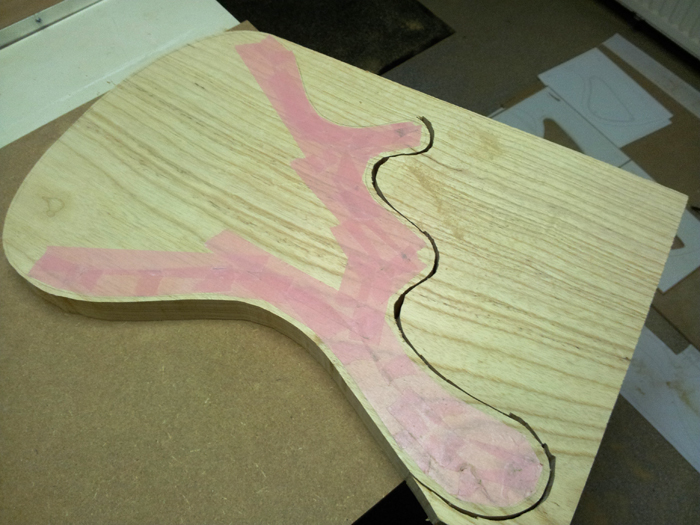
Started cutting the body, using a jigsaw (high on my wishlist: a bandsaw). The pink tape is ‘sensative masking tape’, reduced stickiness.. to prevent grain tear out (not likely on ash, but oh well). It’s there because otherwise the feet of the jigsaw leaves some marks in the wood.
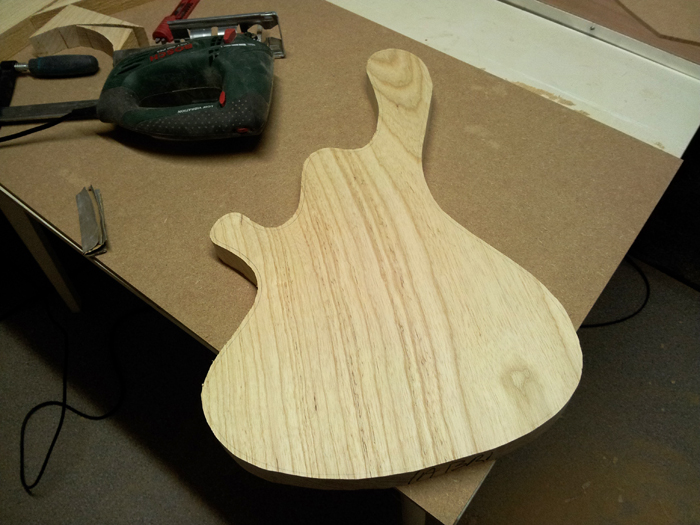
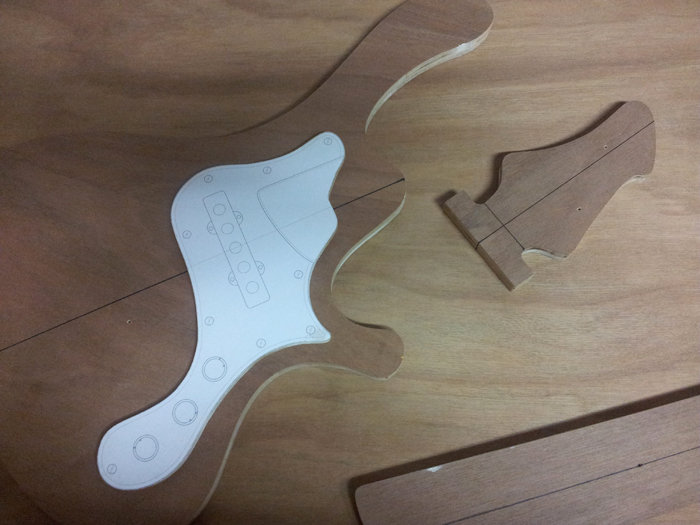
Here it is, the rough cut body. Maybe not the greatest piece of swamp ash, but I still like the grain and it’s a great body wood I think.
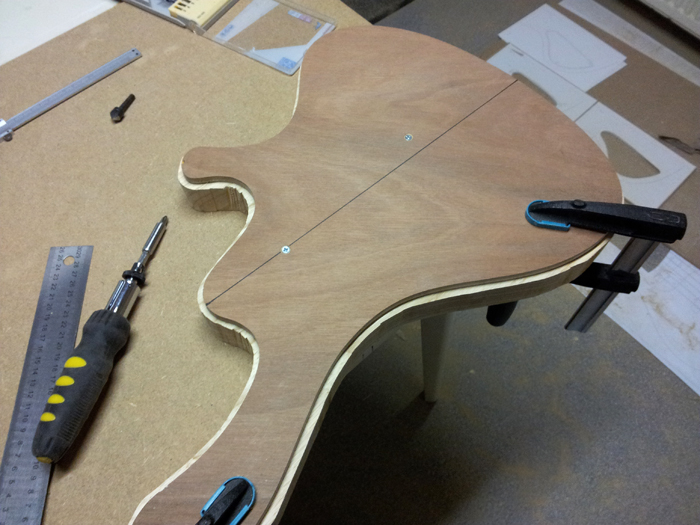
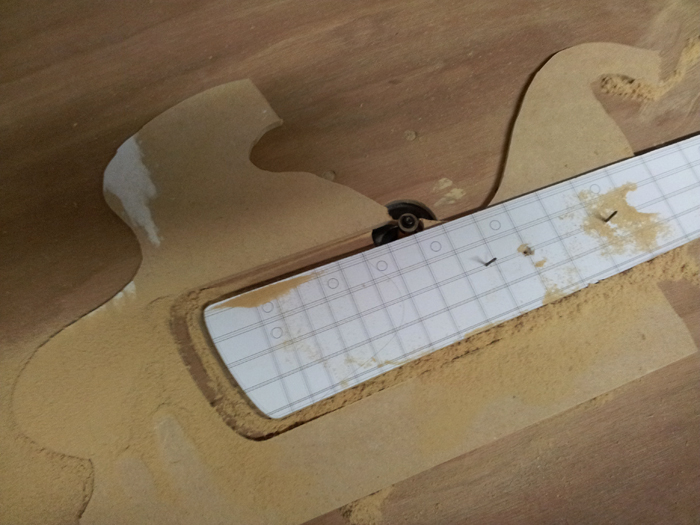
Aligning and attaching the template…
And started routing. I will continue tomorrow as it’s past 11 PM right now..
The wood arrived
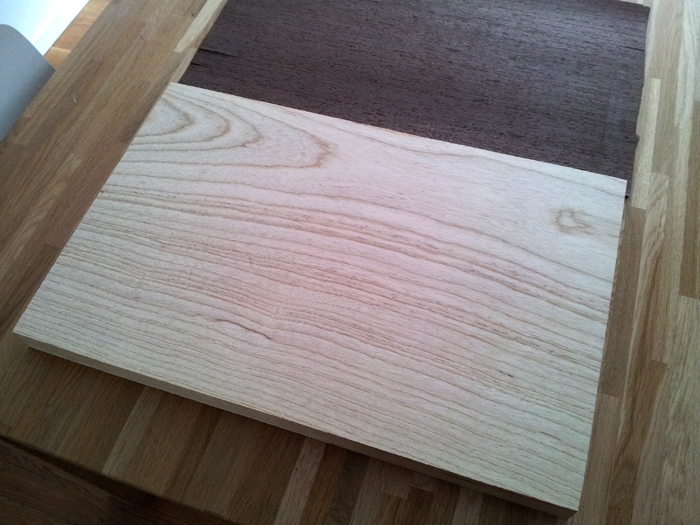
The wood’s in.. but I am not really satisfied with the neck piece, so I’m looking for a new one right now. Here are some pictures.
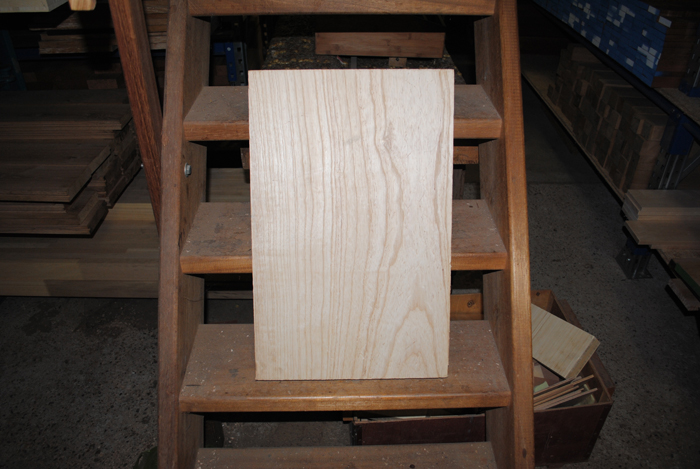
Single piece Swamp Ash body blank:
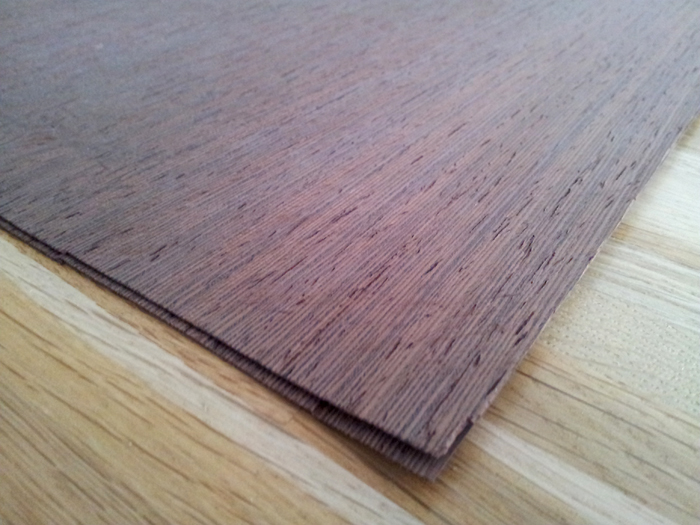
Wenge veneer to use between top and body:
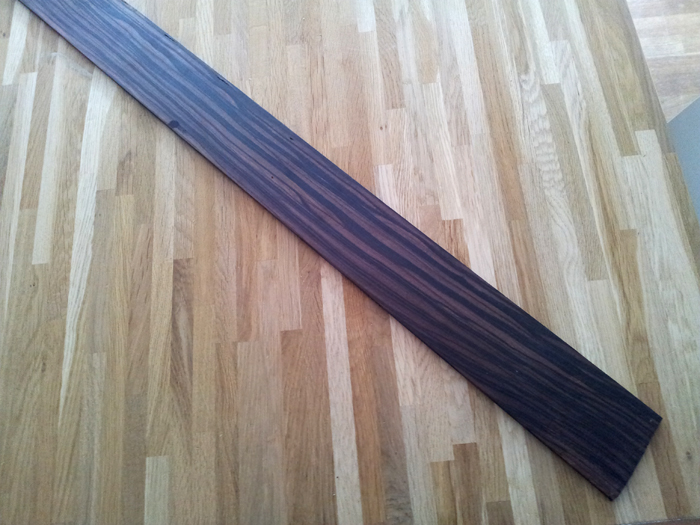
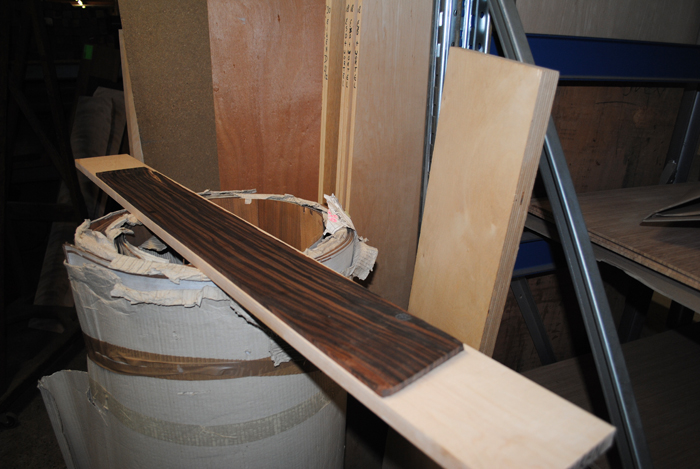
The Macassar Ebony fingerboard blank:
So this is where the merely-plywood-and-mdf-blog-posts end, becoming a real bass build blog!
Waiting for parts
Still waiting for parts. Got some small parts from StewMac, wood will come next week (yeah!) and for the pickups, I’ll have to wait at least another week or two I guess.
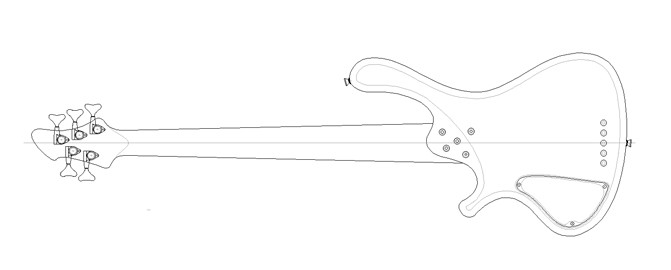
Meanwhile, I finished the design of the back of the bass with a control cavity design and the shape of the neck to headstock transition:
Next step will be to make templates for the control cavity.
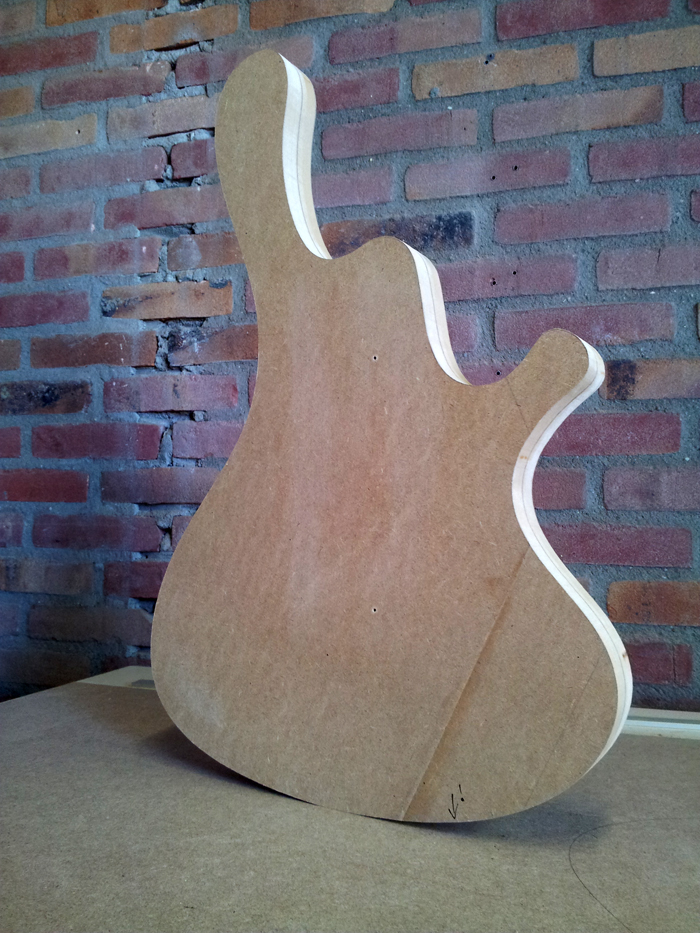
I’m also making an MDF prototype body, to practice shaping the round over, belly cut and heel transition. Some work in progress on that:
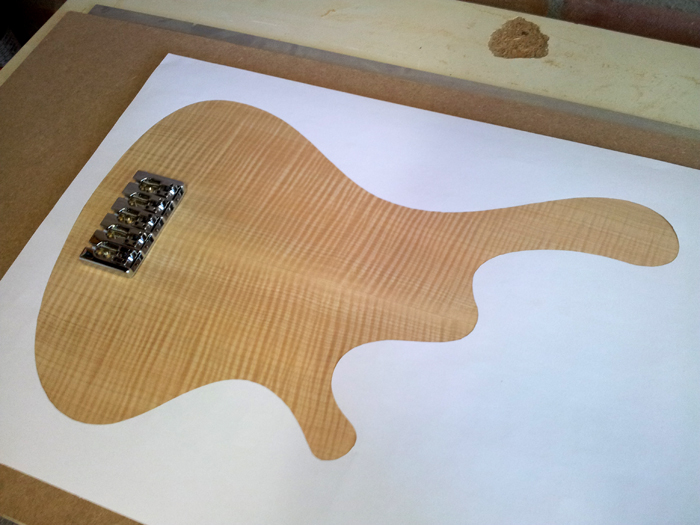
And I’ve made a paper grain selection template and this is how the top will come out:
After the control cavity template I will make a new scarf joint jig and I’ll hopefully receive the pickups so I can finish the pickup and neck pocket template… Then.. I’ll start building
Pickup route templates
Because I’m still waiting on most of the parts (especially the wood!), I am going to bore you guys some more with my template stuff…
Still working on the pickguard template, sanding and filling the edges every now and then to get to the perfect shape as close as possible.
I sanded the inner sides of the neck pocket master template so that the neck template fits better. It now goes in and out well, still being tight, but not too tight anymore..
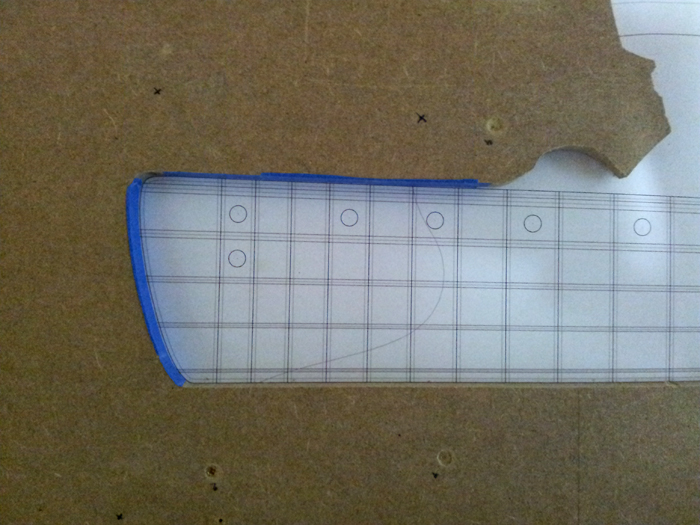
Then, onto the pickup cavity template. I screwed the first one up, but the second came out pretty okay. This is how I did it:
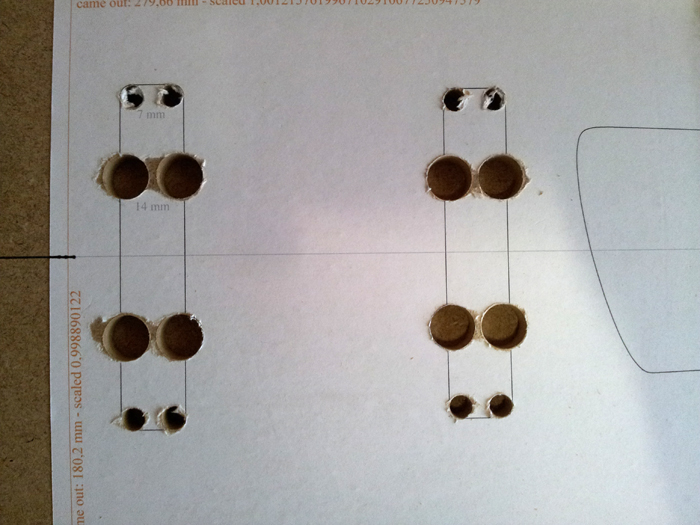
I made a CAD drawing of the cavities, being 1 mm wider than the pickups (equals 0.5 mm spacing around the pickups), with the centers marked of all circular shapes. Printed the drawing (and I had to scale it a few times to get it to the absolute correct size, due to the fact that my home printer has some deviation) and stuck it to some MDF.
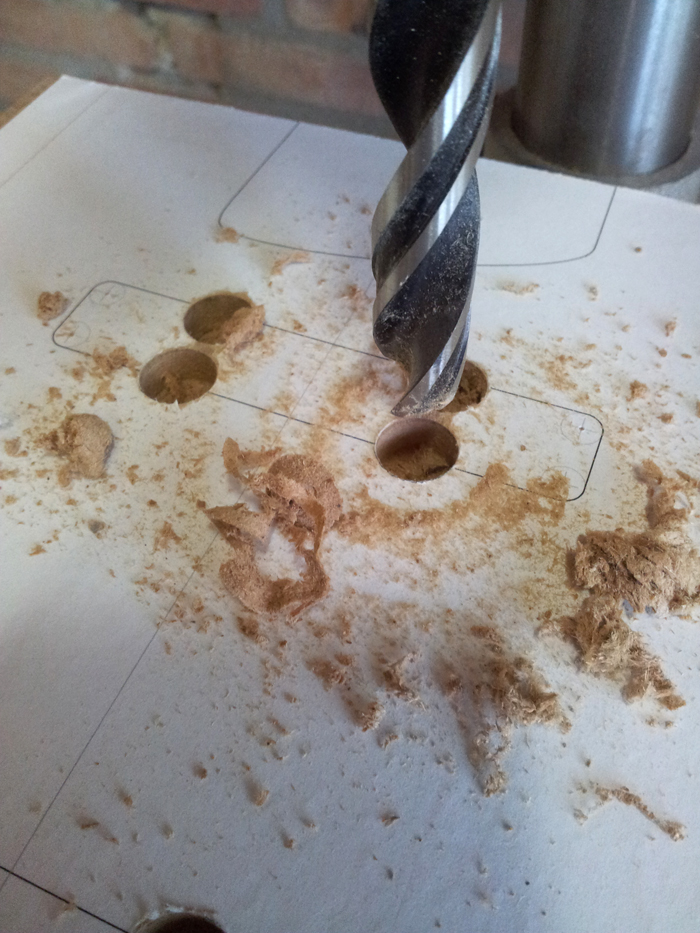
I drilled the holes with my drill press, after marking the centers of the circles with a sharp pin, to act as a pilot hole:
Which resulted in this:
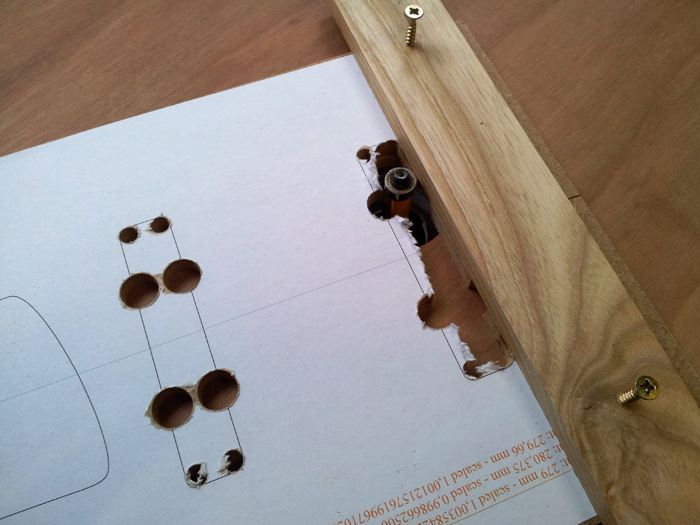
And then I used some straight piece of wood to screw to the template on all straight edges and routed the template flush with that on my router table:
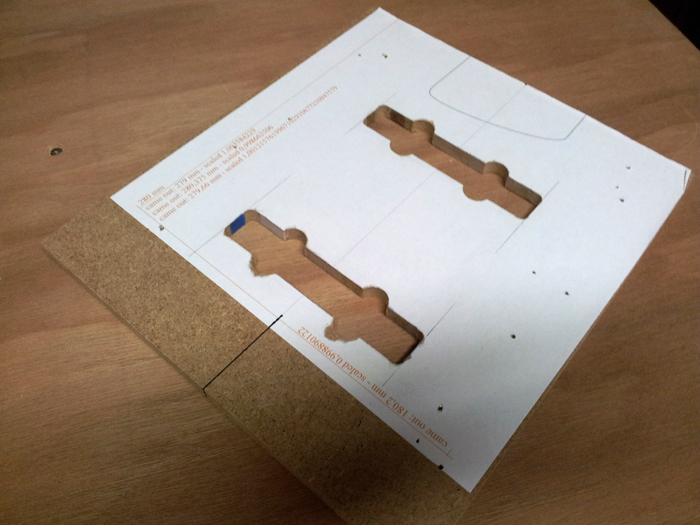
Which, after some sanding, resulted in:
(What might appear to be a sloppy result at the two bottom circles, actually is some paper that tore out during drilling)
I hope I can show you some real wood dust shortly…
Hardware
Wood preview
Today I received pictures from the wood supplier, these are the pieces he picked before planing them to the size I ordered.
The swamp ash body core:
And this is the macassar ebony fingerboard blank on the hard rock maple neck blank:
That’s gonna be a very good looking fingerboard!!!
Then I proceeded with the neck pocket. I added pieces of tape where it was too wide, until I got a tight fit:
I’ve glued a body and neck print to a piece of MDF. This will become the neck pocket and pickup cavities (master) template. I aligned the neck on it so it’s perfectly in line with the bridge, clamped it to the table and fitted my neck pocket template around it. It then screwed the two boards together:
Removed the neck, this is going to be the final neck pocket route:
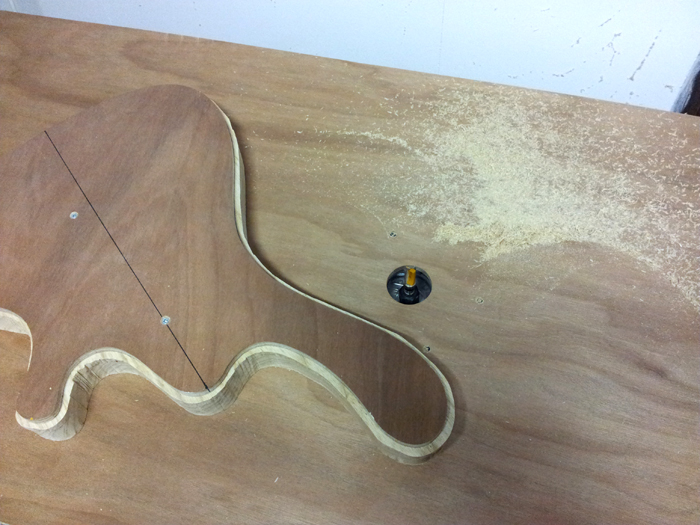
After sawing out the majority of the neck pocket and then routing it flush with my adjusted template I ended up with this *ridiculously* tight fitting neck pocket template:
So this is very nice, but it still needs some rework, because I guess there’s no room for a finish anymore… but as far as I consider, I’m on a roll !
Neck pocket template
First of all, I did some more template stuff, finished the headstock template which came out very nice and still working on the master template for the pickguard:
Then, I got this idea today when driving back home from work…
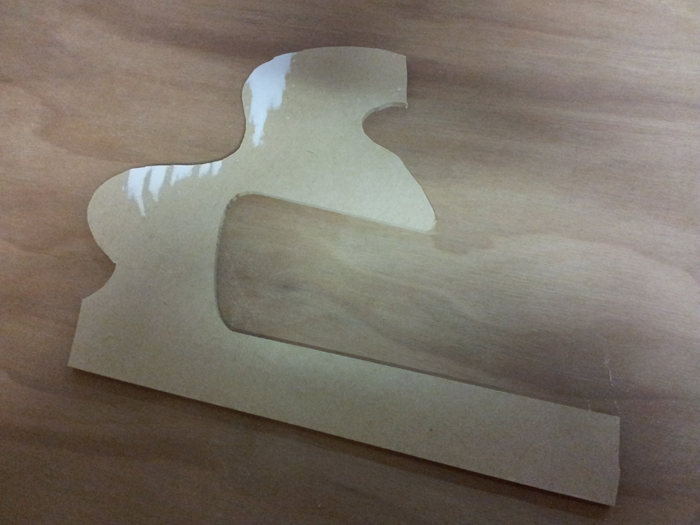
Trace the neck template with a copy bit to create an oversized neck pocket template:
Clean up the dust.. and you’ll end up with this:
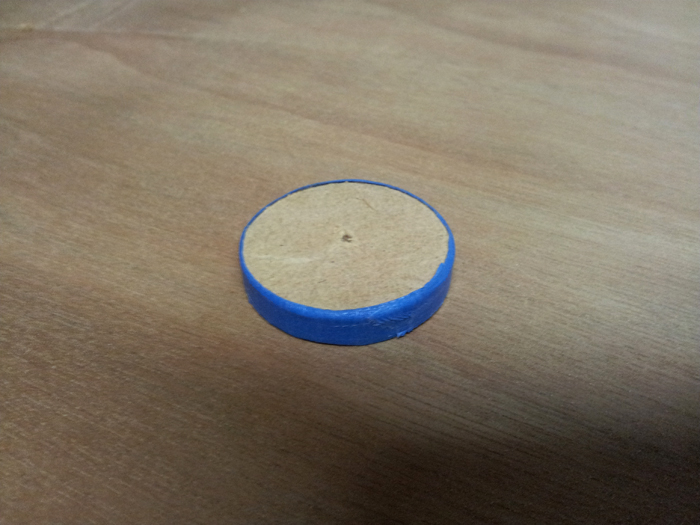
Make a plug exactly 3 times the router bit’s thickness:
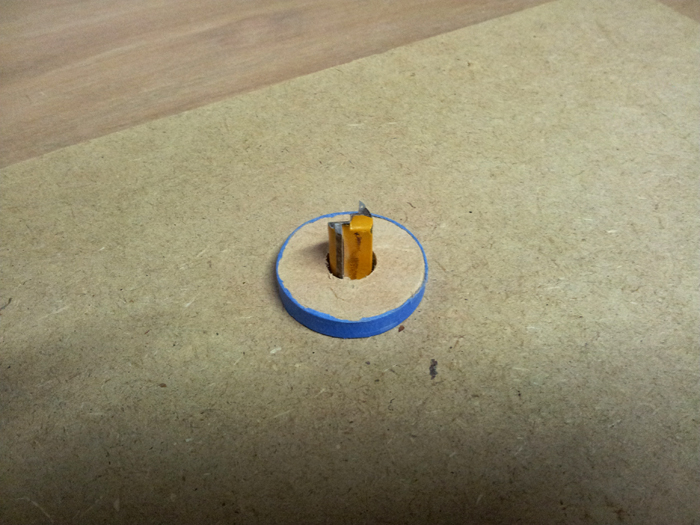
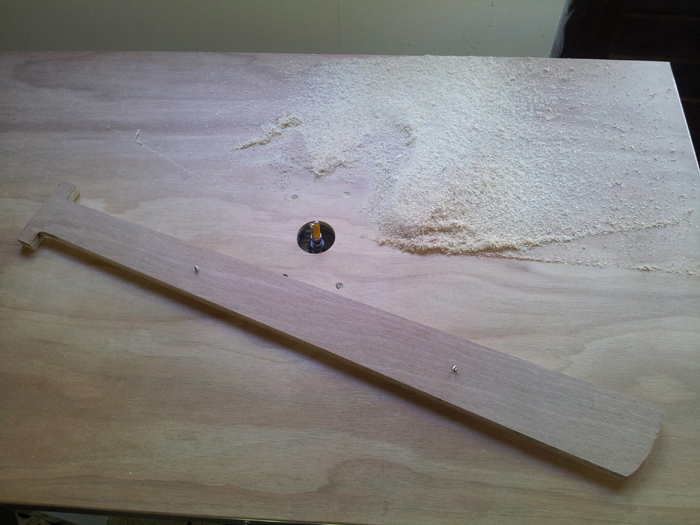
Attach it to a board of MDF, drill a hole through it and clamp it around the router bit on the router table:
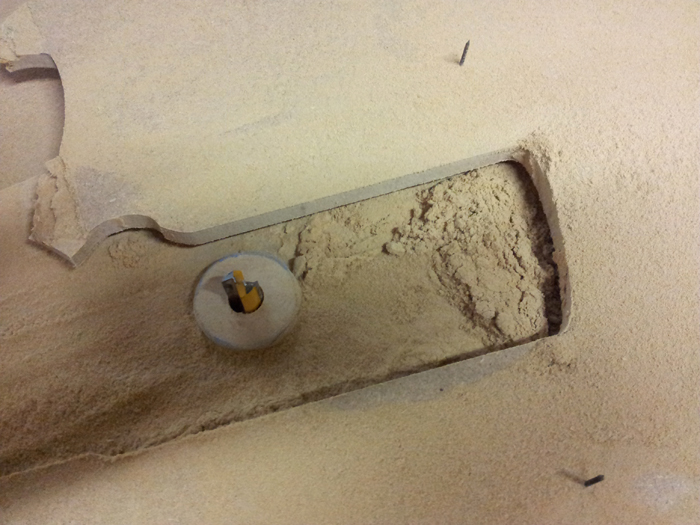
Attach a new piece of MDF to the oversized neck pocket template and do some routing again:
And I’ve made an inverse copy of the neck, being the neck pocket:
So… well.. I think it came out quite nice for a first try, but it’s not good enough for me. Maybe I’ll try again, or maybe I’ll try to adjust the neck pocket template to make it fit better.
What happened? The blue tape around the plug was actually meant for adjusting possibility: at the first route the pocket was too tight, I peeled of a layer of tape and did another pass with the router. Still not large enough but almost there, so peeled another layer of tape of the plug… but there was only one layer left at that time and I thought: oh well, let’s take it of completely. And now it’s just a tad too large…
Final design & specs
Time for an update on design and specs.
I renamed it to Paradox J5 due to dropping the multi-scale part of the design / build.
Specs are:
- Swamp ash body with flamed maple top, separated by a thin wenge accent layer
- Macassar ebony fingerboard
- Hard rock maple neck, probably with U-channel truss rod and two graphite rods
- Angled back headstock, same veneers as body
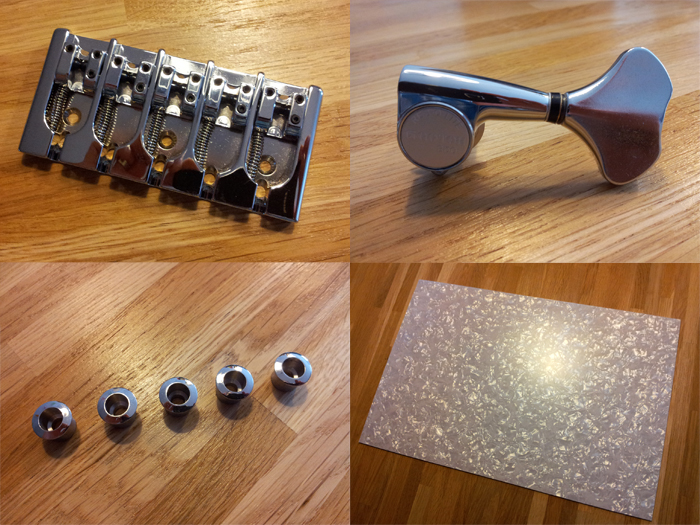
- White pearl pickguard
- All chrome hardware and knobs
- Aluminum Hipshot A-style bridge
- Extra light Gotoh GB350 tuners
- Delano JMVC FE pickups, wired passive
That’s about it for now, I’ve ordered most parts about a week ago and the wood is ordered as well. I cannot wait to start and I am very excited about this build!
More templates in progress
Small steps, but I don’t have a lot of time and since I’ll have to wait for the wood for another three weeks and the parts aren’t in yet either, I can take my time on these important steps.
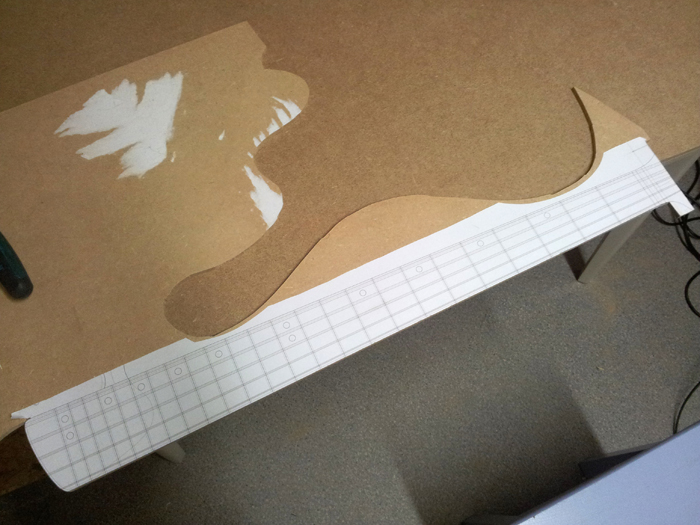
Cutting the master neck template:
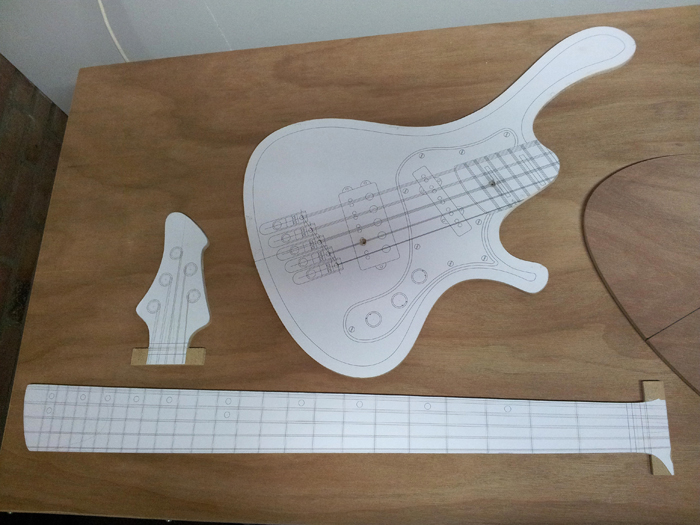
Almost finished master templates – still have to make the pickguard template and the cavity templates (pickups, neck pocket and control cavity):
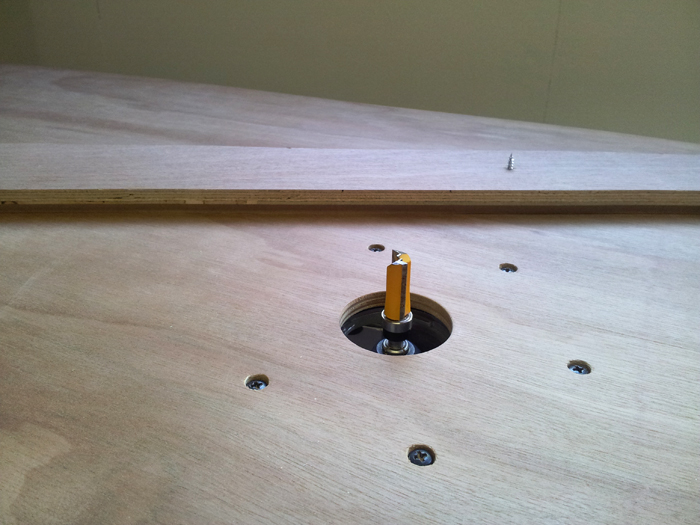
Ready for routing the final neck template from plywood with my very basic router table:
Works like a charm! Here’s the (unsanded) neck template:
I know it’s not much, but I’m doing all I can… next up some more templates and jig stuff I guess.
Neck pocket
I made an alternative drawing of the neck pocket, so it runs under the pickguard but not entirely to the pickup (which produces a stronger joint), but that would only give me a square inch or so extra neck pocket surface, so I decided to take the bet.. I’ll stick with the original design.

