This is my second build and a truly scratch-built bass; I designed everything myself – the shape, the string layout, all dimensions and the complete configuration. I’ve only used a plunge router, a drill (press) and a jigsaw as power tools; the rest is done by hand. This blog is an extensive diary of my adventures as an amateur luthier.
Category Archives: Paradox J5
Templates finished
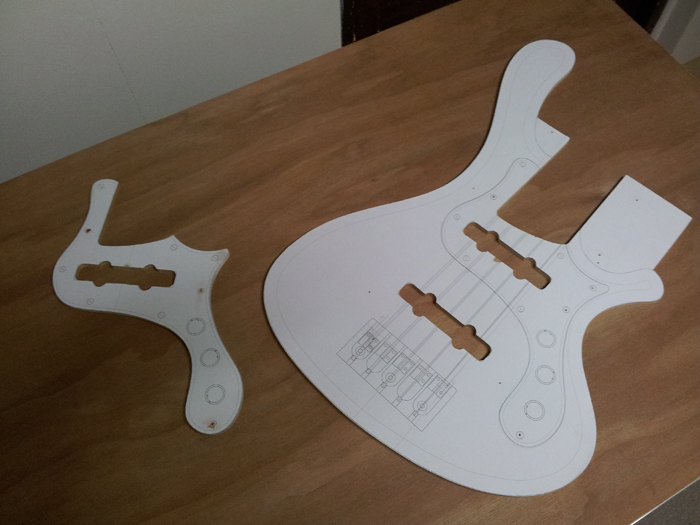
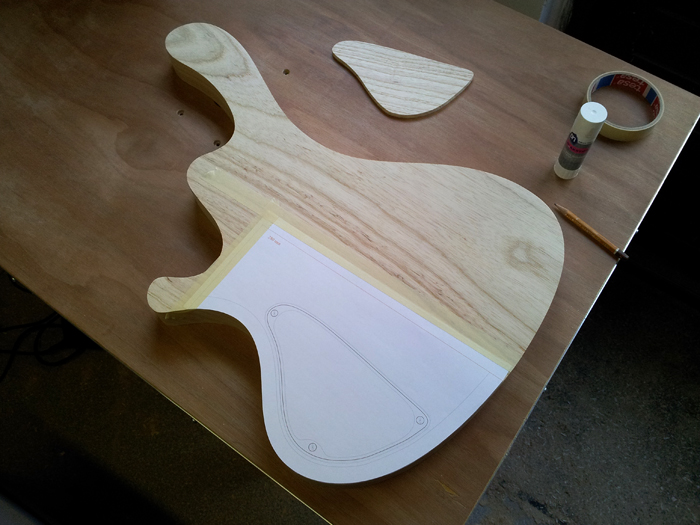
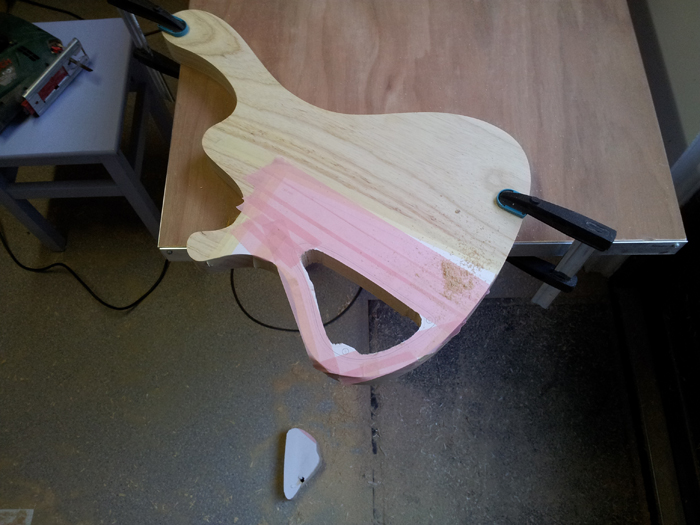
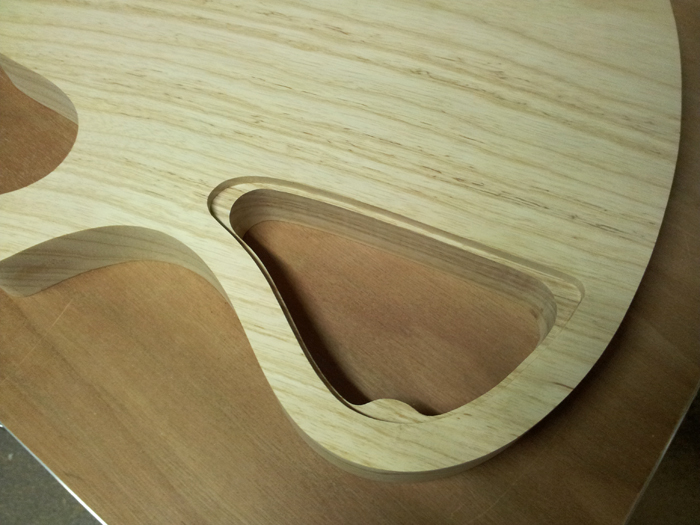
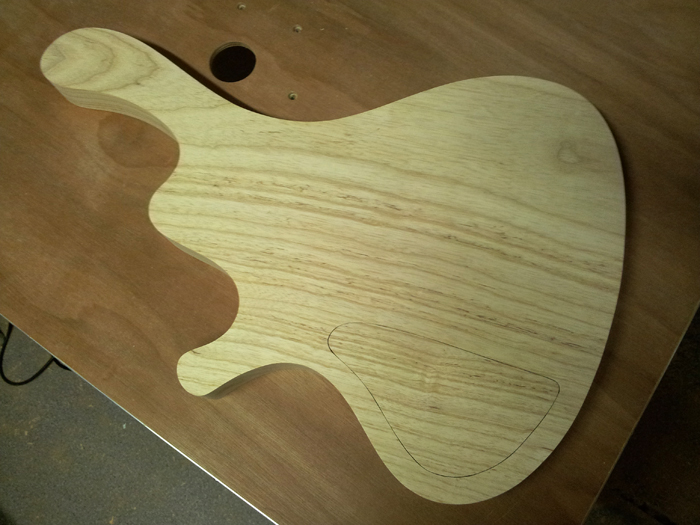
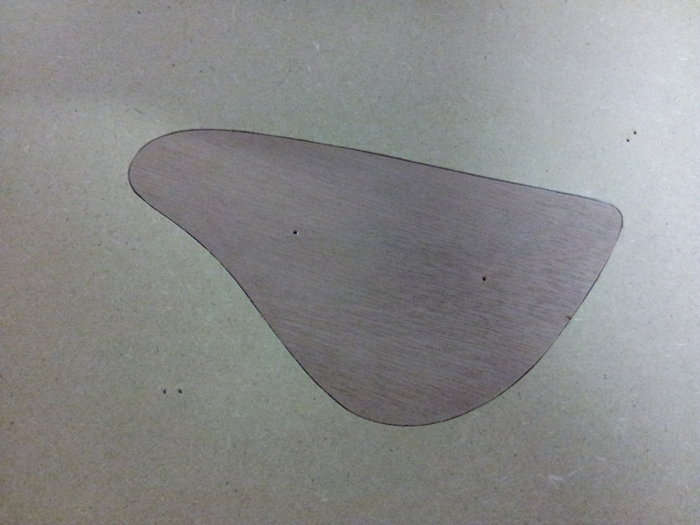
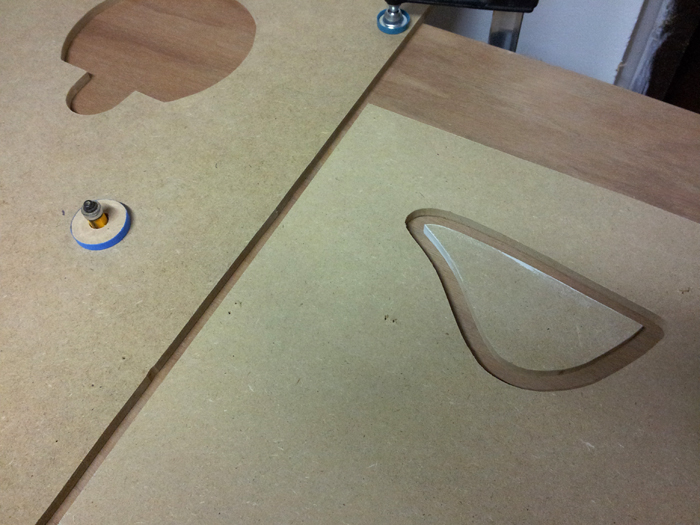
I finished the last master templates. Number 6 and 7 are a pickup cavity & neck pocket template and a template for the pickguard:
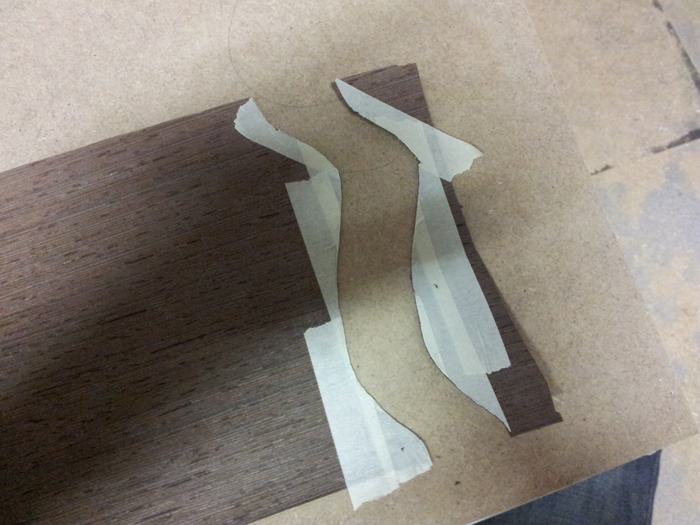
Also did some other small things, like practicing how to cut veneer. Not very interesting, but I got this tip to put tape where you want to cut and it really works out, so I thought I’d share:
Without the tape my knife got pulled from its path by the rough grain of wenge (like rutting), and if I cut in a specific angle to the grain, it tends to split. The tape solves all of those issues very well.
Last thing today was drilling the alignment holes through the maple top, which I found to be very scary. I checked and checked, a dozen times.. wouldn’t want to drill through the top in the wrong place… but those holes come in handy when glueing the top and veneer to the body. Since I used the same holes for attaching the body shape template to the body core, they’re already in there and a perfect way to fixate the top in the exact right spot while applying pressure when glueing.
Joined the top
I’m back again, overcame some difficulties, not yet completely satisfied with results and progress, but I’m confident I will still be able to make this project succesful!
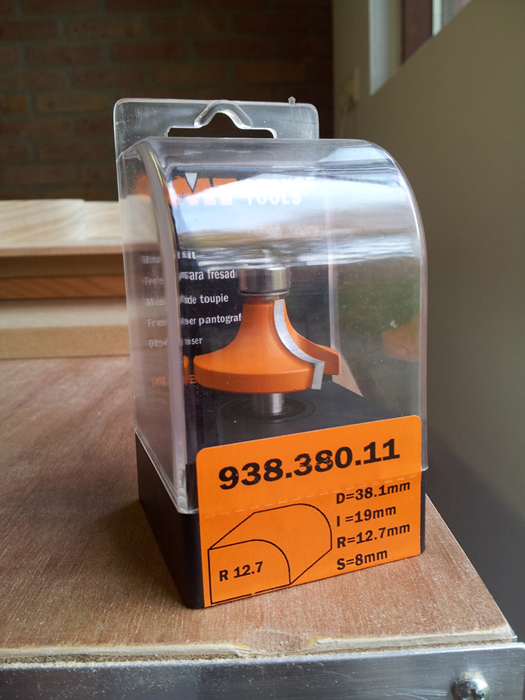
Today I received an important new tool, a 1/2" roundover bit. Pricy, but good quality. I’m a bit anxious using it on the swamp ash, since I got tear out last time, but I will make a test piece first.
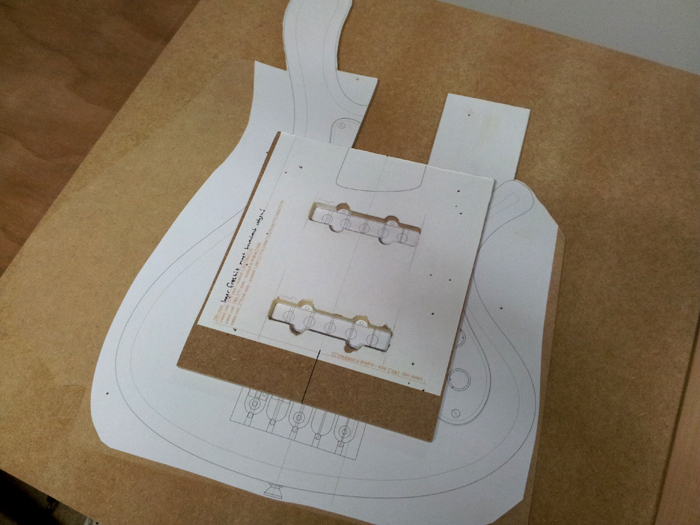
Then I test fitted the pickups in the template I’ve made. It still needs some small adjustments, but it’s pretty close already:
After some reshaping and masking tape patches, I’m ready to copy the master template into the template that also contains the neck pocket and gets shaped to the body contours for easy alignment. I will do that next time:
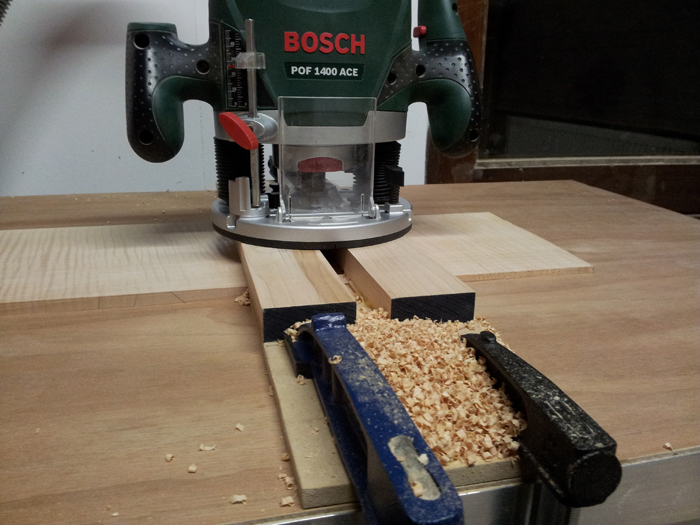
Back to the maple top. This is the jig I’ve used to plane it down from 8,5 mm to 6 mm. Don’t copy this method, results were bad:
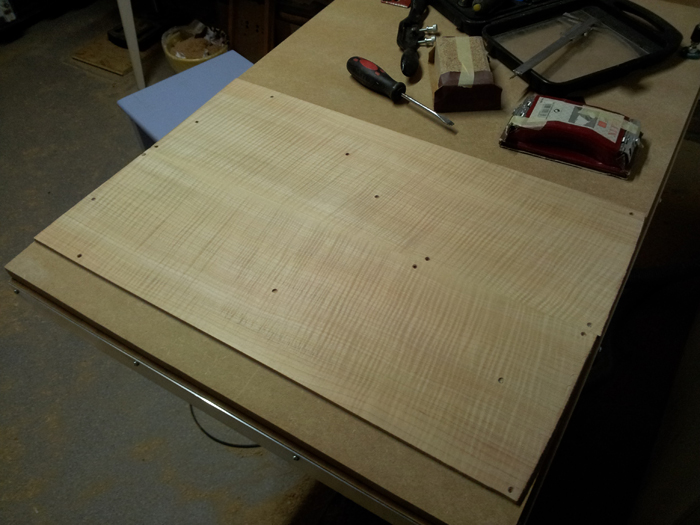
As I already told in the previous post, I used a sled (same method as with the control cavity cover) to correct this. That worked out pretty well (no pictures, sorry), but didn’t deliver a glueable surface as well. So, I screwed down the two halves of the top to a thick piece of MDF; the maple wasn’t completely flat and this ensured a flat working surface. The screws are all just outside the body contour and I will also use them when glueing the two halves together later on. I then sanded and scraped the two pieces flat, by hand, making them ready for glueing:
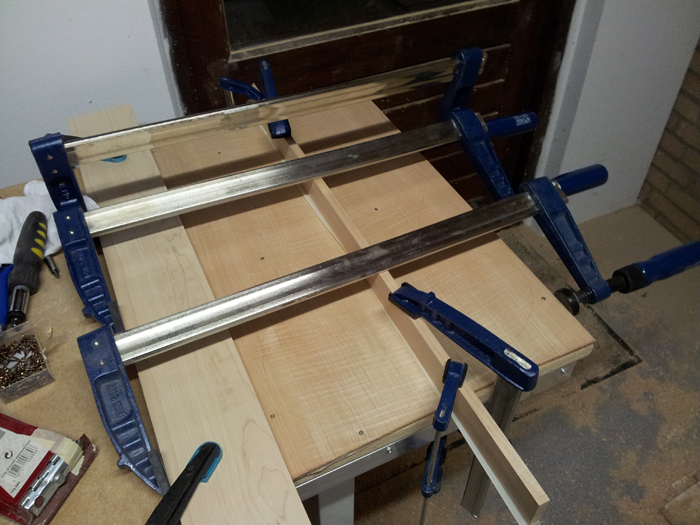
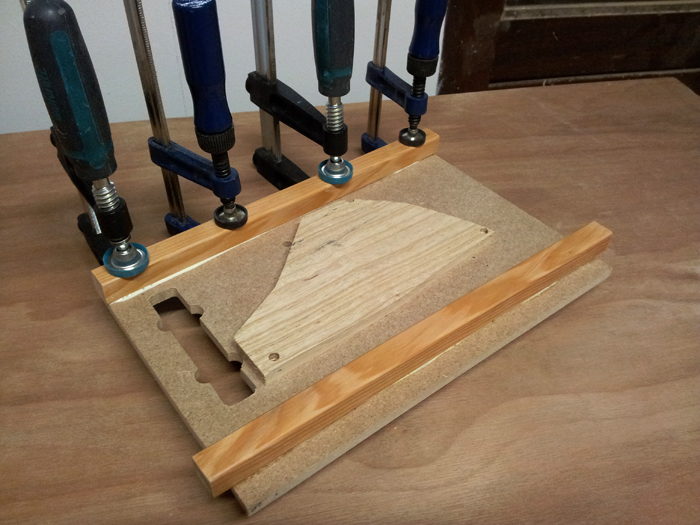
Time to glue the two halves of the top together. You can never have too many clamps and I barely got enough, as I used all of my clamps on this:
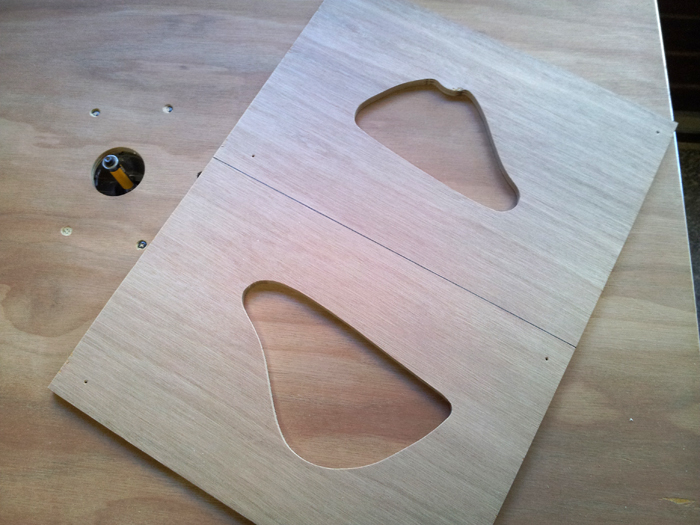
But, I’m rather pleased with the result, this being the glue line:
Planing the top
Text-only update tonight:
I wanted to plane down my flamed maple top, because both the body and top came in thicker than I’d ordered or than I counted on. The body is 37 mm instead of 35 mm and the top is 8.5 mm instead of 7 mm. This gave me, together with the wenge veneer, a total thickness of 46.1 mm, which I do not like. Too thick.
So, I made a router jig with the router on top (handheld mode), but since the pressure varies when operating the router, the result came out to be very inconsistent, a.k.a. awkward. Really. So, today, I’ve made a large sled like the one from the cavity cover and used that to plane the maple. Had to take of a bit more, but now the result is much better. Since I do not press down the sled (only move it around holding the sides) and the router is fixed, this is obvious a better way. Although, it still needs some sanding and I’ve got a deviation of about 0.20 to 0.25 mm.. top thickness right now is about 5.75 mm and the total thickness will be 43.2 mm.
There was another difficulty: one half was slightly bowed and I needed to press it down while routing / planing. This is where the sled worked better too: I clamped the top tightly against the sled and countersunk some screws in there to keep it flat.
Now, I still need to sand the halves some more, get the joint right (and planed correctly), glue the two halves together, cut out the body shape and sand the top flat.. this was certainly not a very good idea and I’m very curious if I get a good looking top with an almost perfect glue joint like on my first bass…
Conclusion: I will never try to ‘plane’ large surfaces again with my router and self made jigs… I really need to start looking for an affordable jointer and thickness planer. Or I’ll visit a local cabinet maker for the remaining parts of this bass.
When I proceed with the top, I’ll post some more pictures.
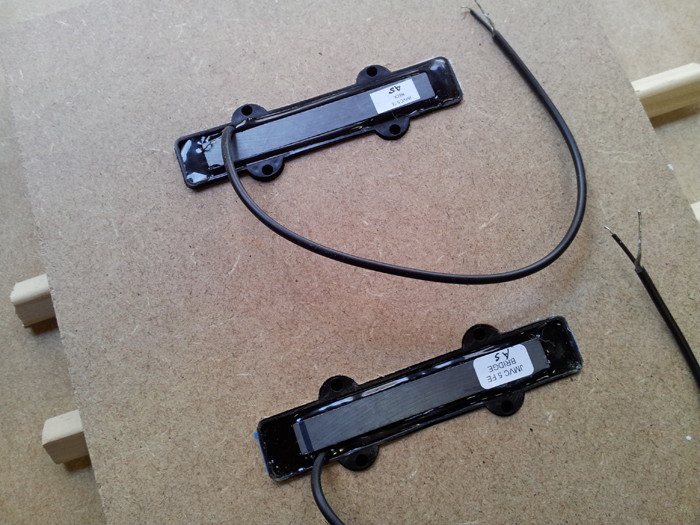
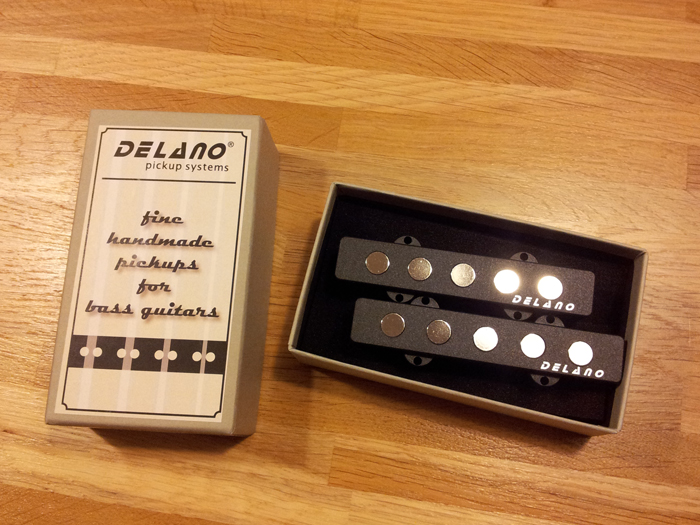
Delano JMVC pickups
The control cavity
After ‘planing’ the cover, cutting and then routing it to the right size I got this:
I needed the cover first, so I would know how thick it turned out, being able to route the recess to the exact same depth so that the cover would sit perfectly flush with the body. Time to align the control cavity on the body:
Removed almost all of the wood with my jigsaw (did I already mention I want a band saw?):
And after routing against my templates the control cavity was finished:
And, more importantly, with the matching cover in place.. I’m rather happy with the grain selection – it’s from a different part of the blank, but it fits pretty well. Also, the gap is quite consistent around the cover:
Now I’m ready to glue on the top and veneer (didn’t to that yet because my router bits aren’t tall enough, so I needed to be able to reach the cavity from both sides), but first I have to ‘plane’ the top to the desired thickness.
Control cavity cover
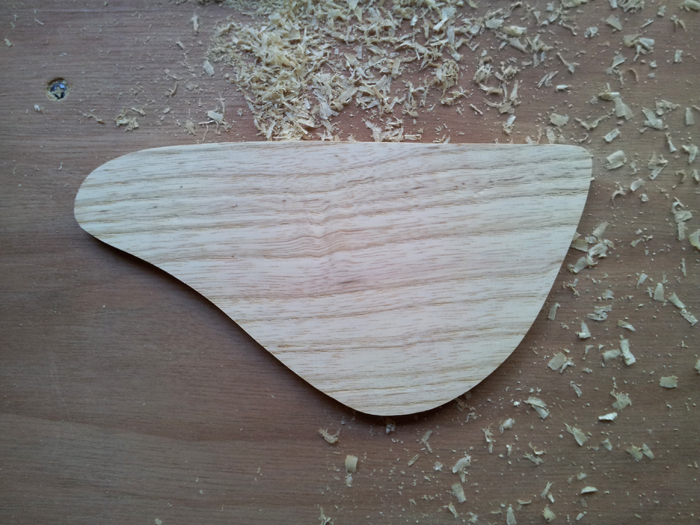
Today I routed the control cavity cover about 0.5 mm smaller and sanded it smooth. Then, I copied it to the final plywood template. It fits much better, although I’m still not completely satisfied with the consistency of the gap between body and cover. So I will probably do some fine tuning soon. Here’s what I’ve got right now:
Then I started making the real control cavity cover. I took some time selecting a piece that has an almost equal grain pattern (from the same blank, on the same ‘height’, so it’s pratically the same grain but somewhat shifted to the left). I think it will be very cool, hope it comes out the way I imagined.
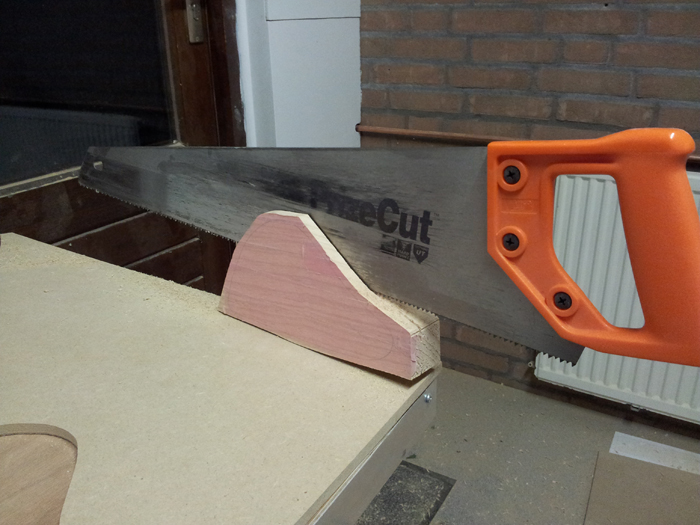
No bandsaw, no thickness sander or planer.. so I’m going the MacGuyver way… First, I cut the selected piece from the body blank with a jigsaw. Then, I clamp it to the table and slice of a piece (about 3/8" thick) with a hand saw:
Of course, the thickness varies and I need to ‘plane’ it to the desired thickness of 1/4". So, I grab a left over piece of 3/8" thick MDF and screw the cover-to-be to the MDF. I pre-drilled the swamp ash and I also sunk the screws using a counter sink bit, so that they sit lower than the desired thickness of the cover – I don’t want to run into those screws with my router! The screws are also placed safely outward the edge of the control cover. I also could have used double sided tape, but I feel this method is better, since the cover needs to sit really tight and flat against the board, to get an equal thickness in the end. Then, I glue two bars on each side of the cover to the MDF, like this:
Next time, when the glue dried, I will put this assembly upside down on my router table and ‘plane’ the cover to the desired thickness. Then, I’ll cut most of the excess wood of with the jigsaw and use a copy bit on my router to cut it flush with the template. A lot of work altogether, but well worth the effort: I like a wooden (matching) cover way better than a plastic one.
Control cavity templates
After fiddling with the control cavity master template for a while, I finally got it right and copied it into the final control cavity template. The outside template is oversized so I can use a copy ring – the shallow depth of the cavity cover does not allow the use of a ball bearing router bit (I only have them in an inch length).
I’m pretty happy with the result:
So, onto the control cavity cover. I thought I’d repeat the same process as with the neck pocket template, as you can see here:
On the left the DIY copy ring of the size I needed and on the right the control cavity size with a channel routed on the inside, producing an 1/2" undersized control cavity cover shape.
I attached another piece of MDF to this undersized cover and cut it to size using the copy ring setup. Due to the sharp corners on both ends I needed to touch up those spots with some extra wood and some filler. After that, I got this:
I’m pretty much satisfied with the result, although I need to sand it down a bit before I transfer it to the final plywood template… if I wouldn’t do so, I would never be able to remove the cover once it’s in the bass (without damaging it, that is).
New neck blanks
Just a quick post to let you know I received the new neck blanks! The one I ordered at the wood supplier, together with all the other wood, was full of cracks, discoloration and knots. They accidently sent me the wrong piece of hard rock maple.. although they’re willing to correct this for me, delivery time is 3-6 weeks and I cannot wait that long..
Luckily, fellow TalkBass member DaanW arranged new blanks for me. Thank you very much!!
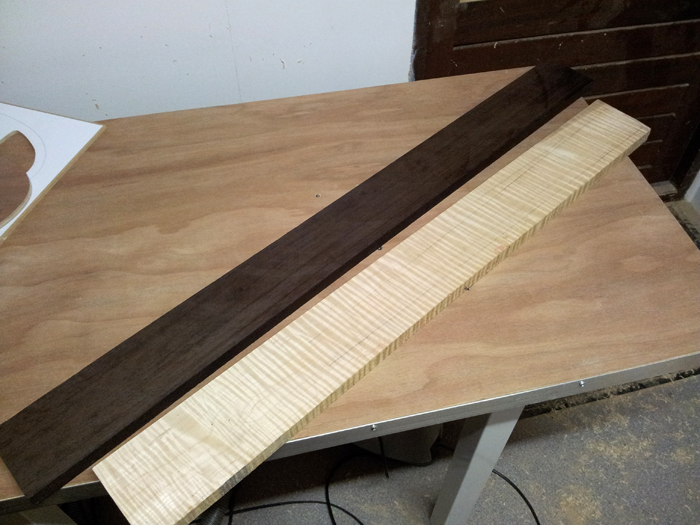
Here they are:
On the left, perfectly quartersawn Wenge and on the right a very nice looking piece of Flamed Maple. I’ll probably am going to use the maple, for it fits my design best. I always wanted to build a bass with a Wenge neck, but I imagine that would be better for a four string fretless. So, if everything goes well.. who knows.. the next one could be a Paradox FL4.
Picked a truss rod
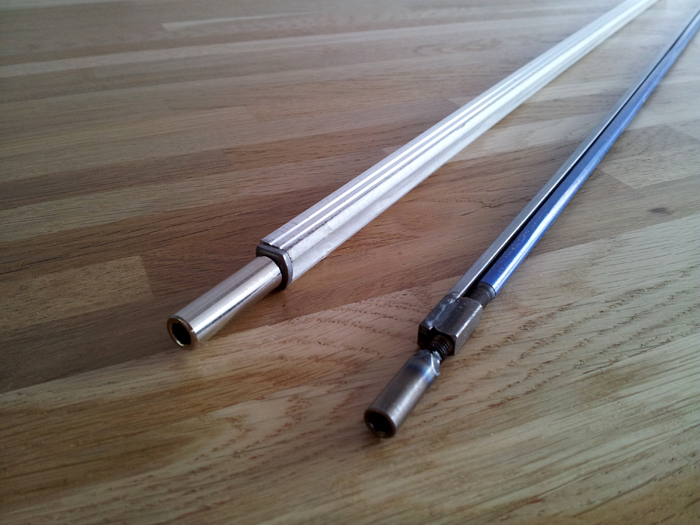
I switched to a double action truss rod with a flat passive rod, it’s a little longer, but more important it’s only 6 x 9 mm, opposed to the rather large 10.32 x 11.11 mm of the Martin style rod. Although the latter feels a lot more sturdy and safer, I think it’s oversized compared to my neck and I also got those carbon fiber rods I’m going to put in there.. here’s a pic:
Routing the body
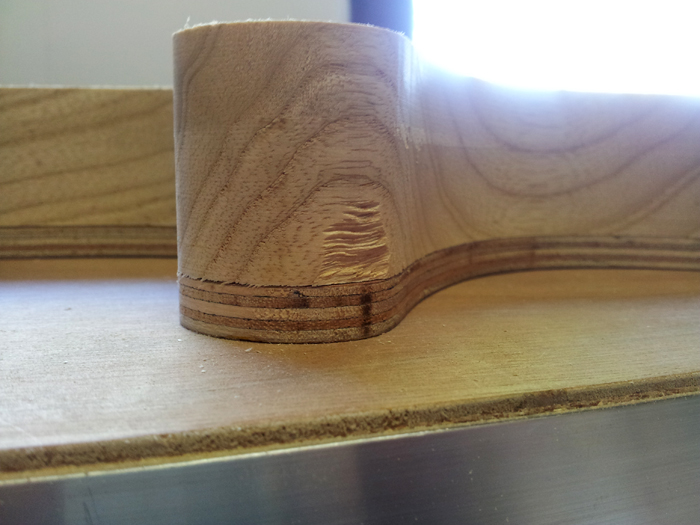
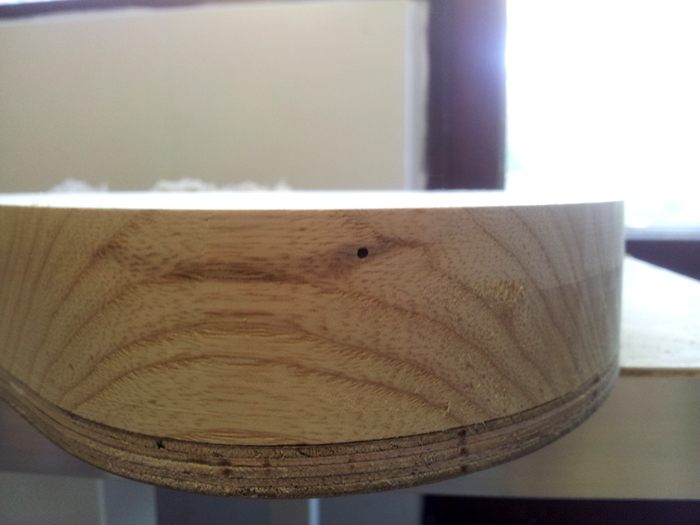
So the story continues, but things didn’t went quite well. I made some mistakes routing the body and it took a while before I got the hang of it: changed to a new (sharper) bit and lowered the router speed. So finally I got it right, but then, this already happened:
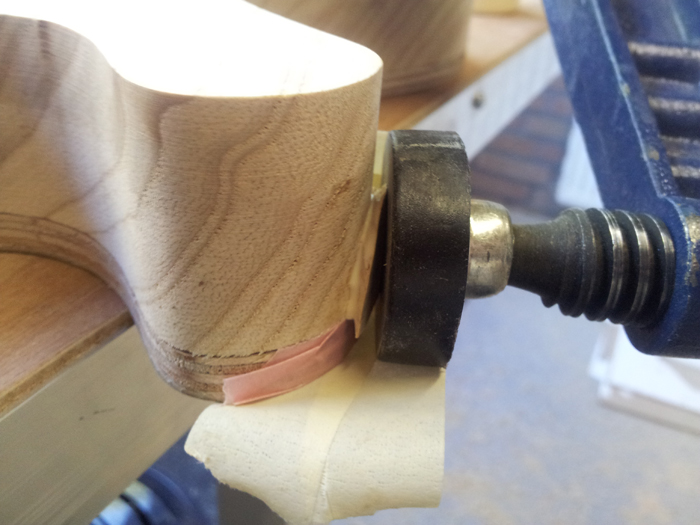
Luckily I found the piece back and it fit good, so I glued it back:
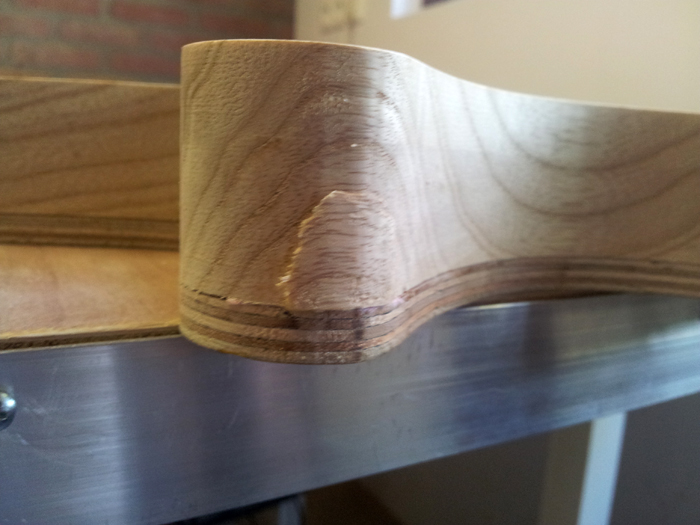
And rasped it close to shape:
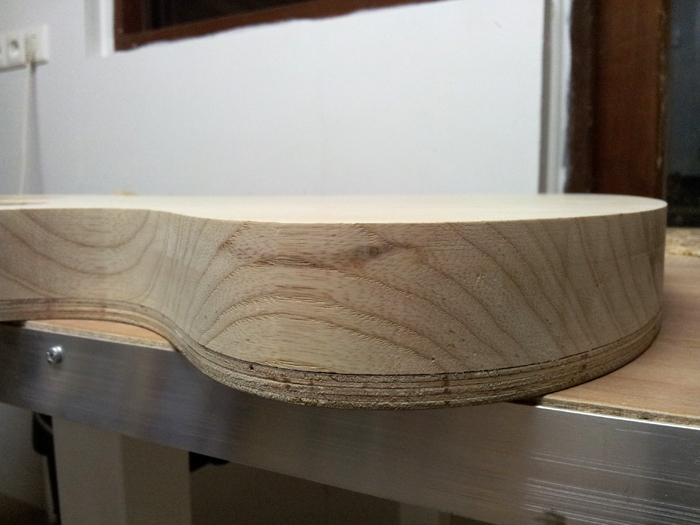
After routing, I was happy to see this:
On the other end of the body, I encountered a small black hole:
But some Titebond and a toothpick got that fixed too:
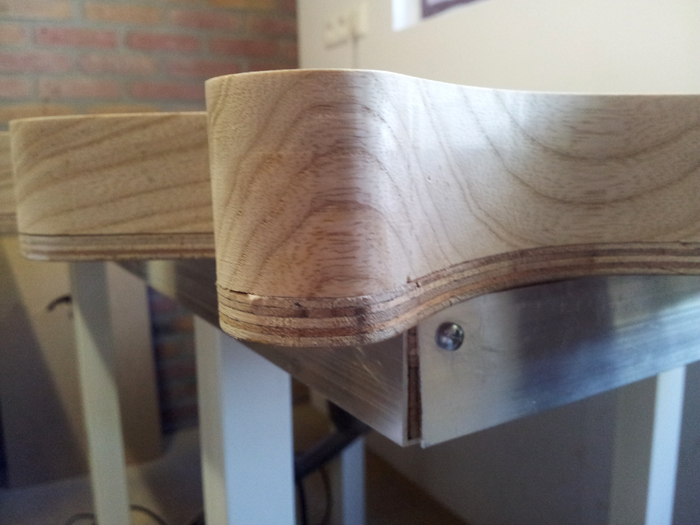
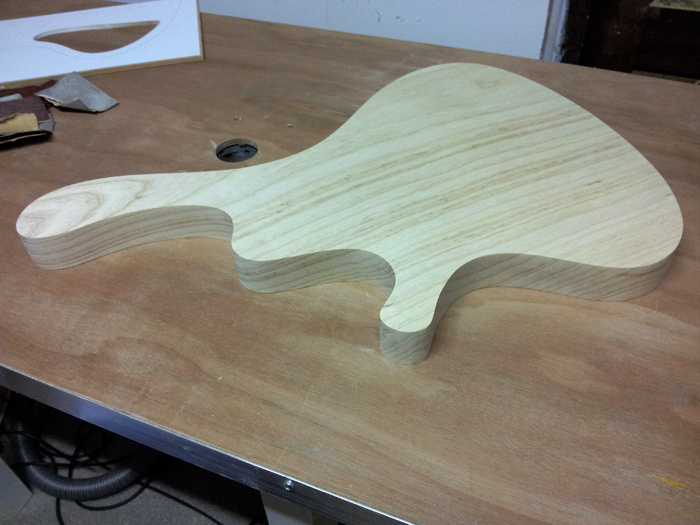
So, I ended up with this, which is pretty okay:
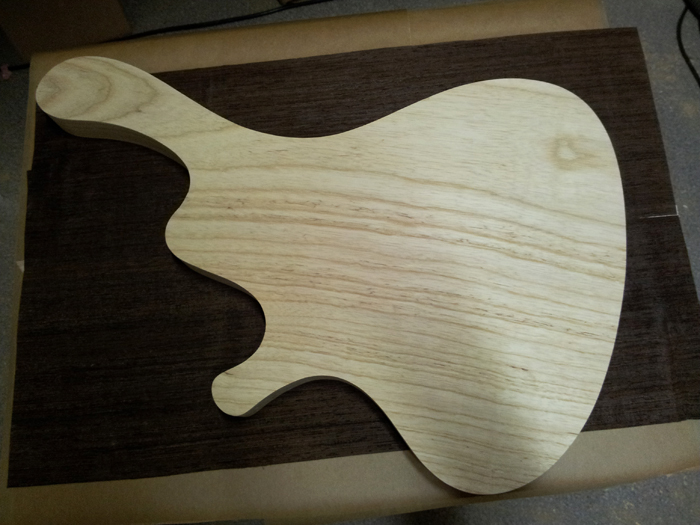
But still, the routed edge wasn’t perfect.. few rough spots and some other very small tear out (sort of grain damage). I filled the very small tear out with a little glue and sawdust, and spent over two hours sanding the edges from 40 up to 180 grit. Now, I am almost satisfied and the body has got a pretty smooth edge:
I also joined the two parts of the veneer by hand: clamped the pieces under a straight hardwood neck blank, slightly protruding, and sanded them flush with a sanding block. Really easy and a very good result. I taped the two parts together with masking tape and on the other side, you can barely see the joint anymore.
So. I learned a lot this weekend!
Next up: control cavity.

