Routing the headstock

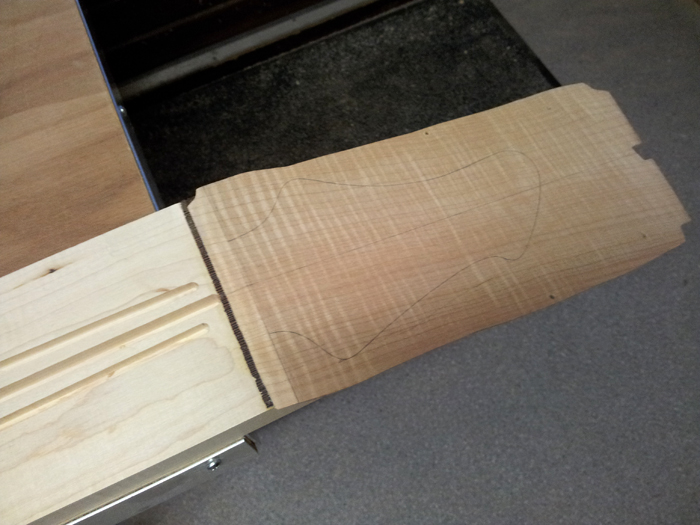
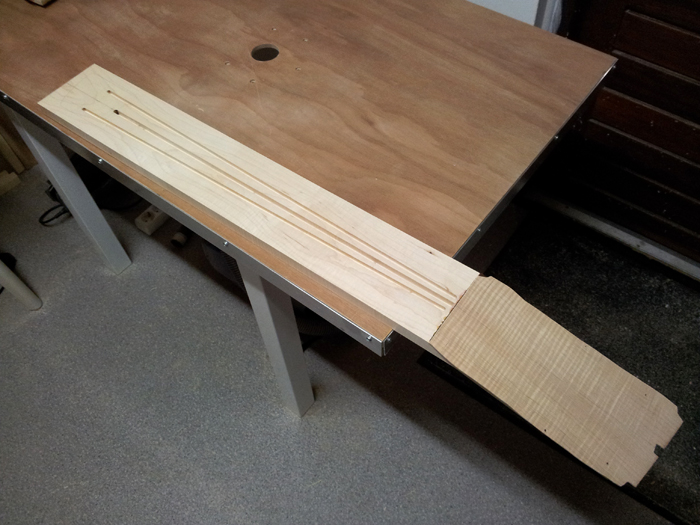
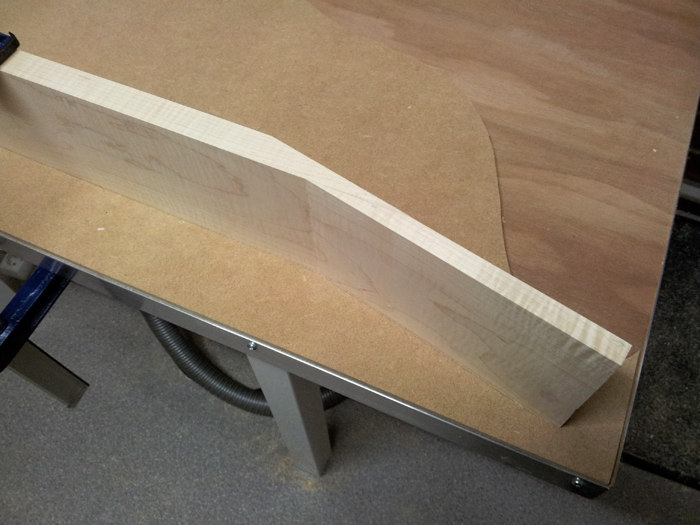
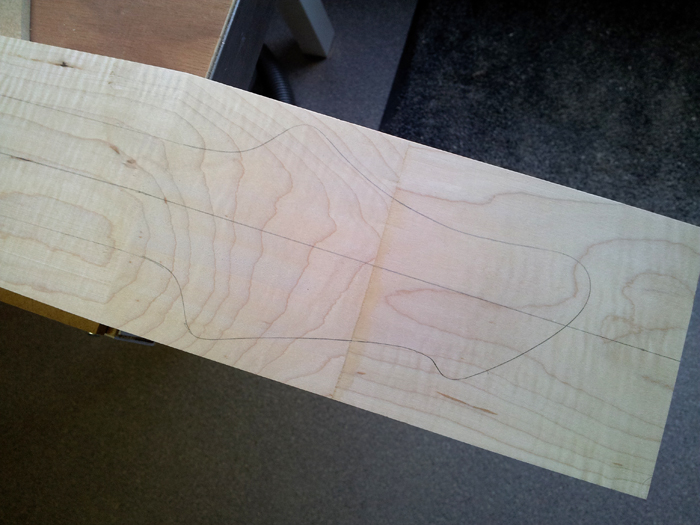
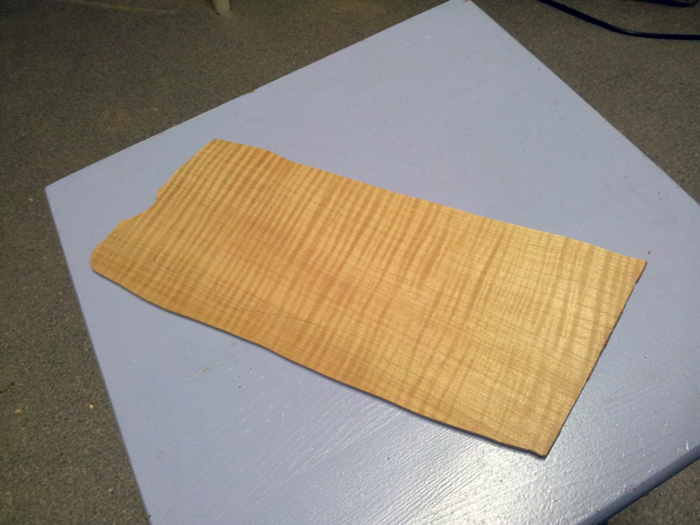
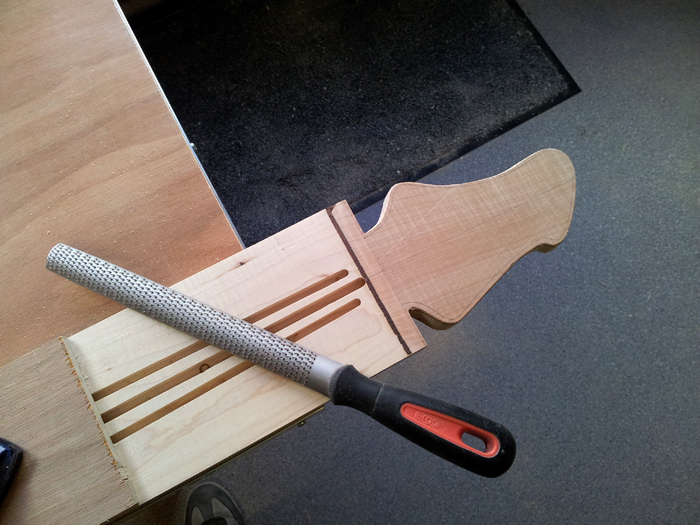
Proceeding with the headstock, I shaped it roughly with a rasp, bringing it closer to the intended outline:

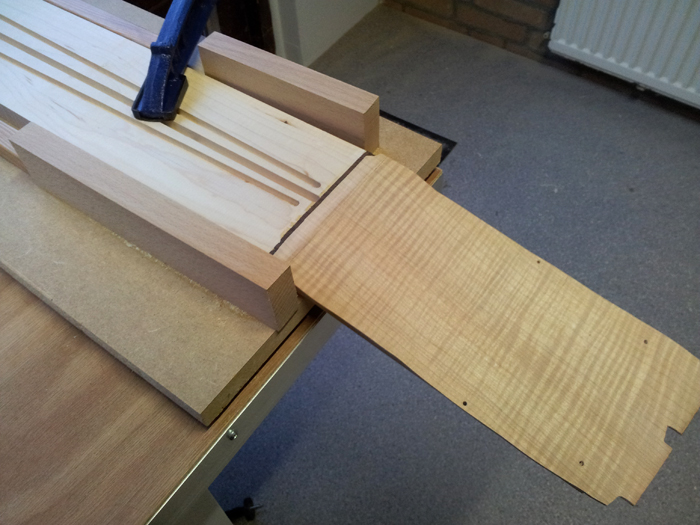
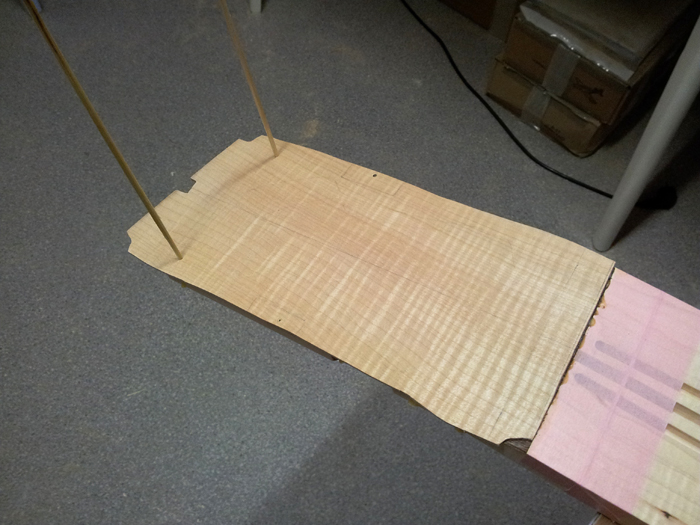
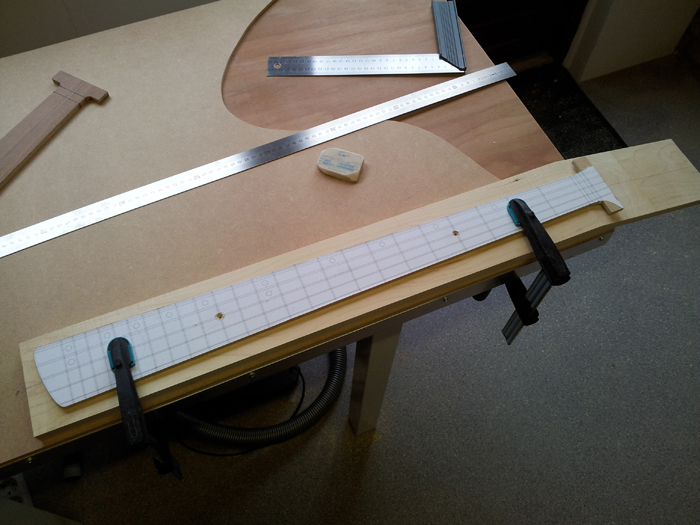
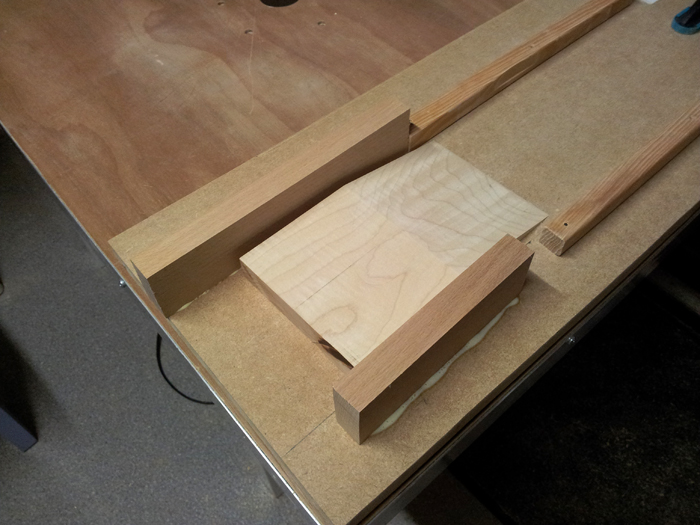
aligned the template and taped it to the headstock:

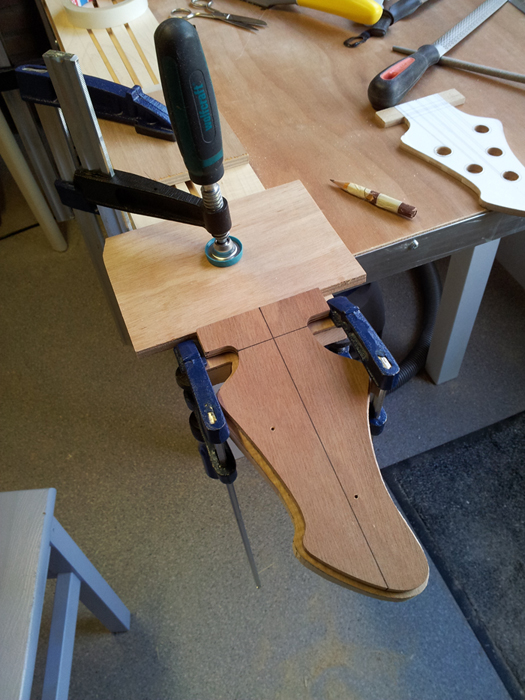
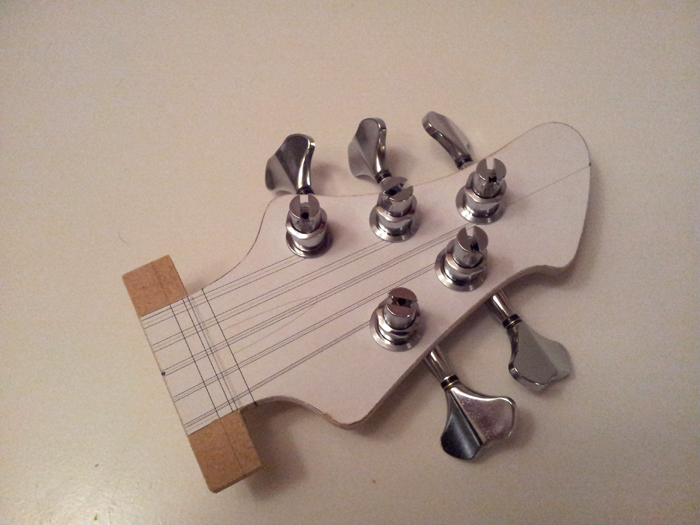
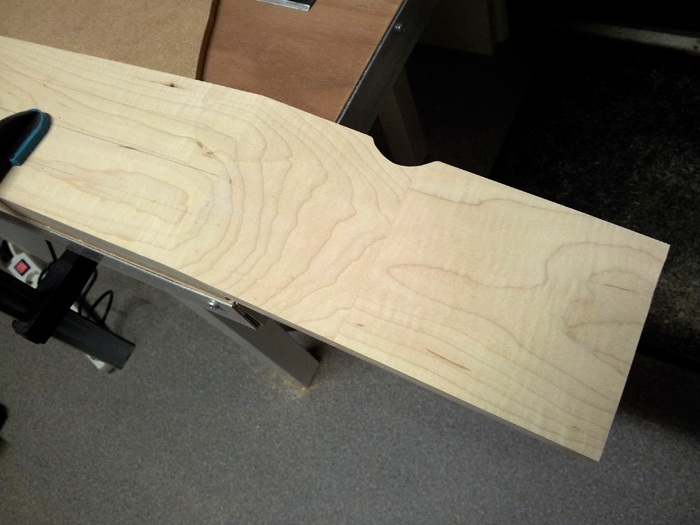
and routed it to it’s final shape. Say hello to Mr. Headstock:

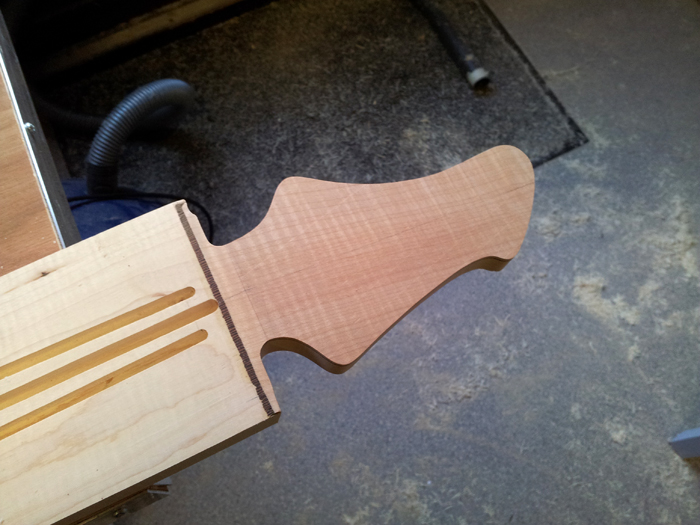
And a note to everyone who wants to do it this way: don’t! The headstock is way too small to be a good base for the router. I pulled it off somehow, but it wasn’t a huge success. I had one tip over that I managed to fix and some minor tear out that I’m working on right now. It’ll be okay in the end, but on my first bass I shaped it entirely by hand and that was a much more satisfying and controlled way of coping with this task. On my next bass or guitar, I’ll either do it by hand again or find a better way to machine it.

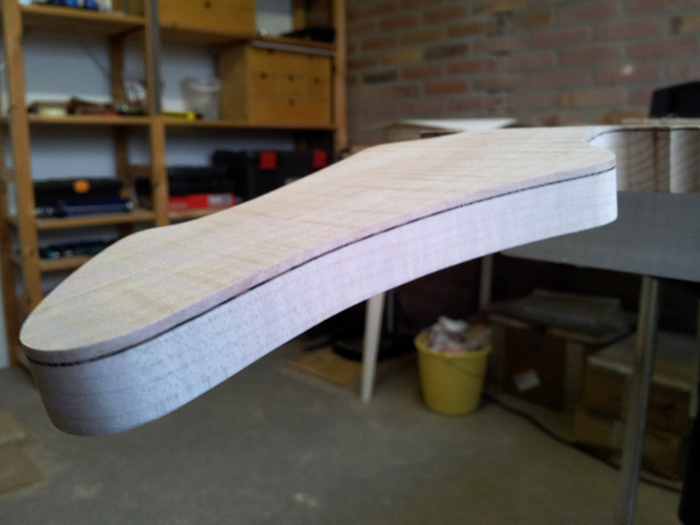
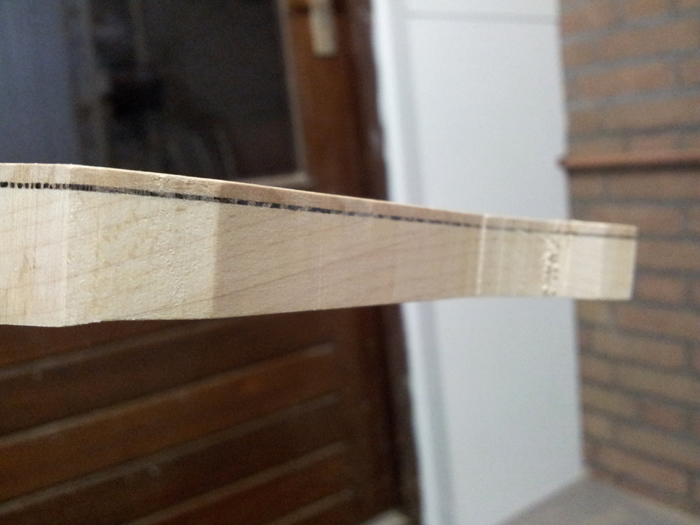
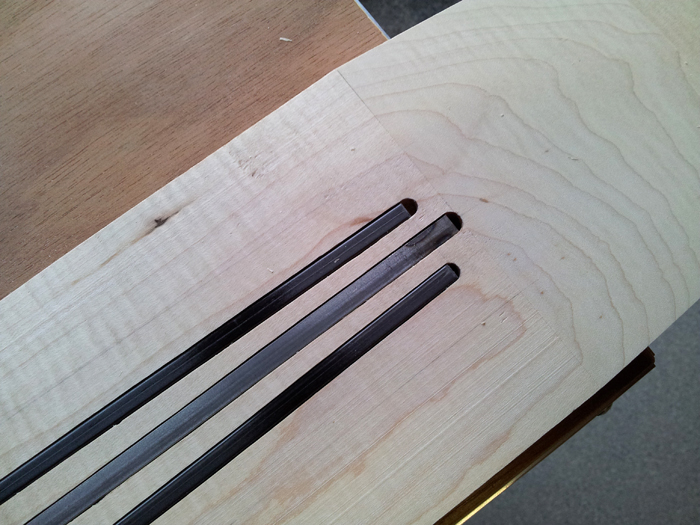
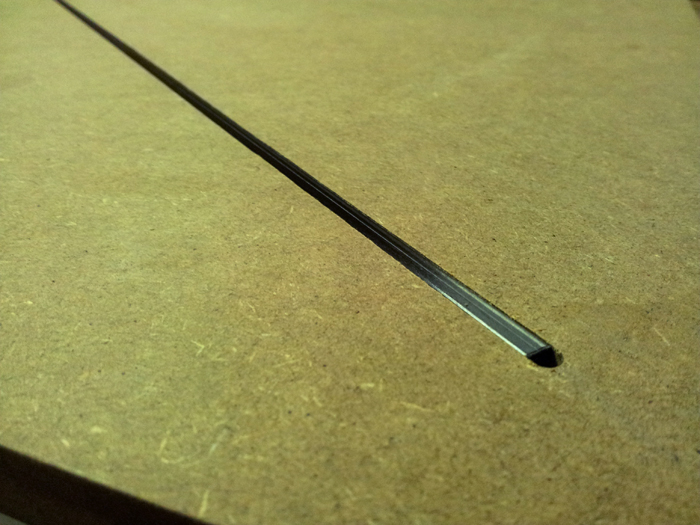
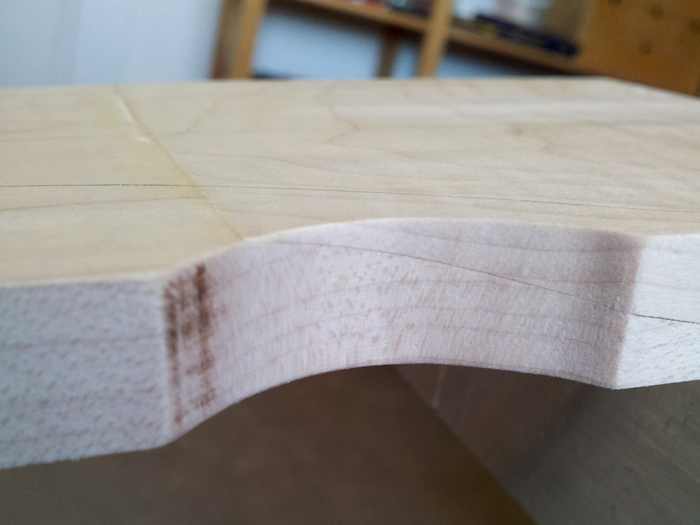
Lastly, a not so sharp but cool close up:

Cutting the headstock

Learning for the Microsoft exam goes well, so I treated myself with some shop time tonight.

First, I cleaned up the endings of the veneers with my router, the part that will go under the nut and the fingerboard ending:

That looks better. So I measured like five times and drew the final headstock outline on the ‘blank’:

One thought crossed my mind before I was ready to start cutting up my blank… I didn’t test fit the tuners yet, only made the drawing on my computer.. what if they do not fit in the end? Better do a test fit first, so I used the master template for that. Looks good, tight, but I like it:

Cutting with a jigsaw is scary at this stage, no room for mistakes. I didn’t dare to cut closer to the outline than this, so I’ll do the last millimeters with a rasp before I’ll route the headstock to it’s final shape. The rough cut headstock now looks like this:

And a sideview. The veneers came out perfect, the scarf joint reasonably well, maybe a bit better than I expected and almost in the same direction as the grain, which helps hiding it in the end:

That’s it for today.

Peghead veneers glued

Time for another very small update.

I glued the headstock veneers (0.6 mm Wenge and 2 mm Flamed Maple) on today, using a lot of clamps:

I did the alignment with cocktail sticks for the first time and I liked it! Spot on alignment and no shifting at all:

So, this is the neck in progress as I have it right now:

Not sure if I’ll make some progress next week, because I have to learn for a Microsoft exam on Friday, but I now only need to clean up the joint under the nut, file in the truss rod access cavity and then, I’m ready to cut out the neck! I might glue in the rods before I do that, but it’s going to be fun .

The truss rod channel

So, same story for the truss rod. First, a test run:

Then for real. This is a test fit (I know it’s upside down, but I did not create the access cavity at the nut yet, so the rod doesn’t go in all the way, and this way I can test fit the widest part of the rod):

A close up of the rod configuration at the body end:

And one at the nut (now, I flipped the truss rod over so I could see how it’ll fit when there’s room for the adjustment nut):

Now, I’ll first glue on the headstock veneers before I create the truss rod access / adjustment cavity.

Carbon fiber rod channels

I’ve made the simplest jig ever, but very effective. I needed to route the truss rod channel and carbon rod channels, both of different width. On my previous bass, I’ve made a sled with guides to route parallel to the edges of the neck blank, but since I wanted to route the carbon rod channels at an angle, I needed something else. So I came up with this: make a template containing a 17 mm wide slot, use a copy bit (17 mm wide) and I’ll be able to clamp it onto the neck in various angles, route in a straight line and use different sized router bits:

Routing a test channel for the carbon rods into MDF:

That worked like a charm:

So I proceeded routing those channels into the neck. I may put a little piece of wood into the end of the top channel, being a little bit too long, but overall I’m satisfied:

And a close up:

I hope to route the truss rod channel tomorrow…

The scarf joint

And the result, seems a nice joint:

So I marked the center and layed out the templates on it:

This is how the headstock will look, I like it a lot myself!

But on the other side the glue line didn’t look as good as I’d hoped. Although the pieces fit well, at the edge the glue line isn’t as invisible as it could be. I decided to carry on, I do not think it’s a problem structurally, but I hope it turns out better when shaped. But I do think it’s a pitty, I prepared this one rather well, but oh well.

I removed some material for inspection:

And cleaned up the face of the headstock part of the neck, over here the joint looks perfect. Seems I need to plane the surface better before gleuing next time, I guess:

Now onto the rod channels….

Headstock parts

So, this are the parts that’ll become the headstock, including the previously thinned down flamed maple piece, matching the top of the body:

I made a quick planing jig to thin the headstock down from 20 mm to a tad under 13 mm:

Came out great! The total thickness of the sandwich is 15.61 mm, so I have about 0.1 mm left to sand off during the shaping to get at my desired 15.5 mm headstock thickness:

Please be patient

Sorry to keep you all waiting for so long, but the slow pace is killing me too.. last weekend I finally had time to work on the bass for a little longer, but, of course, I got ill…

Today I threw a rail jig together to plane the peghead veneer down to 2 mm. No complications this time, but no pictures either (cell phone battery died). I routed it from the top using the enlarged router base plate I made for the scarf joint jig. Looks good and can’t wait to proceed with the neck.

Next I’ll plane the headstock down before glueing the scarf joint. After that the veneers and then onto the rods.

Peghead veneer

Some small progress again for today: I am halfway creating a peghead veneer.

I selected a piece of leftover from the flamed Maple top, with the Wenge veneer at the back. It’s about 6 mm thick and I need the veneer to be 2 mm thick in the end. Difficulty is that it bent like crazy with the already slightly warped Maple core, the Wenge veneer and lots of Titebond. So I made a sled and mounted the piece on it, forcing it back to flat. I figured that if I’d thin it from the back, I remove the Wenge and glue, so removing the stress from the sandwich and I’ll end up with a rather flat piece of Maple I can use as a veneer.

All went well, but when I was thinning the top with the sled on my router table, I noticed that when I reached 4 mm thickness, the center of the piece started to bend in the other direction… This would make my veneer uneven, so I stopped right away, removed the Maple from the sled and cut out the piece I needed from the larger leftover:

Now, I will need to find another way to plane it down further, but since this piece is smaller and a lot less bent, I think that won’t be much of a problem. But to continue the way I was planing the piece would’ve led to an uneven veneer.

This bass serves me a lot of experience working with wood that is not working with me. It’s slowing things down but it’s a great experience. In the meantime I’m pondering about my home made drum sander and dreaming about buying a jointer / thichkness planer and bandsaw.