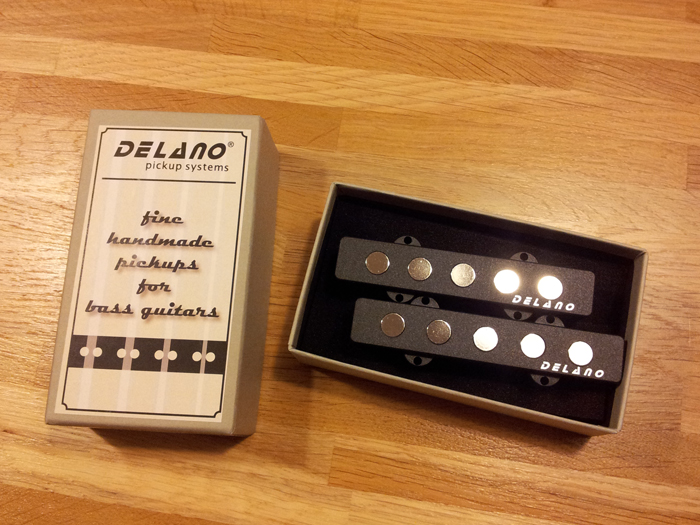
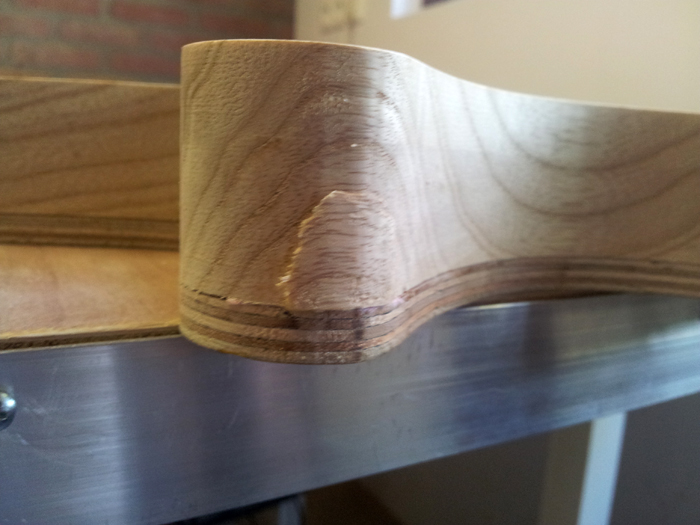
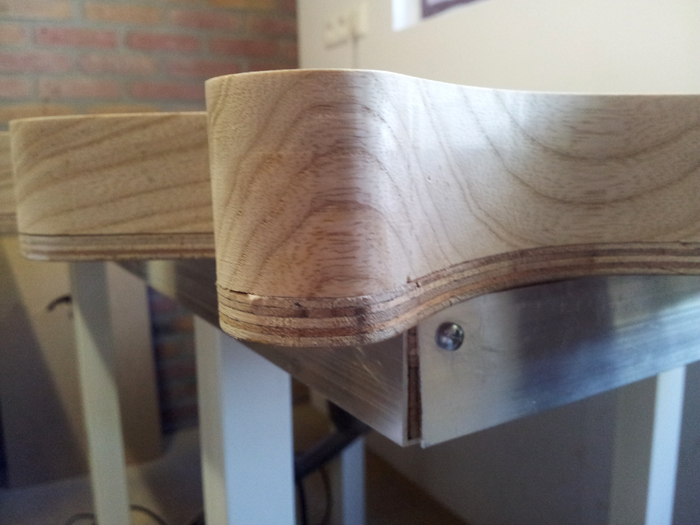
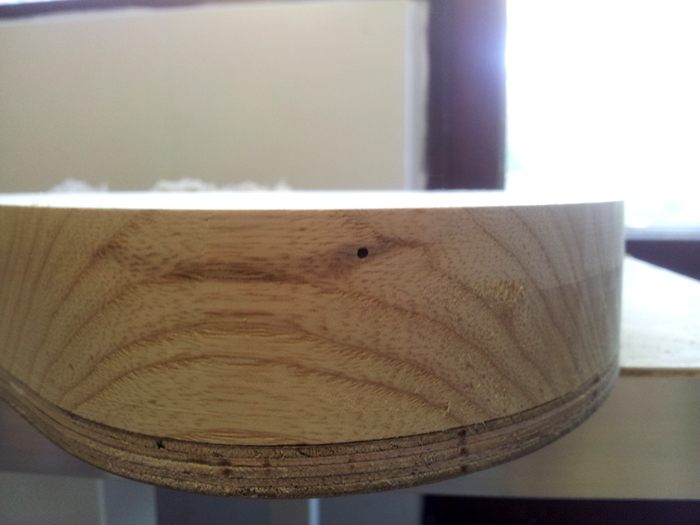
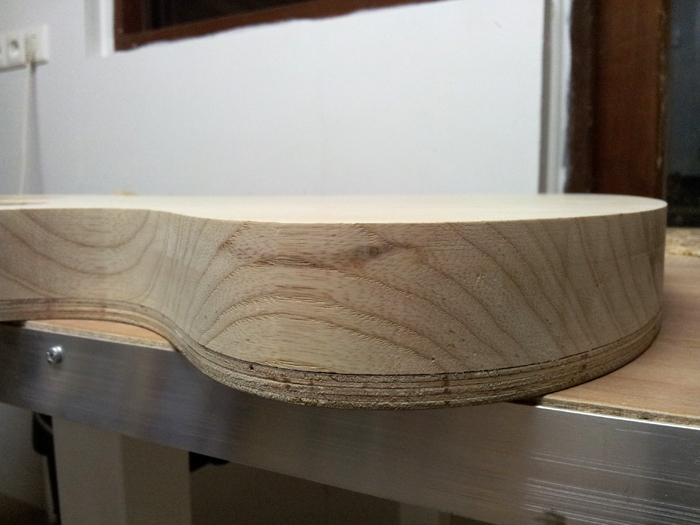
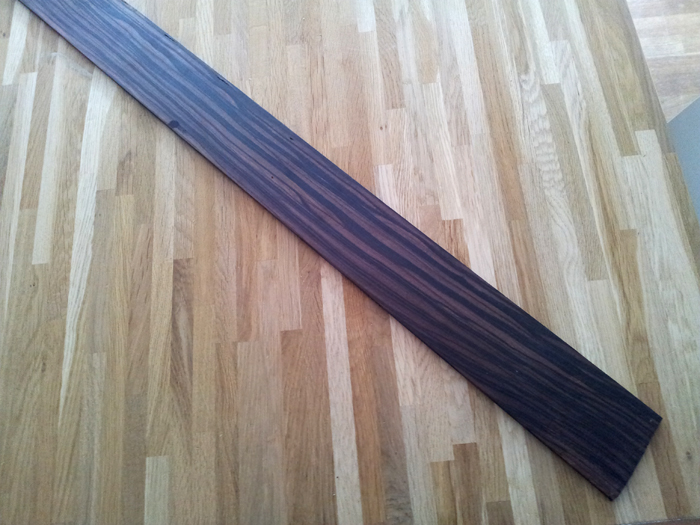
And today, no building, but.. this arrived: mmm.. tasty!
Author Archives: Rob Habraken
The control cavity
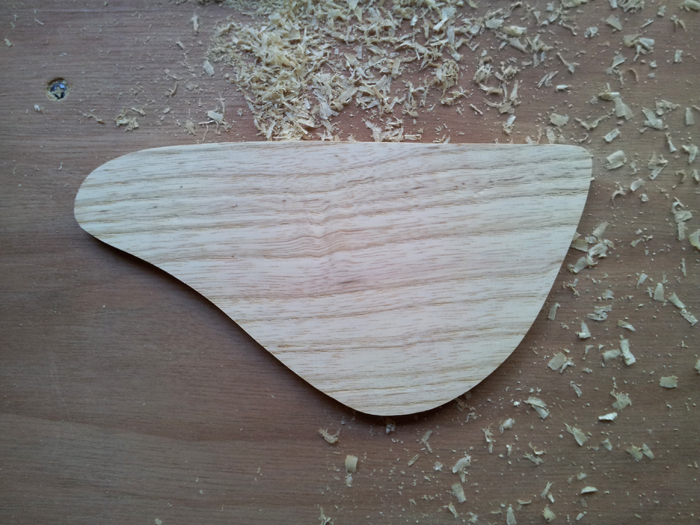
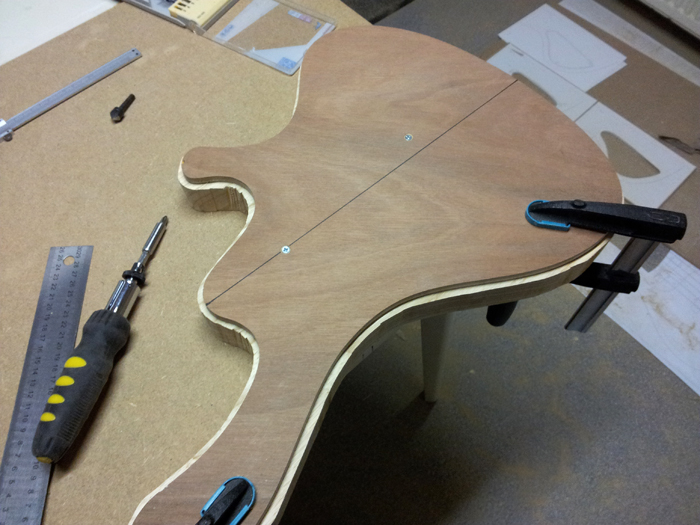
After ‘planing’ the cover, cutting and then routing it to the right size I got this:
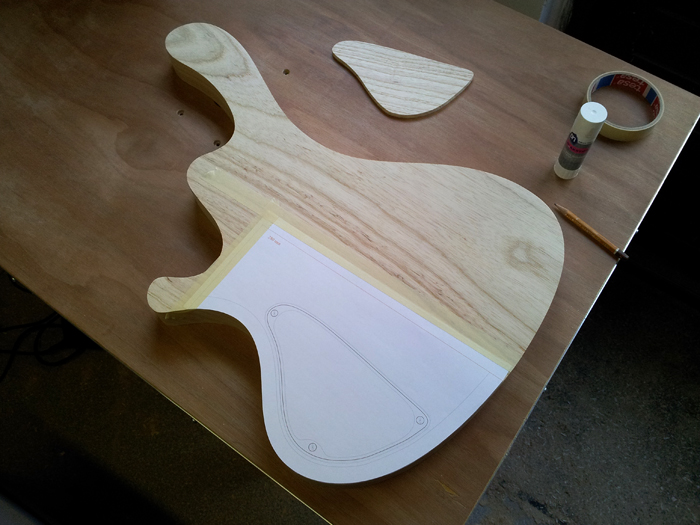
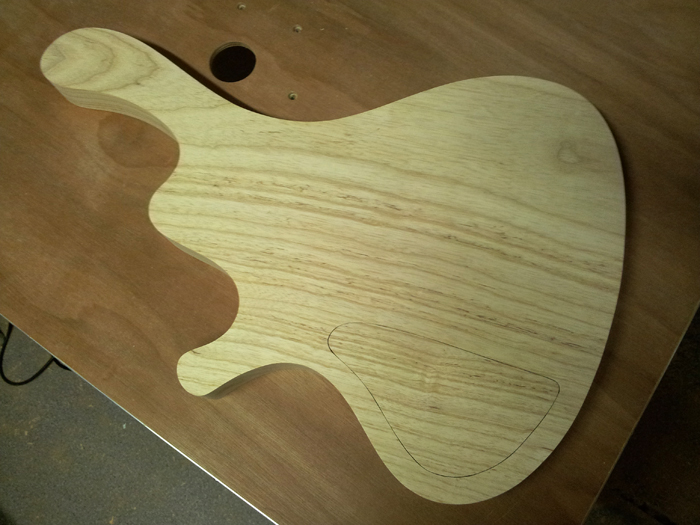
I needed the cover first, so I would know how thick it turned out, being able to route the recess to the exact same depth so that the cover would sit perfectly flush with the body. Time to align the control cavity on the body:
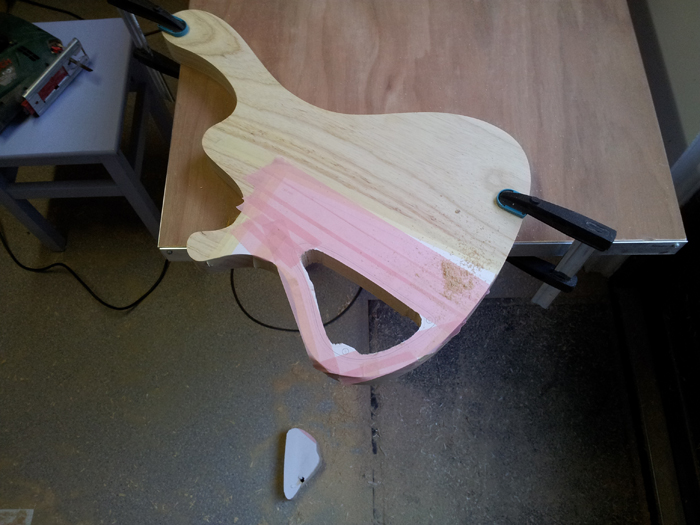
Removed almost all of the wood with my jigsaw (did I already mention I want a band saw?):
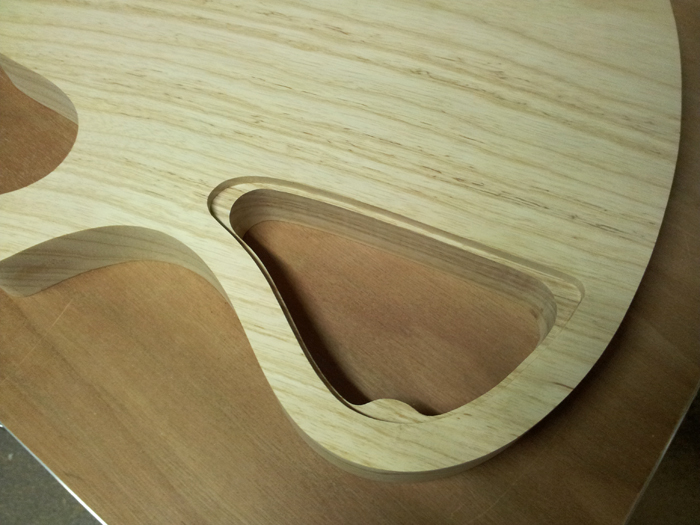
And after routing against my templates the control cavity was finished:
And, more importantly, with the matching cover in place.. I’m rather happy with the grain selection – it’s from a different part of the blank, but it fits pretty well. Also, the gap is quite consistent around the cover:
Now I’m ready to glue on the top and veneer (didn’t to that yet because my router bits aren’t tall enough, so I needed to be able to reach the cavity from both sides), but first I have to ‘plane’ the top to the desired thickness.
Control cavity cover
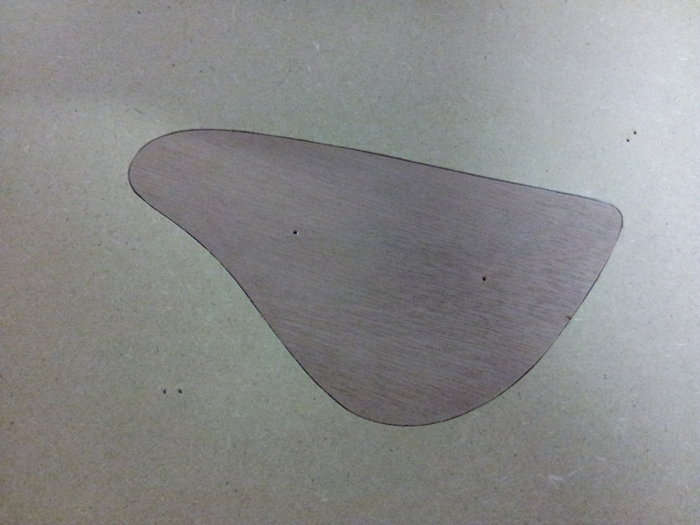
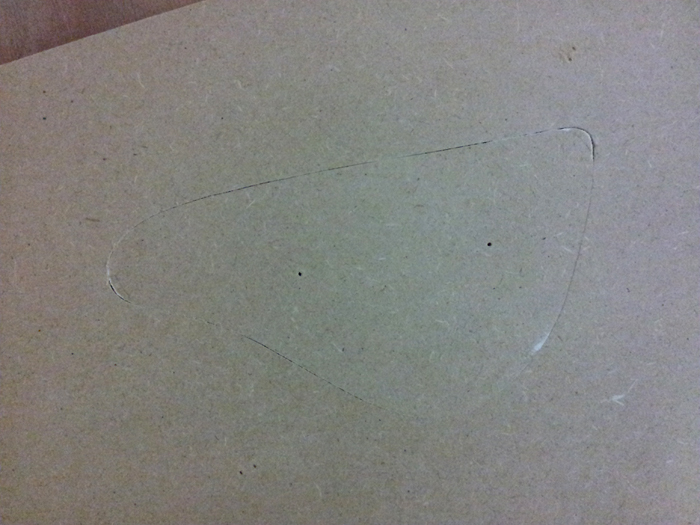
Today I routed the control cavity cover about 0.5 mm smaller and sanded it smooth. Then, I copied it to the final plywood template. It fits much better, although I’m still not completely satisfied with the consistency of the gap between body and cover. So I will probably do some fine tuning soon. Here’s what I’ve got right now:
Then I started making the real control cavity cover. I took some time selecting a piece that has an almost equal grain pattern (from the same blank, on the same ‘height’, so it’s pratically the same grain but somewhat shifted to the left). I think it will be very cool, hope it comes out the way I imagined.
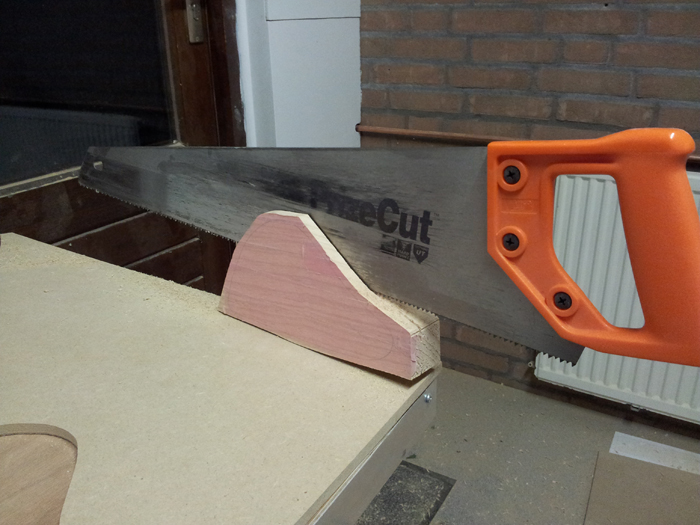
No bandsaw, no thickness sander or planer.. so I’m going the MacGuyver way… First, I cut the selected piece from the body blank with a jigsaw. Then, I clamp it to the table and slice of a piece (about 3/8" thick) with a hand saw:
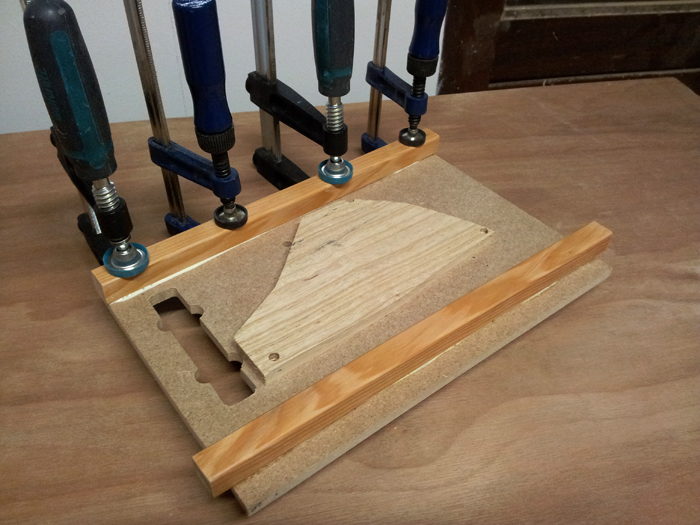
Of course, the thickness varies and I need to ‘plane’ it to the desired thickness of 1/4". So, I grab a left over piece of 3/8" thick MDF and screw the cover-to-be to the MDF. I pre-drilled the swamp ash and I also sunk the screws using a counter sink bit, so that they sit lower than the desired thickness of the cover – I don’t want to run into those screws with my router! The screws are also placed safely outward the edge of the control cover. I also could have used double sided tape, but I feel this method is better, since the cover needs to sit really tight and flat against the board, to get an equal thickness in the end. Then, I glue two bars on each side of the cover to the MDF, like this:
Next time, when the glue dried, I will put this assembly upside down on my router table and ‘plane’ the cover to the desired thickness. Then, I’ll cut most of the excess wood of with the jigsaw and use a copy bit on my router to cut it flush with the template. A lot of work altogether, but well worth the effort: I like a wooden (matching) cover way better than a plastic one.
Control cavity templates
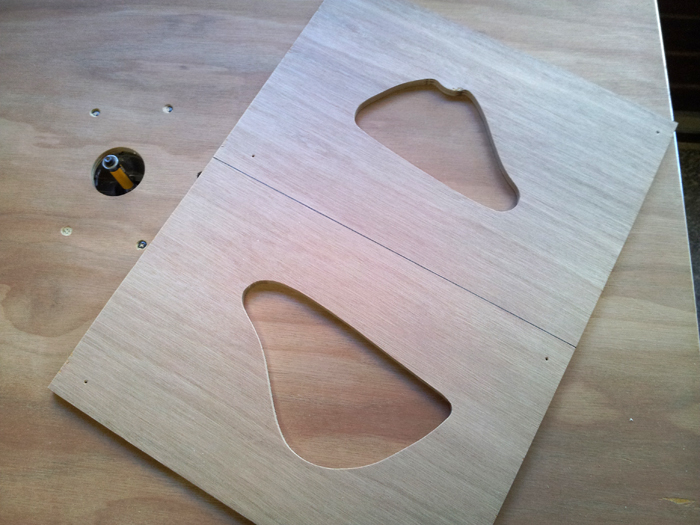
After fiddling with the control cavity master template for a while, I finally got it right and copied it into the final control cavity template. The outside template is oversized so I can use a copy ring – the shallow depth of the cavity cover does not allow the use of a ball bearing router bit (I only have them in an inch length).
I’m pretty happy with the result:
So, onto the control cavity cover. I thought I’d repeat the same process as with the neck pocket template, as you can see here:
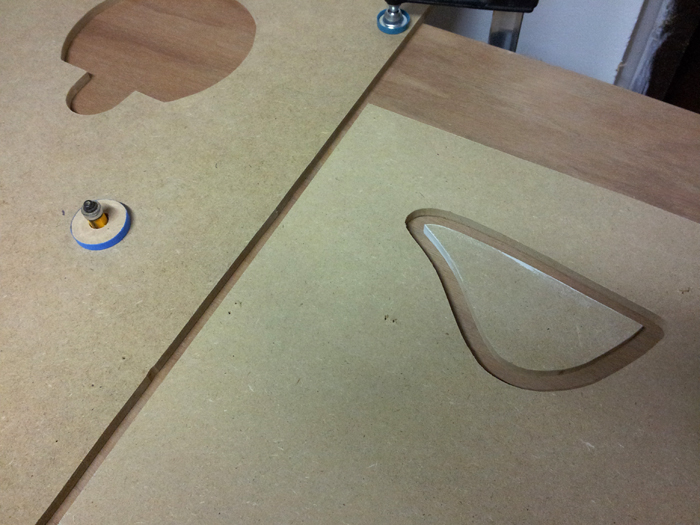
On the left the DIY copy ring of the size I needed and on the right the control cavity size with a channel routed on the inside, producing an 1/2" undersized control cavity cover shape.
I attached another piece of MDF to this undersized cover and cut it to size using the copy ring setup. Due to the sharp corners on both ends I needed to touch up those spots with some extra wood and some filler. After that, I got this:
I’m pretty much satisfied with the result, although I need to sand it down a bit before I transfer it to the final plywood template… if I wouldn’t do so, I would never be able to remove the cover once it’s in the bass (without damaging it, that is).
New neck blanks
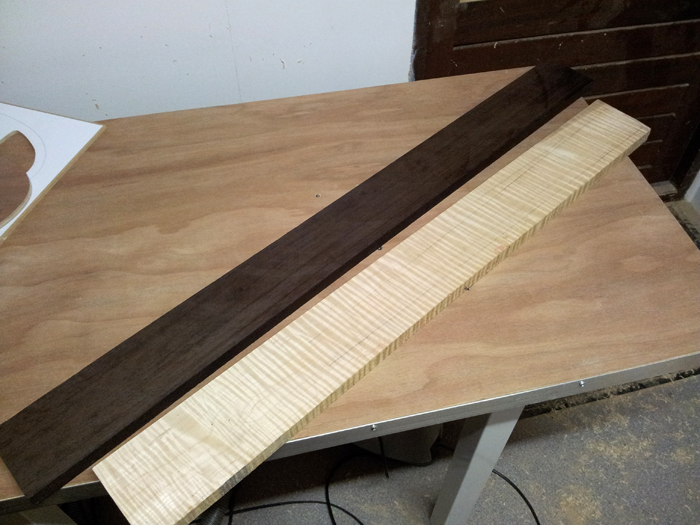
Just a quick post to let you know I received the new neck blanks! The one I ordered at the wood supplier, together with all the other wood, was full of cracks, discoloration and knots. They accidently sent me the wrong piece of hard rock maple.. although they’re willing to correct this for me, delivery time is 3-6 weeks and I cannot wait that long..
Luckily, fellow TalkBass member DaanW arranged new blanks for me. Thank you very much!!
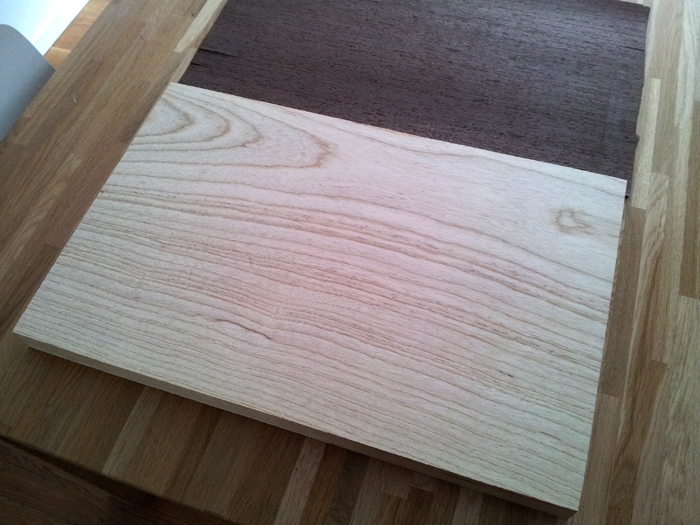
Here they are:
On the left, perfectly quartersawn Wenge and on the right a very nice looking piece of Flamed Maple. I’ll probably am going to use the maple, for it fits my design best. I always wanted to build a bass with a Wenge neck, but I imagine that would be better for a four string fretless. So, if everything goes well.. who knows.. the next one could be a Paradox FL4.
Picked a truss rod
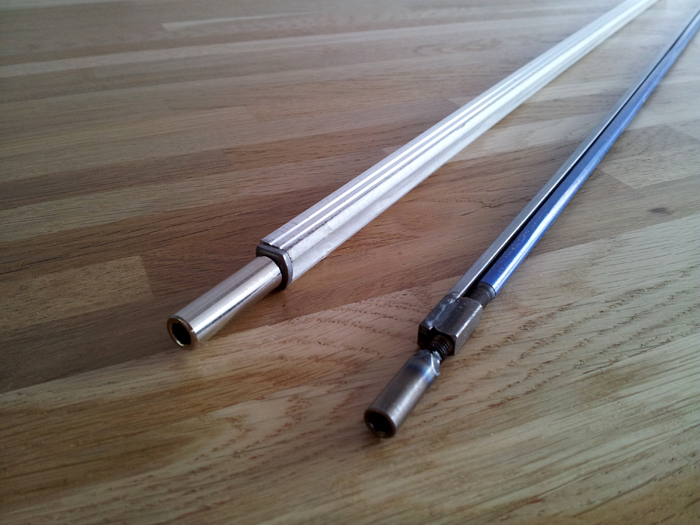
I switched to a double action truss rod with a flat passive rod, it’s a little longer, but more important it’s only 6 x 9 mm, opposed to the rather large 10.32 x 11.11 mm of the Martin style rod. Although the latter feels a lot more sturdy and safer, I think it’s oversized compared to my neck and I also got those carbon fiber rods I’m going to put in there.. here’s a pic:
Routing the body
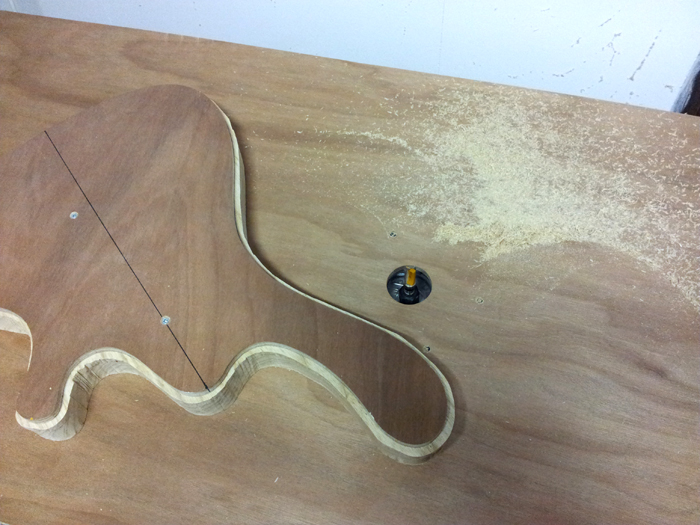
So the story continues, but things didn’t went quite well. I made some mistakes routing the body and it took a while before I got the hang of it: changed to a new (sharper) bit and lowered the router speed. So finally I got it right, but then, this already happened:
Luckily I found the piece back and it fit good, so I glued it back:
And rasped it close to shape:
After routing, I was happy to see this:
On the other end of the body, I encountered a small black hole:
But some Titebond and a toothpick got that fixed too:
So, I ended up with this, which is pretty okay:
But still, the routed edge wasn’t perfect.. few rough spots and some other very small tear out (sort of grain damage). I filled the very small tear out with a little glue and sawdust, and spent over two hours sanding the edges from 40 up to 180 grit. Now, I am almost satisfied and the body has got a pretty smooth edge:
I also joined the two parts of the veneer by hand: clamped the pieces under a straight hardwood neck blank, slightly protruding, and sanded them flush with a sanding block. Really easy and a very good result. I taped the two parts together with masking tape and on the other side, you can barely see the joint anymore.
So. I learned a lot this weekend!
Next up: control cavity.
Cutting the body
Finally! Some real sawdust!
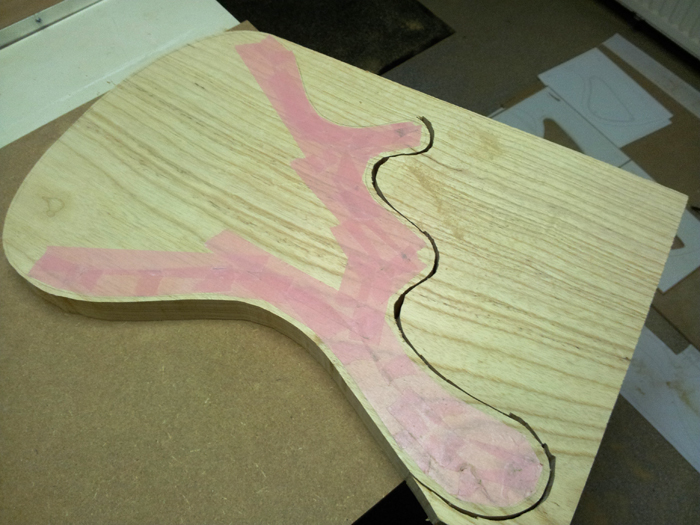
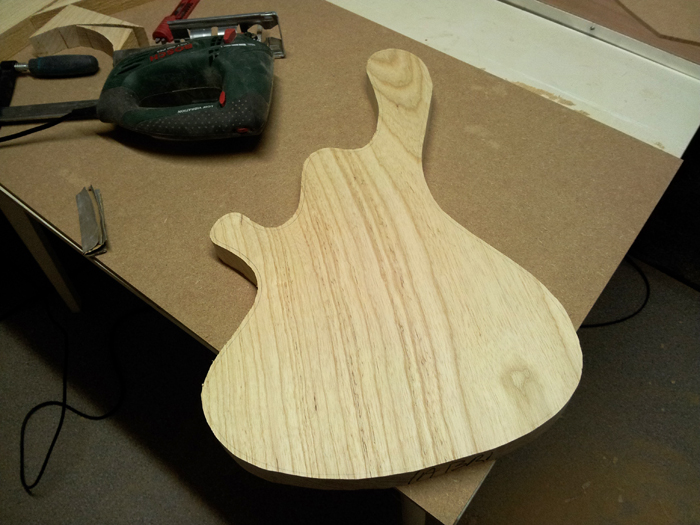
Started cutting the body, using a jigsaw (high on my wishlist: a bandsaw). The pink tape is ‘sensative masking tape’, reduced stickiness.. to prevent grain tear out (not likely on ash, but oh well). It’s there because otherwise the feet of the jigsaw leaves some marks in the wood.
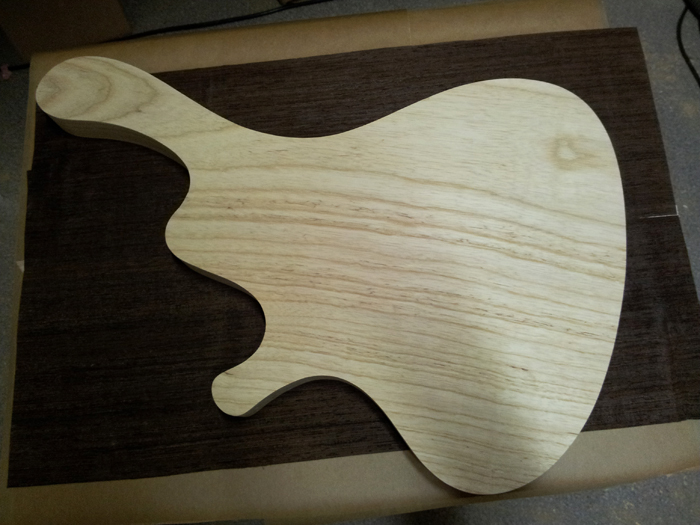
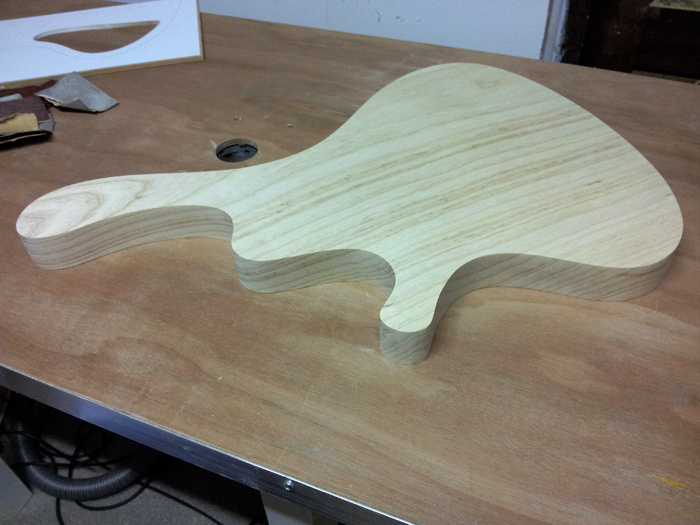
Here it is, the rough cut body. Maybe not the greatest piece of swamp ash, but I still like the grain and it’s a great body wood I think.
Aligning and attaching the template…
And started routing. I will continue tomorrow as it’s past 11 PM right now..
The wood arrived
The wood’s in.. but I am not really satisfied with the neck piece, so I’m looking for a new one right now. Here are some pictures.
Single piece Swamp Ash body blank:
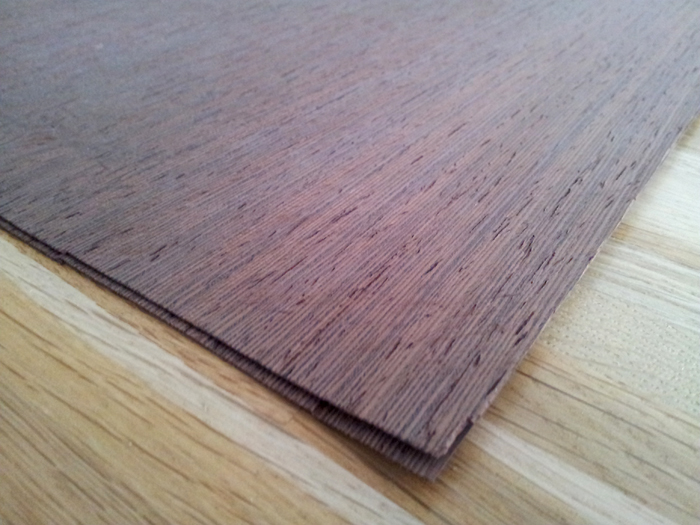
Wenge veneer to use between top and body:
The Macassar Ebony fingerboard blank:
So this is where the merely-plywood-and-mdf-blog-posts end, becoming a real bass build blog!
Waiting for parts
Still waiting for parts. Got some small parts from StewMac, wood will come next week (yeah!) and for the pickups, I’ll have to wait at least another week or two I guess.
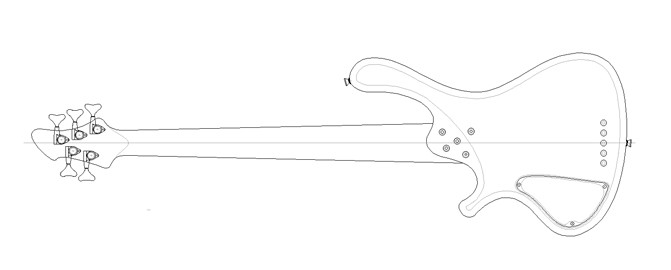
Meanwhile, I finished the design of the back of the bass with a control cavity design and the shape of the neck to headstock transition:
Next step will be to make templates for the control cavity.
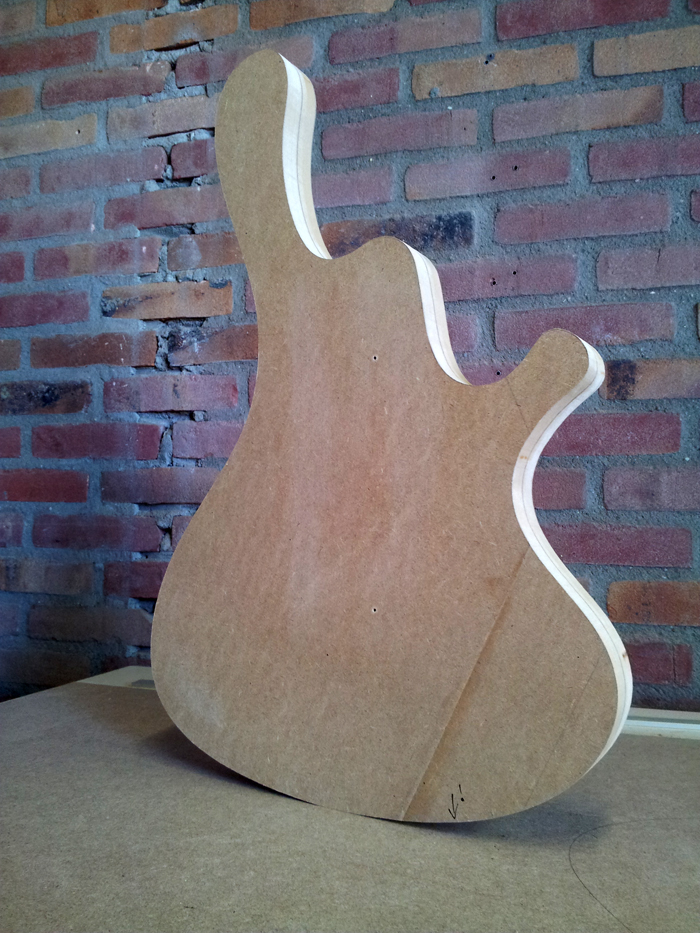
I’m also making an MDF prototype body, to practice shaping the round over, belly cut and heel transition. Some work in progress on that:
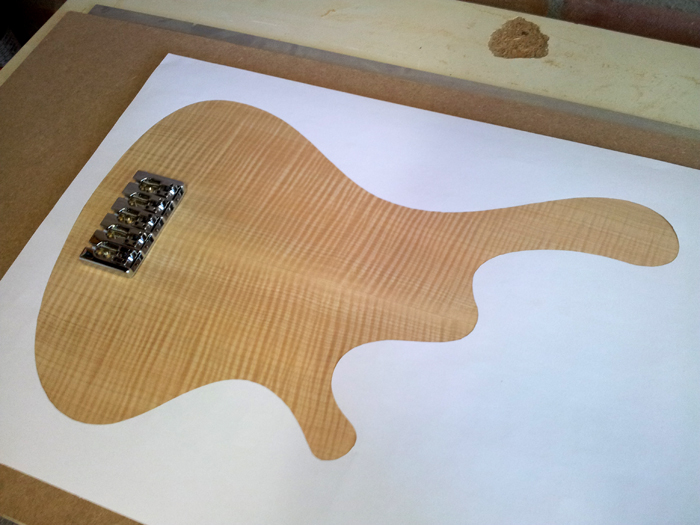
And I’ve made a paper grain selection template and this is how the top will come out:
After the control cavity template I will make a new scarf joint jig and I’ll hopefully receive the pickups so I can finish the pickup and neck pocket template… Then.. I’ll start building

