Preparing the fingerboard blank

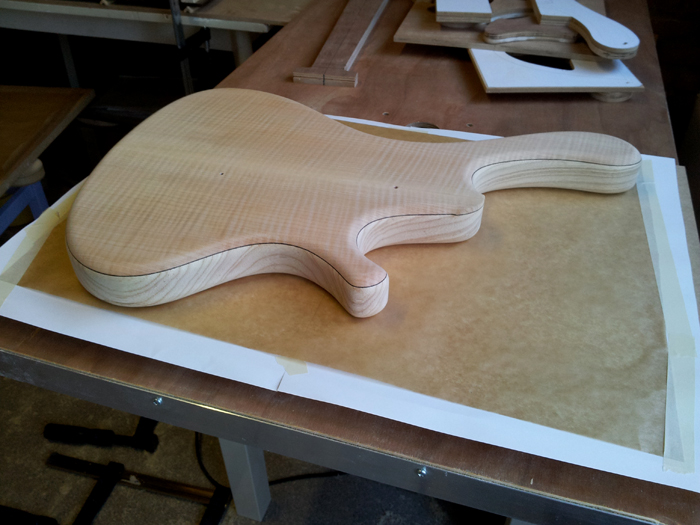
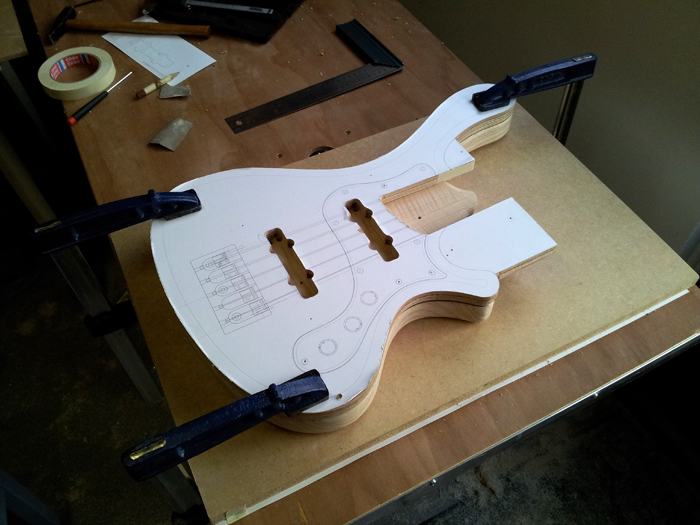
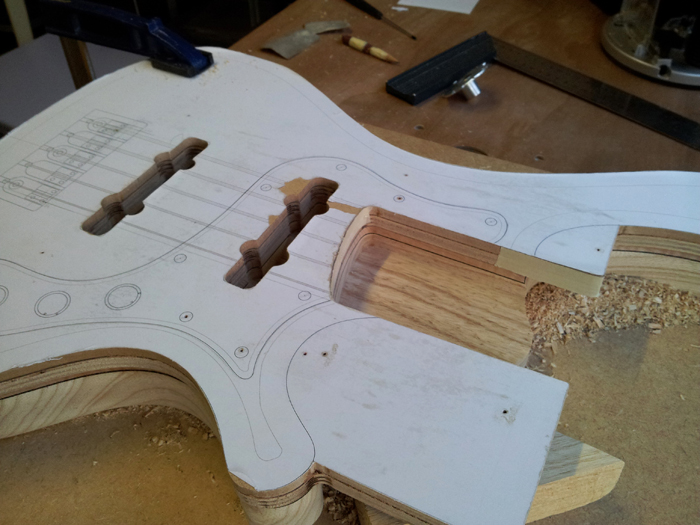
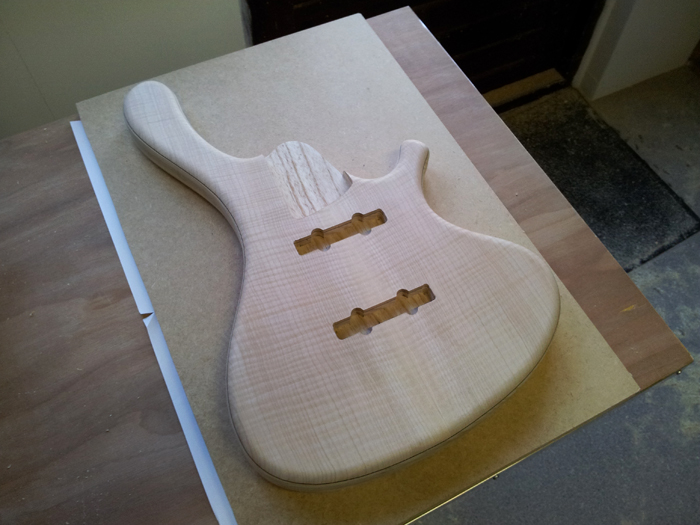
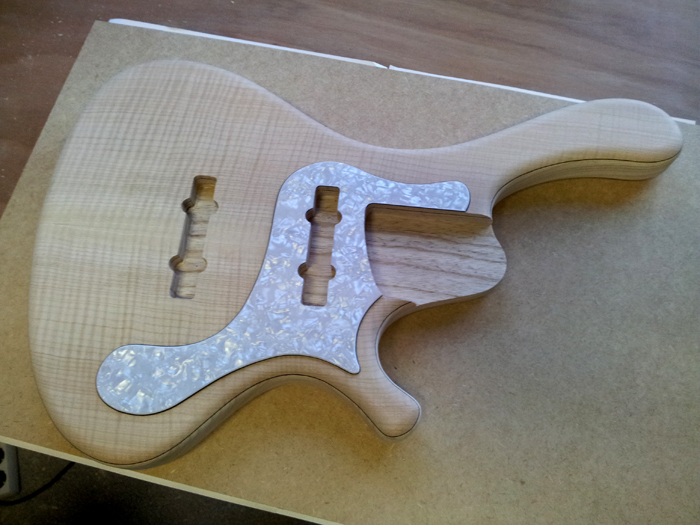
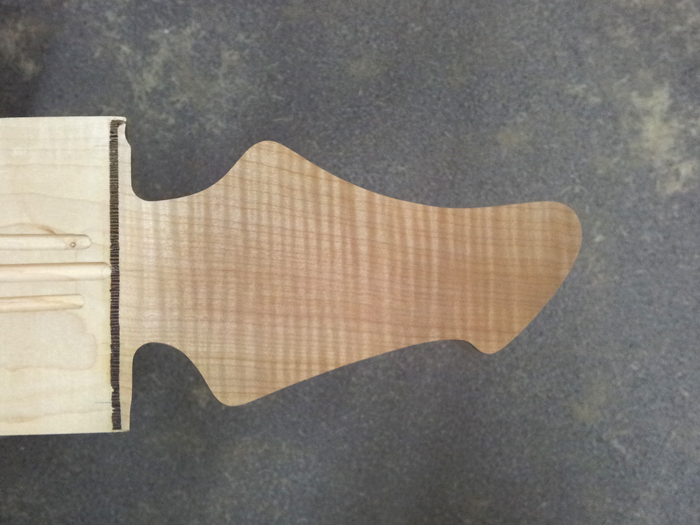
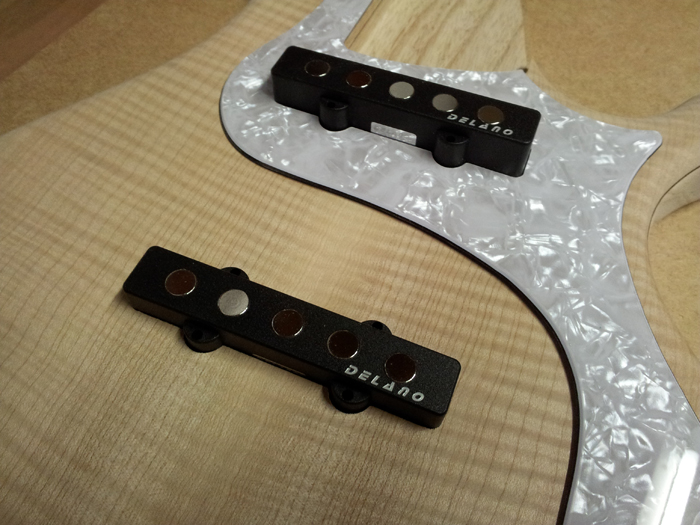
I tried to fit the pickups – they do not fit well yet because I did not yet clean up the routes with a chisel and some sandpaper, but I’ve got a good starting point. While at it, I almost started to doubt if I should dye the body… but I still think red looks killer and I want to get experience with that part of guitar building too.

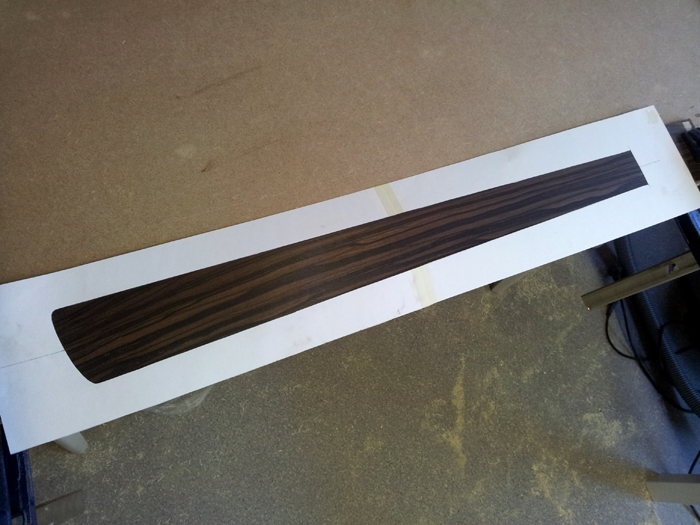
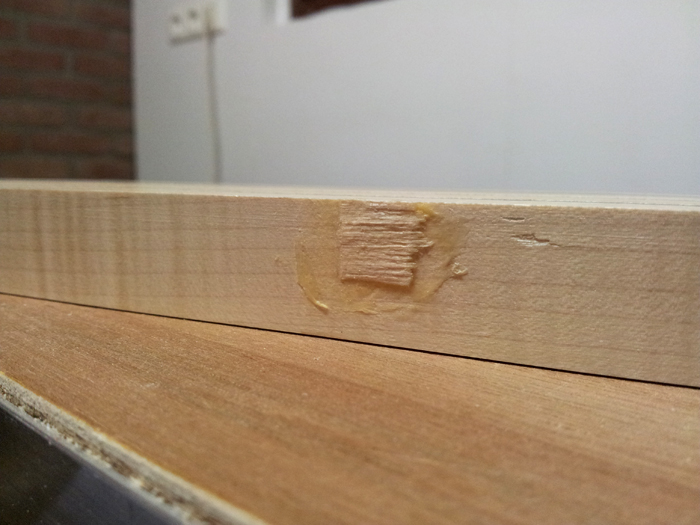
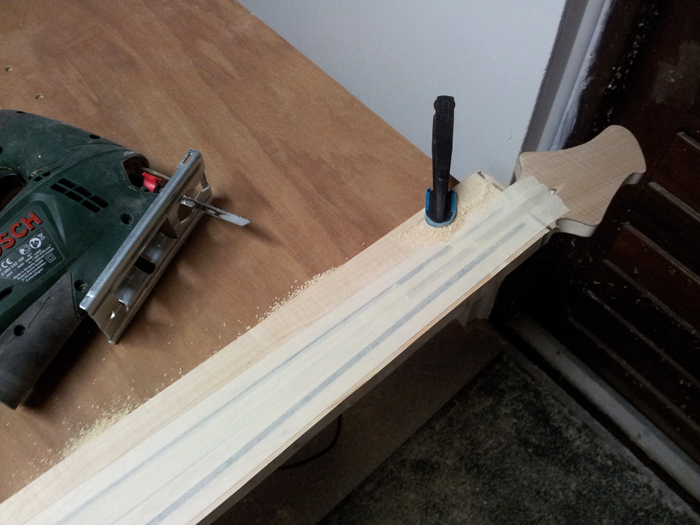
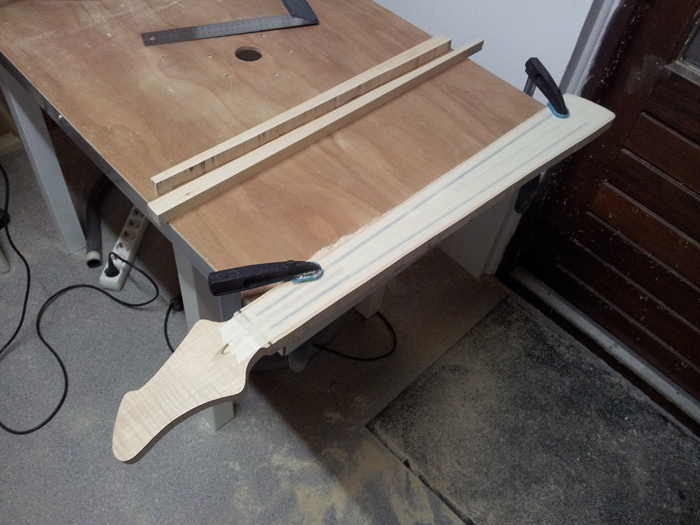
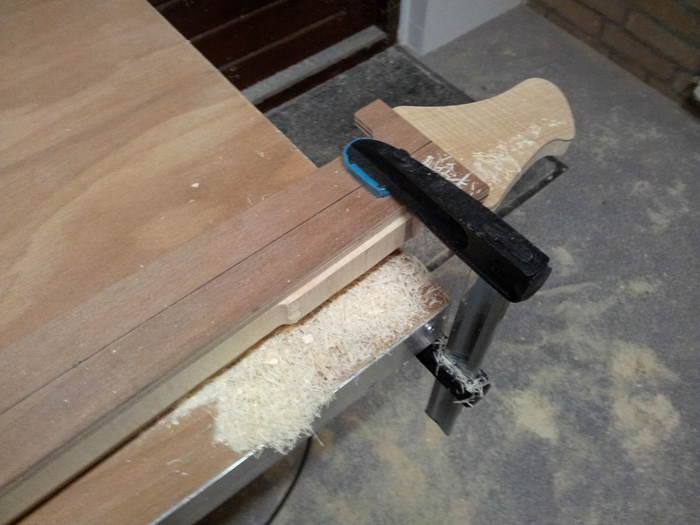
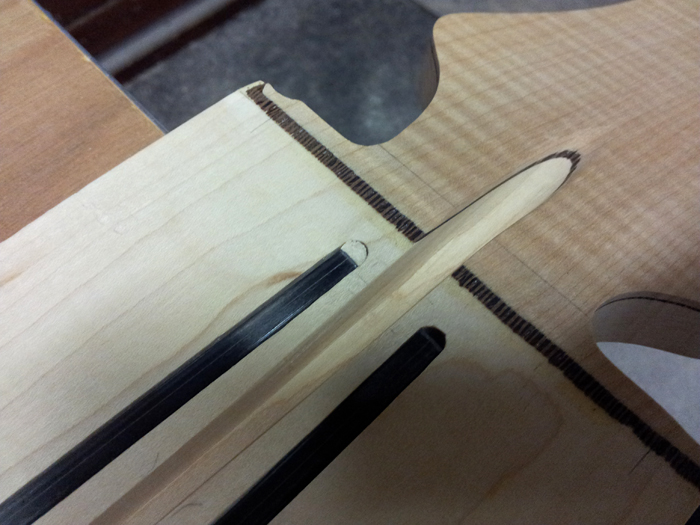
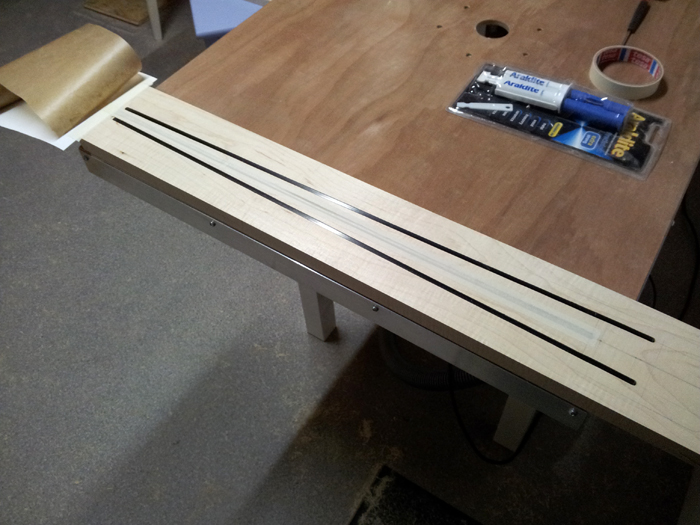
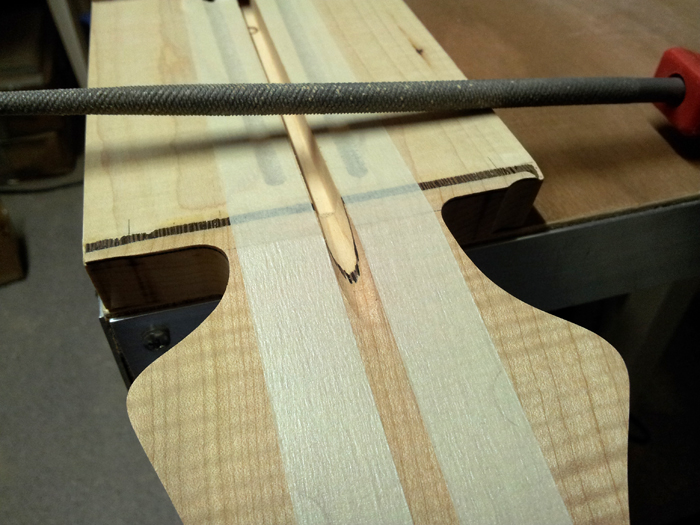
The fingerboard blank wasn’t flat, I ordered it at 7 mm thickness, but the thickness varied between 6.30 and 6.95 mm… that’s over half a mm and to my standards not good. So I took my ‘planing jig’ and routed the blank to 6.35 mm:

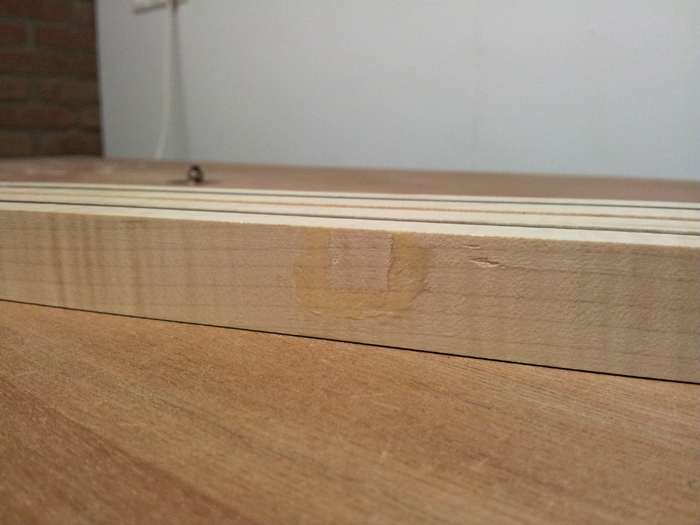
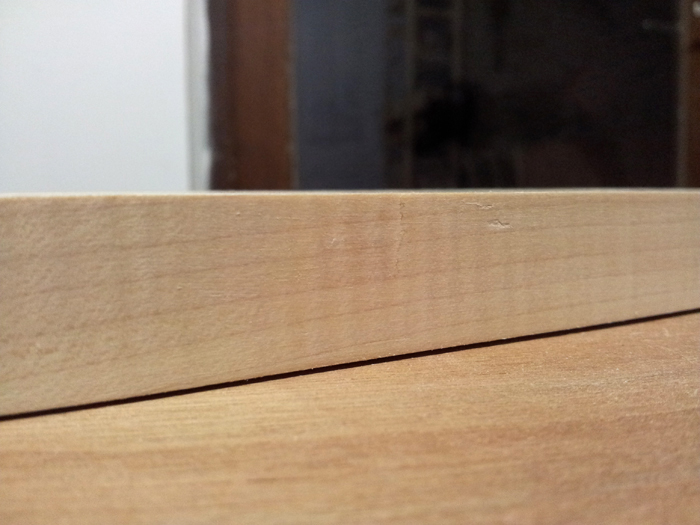
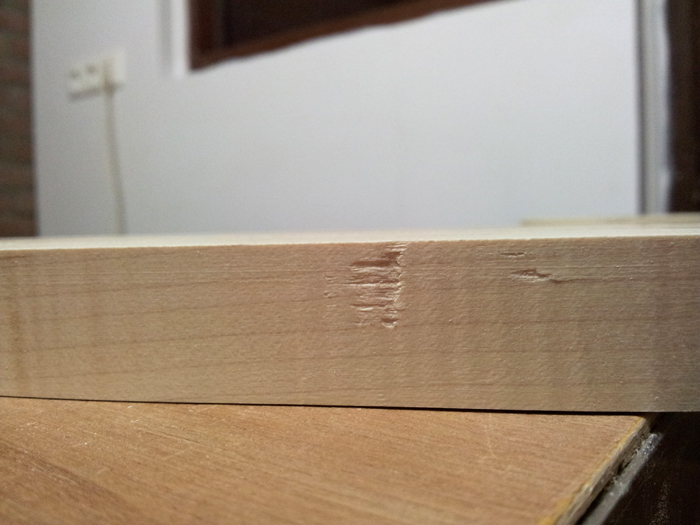
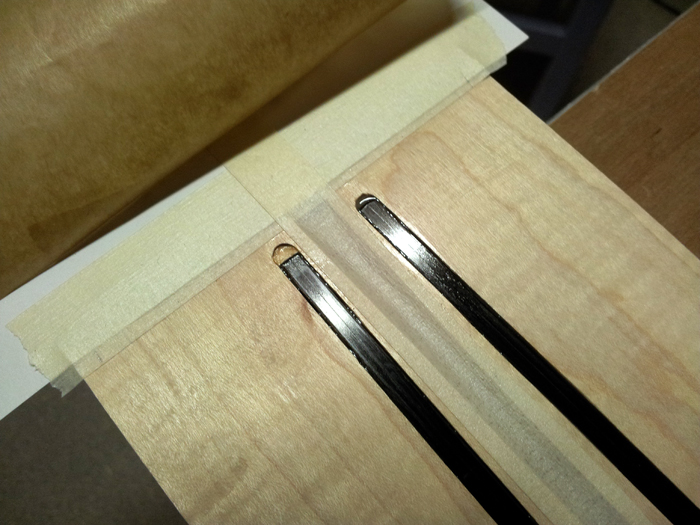
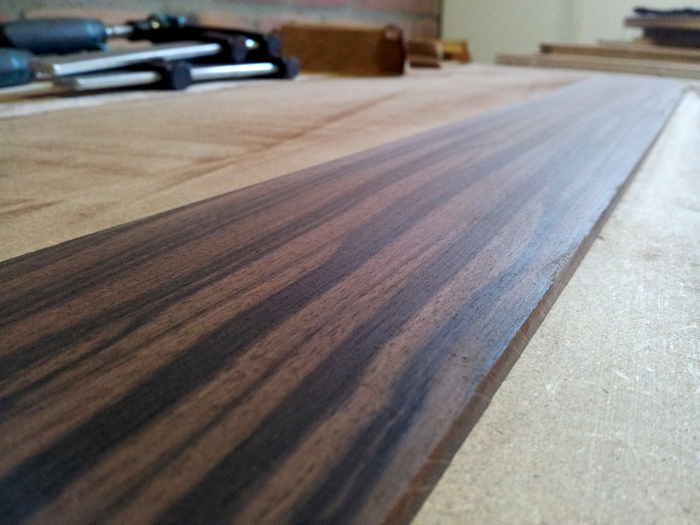
You could see some minor router marks, but the result was pretty nice. Thickness now varies from 6.25 to 6.45 mm, which lives up to my standards and it’s close to the desired thickness of 1/4". Then, I sanded it with 40 grit, followed by 80 grit, to remove the router marks. It’s looking great already:

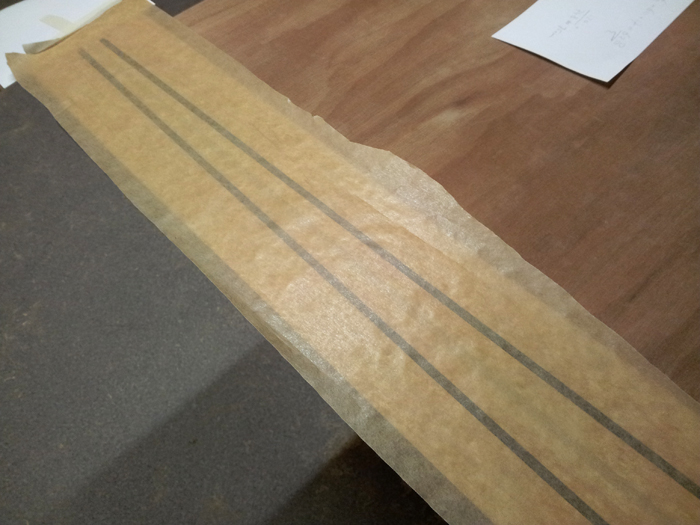
You’ve gotta love ebony! At least, I do!
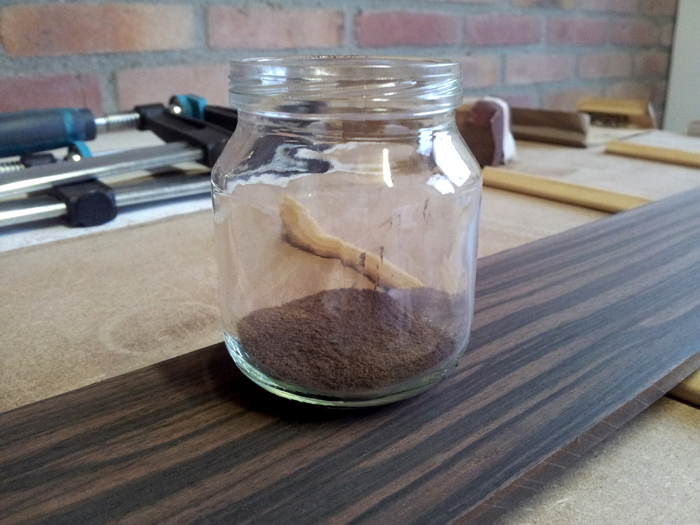
And save the dust…

Body routes

Today I thought just checking the body status wouldn’t harm, so I released it out of the clamps. Turns out, the warp didn’t disappear completely, but got noticable less. Especially the horns became straight again very well. The lower bout still has some cupping, but I can live with that. You cannot see it by eye. I hope it stays like this, maybe I let it sleep in its clamps for a while to be sure. So this is what I’ve got:

I’m not ready to start on the fingerboard blank, so I decided to go for the neck pocket and pickup cavities. I started out by drilling the pickup cavity corners with a 7 mm drill. My router bit’s diameter is too large for those tight corners and this is my solution to cope with that:

Then, I aligned my previously made template on the body. It has a protruding support surrounding the neck pocket, so my router doesn’t tip over at the edge and I clamped it down with three heavy clamps well outside the routing area. The clamps also held the body flat against the table, so my cavities have a flat bottom as well:

I used a template guide to get to the right depth, removed it and used the ball bearing to clean up the cavities. This is how it looked after routing:

And without the template, it’s starting to look like a bass:

I couldn’t resist to try the pickguard on there. It fits remarkably well, I’m happy with it!

The neck doesn’t fit yet, the template was very tight already and on the hardwood it seems to have lost its flexibility opposed to the MDF and plywood template… but that’s for another time.

Starting with the fingerboard

Preparing to make the fingerboard right now. This is a paper template over the Macassar Ebony to select the grain and to see how it’ll turn out:

I hope to start working on the fingerboard soon, but I’m still puzzling how and where to start. I’ll keep you posted!

Correcting wood cupping

My bass’ body developed a slight cup over time, after glueing the laminates… here I’m trying to get it back to flat again… I moistened the top and clamped it like this:

In the meantime, I will work on the fingerboard (planing, cutting), cutting the fret slots, gleuing the fingerboard on the neck (have to install the truss rod before I do that.. shouldn’t forget.. making mental note..) and do some radiusing. I can even start shaping the neck profile, so I don’t have to get bored while the body is in the clamps for a few weeks.

Fixed some tearout

Today I worked on fixing the tearout on the side of the neck. Last post you saw the tearout and the glueing of the wood chip. Out of the clamps, it looked like this:

I used the router table with a bottom bearing guided router bit to clean up the fix. I let the bearing ride the clean lower half of the neck next to the fix and got this:

That’s looking hopeful! Let’s take the sandpaper out!

Pfew, that went well. I think I’m happy with this for now. There’s a very minor line that’s still visible and two tiny scratches on the right, but I will leave it like this and take care of what’s left while shaping the neck. I hope that it still stays looking this good while shaping, because I will create a cross section of the fix so to speak. But from now on, it’s not a problem area anymore.

Finished routing the neck

Today I machined the neck to it’s final shape (not the neck profile that is). I started out by cutting the neck well around the traced outline with a new jigsaw blade:

When done patiently and careful, this can’t go wrong, producing the rough shape of the neck:

After that I aligned my neck template and started routing. I did not tape the template to the neck, because once the tape sticks it’s hard or impossible to do minor adjustments, so I clamped it in place. Here I’m almost done routing:

As you can see, the protrusions of the neck template pretty much explain themself right here. I also benefited from a well made template, because the neck to headstock transition is almost perfect after routing already, as I spent a lot of time to get the neck template and headstock template fitting together perfectly:

After routing, this is what I got left:

Here you can see the other side of the transition and.. I’m happy that I got some flames left, as they appeared mostly outside the outline of the neck shape:

Did everything went well? No, sad enough, it didn’t. I had one very minor tearout where I stopped routing and started again after repositioning my clamps. That’s when I probably hit the grain in a delicate spot and got this:

So I dug into a pile of sawdust and wood chips and I think I’ve found the concerning wood chip, so, after some negotiation I found it willing to get the hell back where it belongs
This is what we’re waiting for right now:

Since I will bind the fingerboard and the neck will obviously be shaped, I guess most of the wood where the tearout appeared will be removed anyway, but just in case, I want to get this fixed before I proceed. Chances are good it will be invisble in the final product…

Matching body and headstock

Carbon rods are glued in now, came out great! The wax paper really worked, didn’t stick at all – I used masking tape on my previous build and it was a pain to remove – and the rods lie in nice and flat. Very minor sanding to remove some excess glue and I’m done.

No further progress today, but I made this kinda cool shot, showing off the matching body and headstock wood laminates:

Gluing in the carbon rods

Before I was ready to glue in the carbon rods, I checked the depth of the channels a few times, made one of them deeper with a scraper and plugged the end of the left channel, because it was a little bit too long:

Then I prepared for glueing. I taped of the truss rod channel – don’t want any glue in there, masked the headstock for the same reason and attached a role of wax paper on one end:

I used slow setting epoxy from Araldite, gives you a 2 hour open clamp time, so no stress at all.

After applying a very thin layer of glue on three sides I carefully slided them in, wiped of the excess and rolled out the wax paper. I hope that this will be easy to peel off and it will definitely prevent that the clamping caul will get glued to my neck blank!

I used another neck blank as a clamping caul. I heard that such carbon rods tend to float out of the channel when using epoxy.. think I got that covered:

And I’ll leave it like that over night…

Truss rod access cavity

Onto the truss rod adjustment nut access cavity… I didn’t route the channel all the way to the headstock, but stopped just before where the nut goes. Then, I use a round file (and a lot of patience) to create this cavity. It’s not quick, but it gives you a lot of control, which I like for such task (you don’t want to remove to much wood at this spot and the result has to look good as well). After a while:

It took me exactly one hour to get a good fit and a nice result:

I test fitted all three rods and I think it looks good, so it’s time to do some finishing touches on the channels and glue the rods in. But first, the test fit:

Next stressful job is glueing the rods in with slow curing epoxy. I will probably only glue the truss rod at the end. I could also not glue it in at all, so I will be able to pull it out one day, when it needs a truss rod fix. The channel is tight enough so I think it’s possible. Not sure though…

Finishing up the headstock

So, I had another session with the headstock. More headstock pictures?? Yes! Sorry.. It just wasn’t finished yet.

First, I did some hand sanding on the contours / sides to straighten things out, remove burn marks et cetera:

The top surface of the Maple veneer still showed some marks from the band saw from when it was bookmatched. So I asked Sir ‘Skil’ Sand-a-lot to help me out on this:

And this is how it came out in the end.. I really like the flame!

And the shape!

Next, I’ll file out the truss rod access cavity with a coarse round file. If the truss rod fits in, I can glue in the truss rod and carbon rods with epoxy. See you next time!