Staining considerations

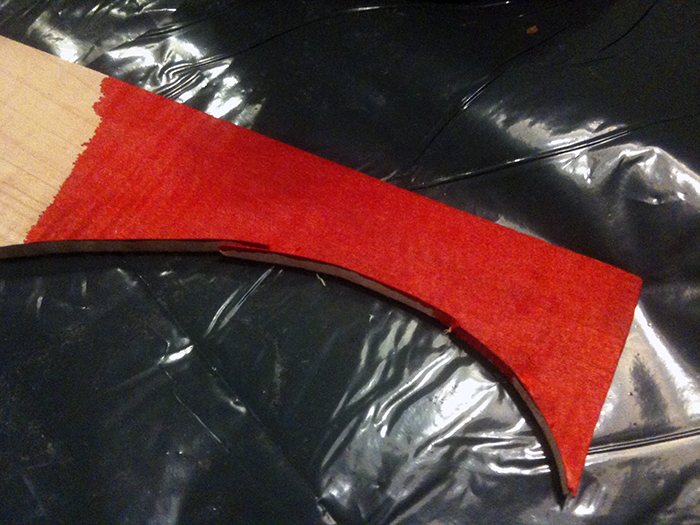
I am still in doubt whether I will stain the bass or not. As I look at my test pieces now, I notice a few problems:

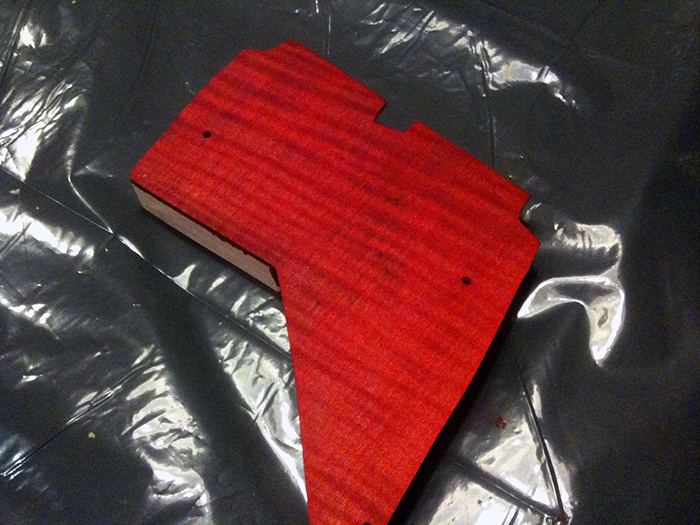
  • The black stain didn’t dry well enough and mixed with the red too much, creating a purple tint in some places. I need to wait longer between the multiple layers and put a lot of effort into sanding back evenly to get an even red tint.
  • Due to being a test piece, I dind’t clean the bench well enough after sanding, so when applying the red stain, little dots of black stained dust hit my workpiece again.. but this is an easy one to improve.
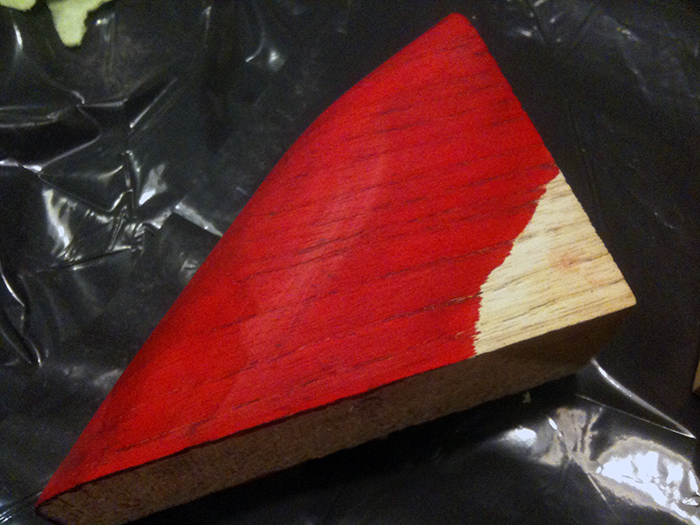
  • The stain is sucked up by the end grain much more (logically, because this is what creates the enhanced figure in the wood), so I either need to sand back better (more) on the sides, or I will have to seal the sides first with sanding sealer and then sand back a little before I apply the stain. This seems hard to me.
  • I did not put enough effort into applying the stain (multiple passes, rotating the cloth, really getting it in there), so in some spots you can clearly see some natural wood through the stain (deep into the Swamp Ash grain). Also not hard to improve.
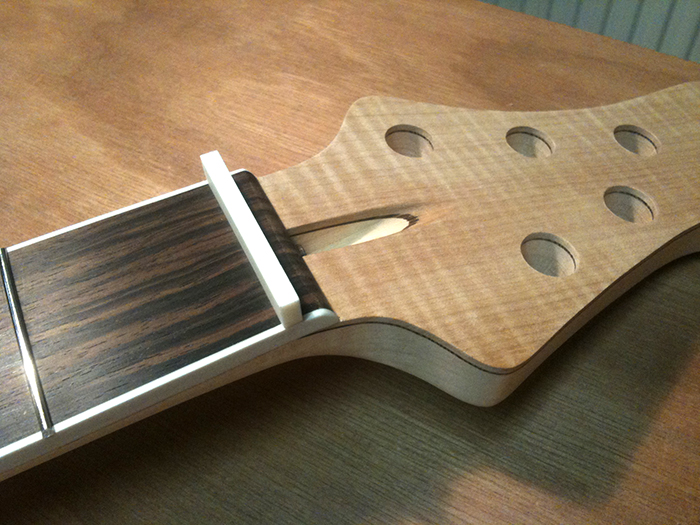
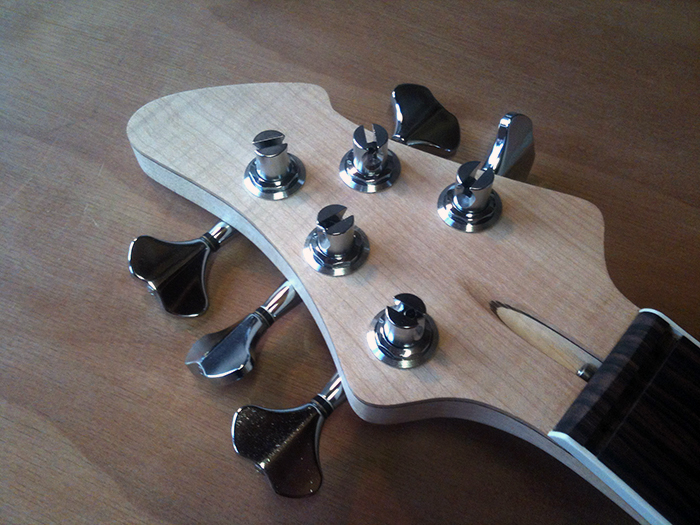
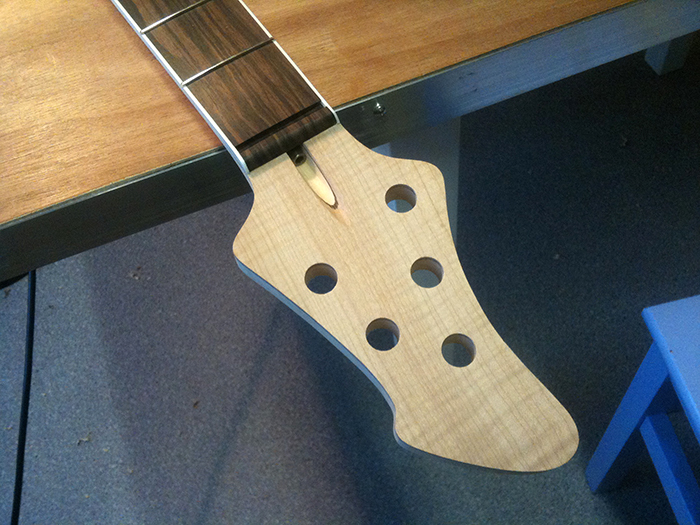
  • I need to seal the headstock sides with sanding sealer first, to get a perfect line between the headstock top (stained) and sides (natural). This is the step that intimidates me the most of the whole process and to me seems the highest risk to ruin the build.
  • I am not sure yet how my oil will react on the stain, so I will have to test that too once my staining technique is under control.

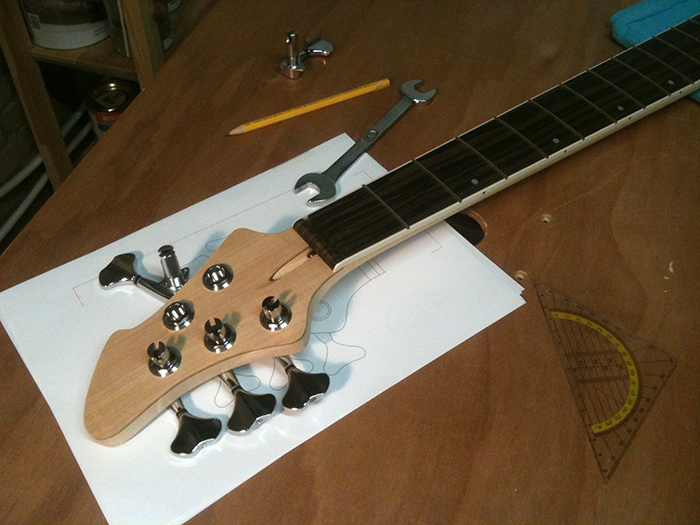
Also, I’m a little stuck with the logo. If I am going for the red, I need a decal with white letters, otherwise it needs to be black. Inlaying a symbol is still possible, and the preferred technique, but I’d rather have my full name on it…

Just sharing my thoughts, so no progress furthermore. I really want to finish it up, so it kinda bugs me I cannot make up my mind. I hope another test piece will make the decision easier, putting aside the logo quest.

First stain test

Tonight I did a small stain test!

First, I wanted a reference piece with a red only stain (because it’s easier to get a consistent finish that way). As you can see, it’s a really flat finish. It doesn’t show of the nice flames the Maple has:

Then I did a test on the former body laminate test piece, first dyed it black, sand back and stain it red afterwards. I immediately noticed two things:

  • The black stain is sucked in on the sides of the Swamp Ash body very aggressively, creating a much darker tone with the same amount of stain; which is also harder to sand back afterwards.
  • I sanded the top of the Maple too smooth and didn’t wet it enough in the first place, so it didn’t take the stain (both black and red) as good as I’d hoped.

I also made some marks by spilling an extra dot of red stain on there, creating a lighter area when trying to whipe that off. But it’s a test piece, so it only helps me to get some experience. But you can clearily see the grain of the Swamp Ash pops out nicely and the colour of the finished red is also better (less orange / bright) opposed to the red only example:

Then I did another test piece. The wood was prepared better (sanded and wetted enough) and it was easier to sand the black stain back consistently, due to the flat surface. I also applied more layers of red. I think the grain shows well on this (furthermore unfinished) test piece and I think the oil / varnish will really make it pop:

One thing I did not manage to do is to keep the sides clean. I taped them off but the coloured water got under there anyway. I need to seal the sides first with some sealer, but I do not have any experience on that yet, so I will do some research on that topic first.

I think the last test piece has the perfect colour and the grain shows very well. The only drawback is that I find it very hard to get a consistent result and that the sides of the Swamp Ash are a bit hard on me. Also, I’d have to solve the issue of not colouring the sides of the headstock. Taking all this into account, a clear oil finish would be far less adventurous and I think that might be the safest option. But I do like the red (imagine the white pearl pickguard on there!)…

The nut

Tonight I did some minor things. Checked the profile and a few other details, and just thought about how I like it so far and what could be improved in any way. The neck pocket still is a bit wide, but if I wet the sides of the neck and the sides of the pocket (hoping to simulate the finish) it already fits a bit better. I would liked to have a very tight fit, but that’s a passed opportunity. I think the ferrules would be okay anyhow, without any support (tried to make wooden washers, but the result wasn’t up to my expectations), since everybody convinced me it shouldn’t be a problem. I like the profile of the neck very much and I think it’s finished, although I still feel others might take it a little further and have a more sloped profile towards the edges and maybe a thinner profile altogether. Mine is 21.35 mm at the first fret. Not sure if I keep it this way, but we’ll see.

Lastly, I fit the nut. It’s a bone nut, thinned out to fit in the slot. I removed the lower corners of the nut so it would fit over the binding:

This gives a nice effect; because of the matching colour, the nut and the binding blend into each other nicely:

Of course, it needs to be trimmed from the top as well, but I first wanted it to fit into the slot.

Finished carving the neck profile

Yesterday I did another carving session, concentrating mostly on the heel transition and volute part, but also on the ’roundness’ of the neck profile, because it was still too close to being square.

You can see the transition is shorter, more abrupt, going quicker to the round shape of the neck profile, which I like better. You can also see the shape improved:

This is how I carve the neck. I use my router table utilizing the hole for the router bit to clamp it on the center of the table. It’s not ideal, but it works. I need to make a jig for this next time:

And the finished neck from a few angles, only needs a finish sand. The second picture should give a good view on the profile:

I like the volute:

And the finished product!! I’m proud on how this neck turned out . I hope it plays well.

So what’s left to do? Mainly sanding and finishing, making the nut and soldering the electronics. Then there is some fine-tuning, and I need to come up with a logo.

We’re getting close!

String through holes

I’m happy! Why?… Take a look at this:

And at the front:

This was by far the scariest task of the hole building process, even more than the bridge grounding wire channel… of course I practiced my intended method first, but still, it’s scary. So you can imagine I’m very happy with the outcome! The holes are aligned perfectly and the distance between them is als equally devided.

I marked the locations at the front, measuring them to check distance and alignment, and drilled 5 mm holes (not completely through, about 1/3" shy of the back of the body). This went well, and it has to, because this step actually determined how the result would be in the end; this step determined the precision of the alignment and the mutual distance of the holes.

After that I removed the body and drilled the 5 mm bit completely through the board that served as a drill press table extension. Then I simply put my 5 mm in that hole and put an 11 mm brad point bit in the drill press:

I flipped over the body, put it over the back end of the 5 mm drill bit with the freshly drilled holes and lowered the 11 mm drill bit, without any evidence it was in the right spot, sweat it my hands and shaking nervously (hardly exaggerating). After four holes I gained some confidence:

Luckily this method turned out to work very well and actually it was quite simple. Anyhow, I’m glad it’s over . Here’s a shot with the ferrules in:

So that’s it. All holes are drilled. Now back to the neck profile! Though I’ll have to be patient, because I can’t get any shop time in the next four days or so…

On hold for a little while

I did not post anything about this project lately, although I did receive the kit shortly after my last post. The reason for this is that I need to finish my current bass build first, before starting this project. I definitely want to start (and finish?) this winter, but if I leave my bass in the corner of the shop unfinished, I’ll probably never finish it… I’ll keep you posted!

Whole lotta holes

Got some more things done tonight. Still busy drilling holes in my bass for the final assembly. First, I drilled 3 mm deep recesses with a 25 mm forstner bit for the control pots, came out nice (I know it’s _inside_ the cavity, but still…):

Kinda looks cool with the pots installed:

And now, they do fit as you can see:

I also drilled the tuner holes:

And did a test install of the tuners to determine the right angle and the screw locations:

Too late to continue now, so the actual drilling of those small holes will have too wait.

Almost there!

Control cavity issues

Just a minor update: I installed the pots and marked the size and shape of the recesses I have to make, because the shafts of the pot are not long enough to fit around the top and pickguard together. I first wanted to use a smaller forstner bit to drill out the desired shapes, but I figured the center point of the bit would then go through the entire top (which is 6 mm thick, I need a recess of at least 3 mm and the center point of the forstner bit also protrudes 3 mm). So I figured I’d better use a Dremel or a router. Alas, the Dremel was unable to reach the desired depth (I need the depth of the control cavity plus the 3 mm I want to remove) and the router just reaches the desired depth but would cover up the entire cavity, making it impossible for me to see what I’m doing… so I made some measurements and now I think a 25 mm forstner bit would remove just enough material, while I still could locate the center point inside the hole the pot goes through, to prevent drilling holes in my top around that hole. I’ll stop by the hobby store tomorrow, I hope I can find one.

After this rather time consuming adventure with no result, I only managed to do this today, but at least it’s something:

Gaining control

Received both the pots and the knobs today, so I drilled holes for the control pots tonight:

Well, that went quite well, positioning went perfect, as by design, and the pots fit well:

You can see it’s a good thing I ordered mini pots, as regular pots wouldn’t fit at all, especially the volume control. On the bright side I’ll have some room left for a future upgrade to active tone control (I reckon a Delano Sonar II and battery would still fit in there):

By the way, my top (5.5 mm) and pickguard (2.5 mm) are too thick for the control pot shafts. Long shaft pots would’ve been better, but they are not available in a mini version or as a blend pot, so I will have to drill some larger recess holes (1" in diameter and 3 mm deep) from the back to be able to install the pots. Just another thing on my list before I can start finishing the bass.

And of course some shots with the knobs on. Despite the fact that they are not closer together than normal, the small body and small pickguard make them look rather large. I’m a little bit in doubt, maybe I’ll try mini dome knobs on there… but I’m not sure. If the rest of the hardware is on I think it will balance out anyway.