Some last routing

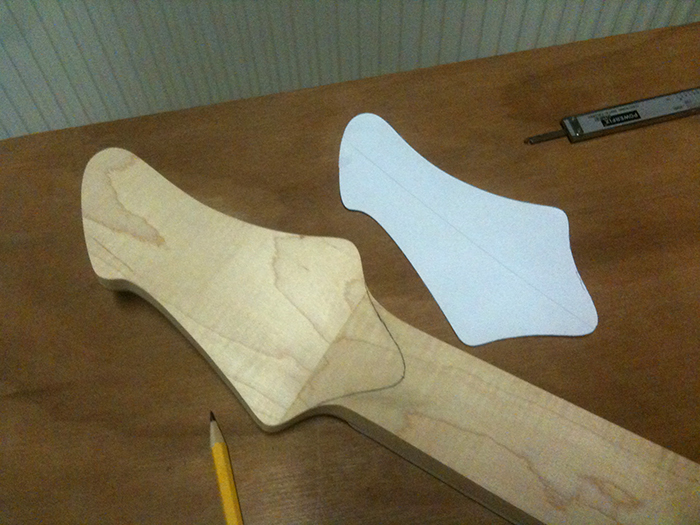
Tonight I took the plunge! The last routing job.. luckily it went just great. I first made a template of the backside of the headstock to determine the shape of the volute and drew it onto the neck:

Followed by a line that indicates the end of the routed part of the neck (the volute itself will be done completely by hand, of course):

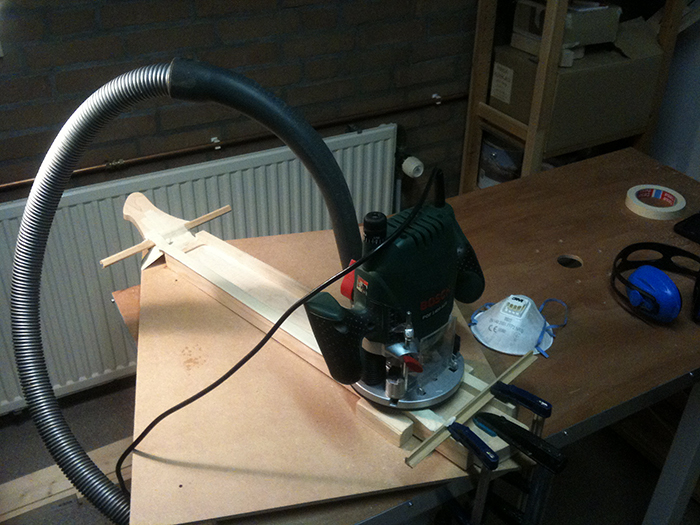
Clamped the neck into the jig I made, checked everything about three times and started routing. I plunged it only about half a mm a time, so the play would be minimal (opposed to routing rather deep at once, stressing the bit a lot more and thus resulting in a less smooth routed plane). Here I am about halfway:

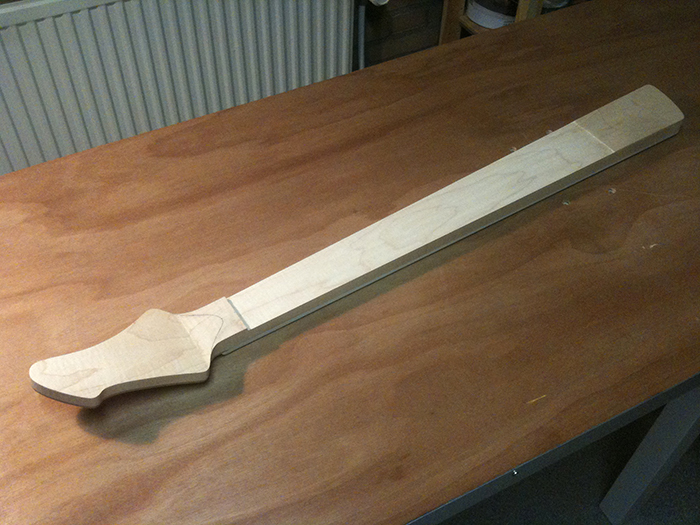
And we’re ready! I reached my desired thickness of 21.5 mm @ 1st fret rather well, just a few tenth of a mm above that, but I’ll probably sand that off in the process anyway. I’m very pleased it went this smooth! It’s the last job with the router, and a relief I didn’t had any accidents.. and my math was good too: no sign of the truss rod

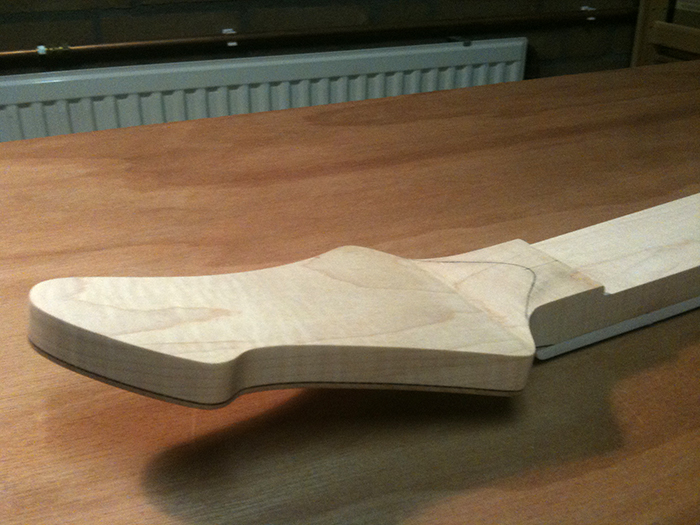
And a close up of the headstock:

And one more from the side:

Now the fun part can start! See you next time,

Neck routing jig

… and I’m back again!

Cleaned out the shop, made some space again and started working on the bass. It’s not so warm anymore outside and it’s dark right after dinner, so we’re having better building conditions I guess.

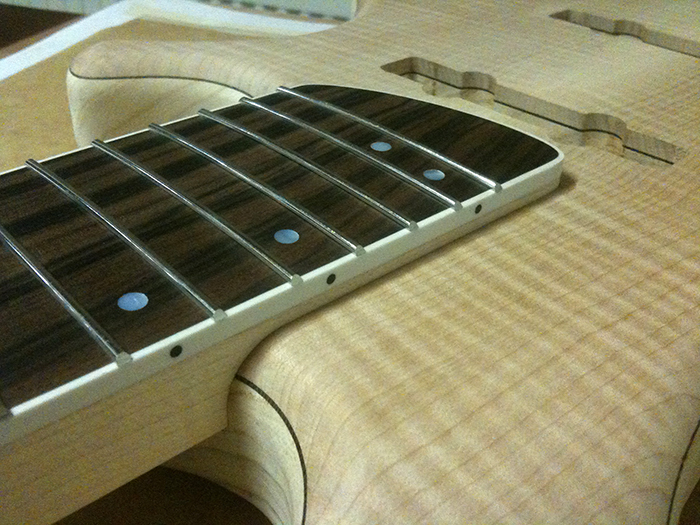
I needed some motivation to start with and tried the neck with fingerboard, position marker dots, binding and frets on for the first time in it’s future home. I found it a pleasure to look at, seeing the body laminates, neck woods binding, markers and such coming together (but still without the pickguard):

I also made this preview shot of the back for the first time. It’s cool and a bit understated opposed to the front (even more with the intended pickguard on it), but that’s a cool contrast I think:

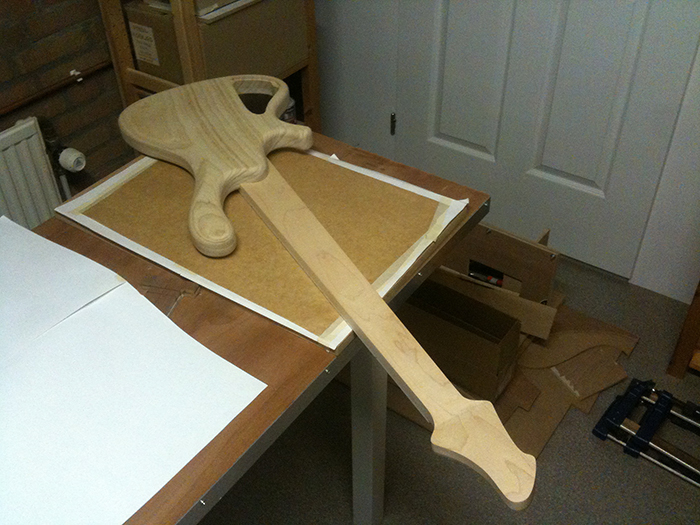
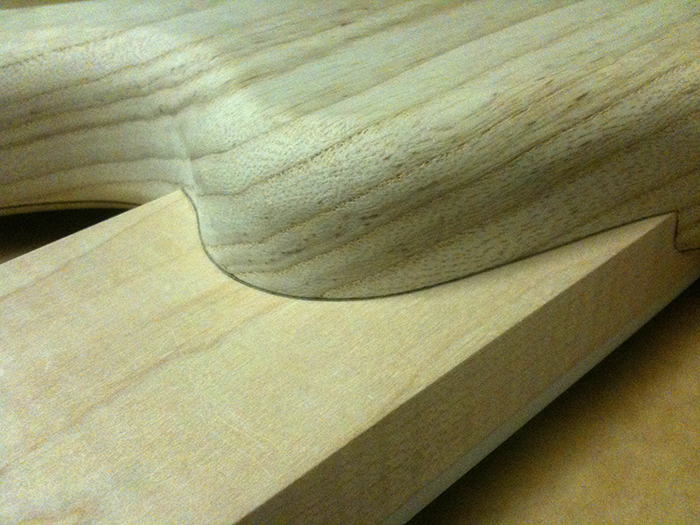
So, I marked the shape of the heel transition as a guidance for shaping the neck while it’s in there:

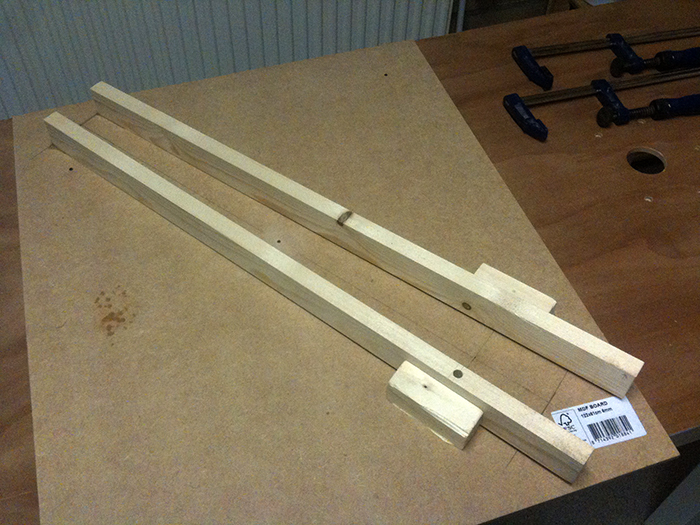
And the next step was to make a jig for routing the slope of the neck shape into the unshaped neck. I do not want to make this angle and straight line from the heel to the volute by hand, so I’ll route the correct angle in there before I start carving the neck. So tonight I made this:

It’s a tight fit around the neck, one or two clamps should be enough to fix it while routing. I only need to build in some stops to prevent cutting into the heel or the volute. I made the angle by drilling a hole and putting a dowel in at one end, which I then adjusted until I got the right angle, securing it with thin CA afterwards. Then I glued some blocks I had lying around to the rails to fix them in place and make them sturdy enough (otherwise they would rock on the dowels). The other end of the rails is secured by thin CA too. Very quick and easy to make.

So, when this is fully cured and I’m feeling lucky, I’ll starting routing the neck. That would be the last routing job on this instrument. After that it’s only hand shaping, drilling and sanding what’s left…

Tidy up the workshop

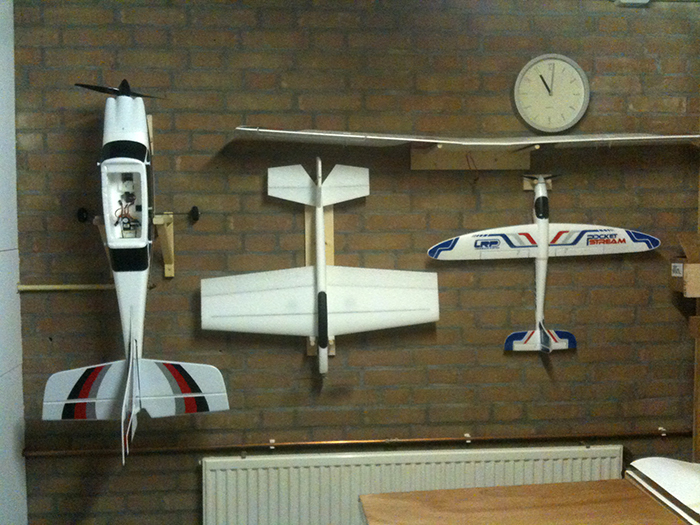
In order to be able to finish my bass and start the new project of the Jug I needed to empty my workbench, which (among other things) filled up with planes this summer… A nice little project of which the result looks kinda cool, was to mount all my planes to the wall. The mounts I came up with are solid without the necessity to secure the planes, so you can take them off easily.

A new project

Since I started flying radio controlled airplanes again this year, I couldn’t resist thinking about a new build project I’ve always dreamed of: a scale WWII fighter. I built several sport and sailplanes in the past, but never did anything near scale… so it’ll be a lot of first times (retracts, flaps, sheeting, scale details) and thus a bit of a challenge. But that’s a good thing!

The first problem I came across was selecting a scale subject. It seemed a lot harder than I thought, so I made a list of requirements:

  • Of course, it should be a scale model. Not sport scale or stand off scale, but half to true scale (without getting carried away).
  • It should be a propeller driven model.
  • It could have multiple engines, but preferably no more than two.
  • It should have slow flying capabilities (so no high speed model); moderately fast flying would be considered a bonus.
  • It should have a span between 50″ and 70″, large enough for ease of flying and scale likeness, but reasonable to transport.
  • It should have flaps. Rather plain or slotted flaps than split flaps (used a lot on WW II planes but less ideal). Fowler flaps would be great, but more difficult to construct.
  • It should have retractable gear.
  • A low or mid wing configuration would be prefered above a high wing configuration.
  • The original aircraft has to be a succes in some way. It has to fly well in a certain envelope.
  • And last but not least: it should be a less common subject. So this definitely rules out a Spitfire and a Mustang! Doesn’t have to be rare, but I just don’t like to have a plane everyone else has too.

So, this made things a little easier because I could narrow my selection. I spent a few months browsing the Internet, aviation sites and libraries and flew as much models as I could find for my simulator (RealFlight 6). I thought about scratch building for a while, but I’d rather stick to a kit since this takes considerably less time to construct, teaches me some common practices and construction techniques and produces proven flight characteristics; I consider scratch building my ultimate goal but a bridge to far as for now. Having to select a kit narrows the selection down further, because the kit market isn’t as large as it used to be.

There aren’t a lot of .60-size scale kits on the market. Most kits from the USA are AMA legal (80″+ wingspan) and too big for me. Other manufacturers only produce sport kits. It came down to either a Top Flite kit or a short kit from Tony Nijhuis. The Spitfire isn’t an easy flier with its elliptical wing, and too common too. Same goes more or less for the Mustang. I liked the Harvard best from Tony Nijhuis and the Republic P-47 Thunderbolt from Top Flite. Other options, but less attractive to me, were the TF Mentor (too big and heavy) or Corsair (not a personal favorite) and the Hurricane from Nijhuis.

After a long time of pondering, I decided to go for the Thunderbolt! Reviews call it a warbird that flies like a sport model, which is right up my alley, I guess. Experience experts say it builds and flies easier than the Mustang and its slow flying capabilities are great. I’m really looking forward to build this plane, so I placed my other today!

Summer break

Just sayin’ hello.. didn’t make any progress over the last month, but I did not forget my build either. Just waiting for some time, courage and the right mindset to carve the neck. After that things could go fast.

I ordered my home brew (not by me though) wipe on poly in the meantime. So that’s sorted. Now only the to-stain-or-not-to-stain decision is to be made regarding finishing the bass.

I would like to make some progress, but life get’s in the way a bit.. been working on the house and having fun with my family .

Also, to be honest, I kinda lost interest. I’m sure it will get back in a while. I re-discovered an old hobby, model flying (and building of course). So I spent my free time outside, enjoying our nice summer, flying and getting my flight certificate. It’s going really great and I found an absolutely great club, I’m really addicted, honestly. But when it’s getting colder and less ideal flying weather, I will finish the bass.

I will absolutely finish the bass, don’t worry, I am pleased with the results thus far and I have all the parts lying around already. Basically, I think I own a great five string bass in parts with an uncarved neck. So it would be stupid not to.

But for now, I guess I’m having a summer break

Ready for carving

Today I glued the side dots in. Instead of buying new CA, I used my tube of UHU Allplast, which I think is a perfect glue for the task (the binding and dots both being plastic) and it is easier to remove if you spill any. I did not apply the glue directly from the tube, but used a toothpick to apply the glue. This prevented using too much glue, as with the binding. All went well, and after cutting off the excess material and sanding the dots flat with the binding, I got this:

So, now it’s time to show off a little:

(The colour of the video doesn’t do the Macassar justice, but you’ll get the idea…)

Side dot holes

Not much of an update, but I drilled for the side dots:

I planned to glue them in too tonight, but my tube of CA was toasted, almost empty and what was left came out on all sides but out of the nozzle.

I took my time marking the positions and drilling the holes. It’s hard to line them up perfectly centered on the slightly tapered binding (due to the radius) and if they’re not aligned, it shows rather well . But my patience paid off and I got them lined up pretty nice. The first fret mark isn’t perfect, a bit shallow and a bit wider due to movement of the drill press head when reaching the depth stop, but the rest is just fine. I hope I’m able to camouflage this small imperfection when gluing in the black dots.

Finished fretting

And they’re all in!

Funny thing.. you might remember the neck bent slightly forward (cup) due to the fact that I glued the carbon rods in with very low humidity (~20%) and the fact that the maple expanded when humidity got back to a more average level. Well, after hamering in all frets, the neck bowed back a little, just enough to correct almost all forward bow. The slots weren’t tight at all, and I could’ve used a little more back bow, but all in all it’s as good as it gets I guess; the rest is up to the truss rod.

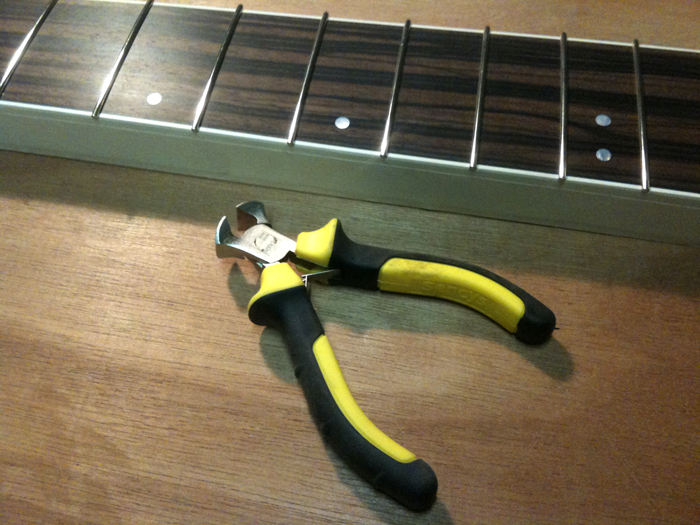
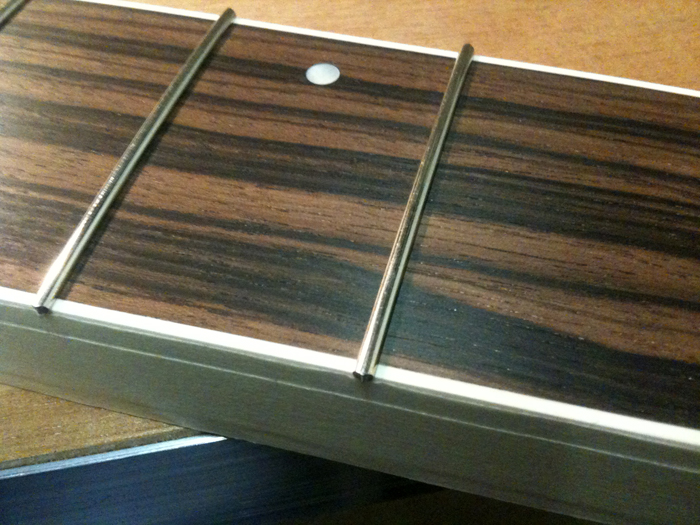
For my first build I bought a real fret cutter at a guitar parts supplier and paid over 20 dollars for it. They are supposed to cut the frets flush to the fingerboard, like the one from Stew-Mac does. But it didn’t, at all… more than two millimeters of fretwire proudly protruding the fingerboard. So I actually never used it… Yesterday, I bought a tiny end cutting plier from the hardware store, a little over five dollars.. and it’s great! Cuts the fretwire almost flush, leaving so little to file off, I could start using my fret beveling file right away!

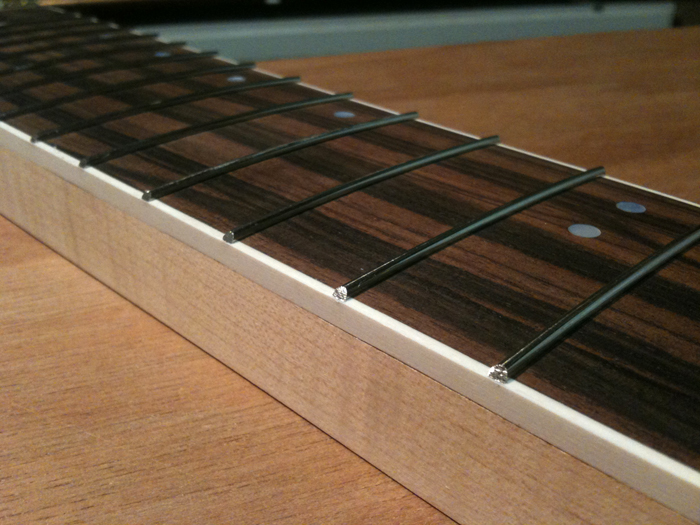
Using these pliers it took me no more than a few minutes to cut away all the fret ends on both sides:

Here you can see my fret beveling file ‘in action’. Another relaxing task that doesn’t take long:

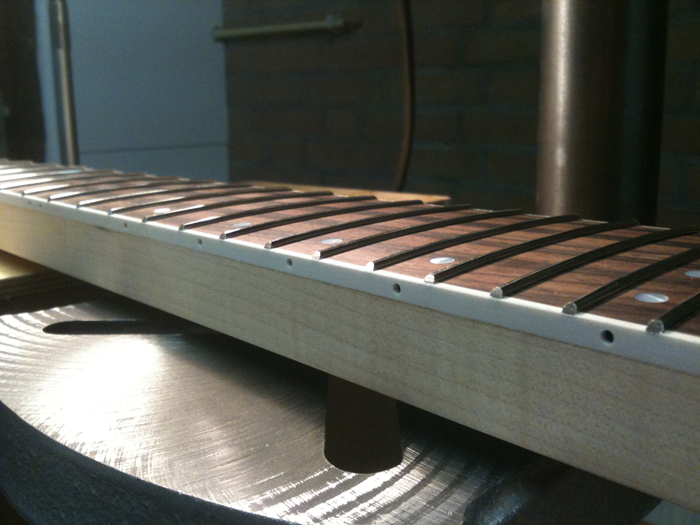
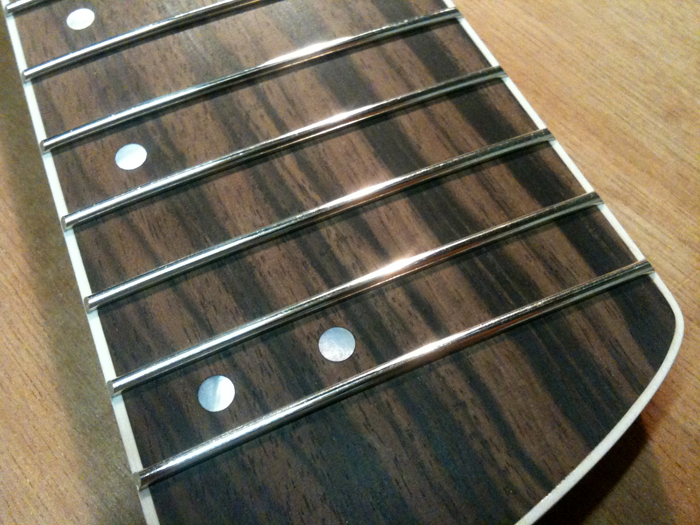
I filed the ends right to the point were the binding started to appear:

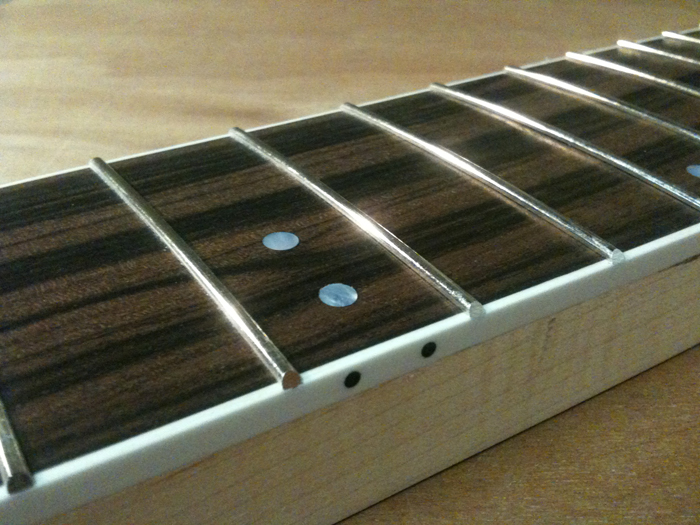
Here’s a close up showing the result. A little more sanding and filing and I’m ready to start carving a neck

Florence JB4

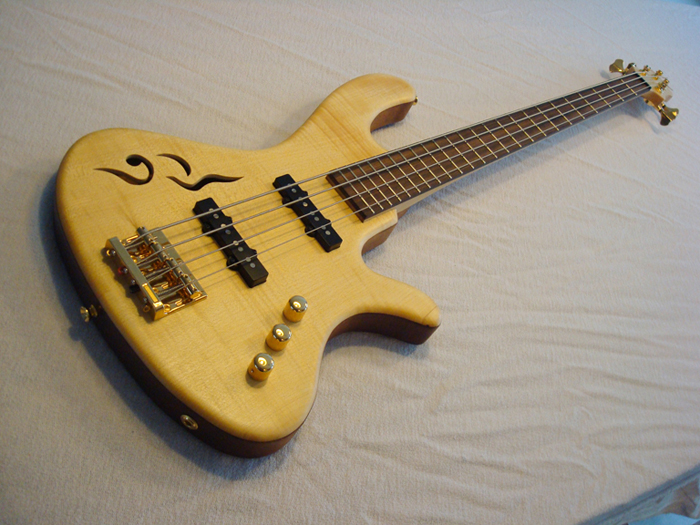
This is my first hand-built bass guitar, based on my own design. I am very pleased with the overall result and the sound of this semi-hollow custom jazz bass is very sweet! I had no real woodworking experience before I started this endeavour and I learned most of the techniques from reading books and online forums.

One octave of frets

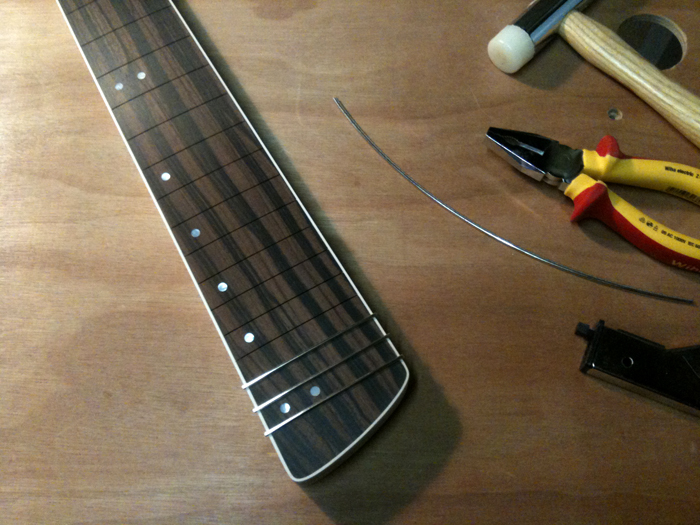
I finally started fretting today. It’s a nice job that I really enjoy doing.

My cheap modified regular nippers that now serve to undercut fretwire work great:

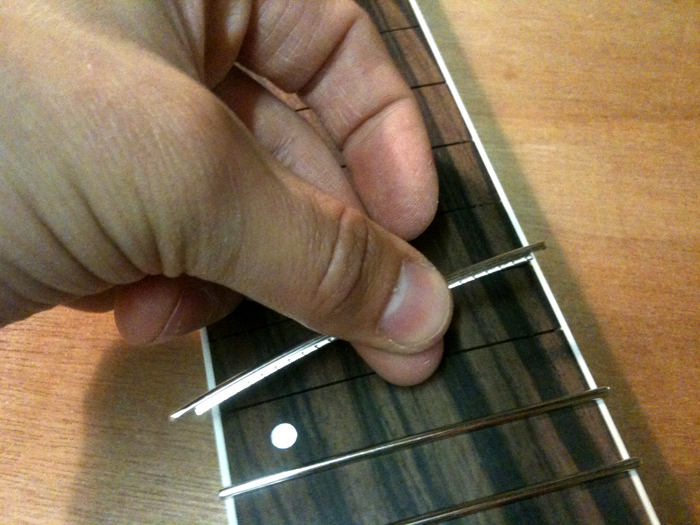
Hamering some more frets in:

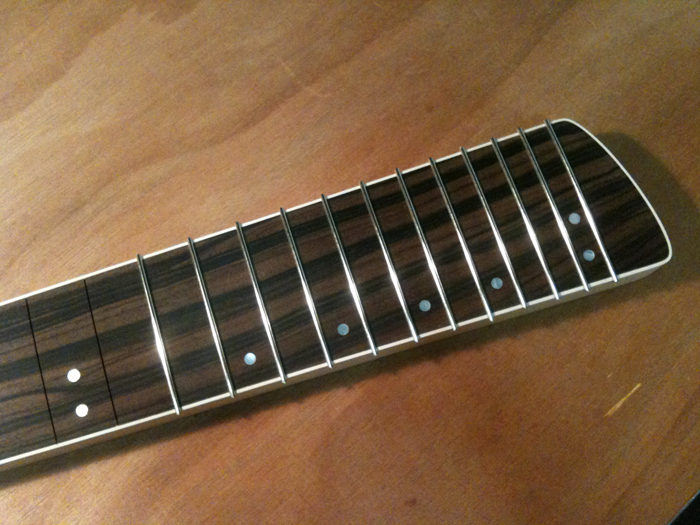
And I stopped after exactly one half of the fingerboard:

So far, so good…!