Why valiant? Well, not really.. but besides the obvious pun, it was a bit of a gamble and a challenge to fit this new project into my workshop. The Eagle sparked my interest in giant scale planes and since the build of the P-47 is still going rather slow, I couldn’t resist the urge to do another ARF in between. I’ve always loved high wing planes and I was looking into both civilian and STOL aircraft for quite some time now. Turns out, the Hangar 9 Valiant 30cc ARF with a 2.75 meter (108″) ticked all the boxes and it even has a wide flight envelope, being capable of doing some mild aerobatics!
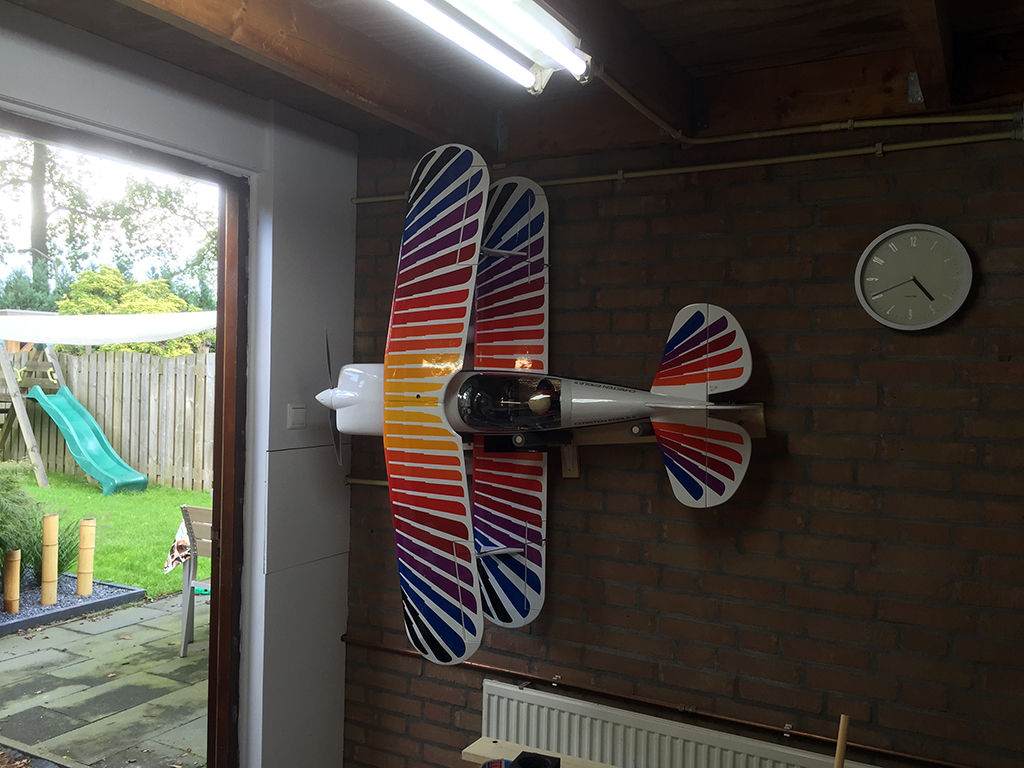
If I want sometime very badly, I tend to think in possibilities instead of challenges. My workshop has a floor space of roughly 110″ x 120″ and is already occupied by no less than six planes and / or projects. After ordering the Valiant, I was able to sell my foam trainer (the E-flite Apprentice) and a small foam 3D plane rather quickly. I then cancelled the build of a Depron (foam) BAe Hawk pusher yet, temporarily stored my P-47 build and cleaned my workshop thoroughly. I even managed to build a wall mount for my Christen Eagle, which I can now store and transport in one piece! It was a bit scary to see if it stays up there, but I reckon this is the safest way of hanging it to the wall without introducing tension to the undercarriage, wings or empennage. As a bonus, I think it’s cool to see it in ‘knife edge’ whenever I look at it.
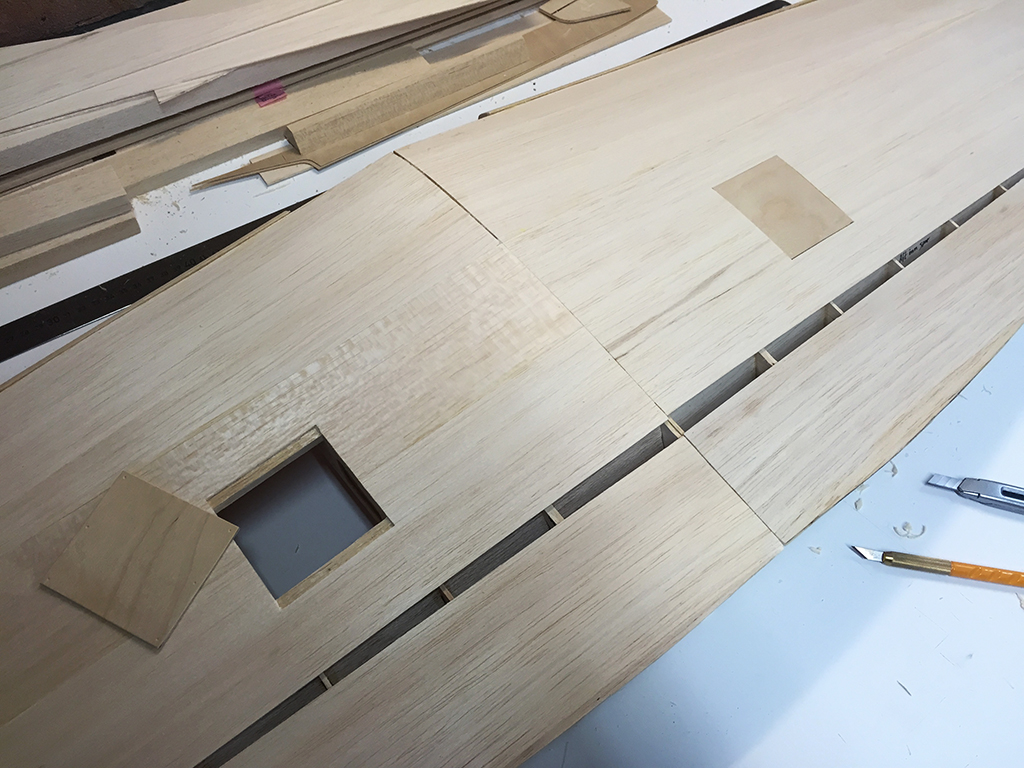
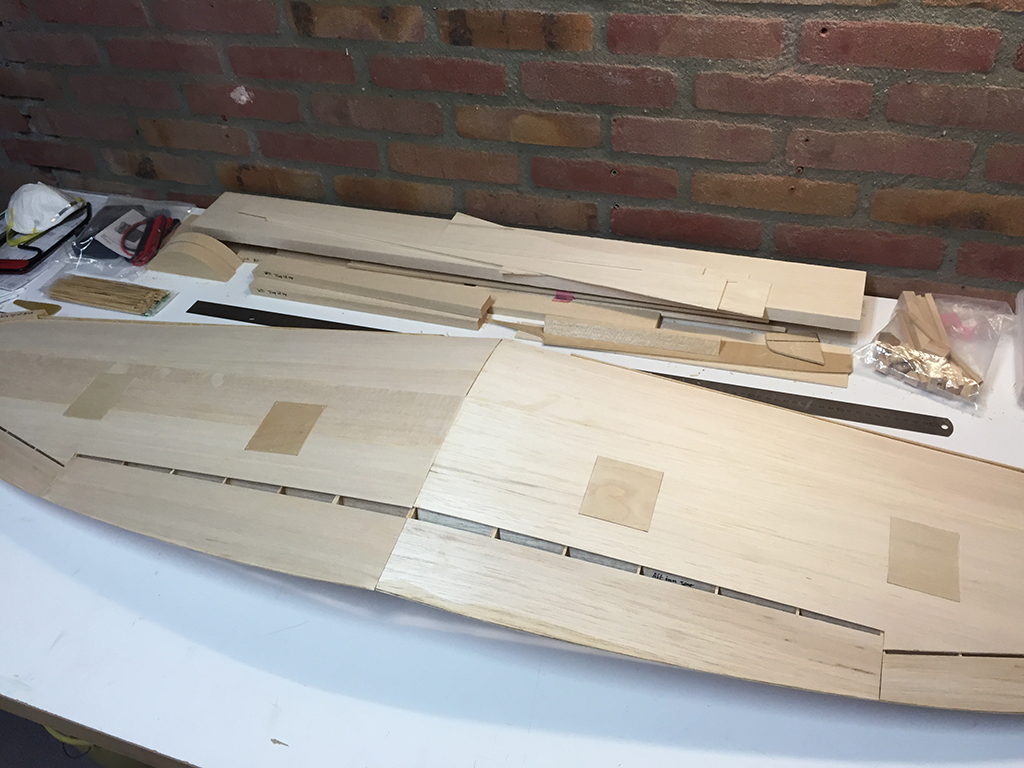
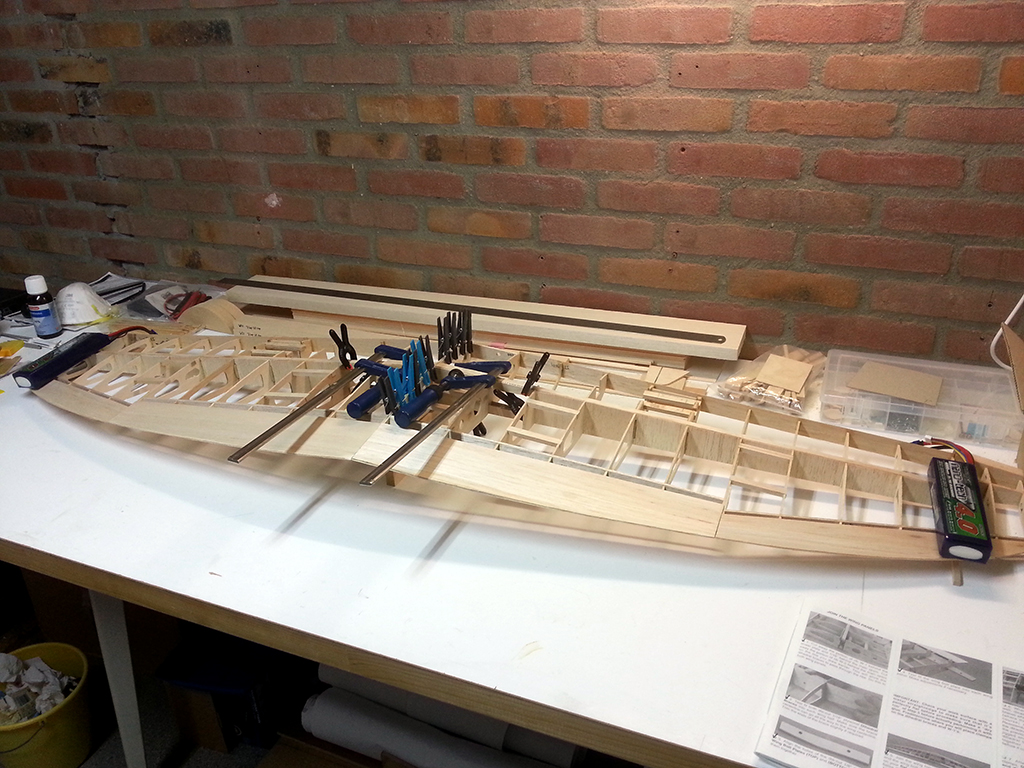
And this is what my shop looked like when I was ready to start the assembly of the Valiant:
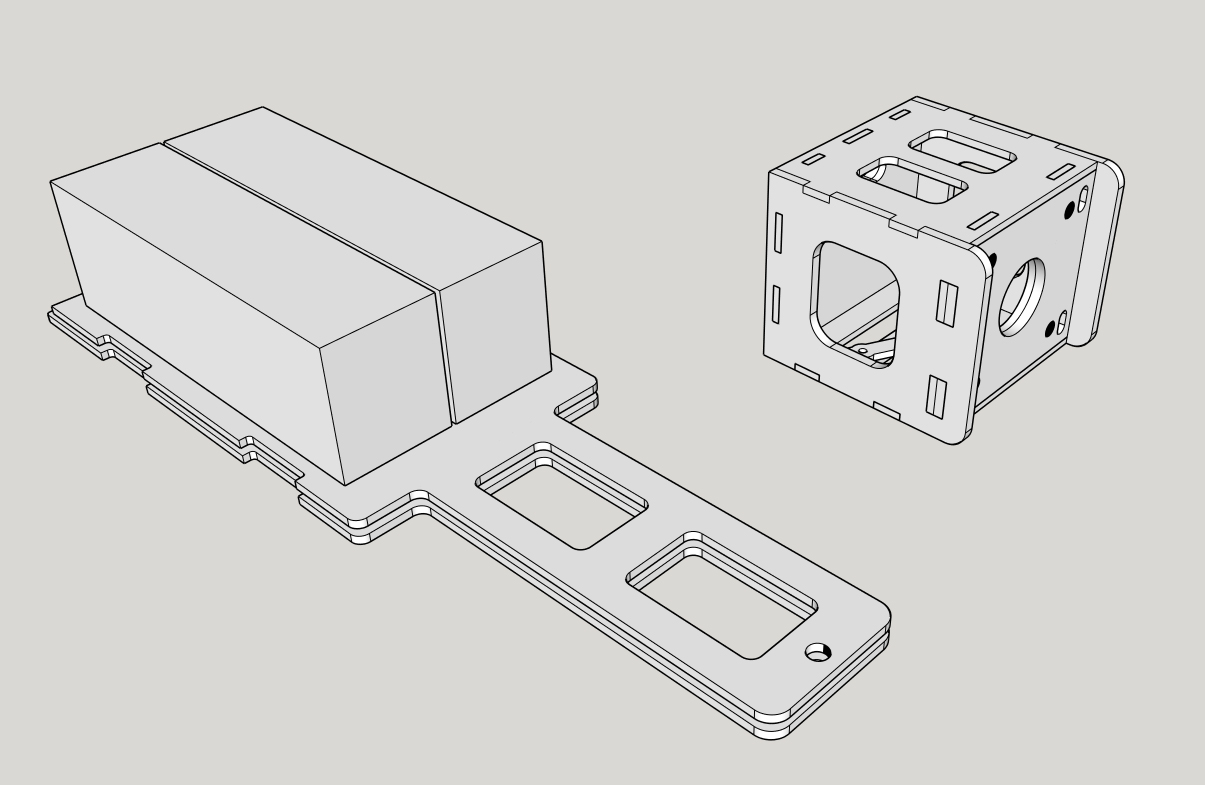
But before I started the assembly, I had to solve one more issue. The Valiant is a 30cc gas plane with the option to go for an electric motor. But the electric motor mount conversion kit Hangar 9 sells is on backorder for at least two more months, so I had to make my own. At first I just wanted to make up a mount and informed what the offset distance should be, but I was lucky to find very clear pictures and detailed information about the original set, so I ended up drawing an exact copy in CAD. I also doubled up the battery tray to make it less flimsy and I will order two sets, so I can leave the two sets of batteries on their own tray, which makes it easier to swap the flight packs:
So after cleaning my workshop, ordering the kit and all parts, including the lasered parts for my ‘custom’ motor mount, assembly can start!

