Please be patient

Sorry to keep you all waiting for so long, but the slow pace is killing me too.. last weekend I finally had time to work on the bass for a little longer, but, of course, I got ill…

Today I threw a rail jig together to plane the peghead veneer down to 2 mm. No complications this time, but no pictures either (cell phone battery died). I routed it from the top using the enlarged router base plate I made for the scarf joint jig. Looks good and can’t wait to proceed with the neck.

Next I’ll plane the headstock down before glueing the scarf joint. After that the veneers and then onto the rods.

Peghead veneer

Some small progress again for today: I am halfway creating a peghead veneer.

I selected a piece of leftover from the flamed Maple top, with the Wenge veneer at the back. It’s about 6 mm thick and I need the veneer to be 2 mm thick in the end. Difficulty is that it bent like crazy with the already slightly warped Maple core, the Wenge veneer and lots of Titebond. So I made a sled and mounted the piece on it, forcing it back to flat. I figured that if I’d thin it from the back, I remove the Wenge and glue, so removing the stress from the sandwich and I’ll end up with a rather flat piece of Maple I can use as a veneer.

All went well, but when I was thinning the top with the sled on my router table, I noticed that when I reached 4 mm thickness, the center of the piece started to bend in the other direction… This would make my veneer uneven, so I stopped right away, removed the Maple from the sled and cut out the piece I needed from the larger leftover:
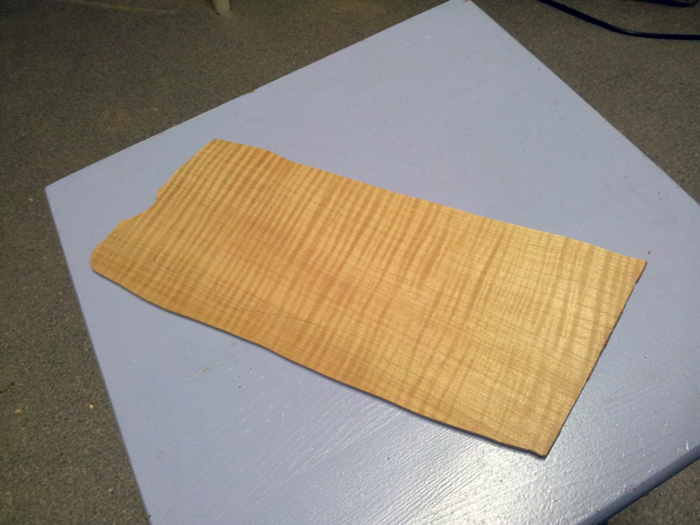
Now, I will need to find another way to plane it down further, but since this piece is smaller and a lot less bent, I think that won’t be much of a problem. But to continue the way I was planing the piece would’ve led to an uneven veneer.

This bass serves me a lot of experience working with wood that is not working with me. It’s slowing things down but it’s a great experience. In the meantime I’m pondering about my home made drum sander and dreaming about buying a jointer / thichkness planer and bandsaw.

Body mockup

Today I did some thinking and puzzling on how to proceed. So not much to report, apart from this mockup I made (nothing new, just a cool picture):

Oh, and I weighed the body, it’s 1955 grams right now (4.3 lbs), so with the neck pocket and pickup routings it’ll be less than 4 lbs I guess. It feels very light (although it would’ve even been lighter without the Maple top, being a full Swamp Ash body). My previous Mahogany / Maple body was much heavier.

Finished scarf joint jig

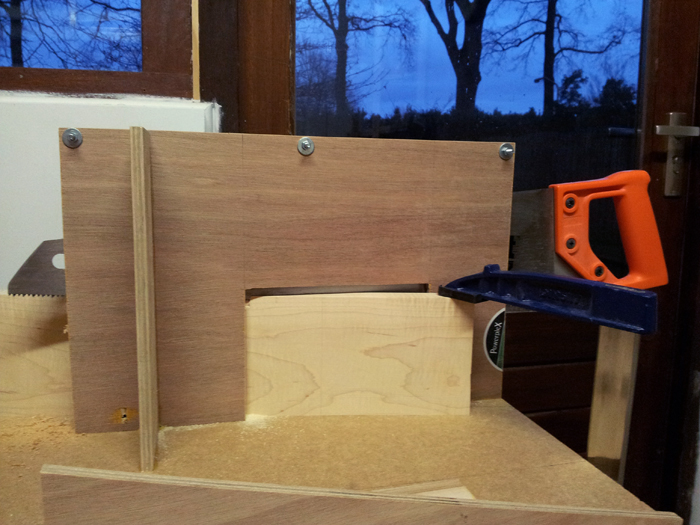
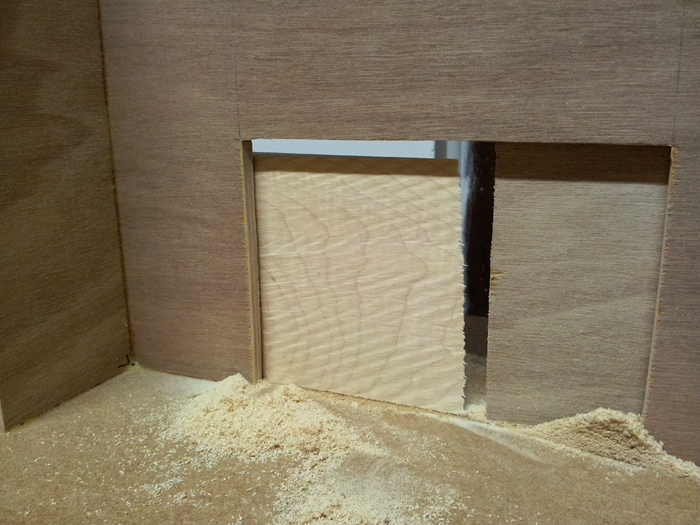
After almost a week, I finished my new 12 degrees scarf joint jig for a hand saw and a router. If you have about one hour each few days, it’s going slow, especially with those less exciting tasks you have to get past to get to the good stuff.. but I wanted this to be as perfect as possible, it’s a crucial part of the final strength of the neck construction to get this right. Getting tired a bit of only having a router, jigsaw and drill press, but I’ll get there.. oh well.

Scarf joint jig

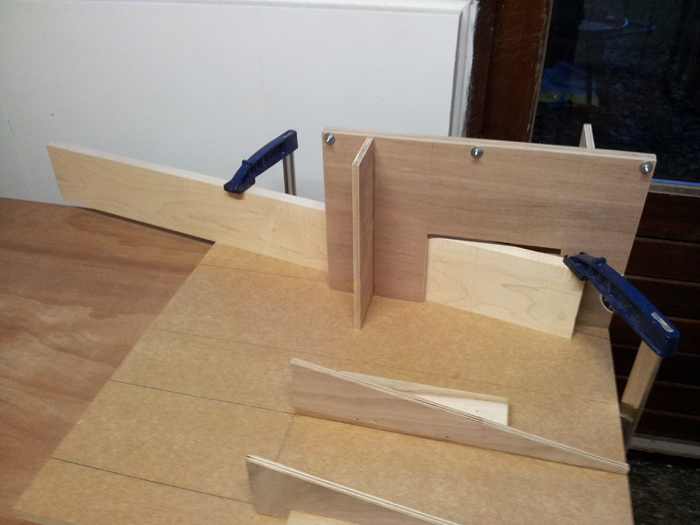
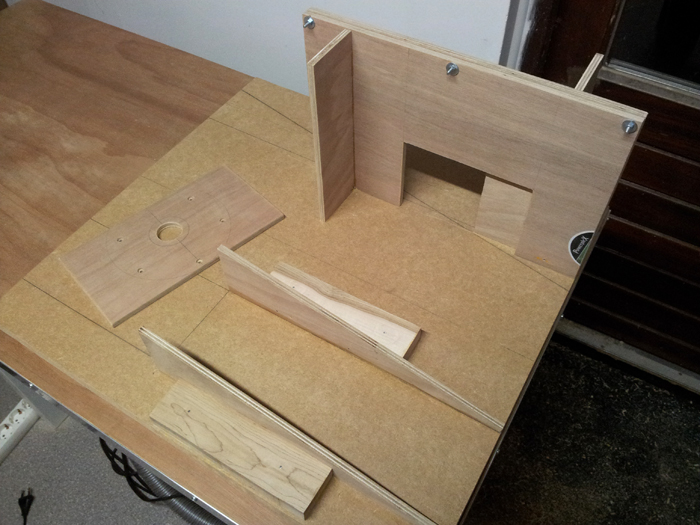
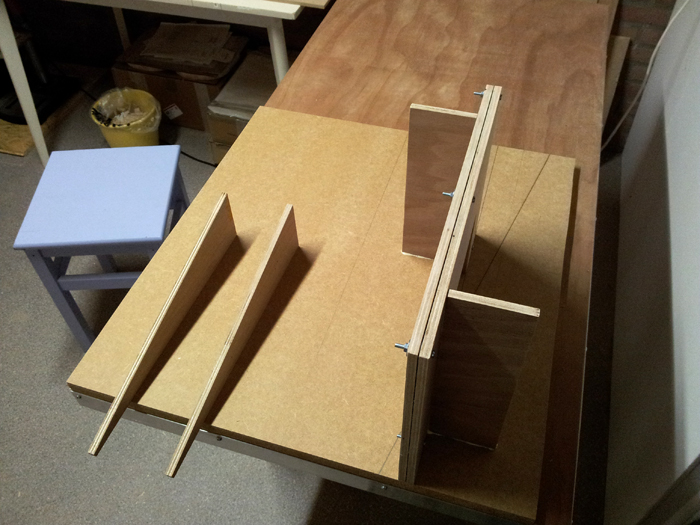
Due to the lack of decent machinery I’m going to have to cut the scarf joint by hand and clean it up with the router afterwards. This needs a jig and since I didn’t keep the previous one I’m making a new one right now:

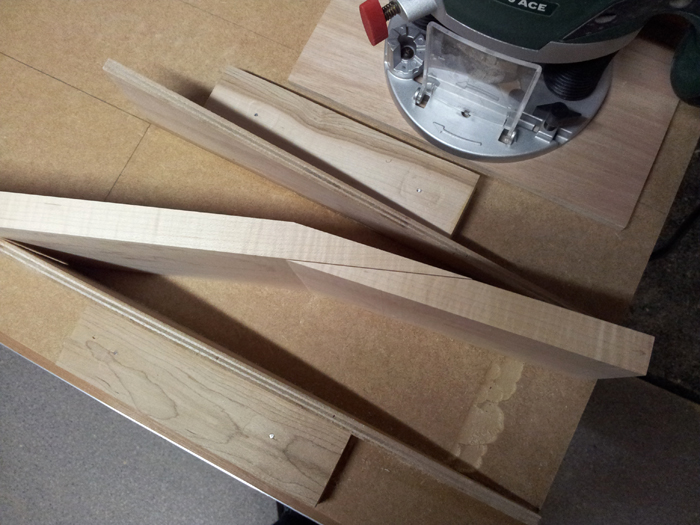
This one will be decent and made to be used more than once. On the right a kind of miter box like jig that holds my saw straight and perpendicular to the workbench while cutting the neck blank at 12 degrees. On the left (not glued yet) the guides for the router sled.

I hope to finish this all soon so I can proceed with the good stuff again…

Planed the neck blank

Routed the plain maple straight and clean (4S now) and it turns out to be a rather nice piece, with a very subtle flame. Fits the macassar ebony very well.

The heavily flamed maple piece has to be saved and receives a rosewood fb for another build, maybe my first electric guitar.

A new neck blank again

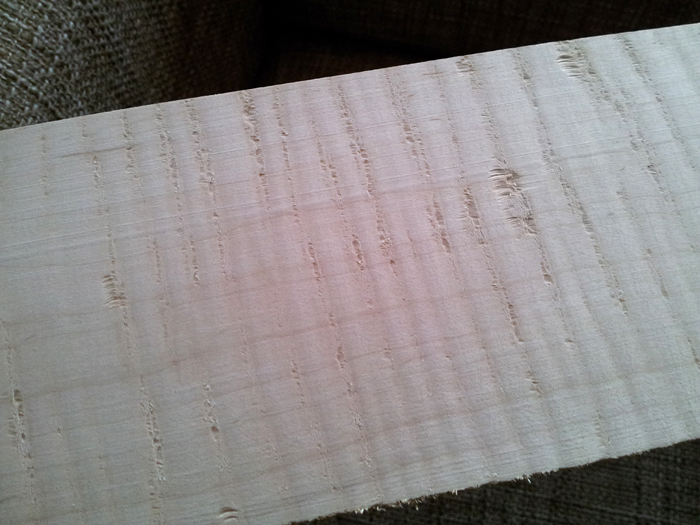
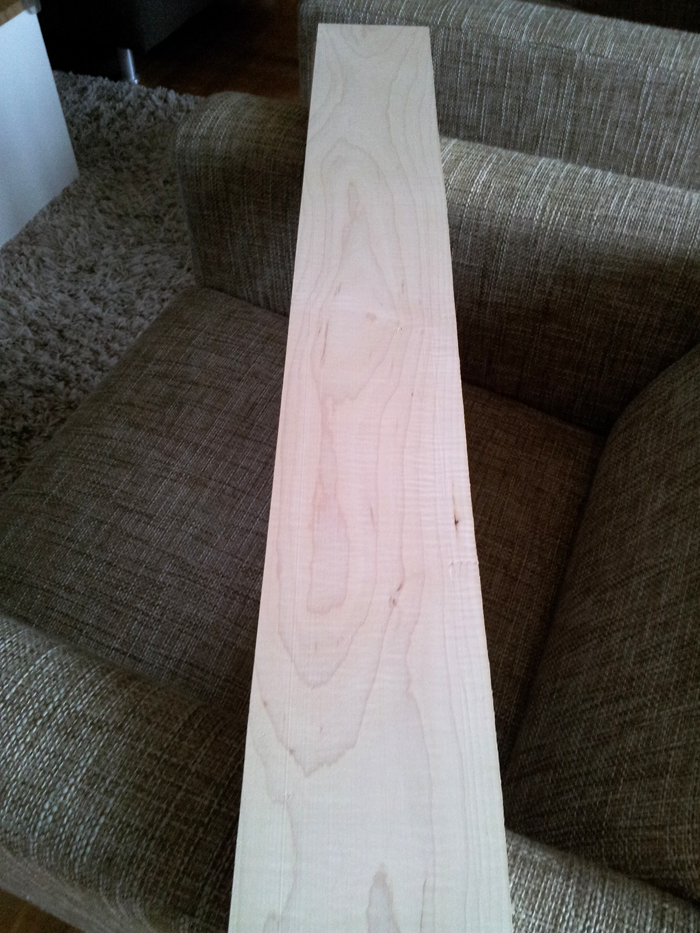
Visited a local cabinet maker today to get the neck blank planed and thicknessed. Before I went there, I saw there was some minor tear out on the blank, so I already new this wood was prone to tear out pretty easiliy. I told this to the cabinet maker and he especially sharpened the blade of the planer for me before feeding the piece through, but despite all efforts (different directions, taking off more or less wood at the same time et cetera) the end result was this:

Only a drum sander could fix this, but I do not have access to that and they’re pretty expensive around here.

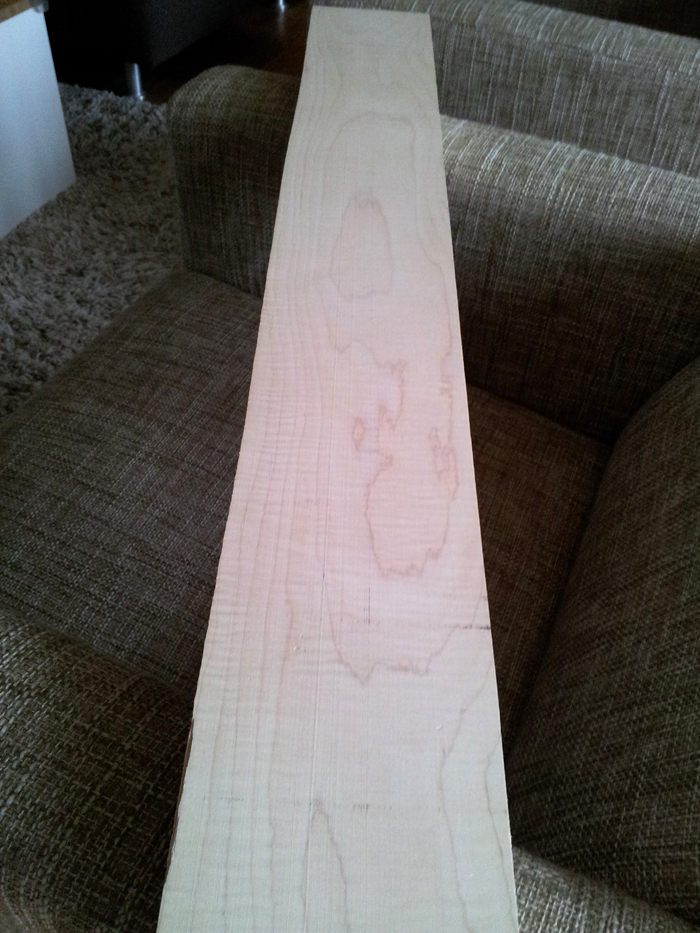
So, the cabinet maker offered me a piece of regular plain sawn maple, good price and he planed it to the right thickness for me. Would be my third neck blank for this bass, not particularly lucky with that…

This is it:

And the other side:

It’s a very nice piece of plain maple, it even has got some subtle flames in it.

In the meantime I’m working on my scarf joint jigs….

The tummy cut

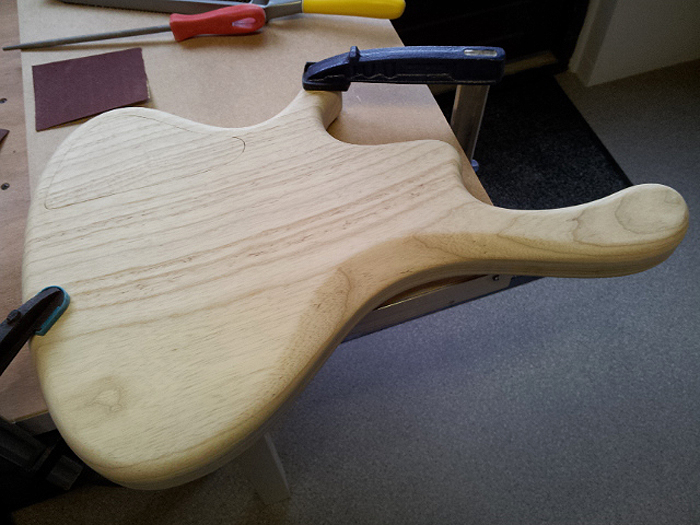
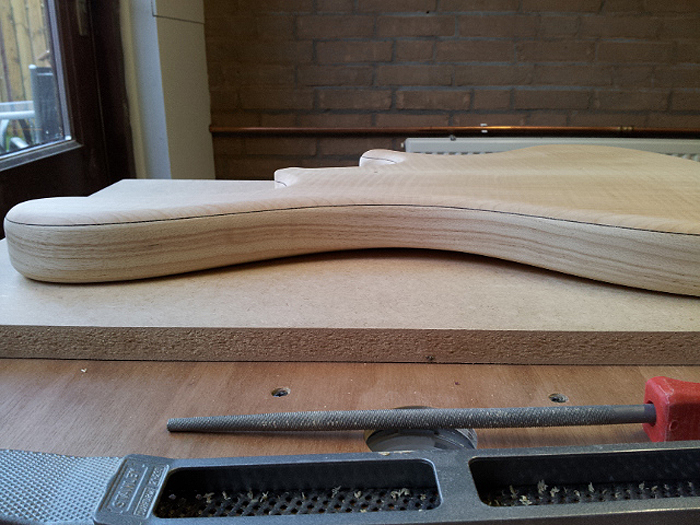
After practicing on my MDF-dummy I decided to dive in on the Ash of the real body today. It still is a very modest tummy cut, but the effect is great! The comfort of the body when seated has gone up way more than I expected, just perfect!!

I tried it in a playing position, resting on my left leg. The deep curve on the upper bout of the body falls nicely against your chest, while the tummy cut takes away the ‘sharp’ edge. Together with the lightness of the body you’re hardly aware of the fact that there’s a lump of wood on your lap, which is a good thing imo. Hard to explain, but I will post pictures of that sometime, you’ll see what I mean – although you actually would have to experience it yourself .

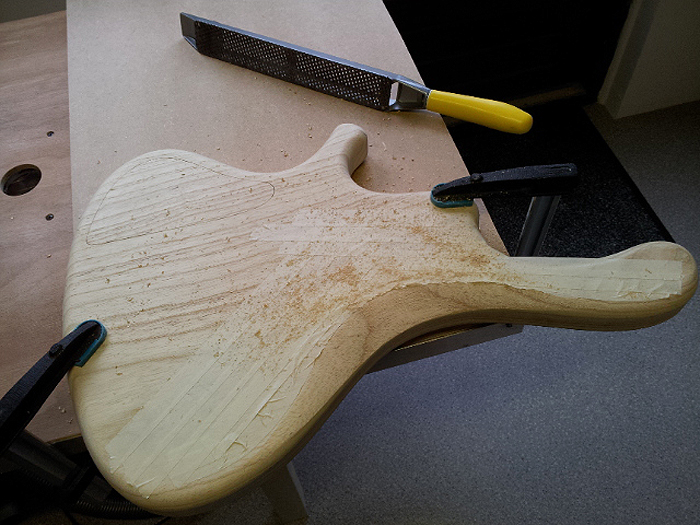
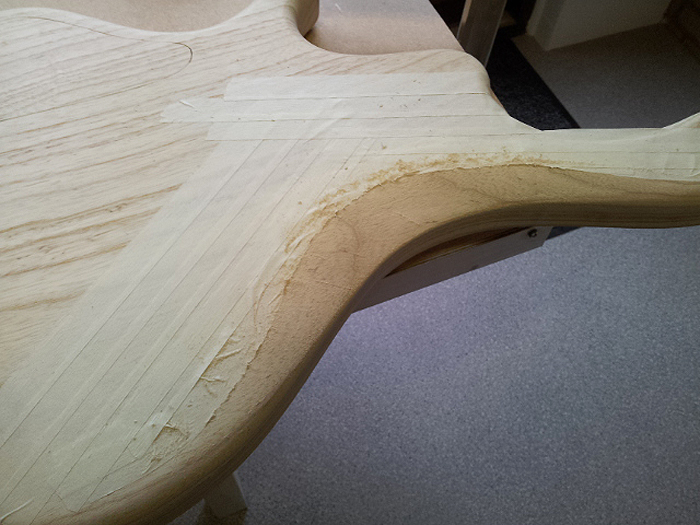
I drew a pencil line of the intended curve and used masking tape to follow that line, making it more visible when carving and protecting the rest of the body in the meantime. Started out with the great Stanley surform file:

working with hand tools on wood really feels good. I used a fine coarsed file to smooth things out:

And here it is, finished and sanded up to 180 grit:

And from aside:

Some minor steps

There were a few things that needed to be done on the body part: I finally (!!) finished all my plywood templates today (now I’ve got the pickup cavities and neck pocket template as well). I also finished glueing up a prototype body (curing as we speak) to test the tummy cut and neck heel.

Before I start with the body I will practice these carvings first, decide if I’d go with a tummy cut, probably do the tummy cut on the real body and I may even route the pickup cavities and neck pocket already. After that, it’s time to move on to the neck. Slow build, I know, but limited time and taking it step by step..