Back on track

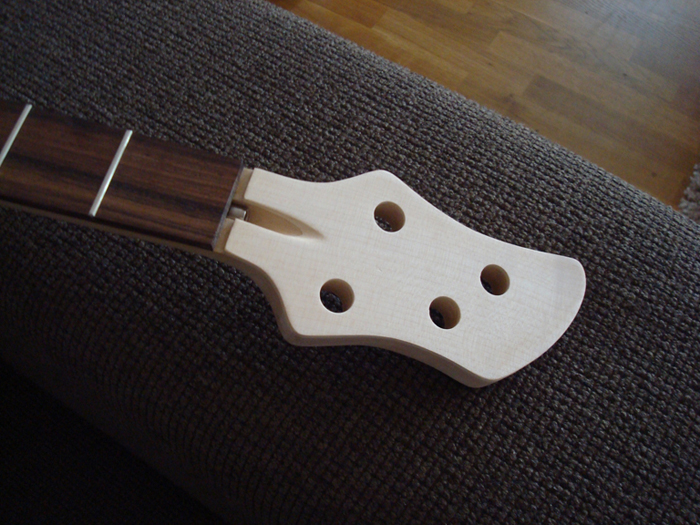
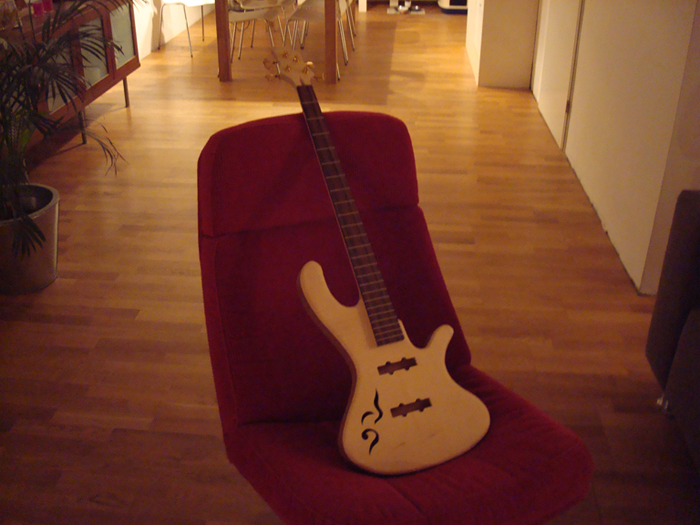
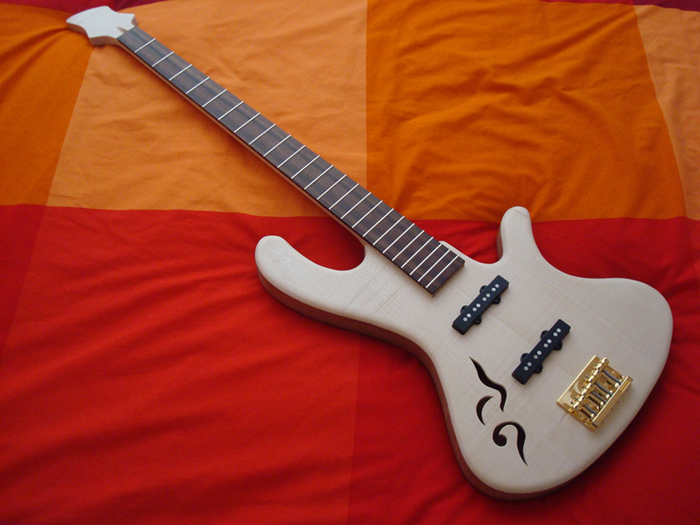
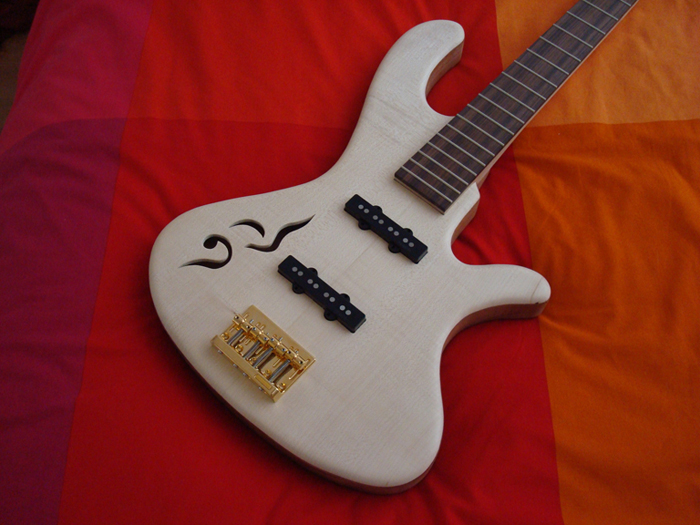
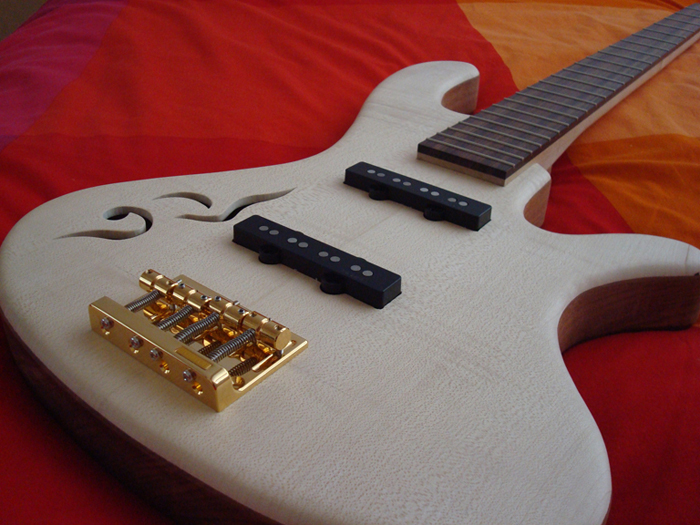
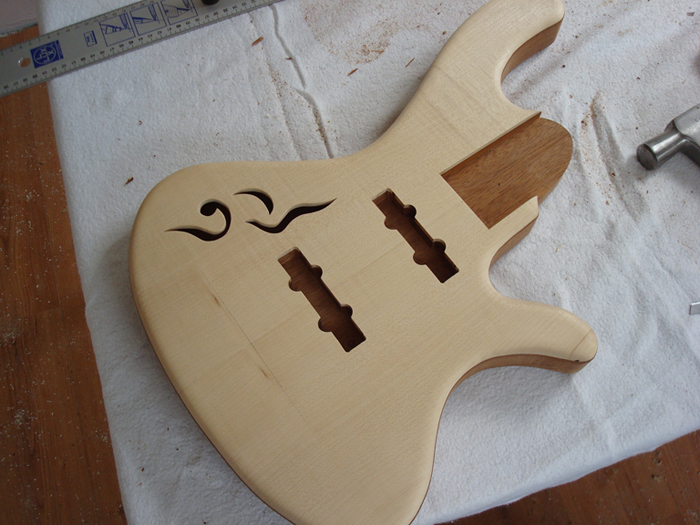
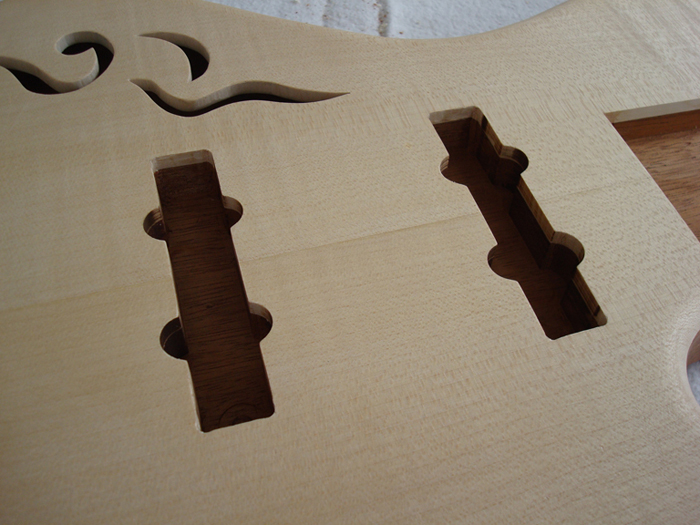
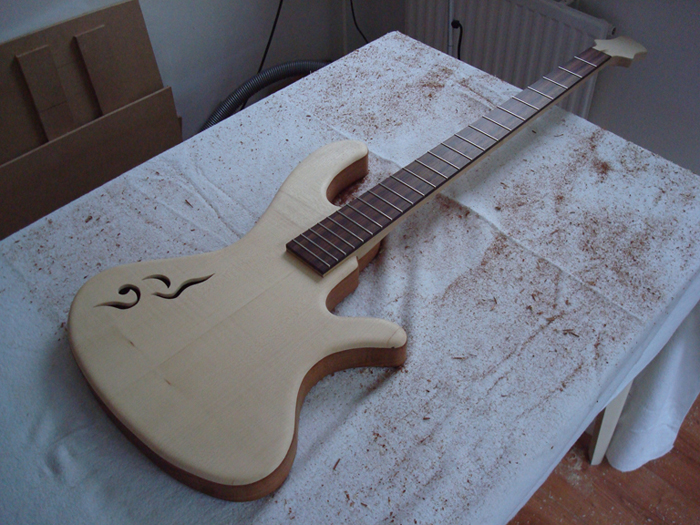
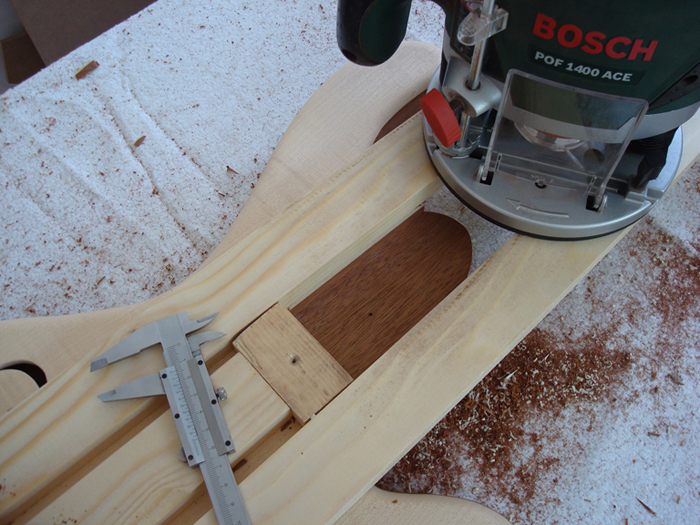
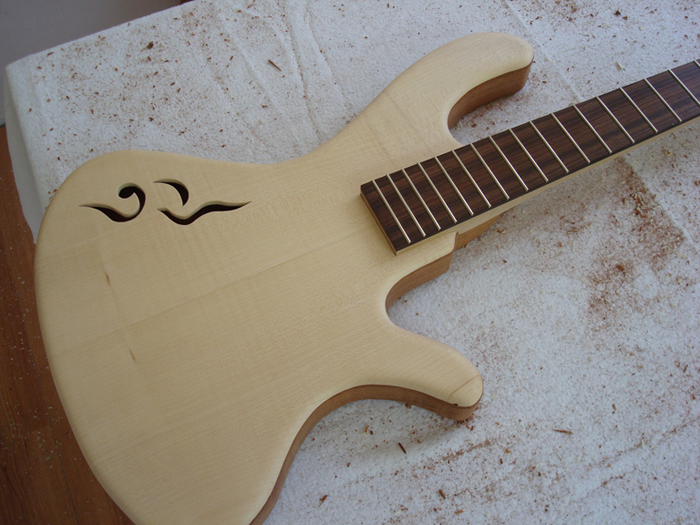
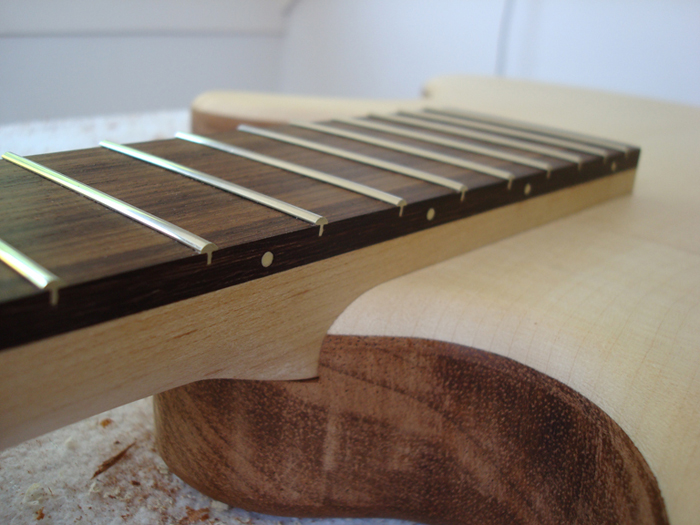
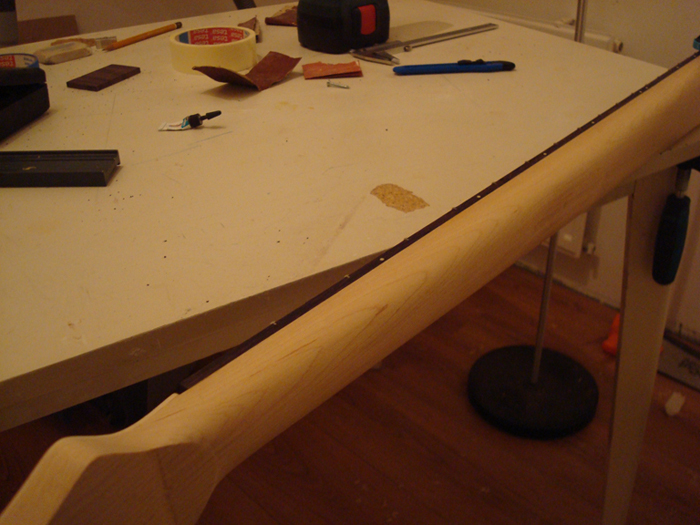
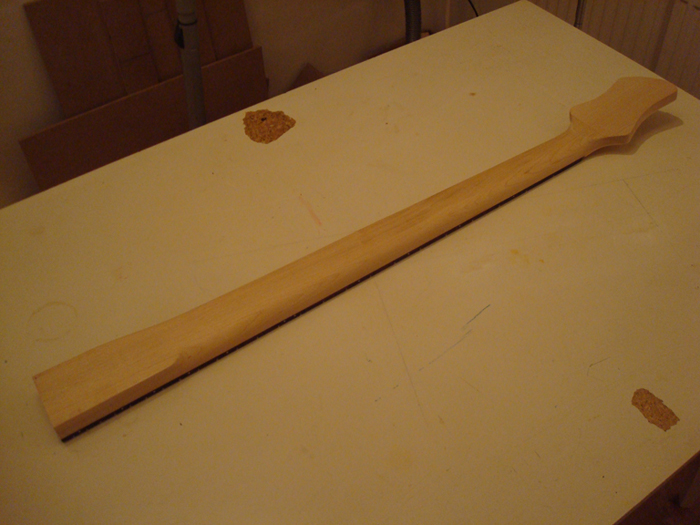
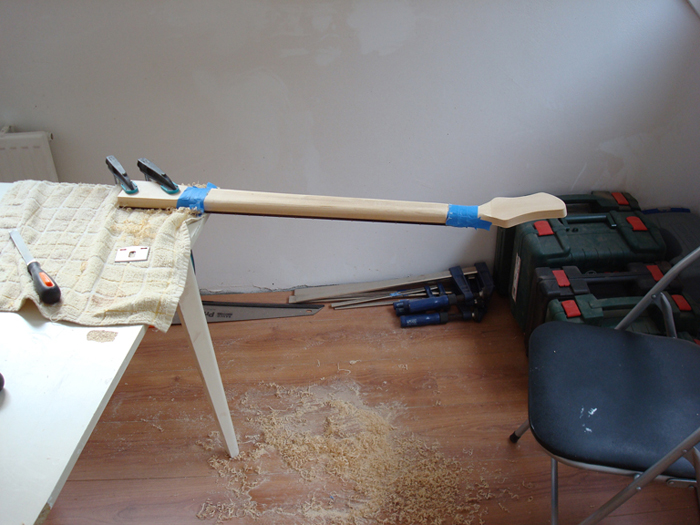
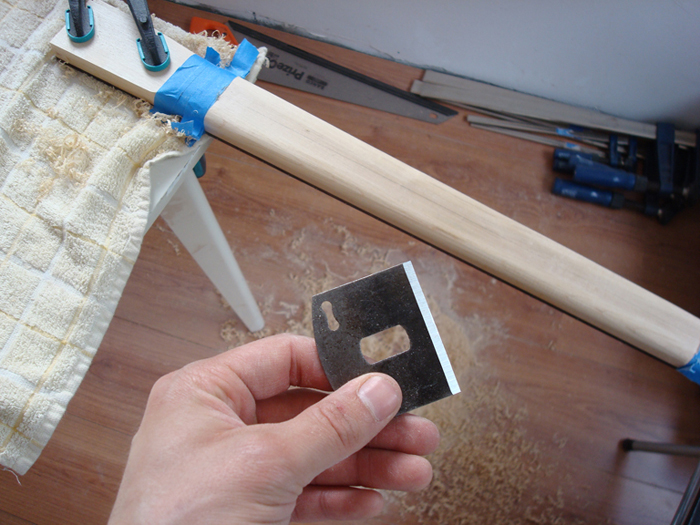
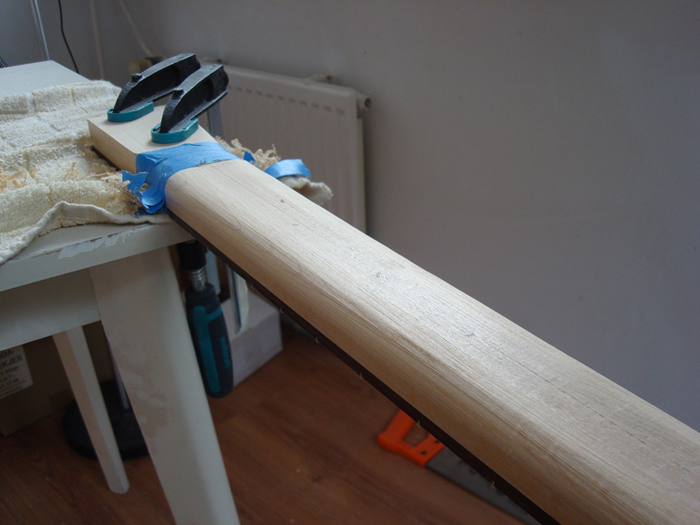
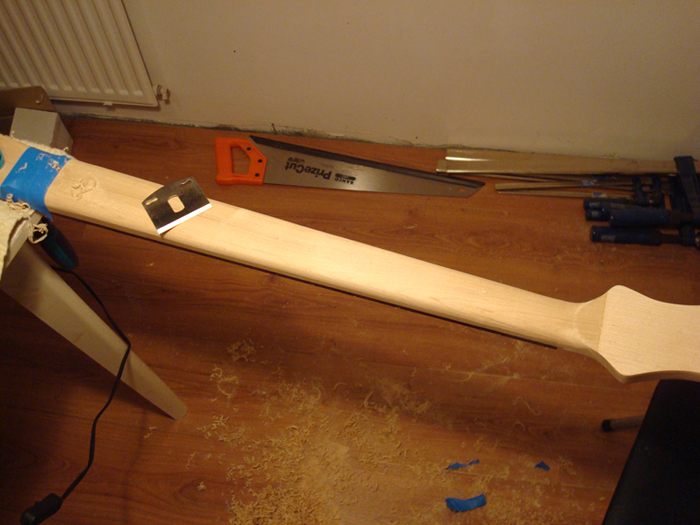
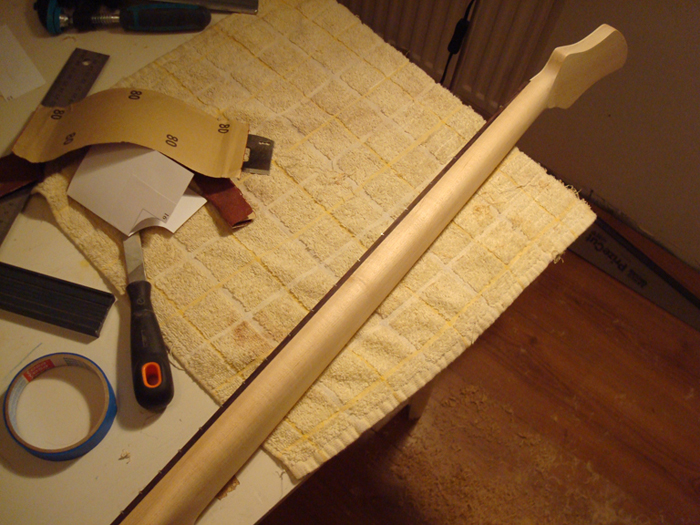
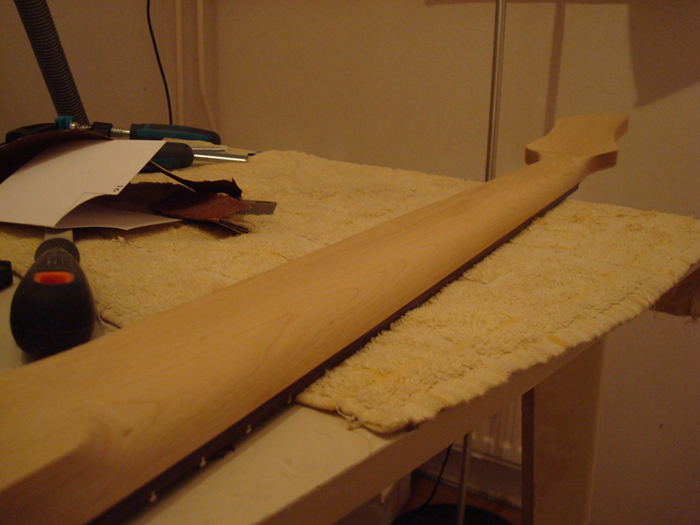
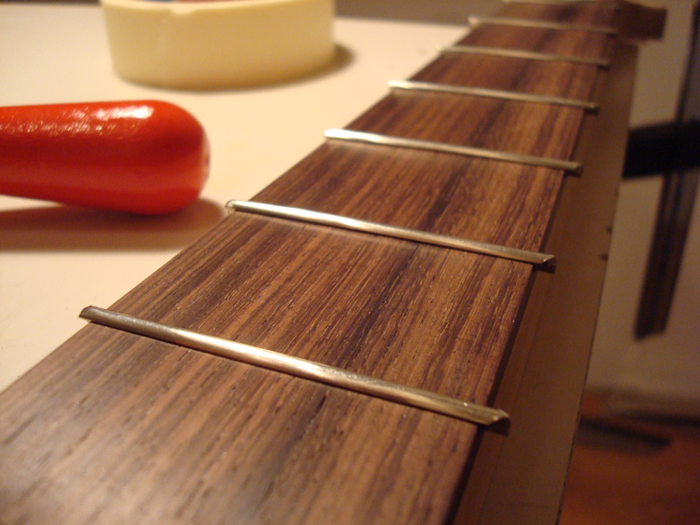
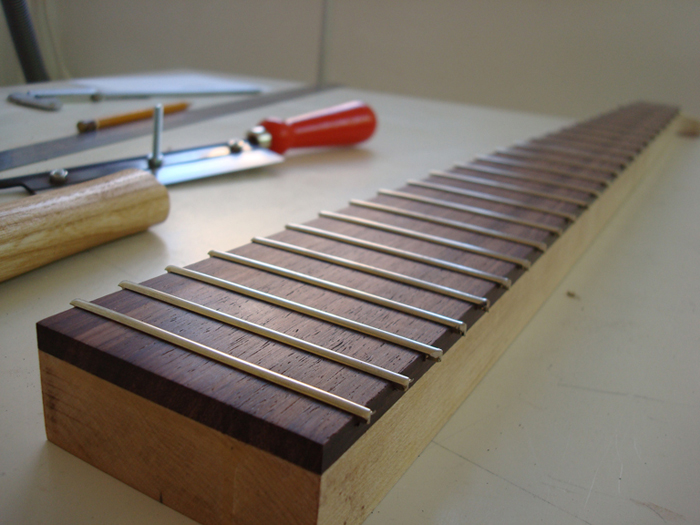
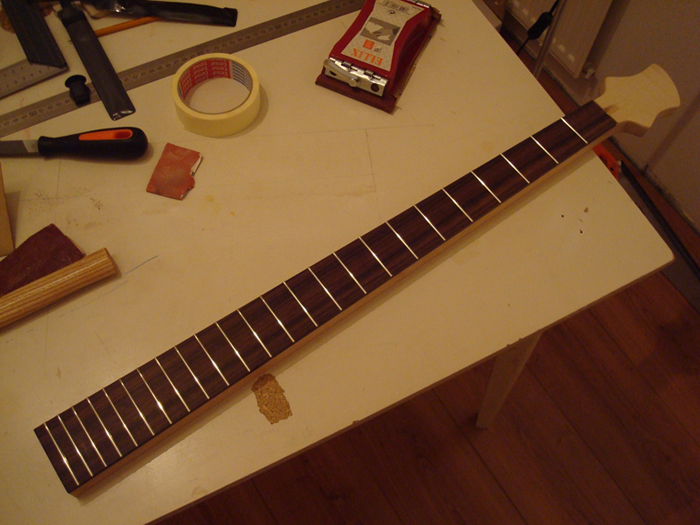
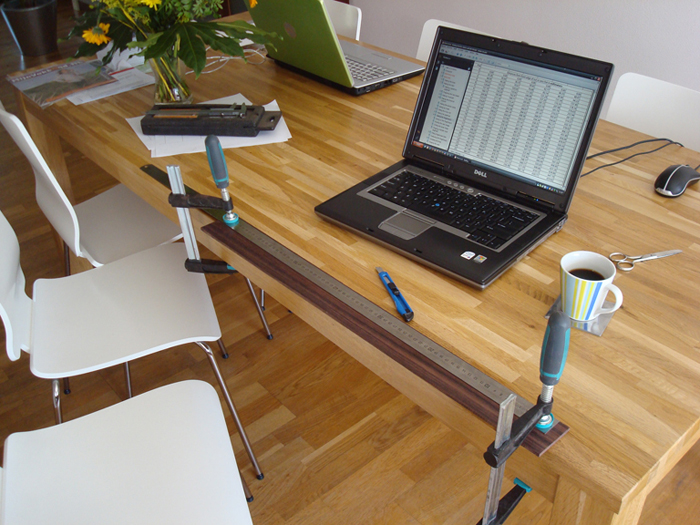
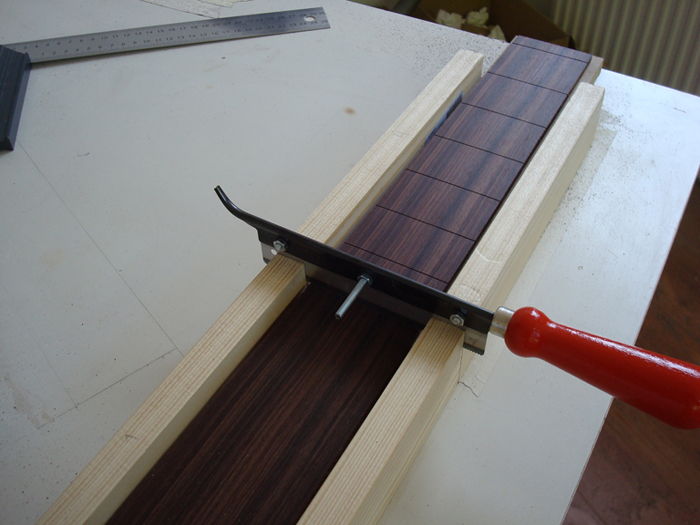
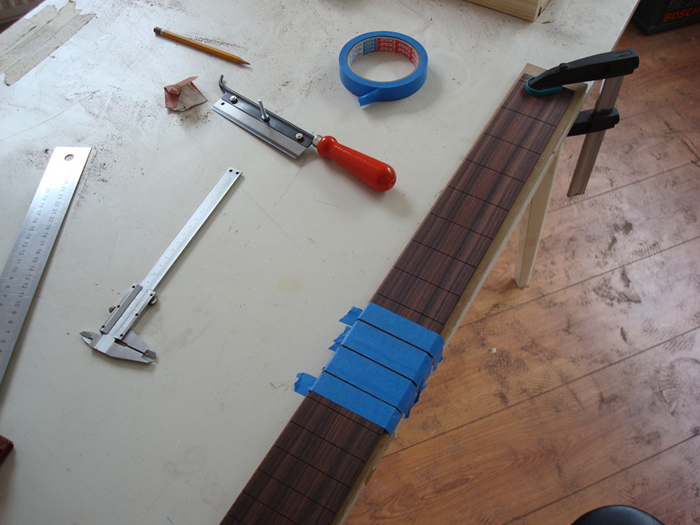
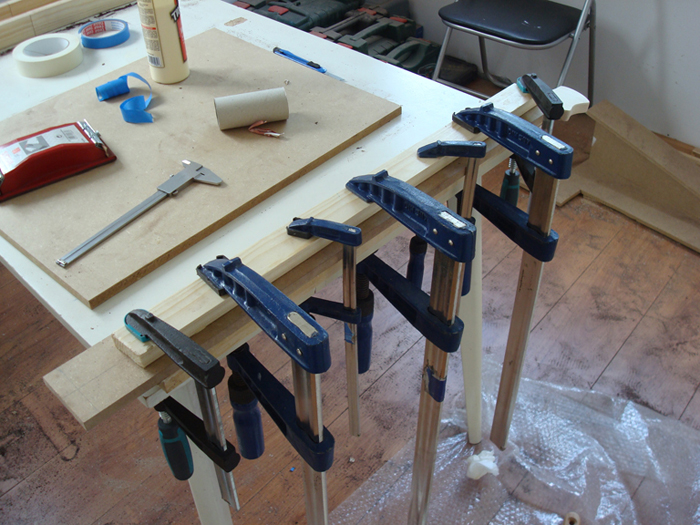
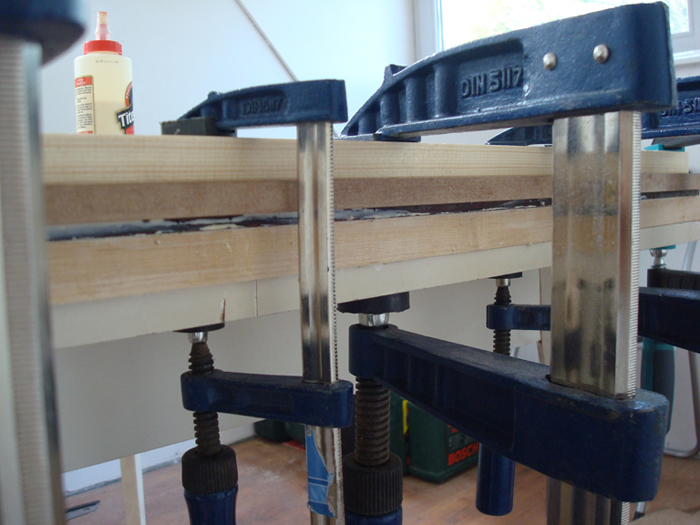
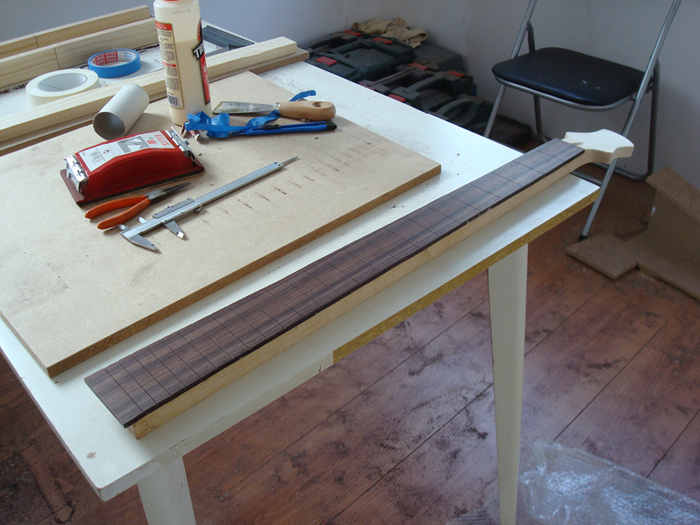
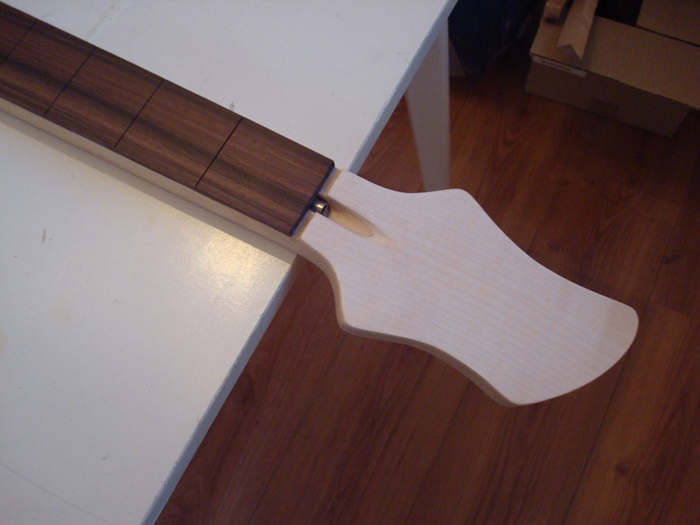
Last week I did some small things like drilling the wiring channels from the pickup cavities to the control cavities, cleaning up the scarf joint and bevelling the edges of the frets. I also sanded the whole neck and body up to grid 180.

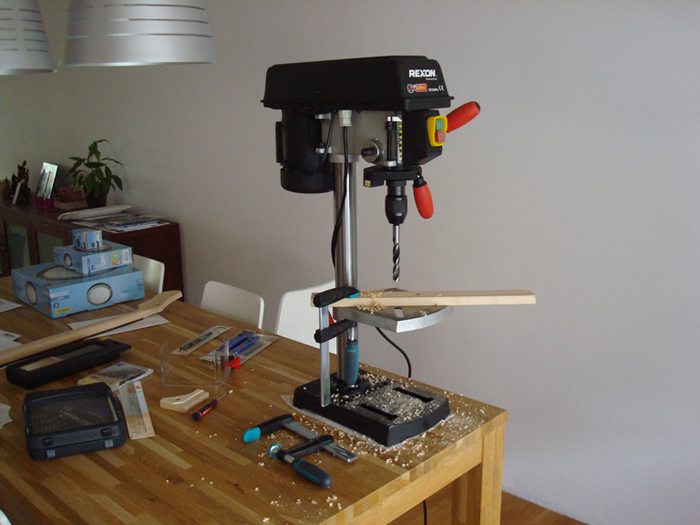
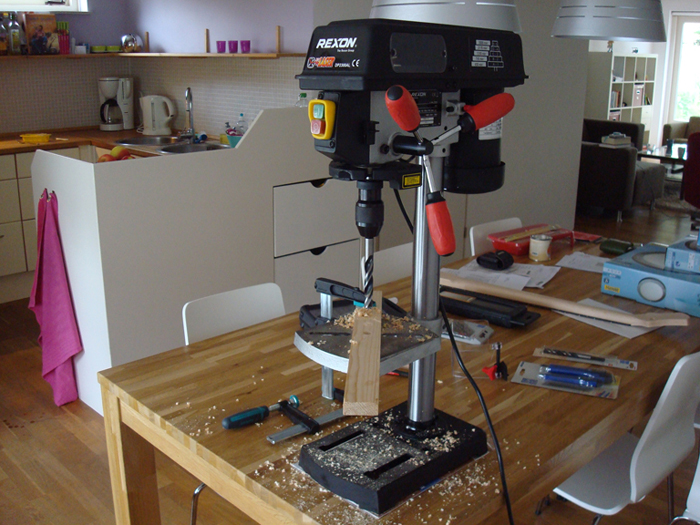
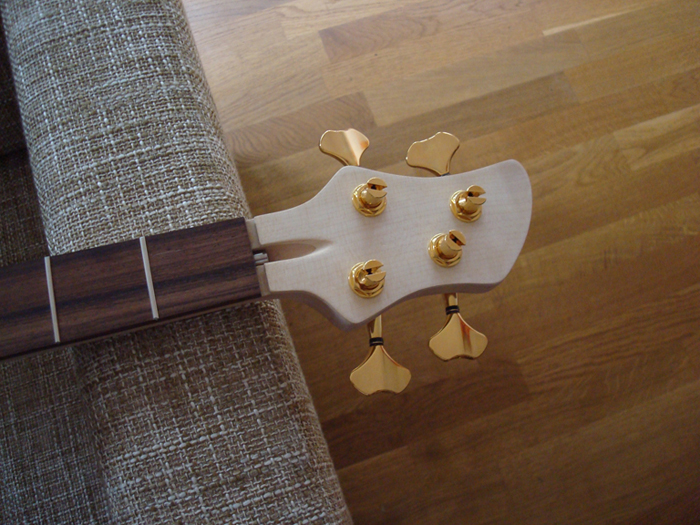
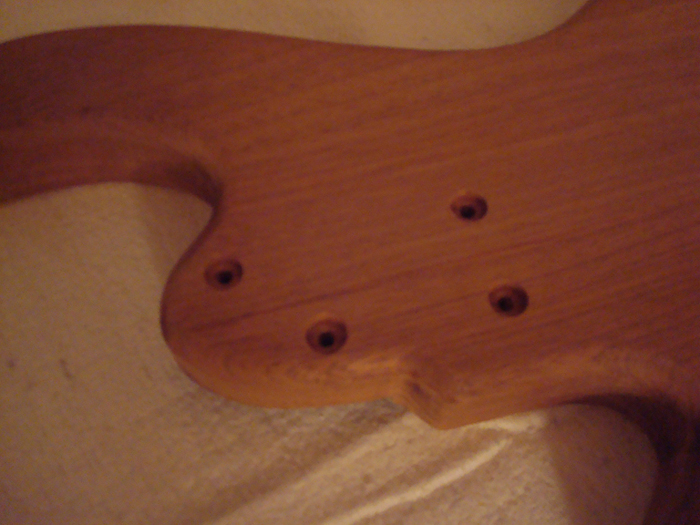
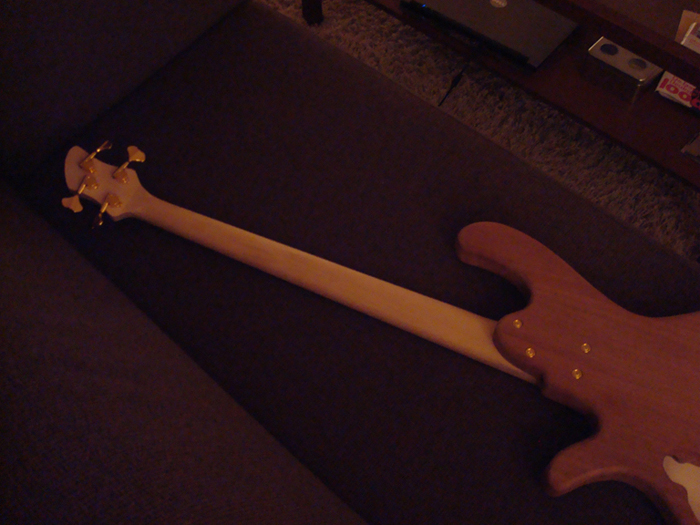
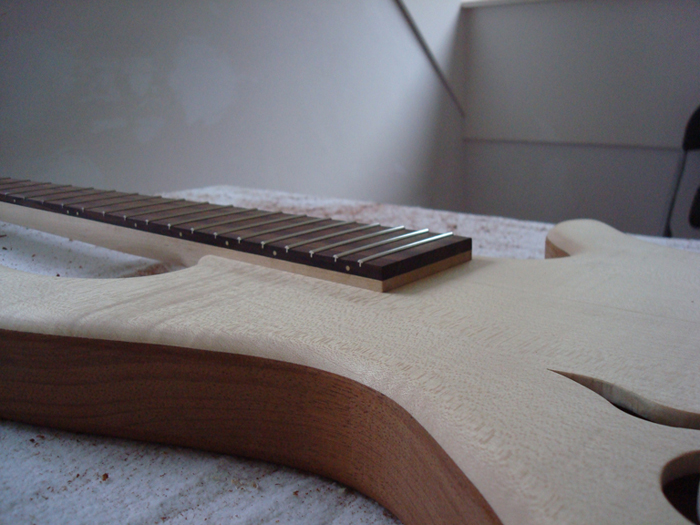
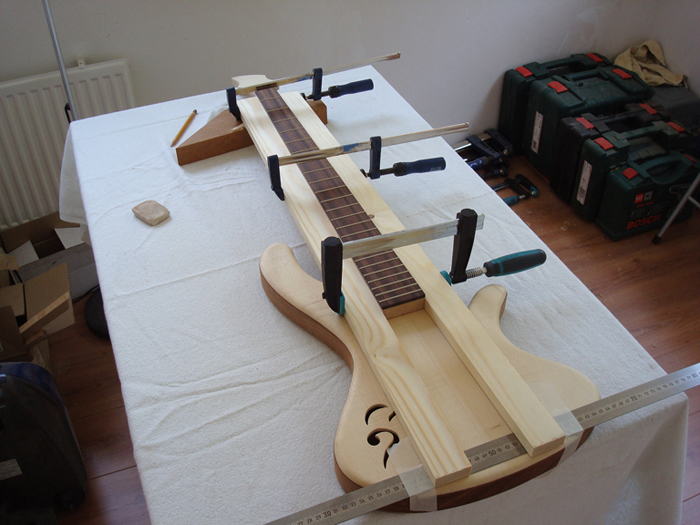
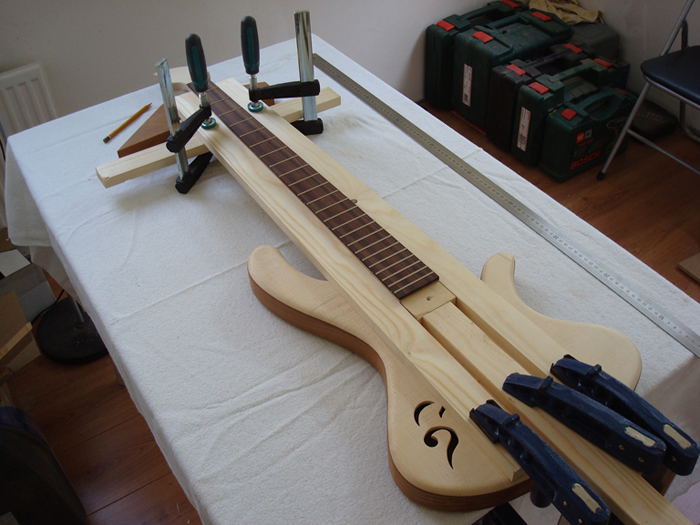
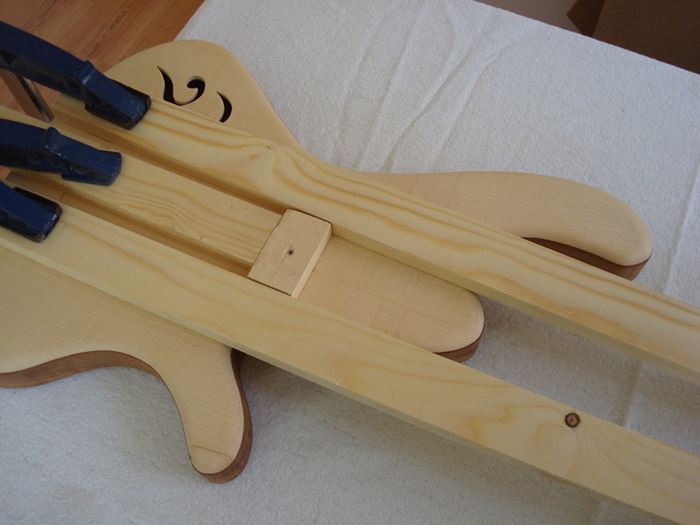
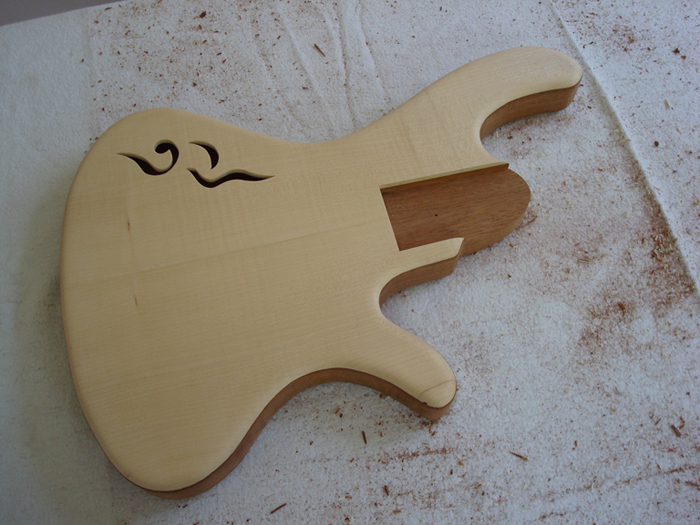
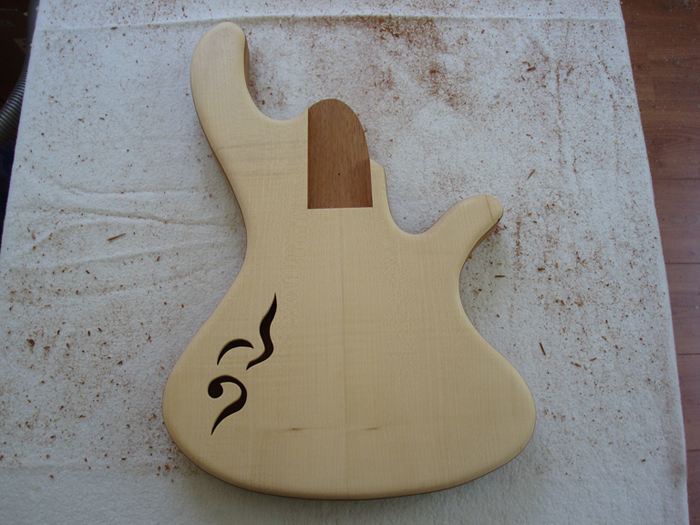
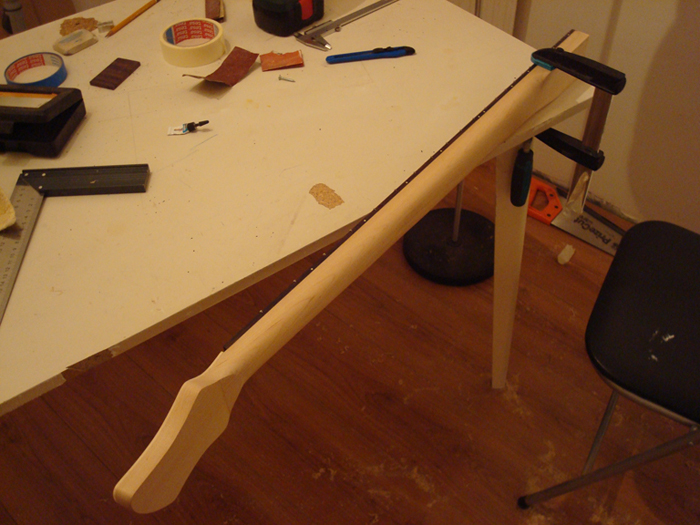
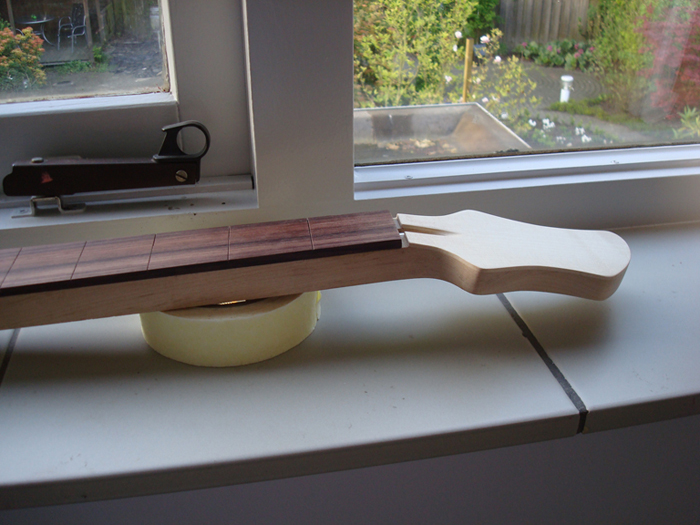
On Thursday I finally received the parts I ordered. But, in fact.. I needed a drill press to assemble most of the parts and I didn’t have one. I thought about buying one for a few weeks now and yesterday I made the decision. So here’s my latest toy: a brand new drill press!! I am very happy with it and it already proved it’s value today. I spent several hours working on the bass and got two major things done. I installed the tuners and made the bolt-on connection between neck and body. Both came out well and having this done I’m getting close to finishing this project!

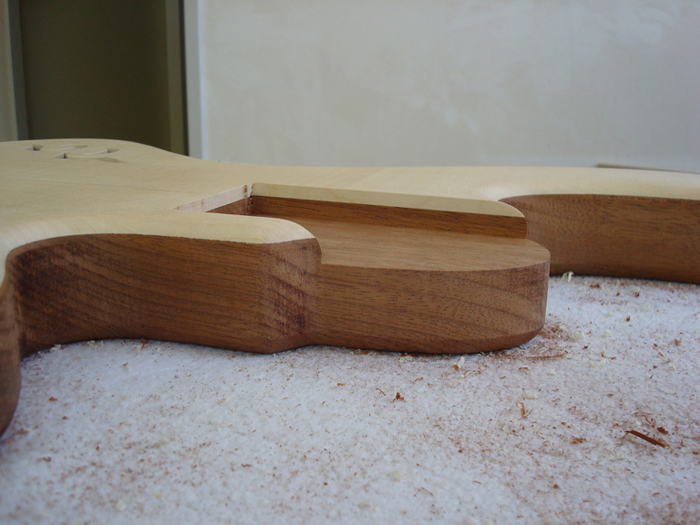
There’s only one thing that bothers me a bit. When I attached the neck to the body, I got to feel the balance of the bass and as I expected it’s neck heavy. This is caused by the combination of a fat neck and a relatively small body. If you point the neck upwards, it’s playable, but it’s not ideal. I think correct placement of the strap holders is really important and could improve the balance. And maybe, installing the pickups, electronics and bridge will also help a bit, but this might or is going to be the only ‘negative’ habbit of this bass ;).

Neck profile and electronics

Last week I spent shaping the neck profile to make it thinner. I also found out which electronics and finish I want and made a list of all parts I still need to finish the bass. I ordered all of those parts and now it is time to do some final sanding and start putting this bass together!

Adding some jazz to it

This weekend I made the pickup cavities. I made an accurate drawing of the pickups to cut a template. However, I wasn’t satisfied with the first template, so I made another one. This took quite some time, but in the end, it came out pretty nice.

Then I drilled holes at the corners of the pickup cavities, because the wider router bit couldn’t reach into the corners. I then used my template to route the cavities. After routing I used a chisel and a file to clean up the cavities. The result is very clean and the pickups do fit exactly in those cavities! I am wondering if I will get shielding tape in there, but we’ll see…

Neck pocket re-route

I wasn’t satisfied with the depth of the neck pocket and so today I made it 2 mm deeper, after making an accurate drawing of the whole setup (bridge, pickups, neck and strings). I liked the result much better, so now it’s time to make some pickup cavities!

Neck pocket

Today I made the neck pocket. I took my time aligning the neck with the body (very critical!) and made a ‘template’ to route the neck pocket. I measured everything twice and started routing.

After routing I had to chisel away the wood in the corners, because the round router bit leaves the corners rounded too. It came out very, very nice and clean and the neck now fits like a glove!

The only thing is that it sits quite a bit high on top of the body (because it has to line up with the top of the bridge) and I’m not sure if this is okay. Maybe I’ll route it deeper, but then I have to sink the bridge into the body too..

The last dots…

Today I finished the neck shape. I didn’t took of a lot anymore, and it’s a bit chunky, but I think I like it. I can always shave it down some more, but for now, I’m happy with it!

Then, I inserted the side dots. I ordered white and cream ones, to see which fit best and practiced both on a piece of scrap rosewood. I liked the cream one best, because the colour matched the maple neck perfectly so they look like wooden dots. It came out quite nice.

Having done this, I am ready with the neck! Of course the frets need to get dressed and the tuners have to be installed, but that’s the assembly part. Only thing that keeps me thinking is the shape of the end of the neck. Maybe a somewhat more ellipse kind of shape would be easier to route (for the neck pocket), but I’ll save that for later…

Getting in shape

Last week I started shaping the neck. It started out as a nervous-racking job, because I didn’t want to screw up my work and at the same time, I had to attack it with rasps, shaves and other dangerous tools… but after a while it came out to be very relaxing. I used a rasp at first, but most of all only the blade of my spokeshave, since the spokeshave itself sucks (which I also found out during this process).

I planned a C-shape for the neck, but right now it’s more like a D-shape. And I think it’s still somewhat thick, but I’m getting there!

The fretting job

Last week I started fretting the neck. I practised on a piece of scrap first, but nonetheless the first few frets made me very nervous..

After putting in some frets just fine, it became a rather relaxing job and I worked my way down the fretboard. Checking depth, cutting the slot if necessary, hammering the fret into its slot and finally, cutting the excess of.

Before the fretting was done, the neck had a slight relief. I knew the frets would bow the neck somewhat and I hoped the result would be perfectly straight, but the frets overdid their job and the neck now as a very slight back bow. But so little that it doesn’t worry me right now. However, the strings will pull it back again. I only wonder how the neck will act when I start shaping it…

Currently I am cleaning up the ends of the frets, first with my Dremel and after that I will file the edges flush with the neck.

Update: I filed the frets flush with the fingerboard and sanded the edges smooth. I added a picture of the result.

The fingerboard weekend

This weekend I did a lot of work. I started out planing the fingerboard again, because I wasn’t happy with the result. Then I marked the fret positions with a knife and checked and corrected them afterwards. I think my tolerance was about 0,07 mm on average, so that’s good enough for a start.

Having marked the fret positions it was time to cut the fret slots using the jig I made. So far everything went fine, but after a first cut they weren’t deep enough. I did a second ‘run’, measuring the depth with a caliper. It was very hard to cut the slots nice and clean, because the saw tends to get stuck in the very narrow slot. I scratched the board by accident a few times, but nothing that couldn’t be solved with some sandpaper.

Getting this far I immediately jumped into the glueing part. I took less preparation time for this then I’m used to, but it seemed to go well. Afterwards I routed the fingerboard flush with the neck and sanded the whole neck and fingerboard with different grades of sanding paper.

I am more or less happy with the result, although I am sure I could do better. So I’ll call it a day and let it rest before I move on to shaping the back of the neck.