Cleaned up the binding

Where was I?

Today, suddenly, I felt like building again… after a bit of a break. One of my mottos is: when you don’t feel like building, don’t. And since ‘perfect’ is my standard, I respect that rule!

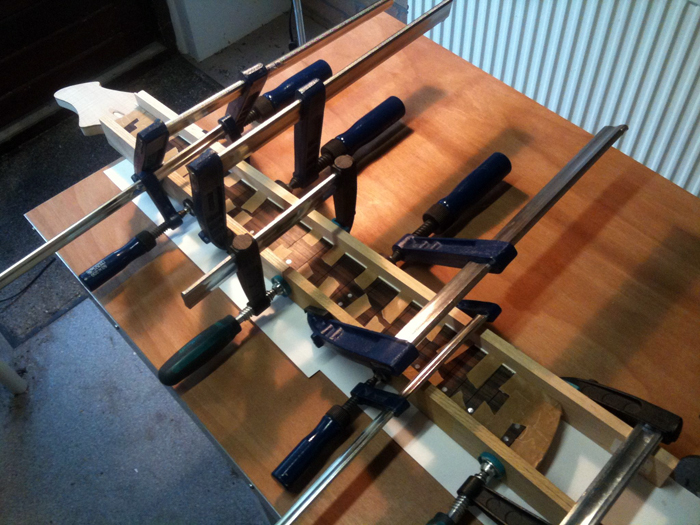
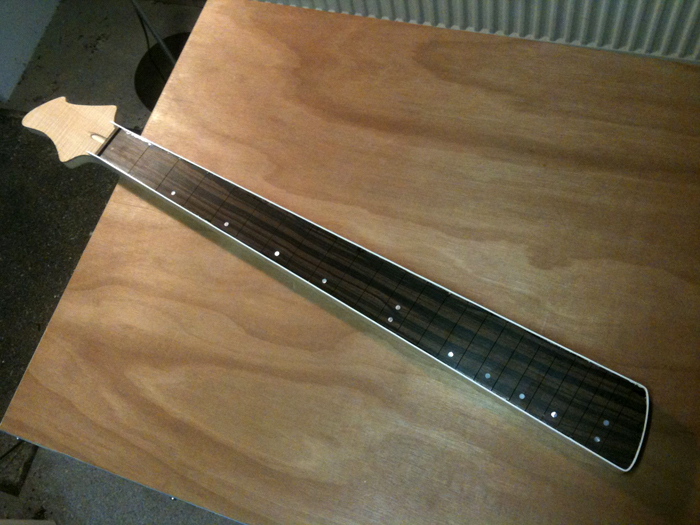
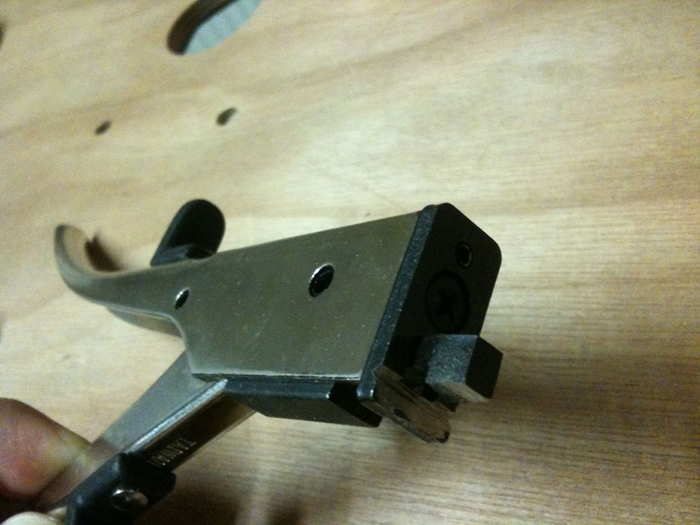
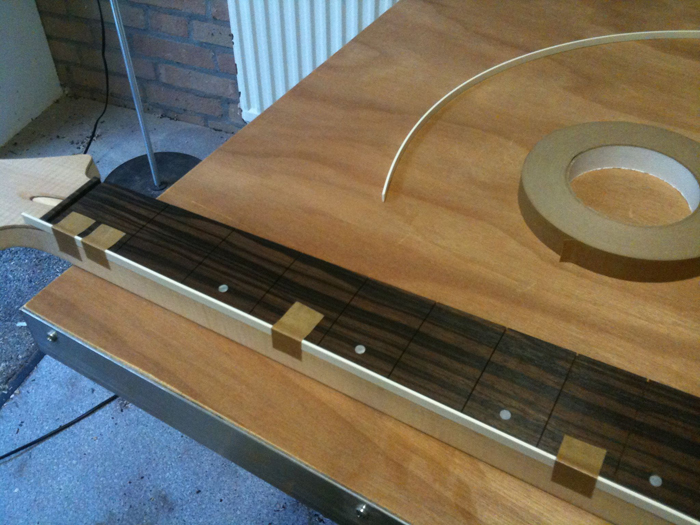
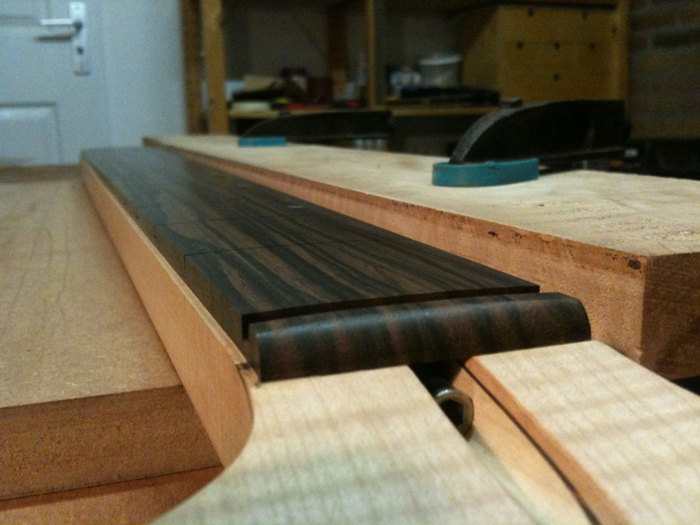
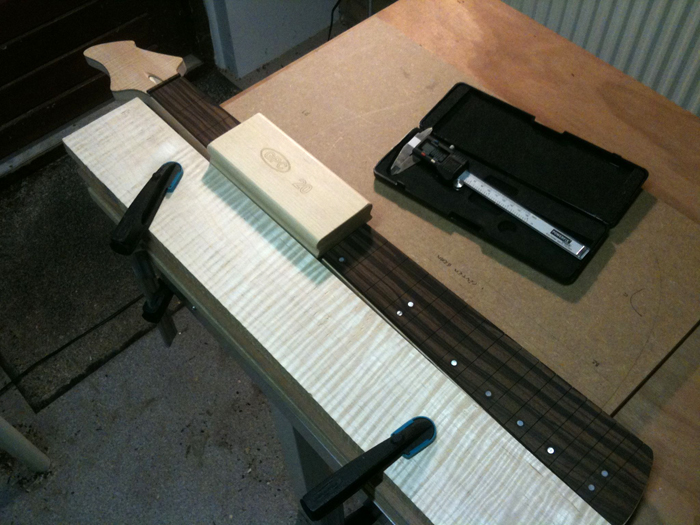
Last time I worked on the bass I glued the binding to the fingerboard and neck with UHU Allplast. So today I started with scraping off the excess binding, as close to the fingerboard as I could:

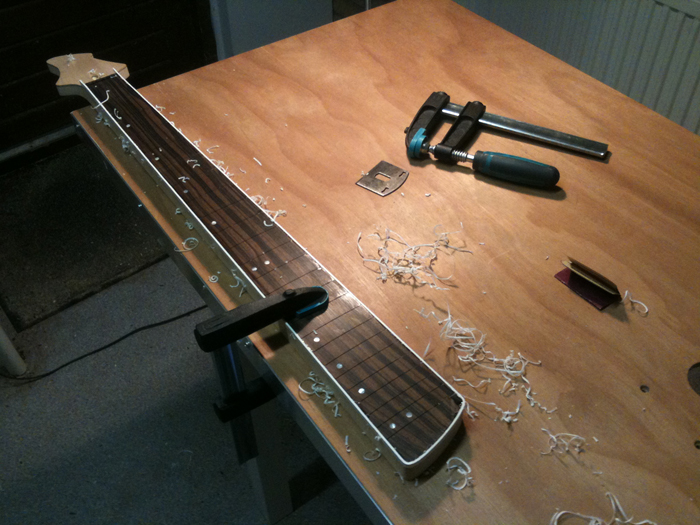
I worked on some details with a sharp knife and switched to sanding with my 20" radiused sanding block using 120 grit sandpaper afterwards:

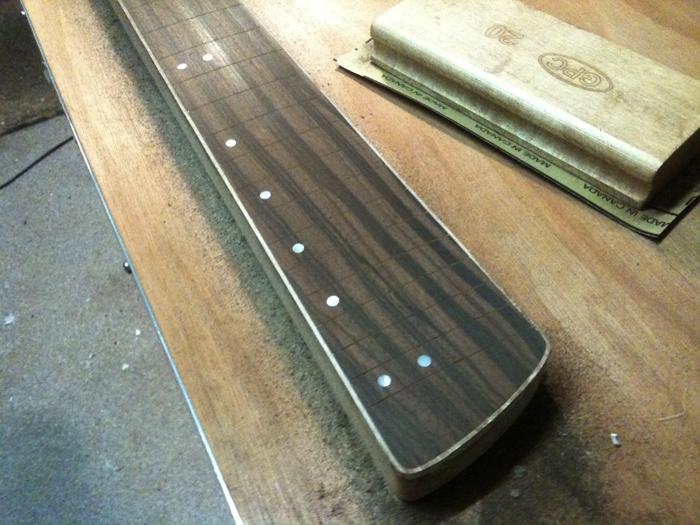
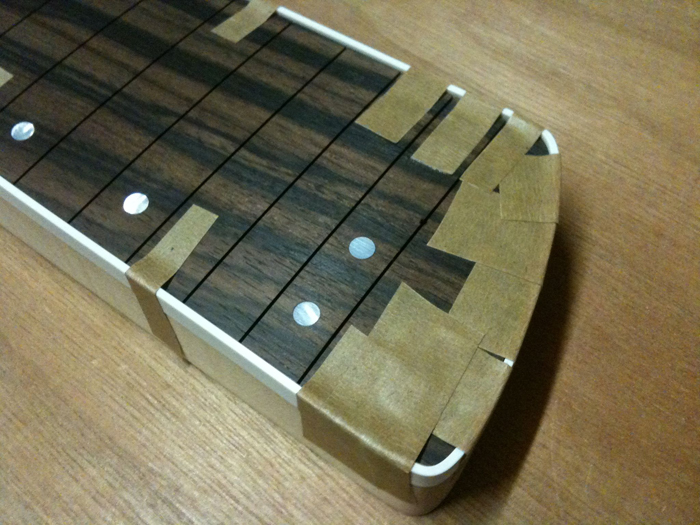
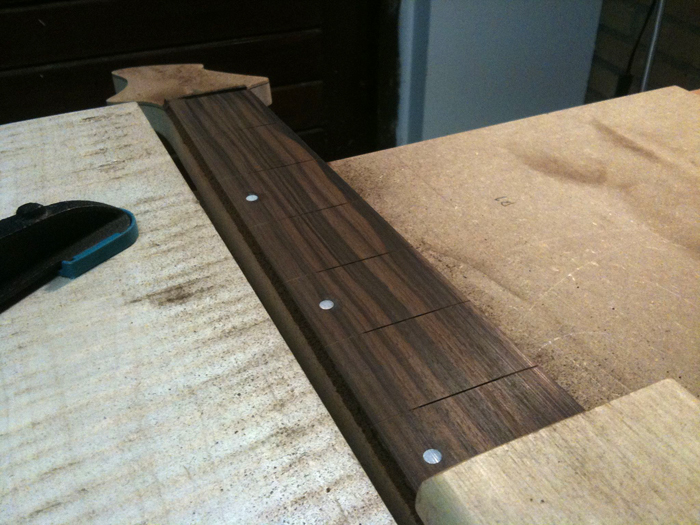
The excess glue was easier to remove than I thought it would be, so after a few passes I ended up with this:

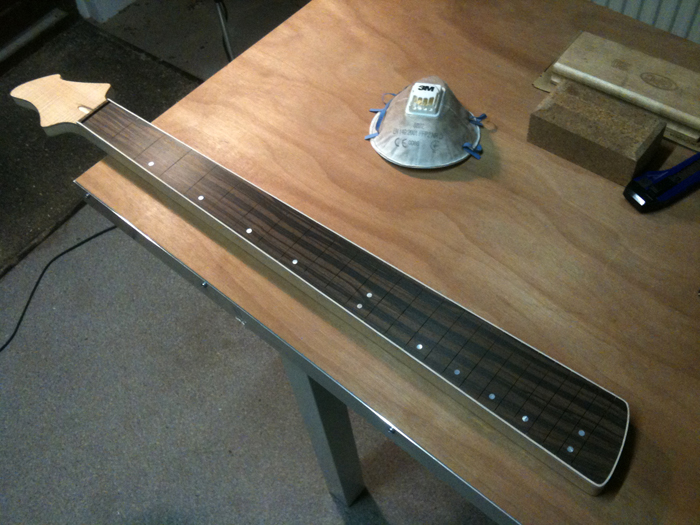
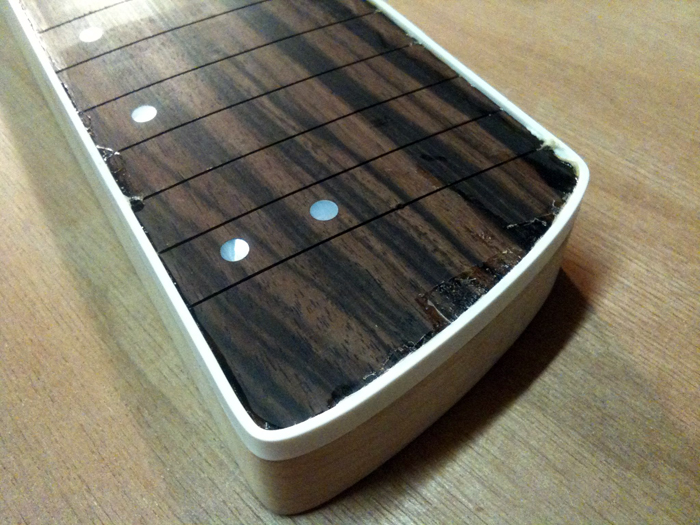
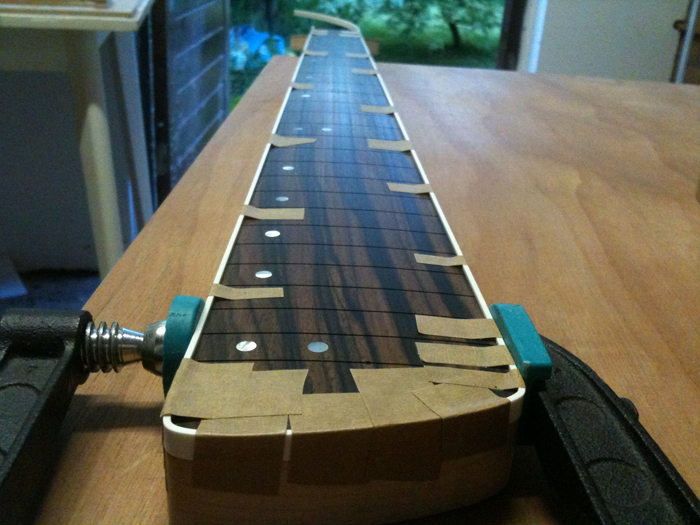
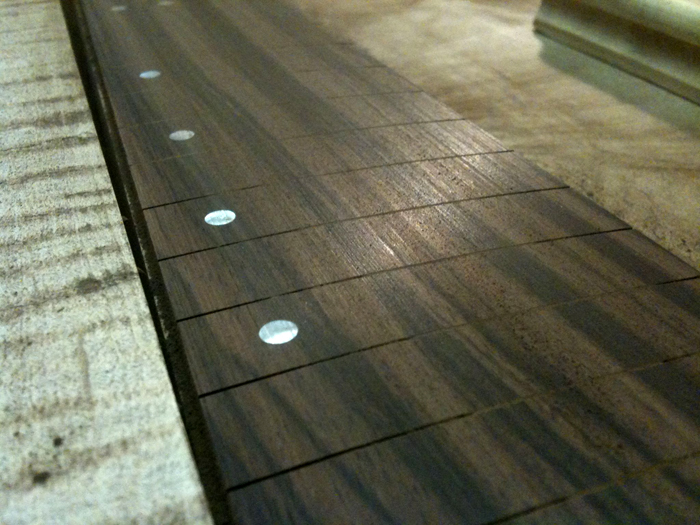
Lastly, I sanded all edges and transitions with 180 grit, removing any scrape and scratch marks.

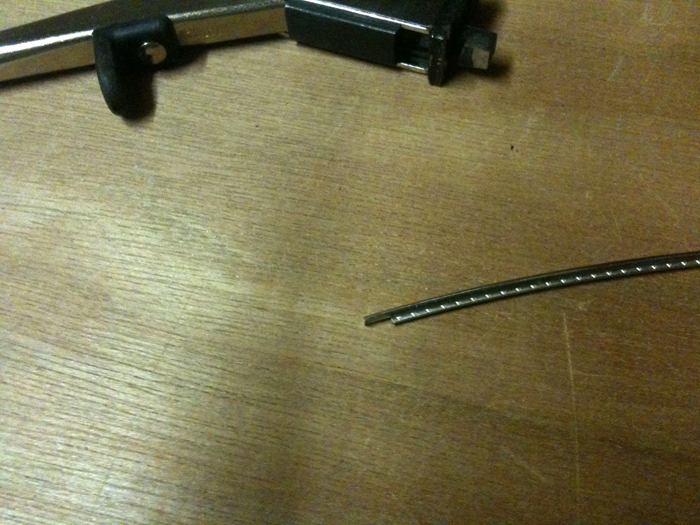
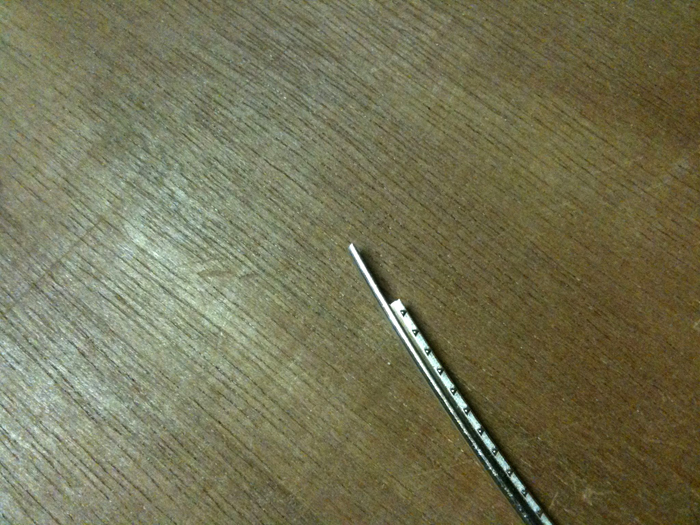
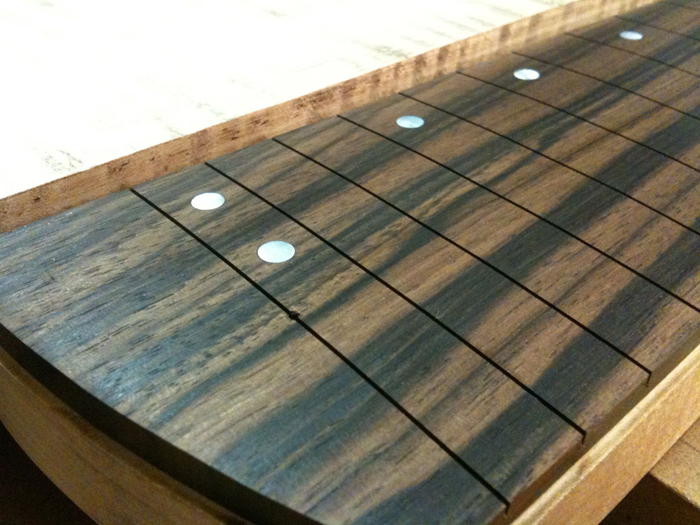
And a nice detail shot:

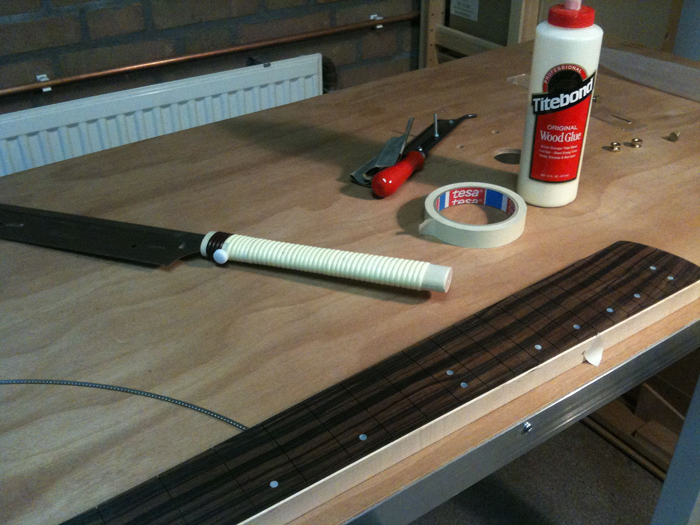
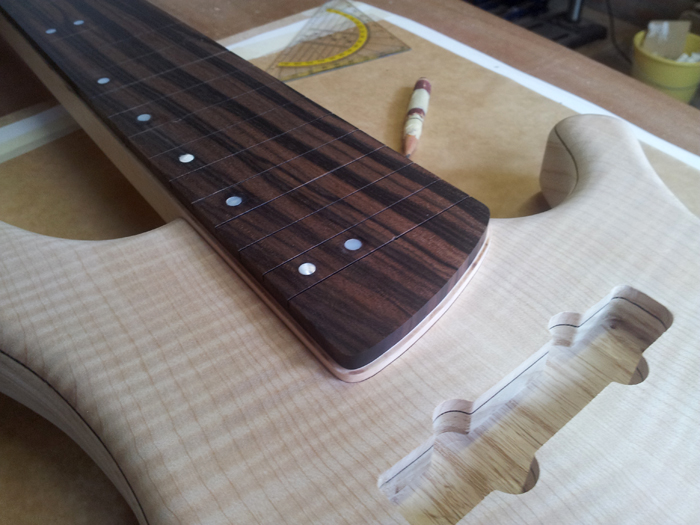
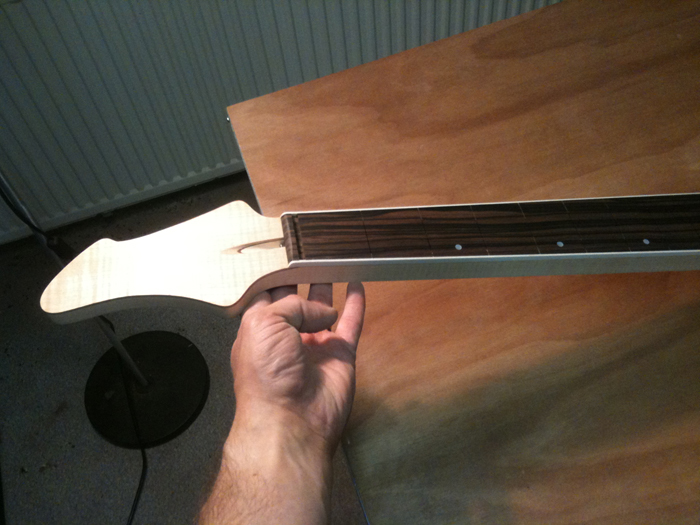
I’m satisfied with the result thus far, although I need to touch up some spots and work it up to some higher grits, but that’s an easy job to do just before I’ll start fretting the neck.

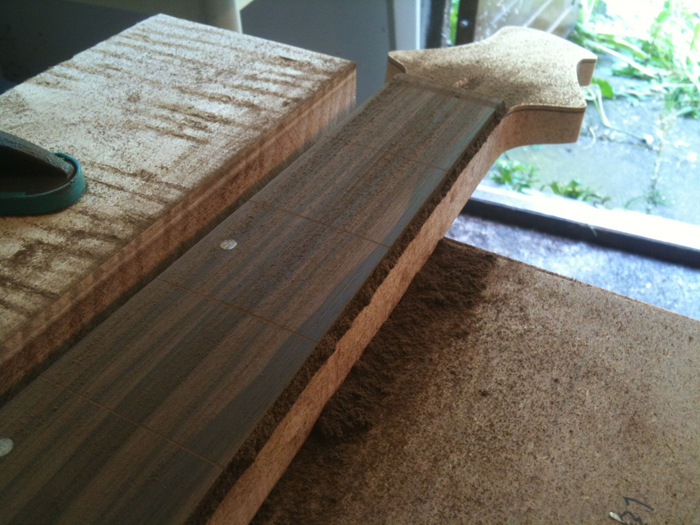
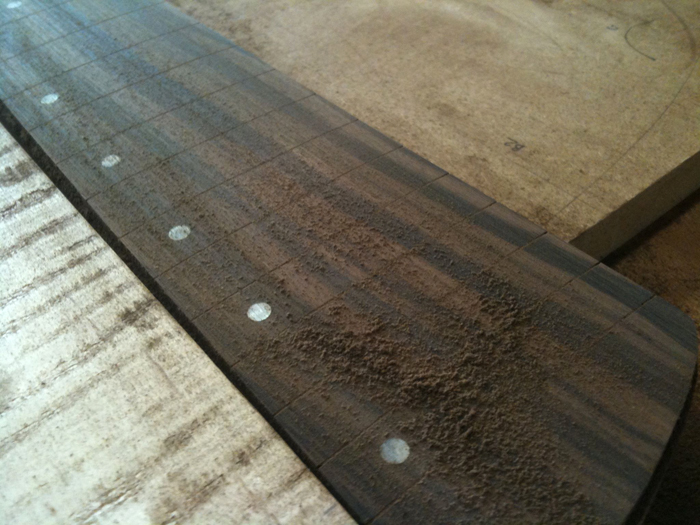
The next, daunting task, is to remove spilled glue from the fret slots. I’ve really made a mess of my clean fret slots, and I’m not sure how I will redress those slots, but I know for sure it’s going to be one of those tasks I dislike…

See you next time!

Gluing the binding

Time to glue the binding on and no longer postpone this task (didn’t actually look forward to that). The glue I used officially has a 5 minute drying time (24 hours to cure completely), but I found out the plastic binding almost immediately melted and tacked to the wood, so it came out to be a very stressful experience. Next to that, I found it very hard to control the amount of glue applied to the joint, resulting in too much excess glue around the binding.

After attaching the binding and securing it with binding tape, I also clamped the neck between to small straight bars, ensuring the binding set in a straight line. It looks a bit overdone, but here’s the assembly while curing:

After a few hours I removed clamps and tape (it isn’t needed anymore for the glue to cure any further and I don’t like to leave tape on the wood any longer than needed), and got this:

The overall result is good, I’m satisfied by the looks of it; but the amount of cleanup needed disappoints me… most fret slots are flooded with glue (varying from a mm to almost a cm inwards). So that’s going to be the next episode (one I hadn’t planned actually).

The part I’m really pleased with is the bend around the fingerboard end. I bent it previously with a simple hair dryer and I used lots of binding tape while gluing to keep the binding fitting tight around the corners. This is the result, where you can also see I need to do a lot of cleanup:

Restoring the fret slot depth

Fulfilled the painstaking task of checking each fret slot on both sides, making sure they’re deep enough and recutting most of them to bring them to the desired depth again, without damaging the already sanded fingerboard.

Now I feel I’m ready to bind the fingerboard and continue sanding afterwards (240 grit and up).

Binding preparations

Tonight I made some good progress again, working on the neck.

First of all, I need a fret tang nipper because I will bind the fingerboard. I looked at guitar parts shops and found out they’ll cost you over 60 dollars incl. shipping.. that’s ridiculous! So I Googled some more and found a great tip: I bought a regular nibbling cutter at a hardware store for about 10 bugs and modified it.

This is the cutter I’ve bought:

Then, I used my Dremel to grind a notch, or a groove if you like, right beneath the actual cutter, to accomodate half of the fretwire’s crown. It’s a bit hard to see on this picture, but this is what I got:

It’s my first ever metal work and completely freehanded, so not perfect, but it seemed okay. So, I did a test cut and this is the first result it produced:

I was amazed by the smoothness of the cut and the fact that it worked right away! There was only one small problem: a scratch at the side of the crown that went in the grinded groove. So I filed the groove smooth, or as smooth as my patience allowed, and made another undercut. This time, it was perfect:

So, time for the final touch:

Onto the neck itself again. I decided to do a dry run on the binding. I started with binding tape and some white binding from StewMac, nice stuff! I did not use lots of tape, because it’s only a test:

Also, this dry run was meant to shape the corners of the binding around the fingerboard. They’re pretty sharp, but not sharp enough to use separate pieces. I took out my wife’s hair dryer and heated the corners, bending them slowly. Not sure if this makes sense, but it worked for me:

This is going to look very sexy, don’t you think?

And another overview of the result:

I also practiced glueing a piece of binding with binding cement to a fingerboard test piece. No rocket science, but I want to try everything I haven’t done before…

Lastly, I checked the depth of the fret slots after the radiusing, but unfortunately I need to recut some slots, as they’re not deep enough, especially on the bass side (I probably didn’t hold my saw parallel to the working table). But that’s a job for next time!

Radiusing result

Bought some high quality 120g sandpaper, amazed by the difference it makes.. too bad the 180 and 240 I had lying around still where rubish, but oh well, I’ve made it up to 240g. This is the result:

Not to bad if I say myself, but it does need a little bit of work before I can start with the binding and fretting.

More sanding…

Had another sanding session tonight. Right now I’m about halfway with the 120 grit. All going well, still need to remove some scratches from the 80 grit, but I’m happy with the progress:

Radius sanding progress

Today I spent another hour sanding in the radius. I switched to higher quality sandpaper (not very good, but at least better than what I was using before) and the result is stunning. In contrast to the previous sanding session, the fret slots and the complete nut slot actually filled up with dust in minutes. Whereas after an hour of sanding last time the centers of all slots where still completely clean.. I’m now almost finished with the 80 grit, got a small area around the higher frets that still needs to be rounded, but this sure is a motivator.

Some images to go with the progress:

You can see this sandpaper is much more effective, judged by the amount of dust piling up around the neck. It also leaves quite visible marks, so I have to switch to a higher grit soon.

Started sanding the radius

Tonight I started sanding the 20" radius in the fingerboard. I made the following setup, taping my neck to the table and clamping a straight (in this case flamed maple) blank next to the neck, to guide the sanding block:

It’s very basic, but it works quite well. First I thought of guiding it on both sides, but that would lock up the sanding block constantly and I found out having the guide on one side only is enough. Here’s an action photo:

After this picture was taken, I continued sanding for over 45 minutes and got just past the fret markers. The result of one hour of continious sanding… It’s tough sanding through ebony, even more with the medium quality 80 grit sandpaper I’m using. Maybe I will try to find better quality sandpaper or switch to 40 grit, although I feel that might leave quite deep marks in the pearl, so I think I’ll stick to 80 grit.

I guess I need at least two or three more of those exercises to complete this task. So, to be continued…

Fine-tuned the body routes

Encouraged by some fellow TalkBass members, I picked up working on the body again. The neck, as well as both pickups, didn’t fit yet, so those routes needed to be retouched. At first, I tried sanding the edges, but that came out to be completely impossible.

I worked out different ways of coping with this task in my mind, but making a perfect setup to re-route didn’t seem easy. But today, I felt lucky and went for the eyeballing and working ‘by feeling’ way of building….

So, I used the shifting-the-original-template-technique twice to reshape the neck pocket in several spots, and to my surprise, it came out spot on… wow!

It doesn’t sit in awfully tight, but I consider that a good thing, because now, there’s still room for the finish. If I add one layer of thin masking tape to the neck, it doesn’t fit anymore at all, so with the finish on, I think it’s just perfect.

Onto the pickup routes.. that got me thinking for a while too, because I cannot use my guided router bits to widen up the corners, as the radius of those bits is too large. Sanding doesn’t work and filing isn’t providing consistent results either. But then, I got an idea: I used my Dremel with its router base and a very small router bit (+/- 2 mm) and let the shaft ride the template. I used the template-shifting-technique to widen up the routes, but also routed a few corners freehand.

And after some nerve racking moments, the neck pickup fitted well in it’s new home:

And after that, so did the bridge pickup. Being happy with the results, I just couldn’t resist….

Don’t you just love it when a plan comes together?

Ordered a new sanding block

Well, I’ve started building a radius block myself, but I lost motivation very early in the process. For only 18 euro incl. shipping I’ve ordered one on eBay that should be wide enough (if the given measurements are correct). Now I only have to wait two more weeks or more before I can proceed with the neck. But I can do some work on the body until then… if I have time.