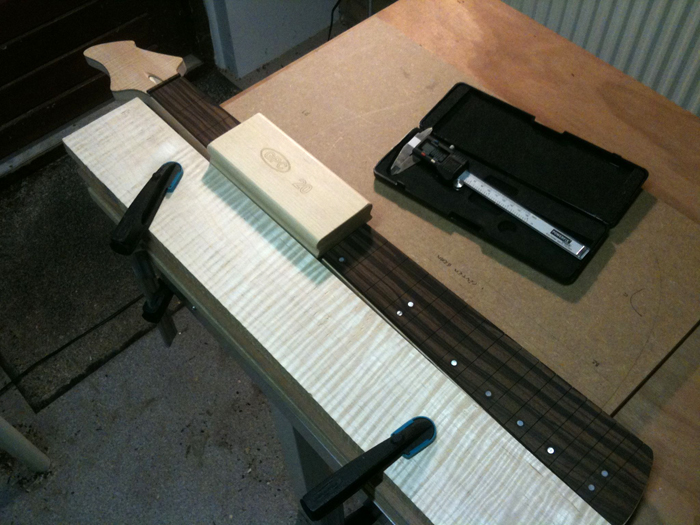
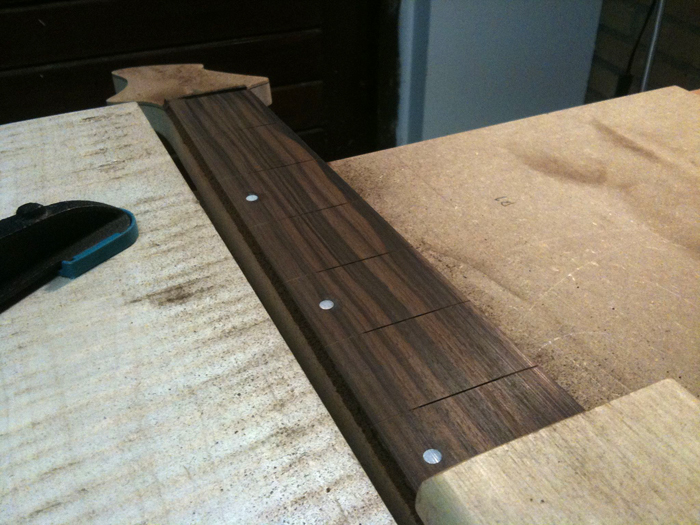
Tonight I made some good progress again, working on the neck.
First of all, I need a fret tang nipper because I will bind the fingerboard. I looked at guitar parts shops and found out they’ll cost you over 60 dollars incl. shipping.. that’s ridiculous! So I Googled some more and found a great tip: I bought a regular nibbling cutter at a hardware store for about 10 bugs and modified it.
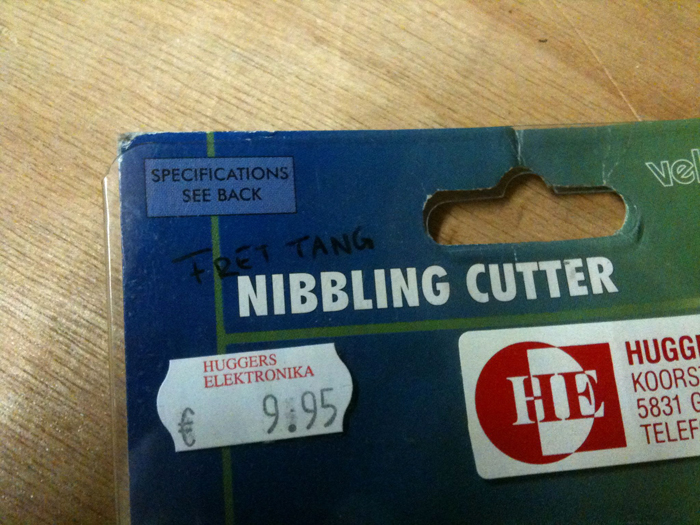
This is the cutter I’ve bought:
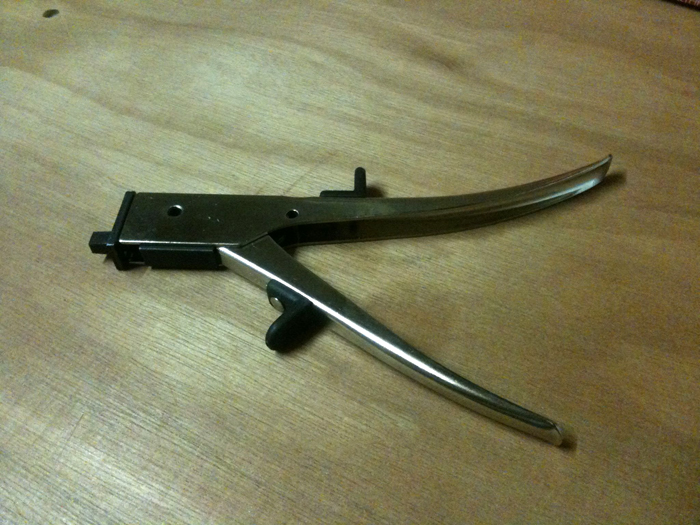
Then, I used my Dremel to grind a notch, or a groove if you like, right beneath the actual cutter, to accomodate half of the fretwire’s crown. It’s a bit hard to see on this picture, but this is what I got:
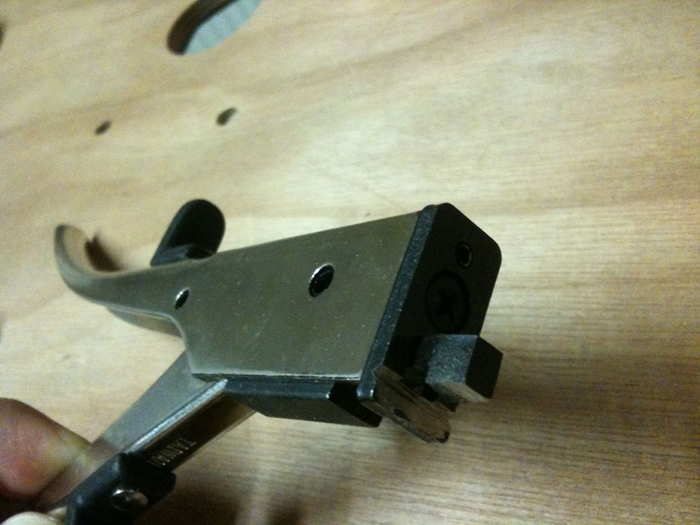
It’s my first ever metal work and completely freehanded, so not perfect, but it seemed okay. So, I did a test cut and this is the first result it produced:
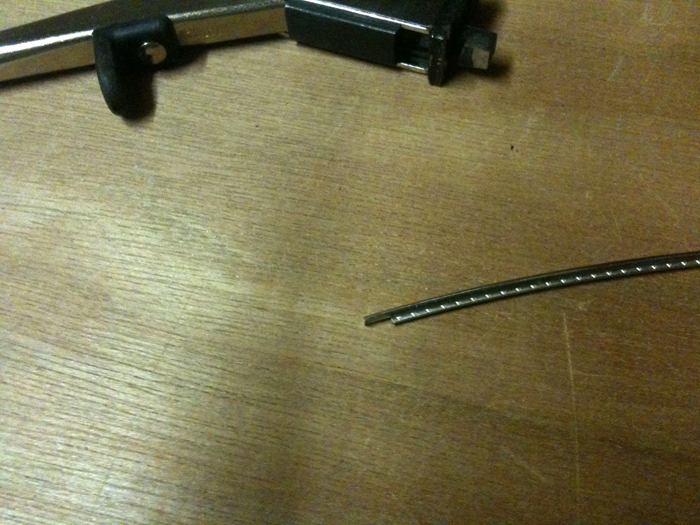
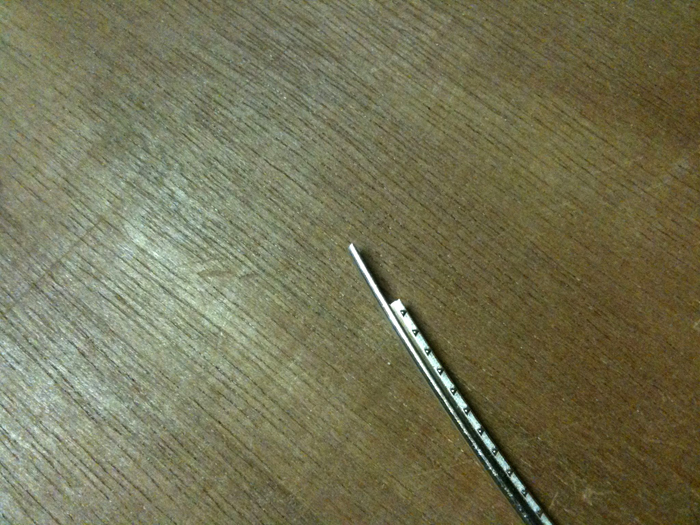
I was amazed by the smoothness of the cut and the fact that it worked right away! There was only one small problem: a scratch at the side of the crown that went in the grinded groove. So I filed the groove smooth, or as smooth as my patience allowed, and made another undercut. This time, it was perfect:
So, time for the final touch:
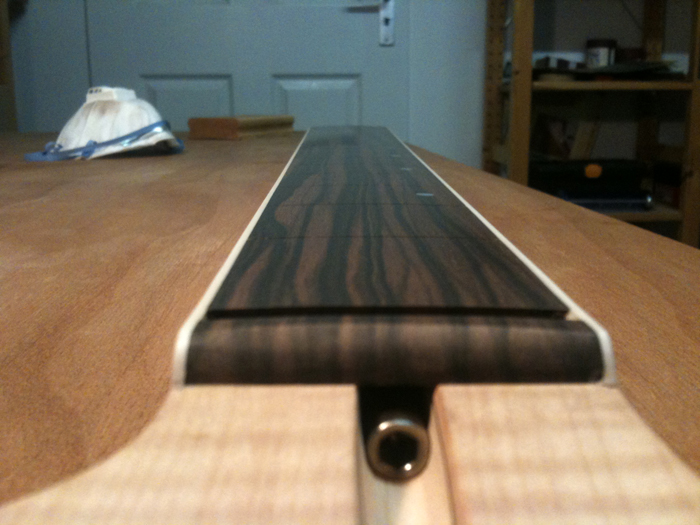
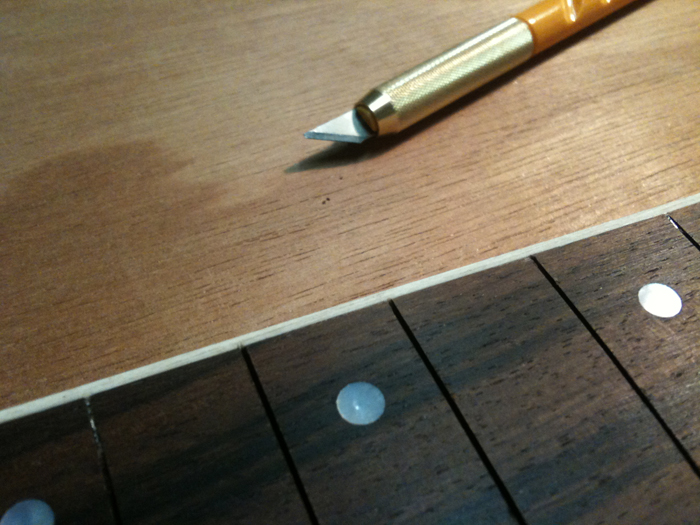
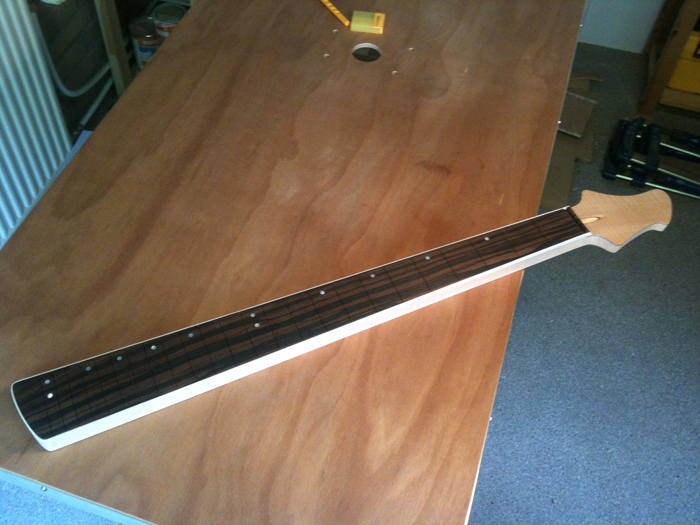
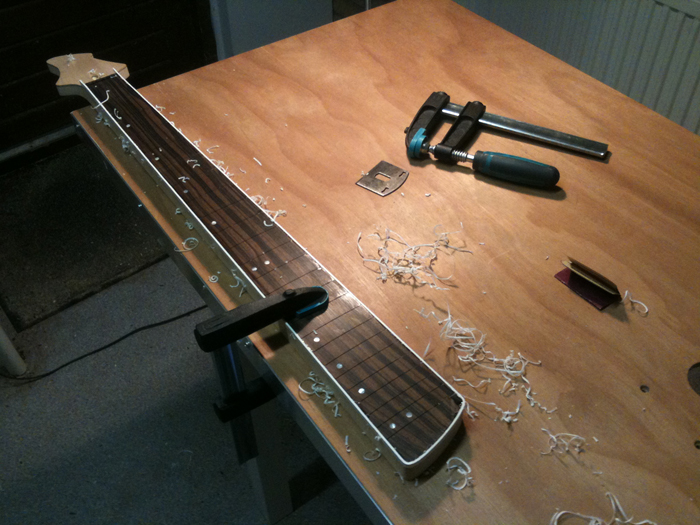
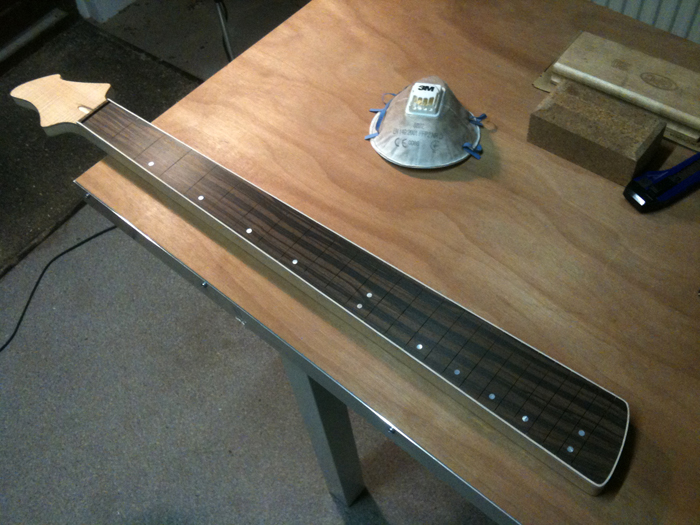
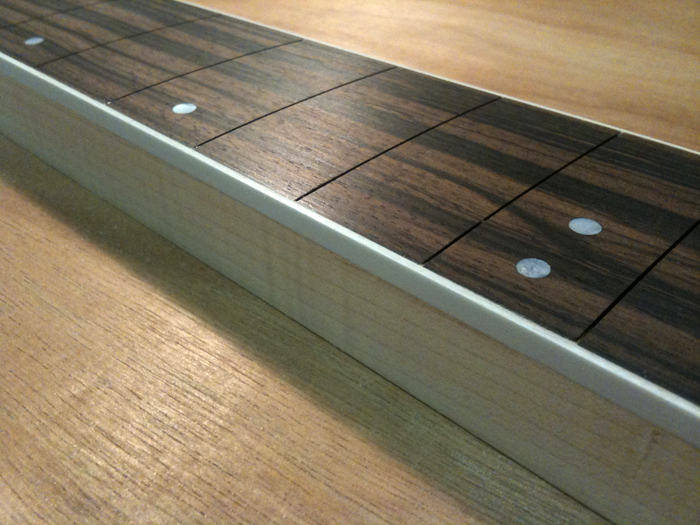
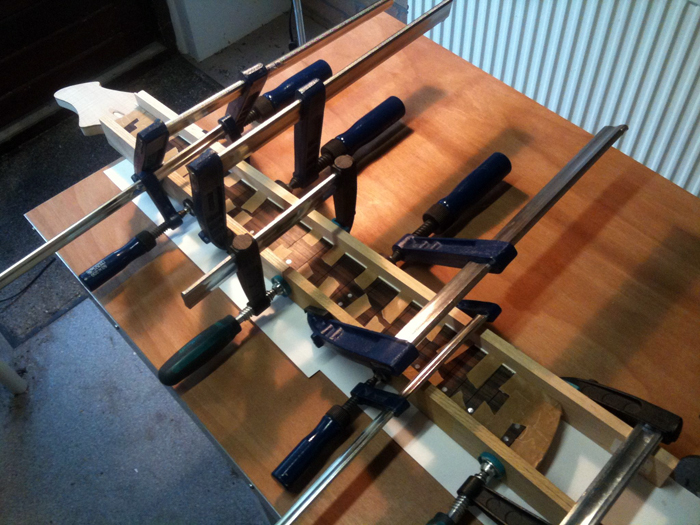
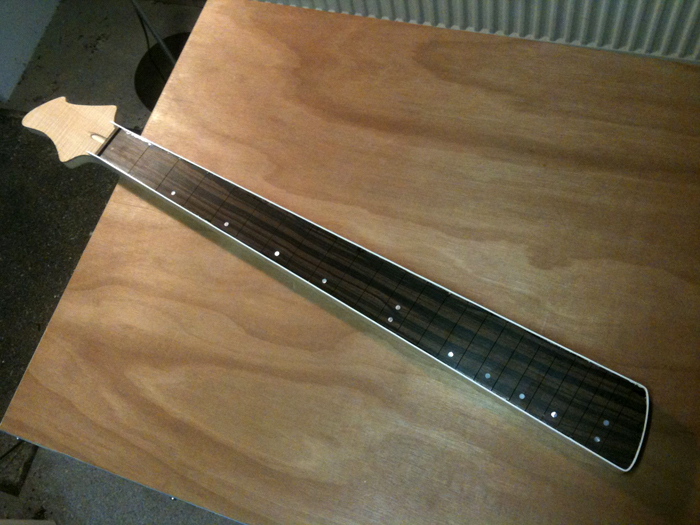
Onto the neck itself again. I decided to do a dry run on the binding. I started with binding tape and some white binding from StewMac, nice stuff! I did not use lots of tape, because it’s only a test:
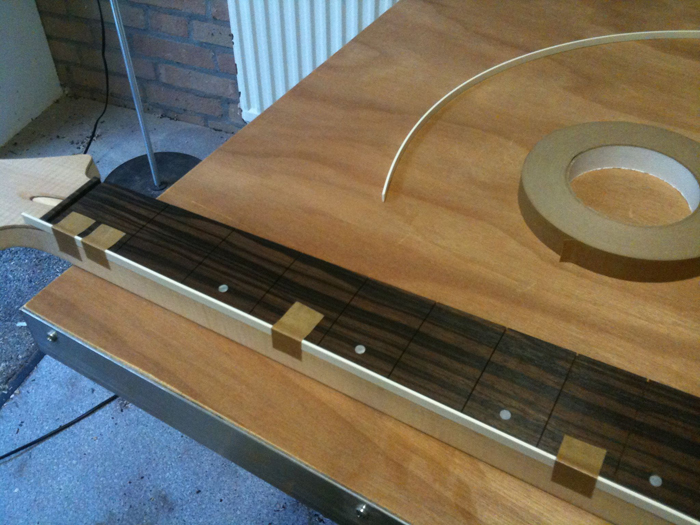
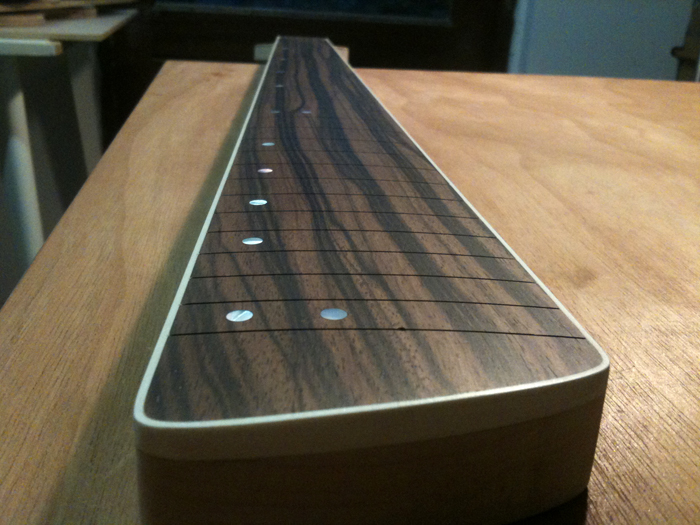
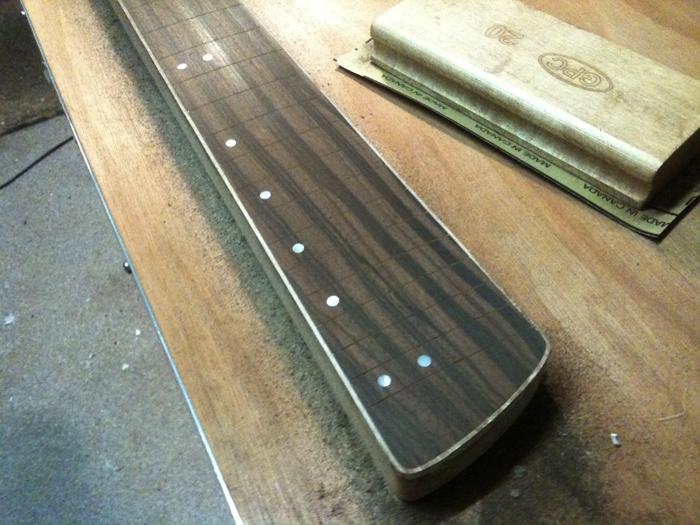
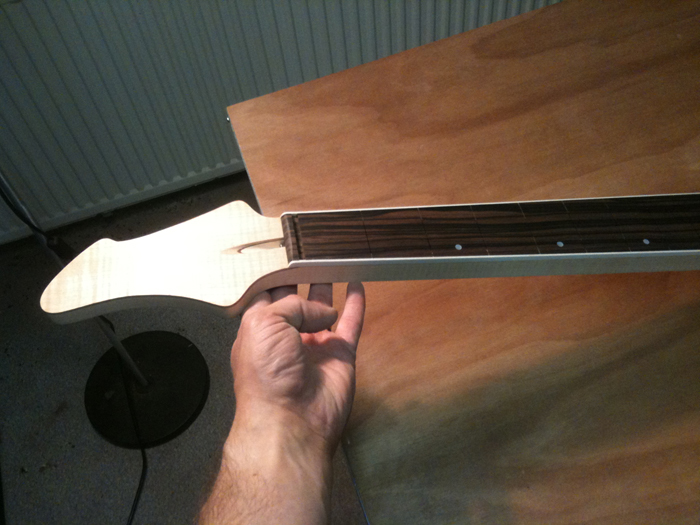
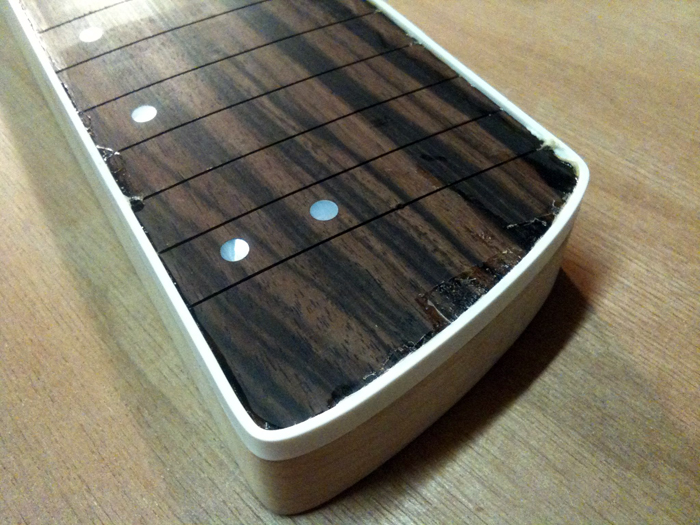
Also, this dry run was meant to shape the corners of the binding around the fingerboard. They’re pretty sharp, but not sharp enough to use separate pieces. I took out my wife’s hair dryer and heated the corners, bending them slowly. Not sure if this makes sense, but it worked for me:
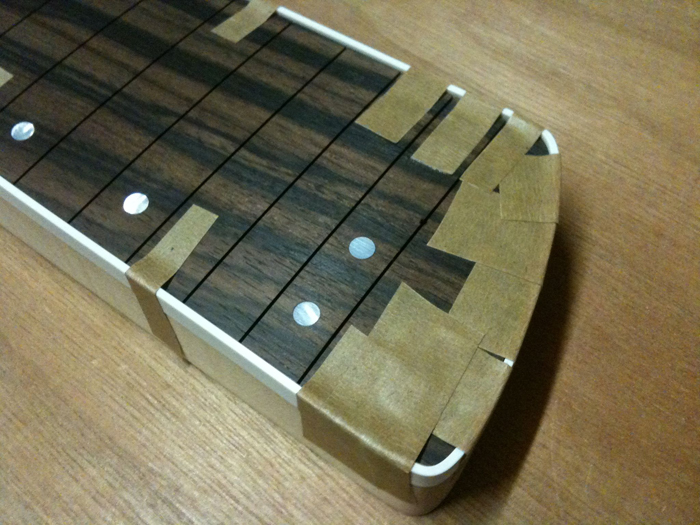
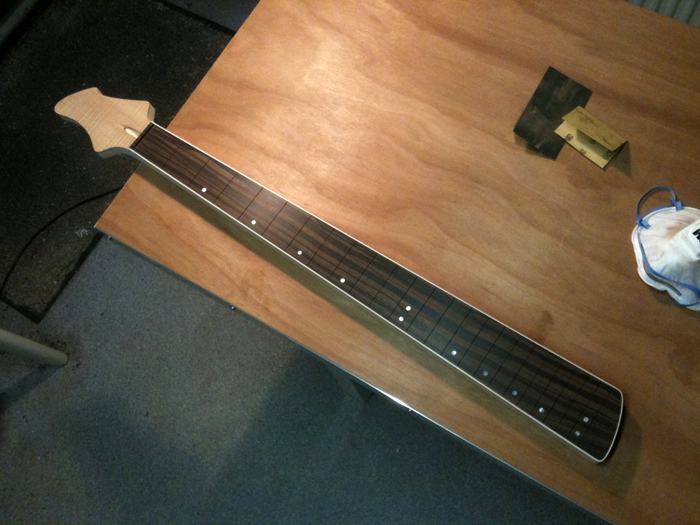
This is going to look very sexy, don’t you think?
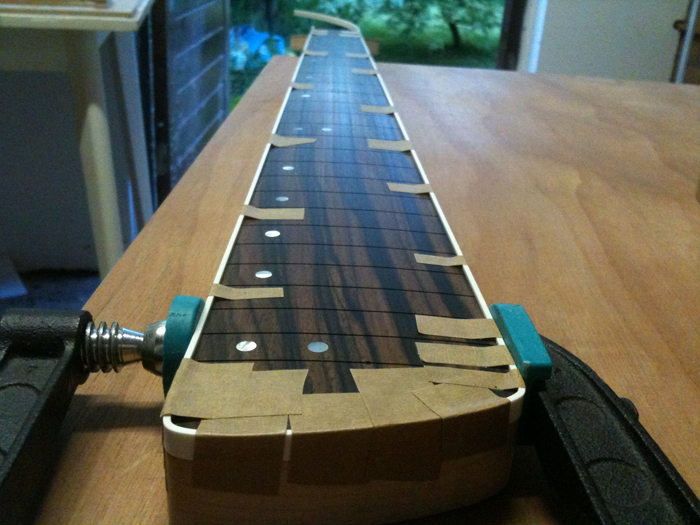
And another overview of the result:
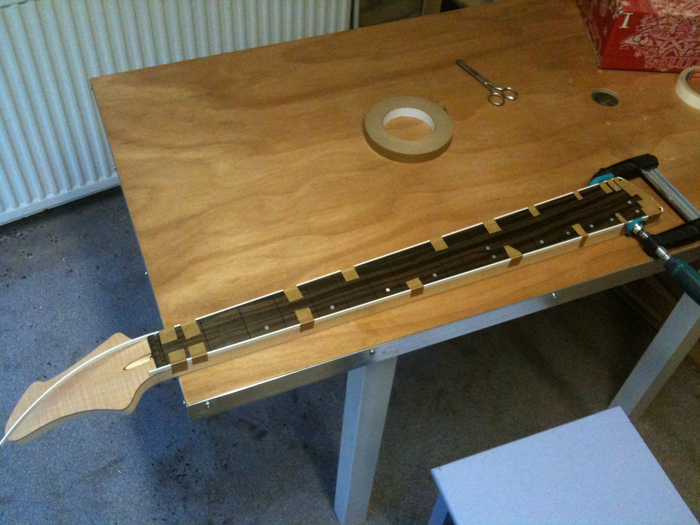
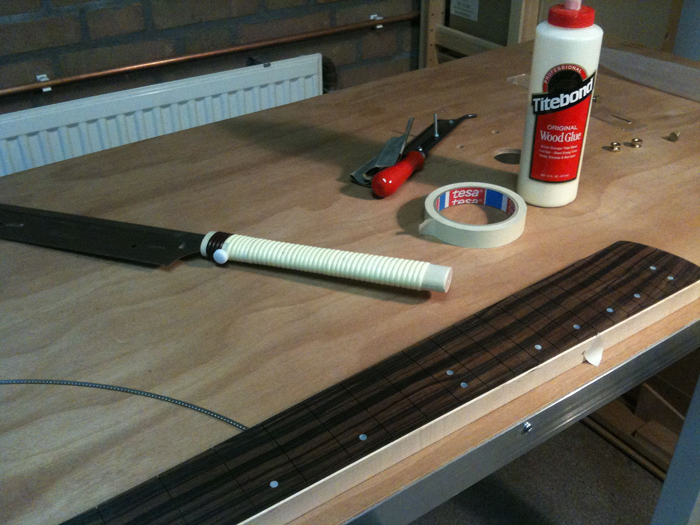
I also practiced glueing a piece of binding with binding cement to a fingerboard test piece. No rocket science, but I want to try everything I haven’t done before…
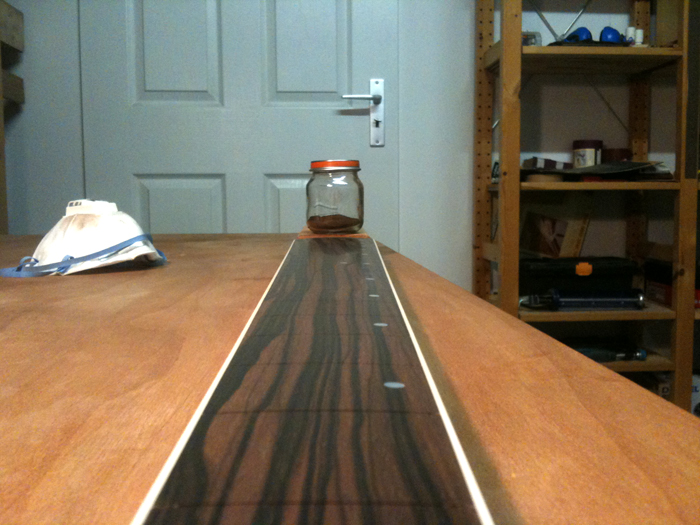
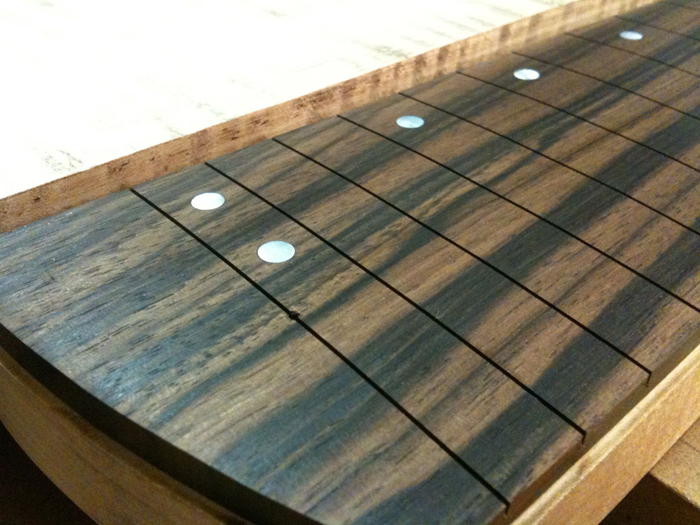
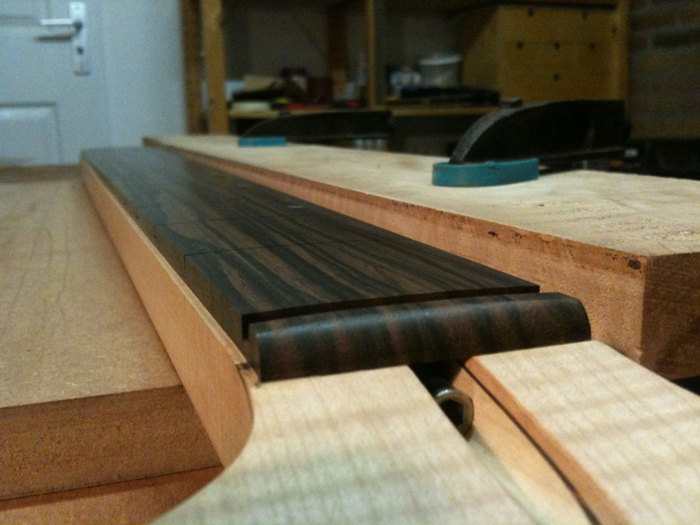
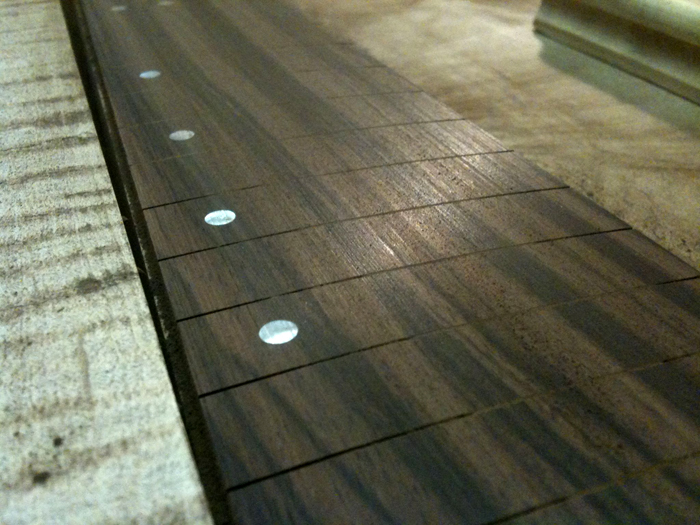
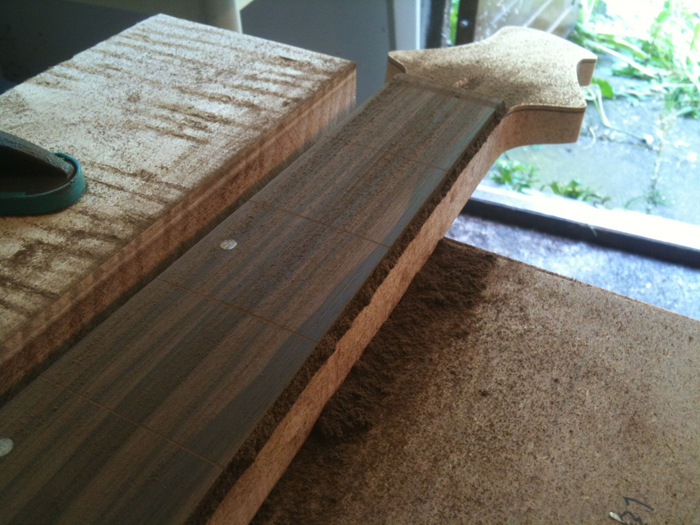
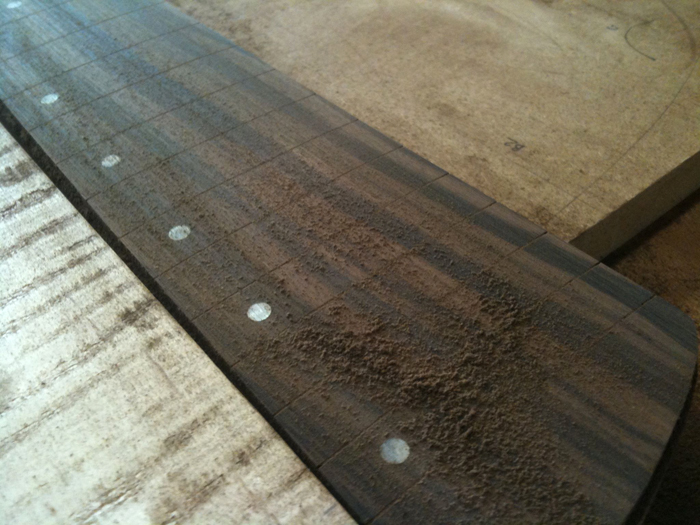
Lastly, I checked the depth of the fret slots after the radiusing, but unfortunately I need to recut some slots, as they’re not deep enough, especially on the bass side (I probably didn’t hold my saw parallel to the working table). But that’s a job for next time!

