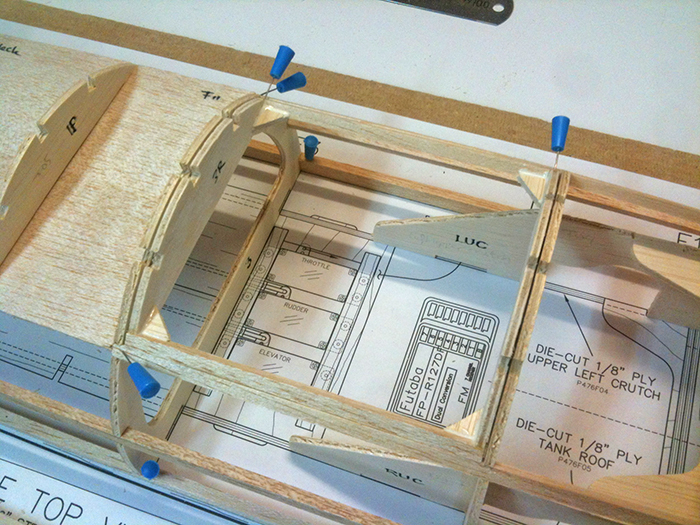
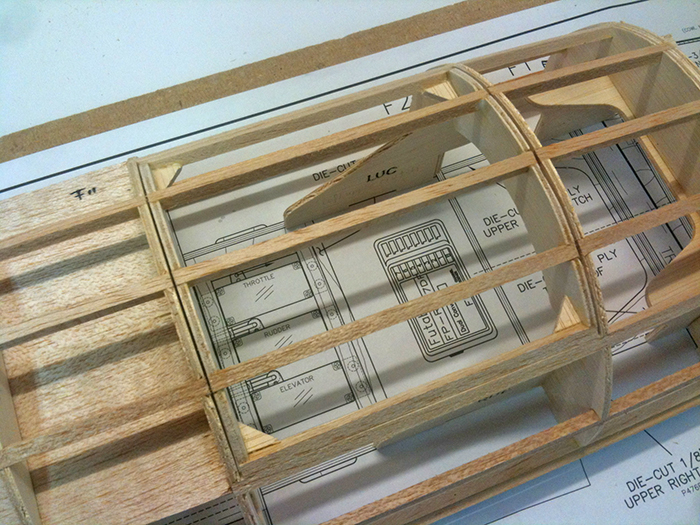
Yesterday I finished the battery hatch modification. First, I glued in the stringers next to the hatch, followed by two small extra stringers that will become the sides of the hatch, resting against the side stringers. You can see I’ve also glued in some ply reinforcement triangles in the corners:
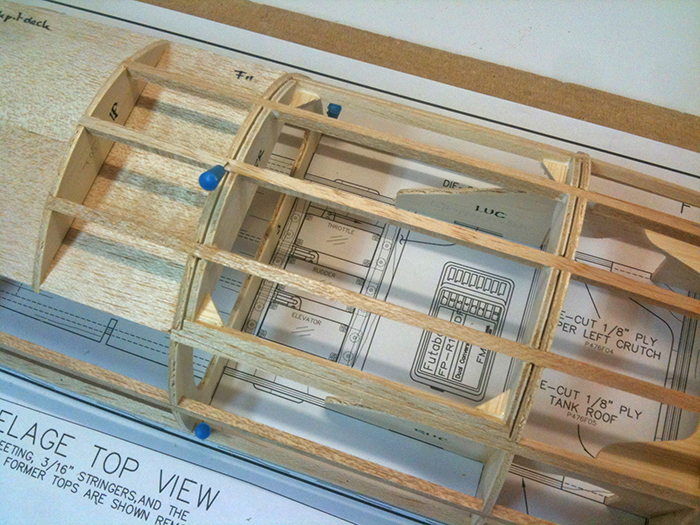
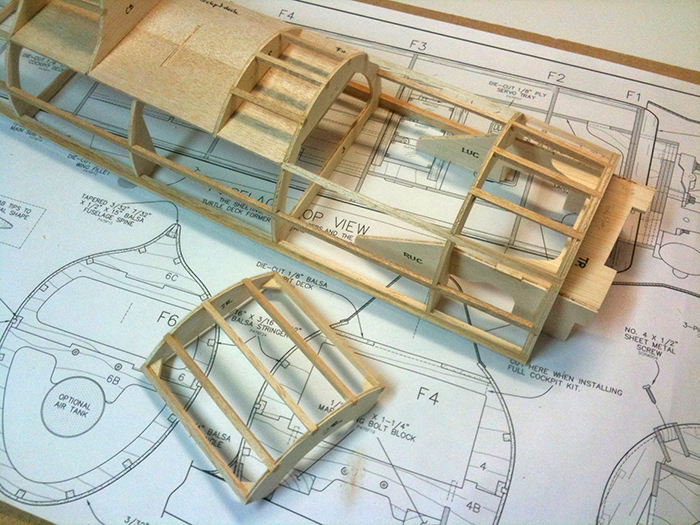
Then I’ve glued in the top stringers of the forward fuselage part:
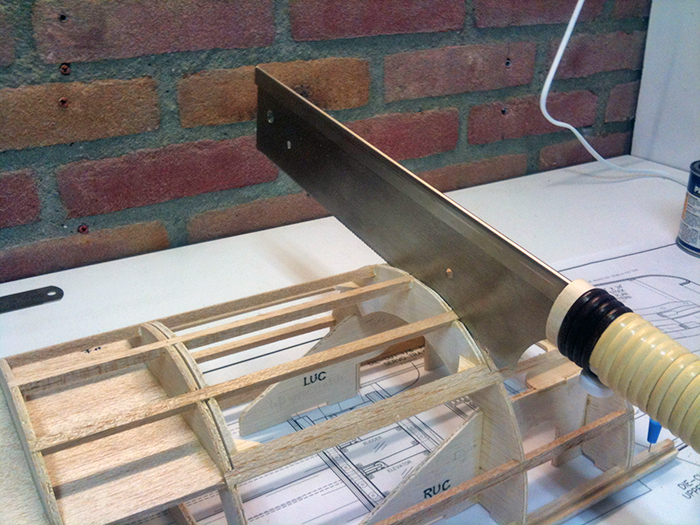
When the glue cured, I used my very thin Japanese saw to cut through the stringers in between the formers:
And it’s ready (apart from the sheeting, that is):
I used a small knife to wiggle in between the formers, breaking the tack glued tabs and releasing the hatch from the fuselage:
I’m very happy with how it turned out. It’s large enough and very sturdy.
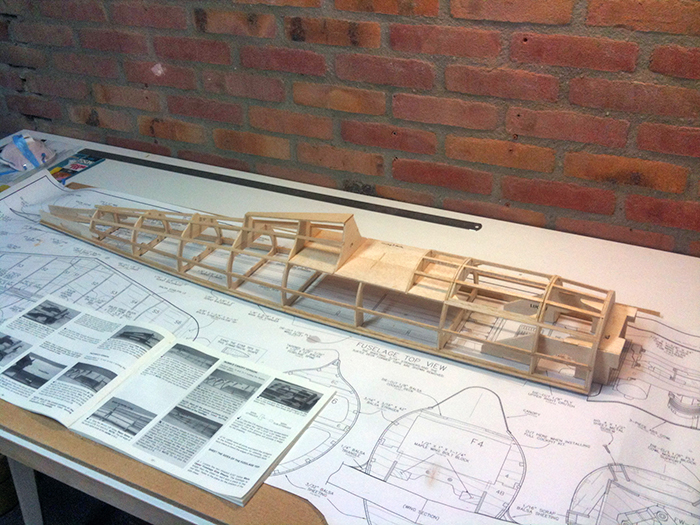
This was the last step before sheeting the upper half of the fuselage, so the structure’s ready: