Florence JB4

This is my first hand-built bass guitar, based on my own design. I am very pleased with the overall result and the sound of this semi-hollow custom jazz bass is very sweet! I had no real woodworking experience before I started this endeavour and I learned most of the techniques from reading books and online forums.

Dig the jig

I am going to glue the top to the body this weekend, but I wanted to make a jig for this first, because my top is only marginally bigger than the body; I wanted to match up the center lines of top and body perfectly; and the sound holes must be centered above the chamber.

So it had to be spot on! But I noticed when using Titebond, the top piece starts to ‘float’ on the glue when fastening the clamps. This easily results in glueing on the top completely wrong and ruining of all my hard work. The jig should prevent this and also enables me to put clamps around the whole contour of the body. The outer bars hold the body, the upright blocks hold the top and the cut out and legs are for easy clamp access.

I’m also going to mask all of the sides of the body with tape to prevent glueing the jig to the body and to easily remove excess glue.

Control cavity and cover

This week I routed the control cavity and cut the cover. The cavity came out nice and only needs to be sanded smooth. The cover didn’t fit at first (did this on purpose) and needed some more sanding. It took me a while to get it to the right shape and finally it did fit. It’s flush with the body nicely and the fit is okay, but it was hard to get the space between cover and body equal at all places. Being a perfectionist I think it’s not very good, but after all I’m happy with it in a way.

I also have to think of a mechanism to attach the cover. Basically, I’ve got two options: screws or magnets. But I can deal with this later on.

Sound holes and control cavity preparations

Time for an update. First of all: I made the sound holes! I did it with a fretsaw (wich is quite a misleading term in the context of guitar building I think) and it came out very nice again. To ensure myself the technique worked and the holes wouldn’t create weak spots in the top, I did a ‘test run’ on a piece of scrap first. It was nerve-racking and a very slow process, but it came out that smooth, it almost didn’t require any sanding afterwards. One funny thing was that my saw couldn’t do cuts in all directions, because it didn’t fit around the whole top, so I needed to flip the saw and put it in backwards sometimes to reach those spots. Sawing backwards with a fretsaw isn’t ideal because you can’t push the blade through, but it’s doable.

Then I got to the control cavity. I want to handle this before the top goes on, so I don’t have to do a lot of routing with the body lying on the top (I don’t want scratches on it). I took a piece of ‘scrap’ mahogany and, since I haven’t any band- or bladesaw, sawed a 8 mm thick piece of with a hand saw. I routed it flat to about 6 mm and after I’ve made the cavity, I will cut it to the right size.

I want to get a nice and clean control cavity, so I am going to route it with a template guide (not with the ball-bearing), so my template needs to be a little oversized. 2,15 mm larger to be precise. I made some computer drawings for that, printed and cut them out. Finally, I cut the templates from plywood with my jigsaw and sanded them smooth. Next step will be routing the cavity and shaping the cover…

From solid to semi-hollow

The last few days I worked on the cavities to convert this body into a semi-hollow one: designing, sawing and smoothing the template and routing them.

I did it with a router and a template guide, layer by layer (about 1 mm each time). Then, I used my template bit with ball bearing to do the edges (since my template is 1:1 size).

It came out very nice and the weight dropped like alot! Also, the sound changed remarkably when I tap on it. Much more percussive and acoustic. I’m very curious how it’s going to sound.

When I finished the body and picked it up I immediately thought I should do another cavity in the upper horn to get better weight distribution… So the next day I routed the extra cavity and it feels much better now!

Results of my routing adventure

Relief! I routed the body (after testing on some scrap piece first of course) and it came out sooo sweat!!! I was a little bit nervous, since it was my first router job, but the result is simply stunning!

So now I’m going to plan my next steps carefully and enjoy the result before I dive into the semi-hollow thing…

Preparing for routing

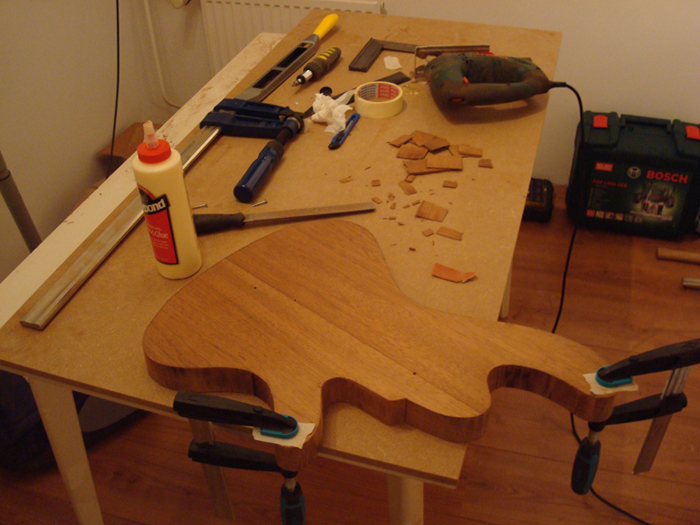
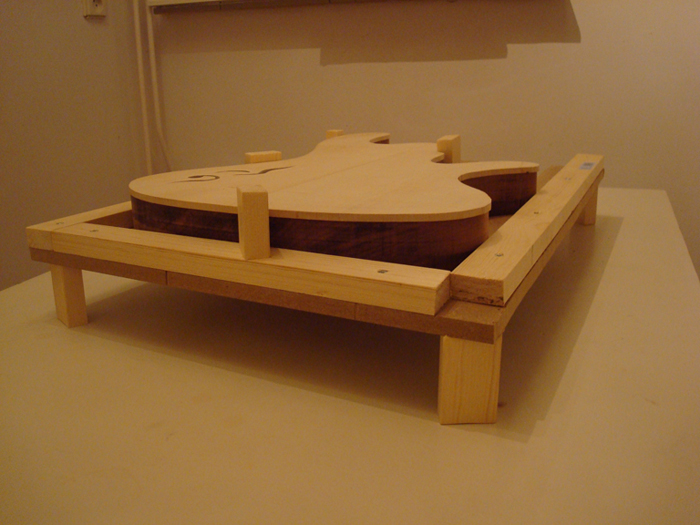
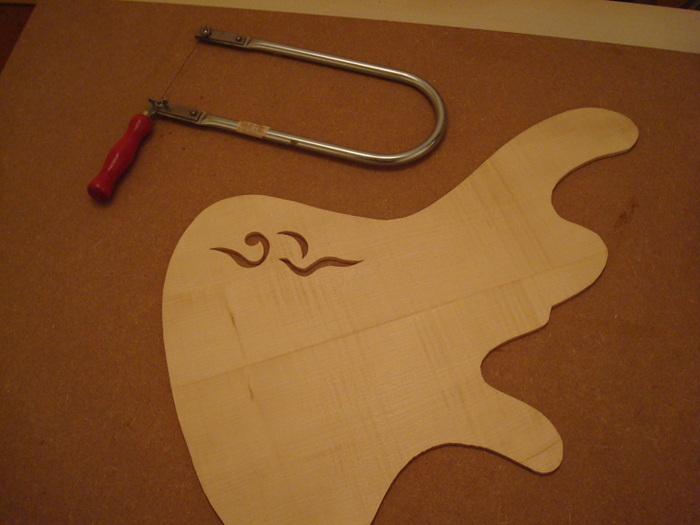
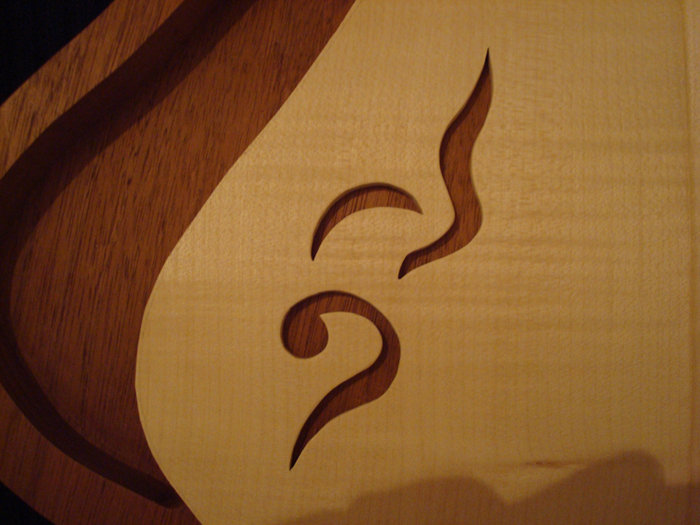
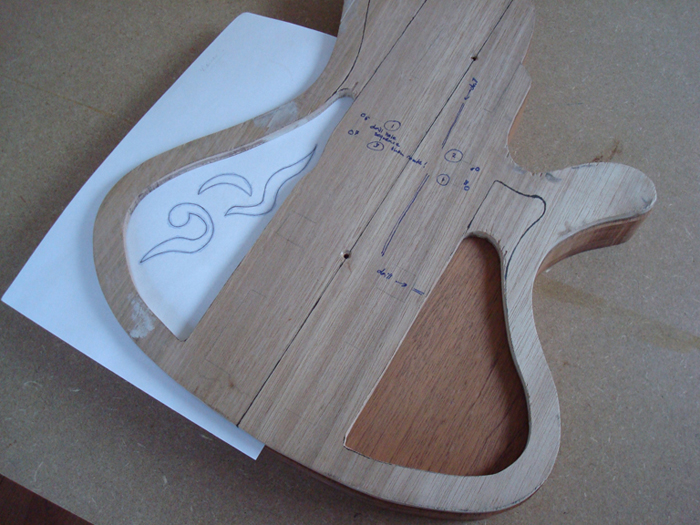
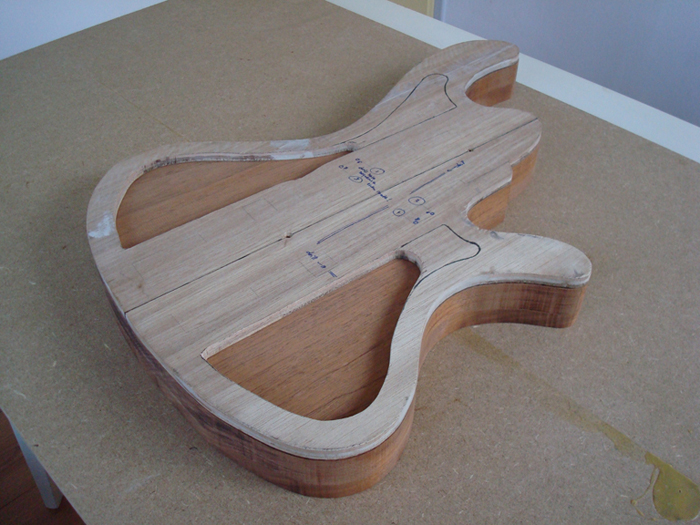
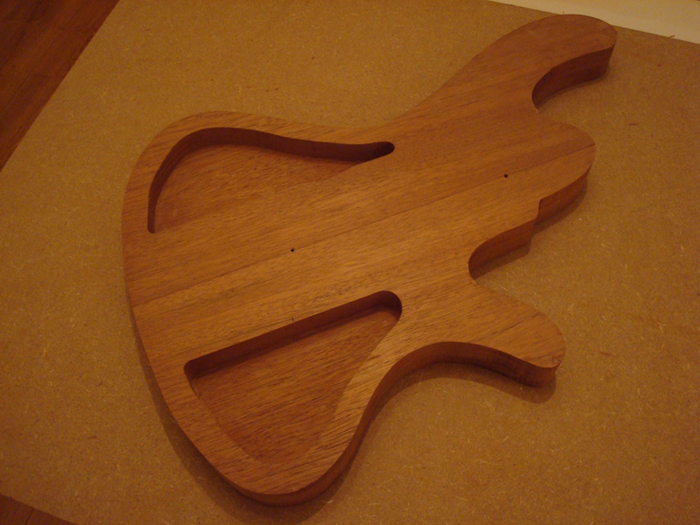
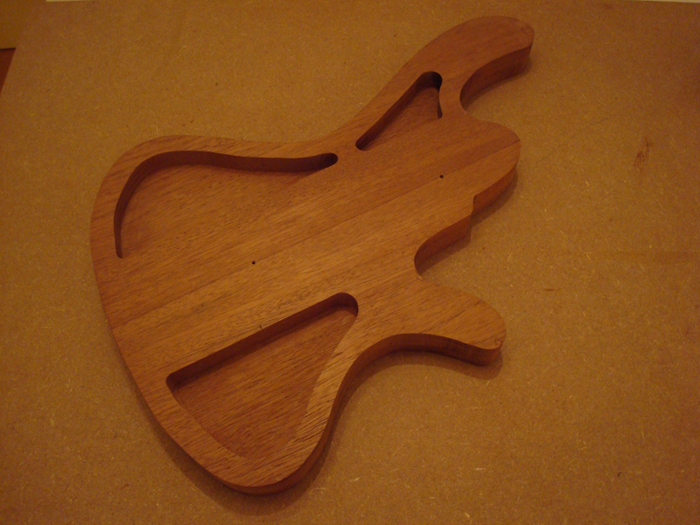
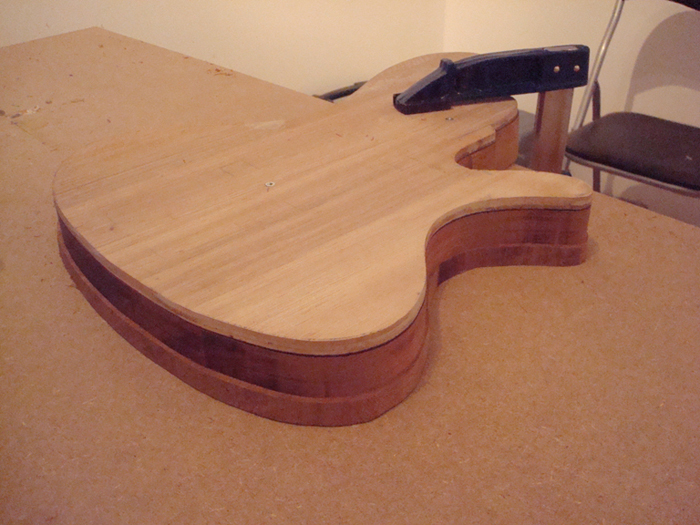
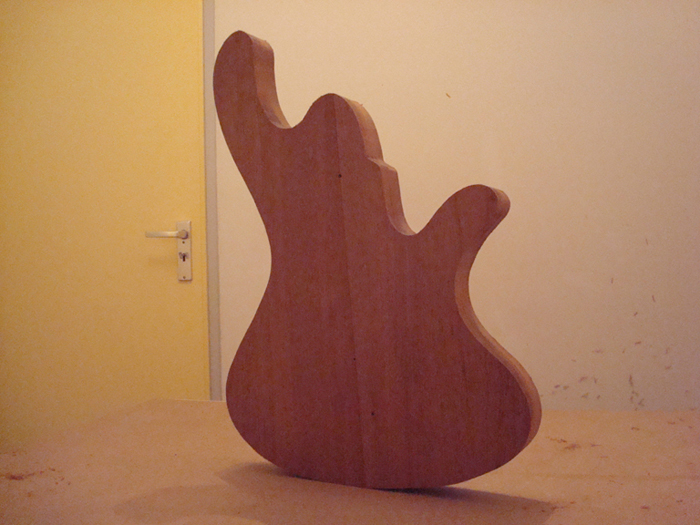
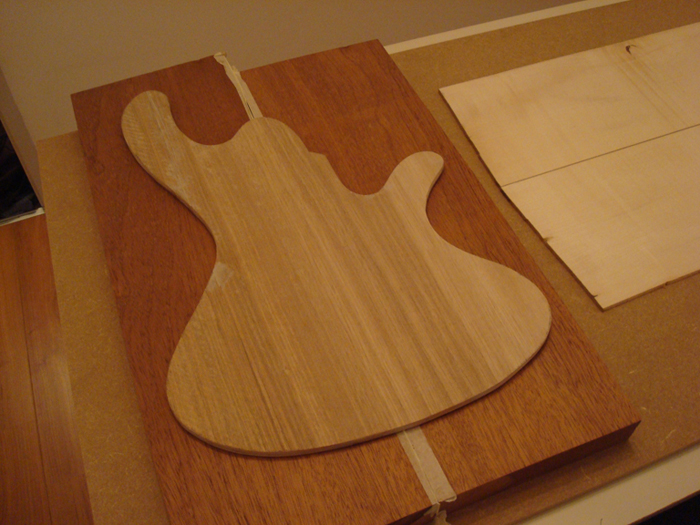
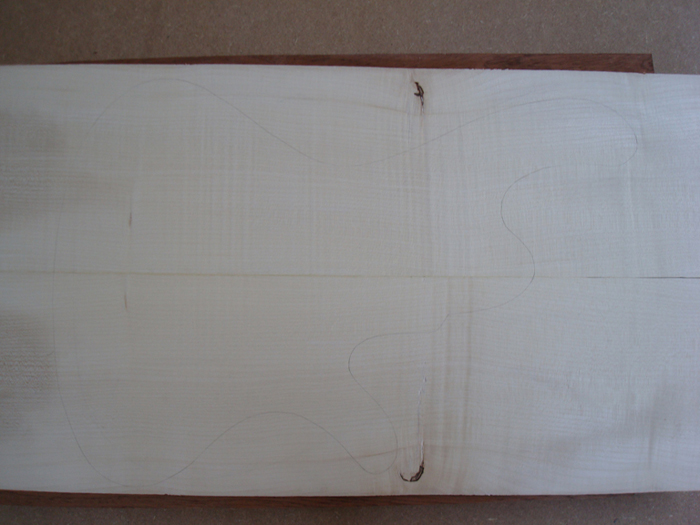
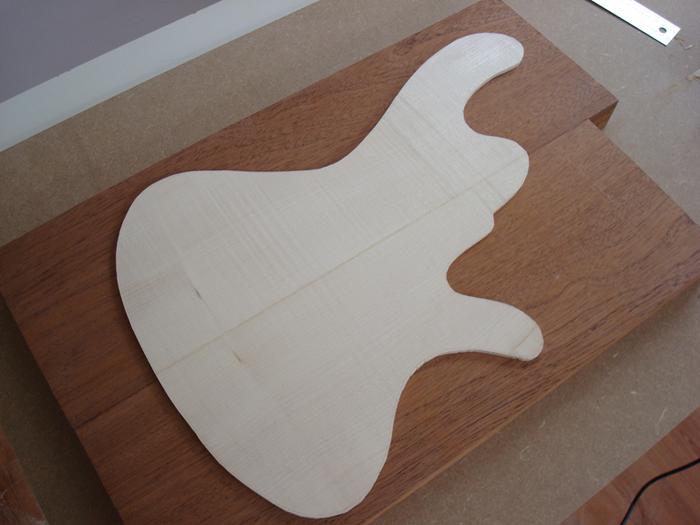
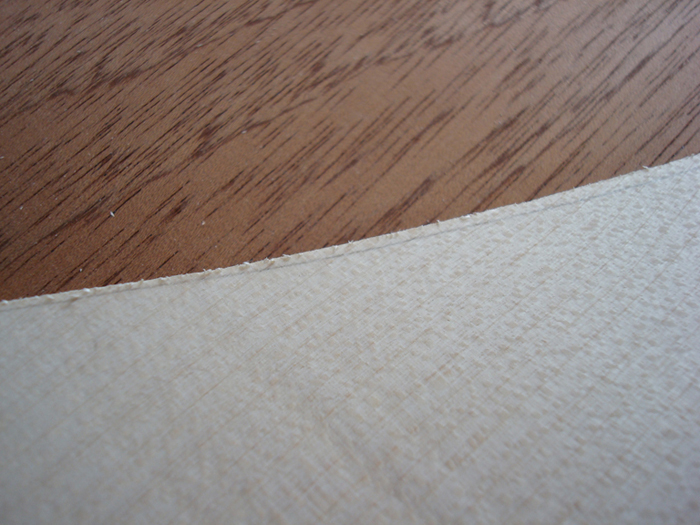
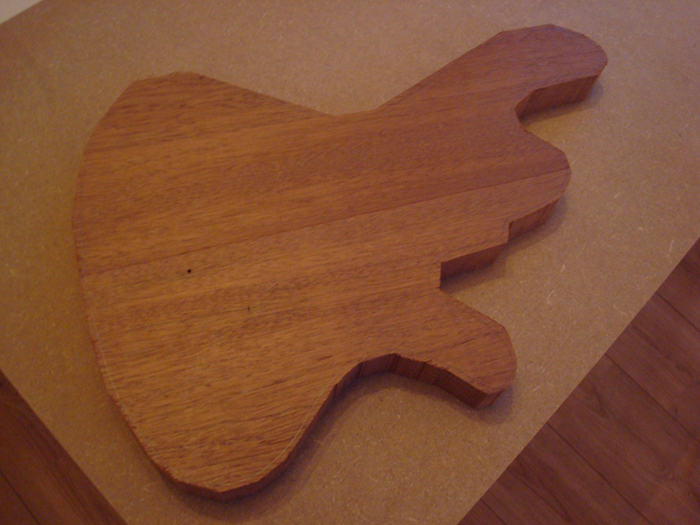
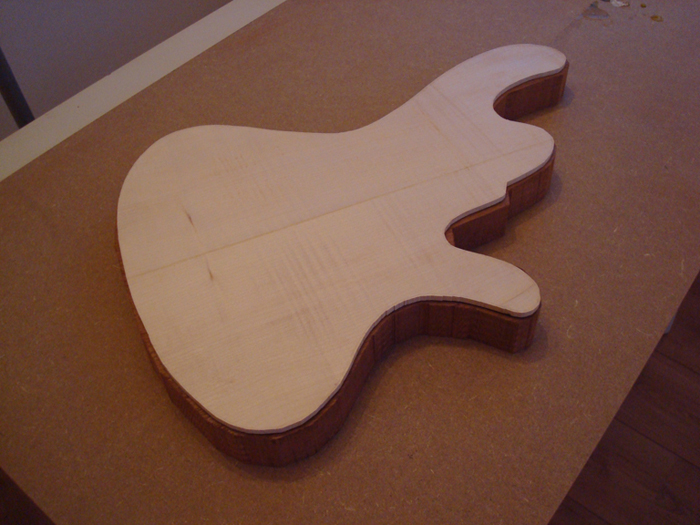
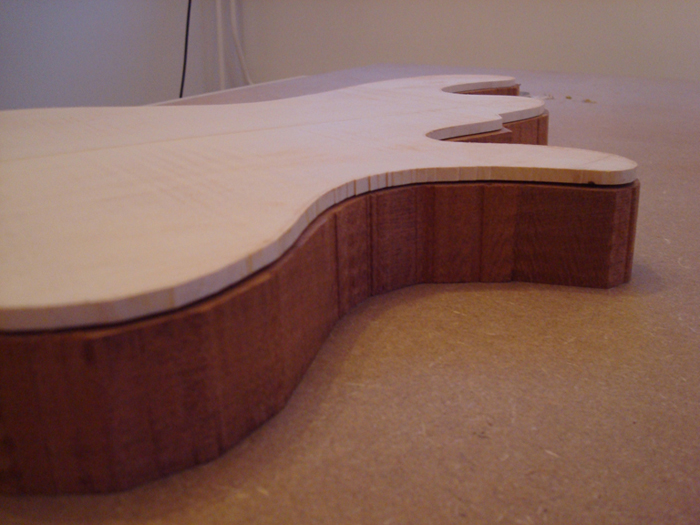
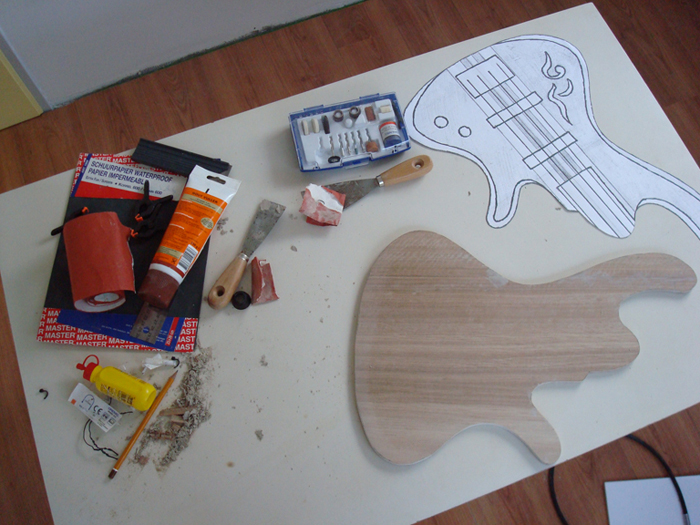
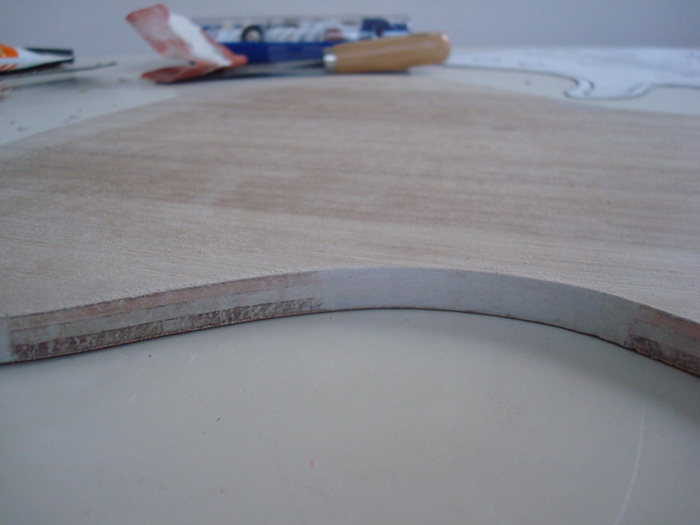
Today I did the second rough cut on the body, so that it is only 1 to 2 mm larger than the template. At the horns I removed most of the protruding wood with a rasp. Then I spent a lot of time reparing small imperfections around the outline, where the jigsaw or rasp took out some splinters. I did this by glueing in really small pieces of scrap wood and sanding them flush with the body. I really want it ready for routing against the template by the end of this week.

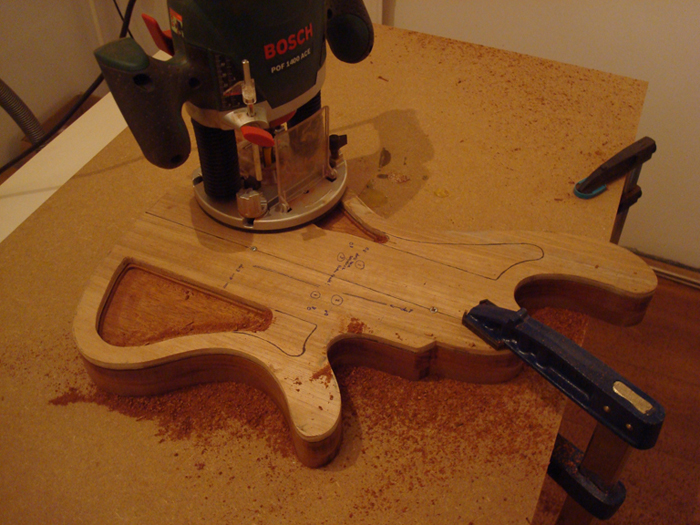
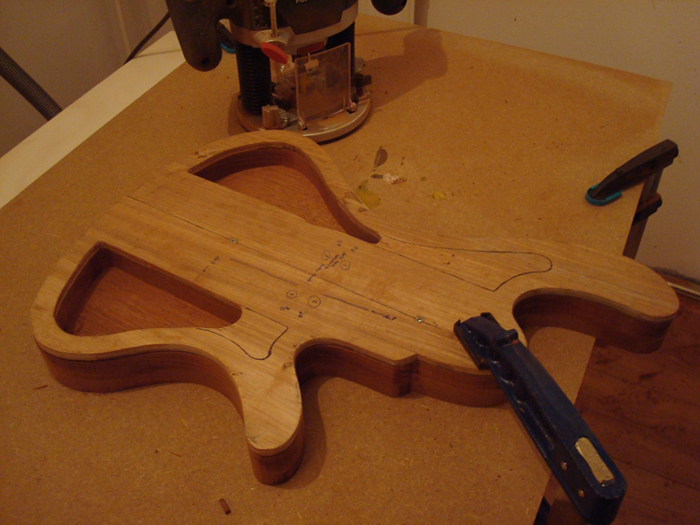
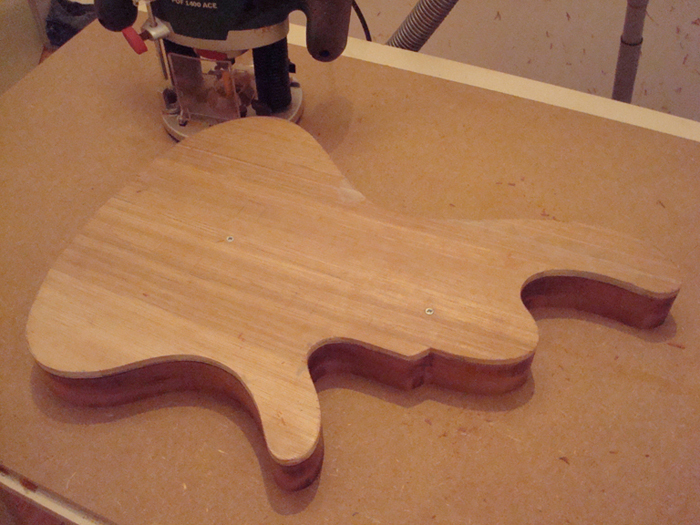
I extended my workshop with the most important solid body guitar building tool: a router! With 1.400 watts, 28.000 rpm and a 6 mm, 8 mm and 1/4″ collet it’s not a professional tool, but one of the best of the DIY range from Bosch. It also has a 1/10 mm precision depth adjustment, which is very accurate for a router. I ordered two template bits on the internet, one with the ball bearing at the end of the bit and one with the ball bearing on the shank.

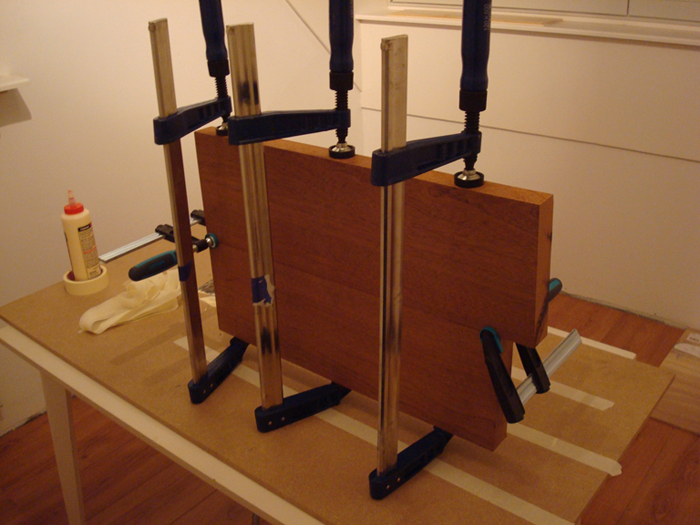
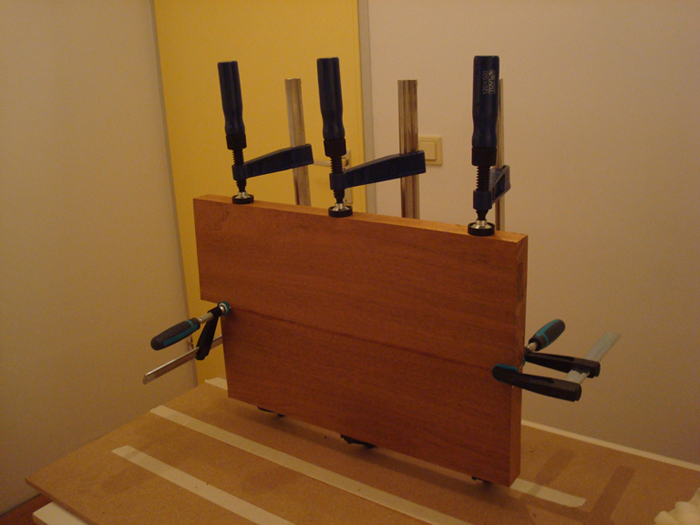
With my new jigsaw, router, clamps, glue, rasps and all other stuff I bought, I’ve got almost all tools needed. Next month I might buy a spokeshave, drill stand and a lot of sandpaper.

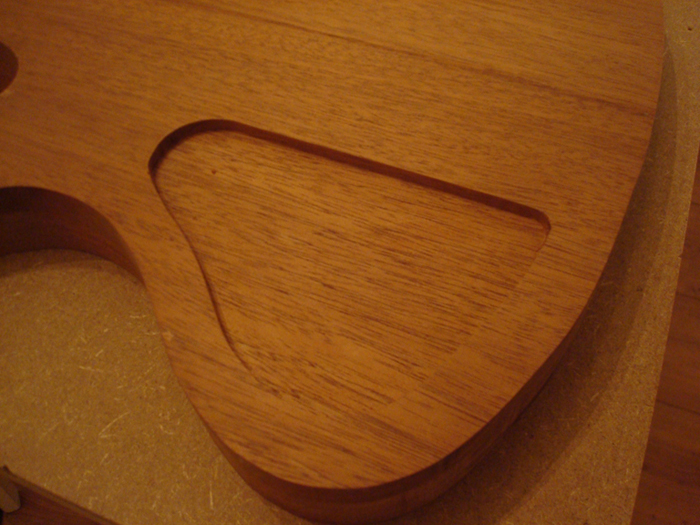
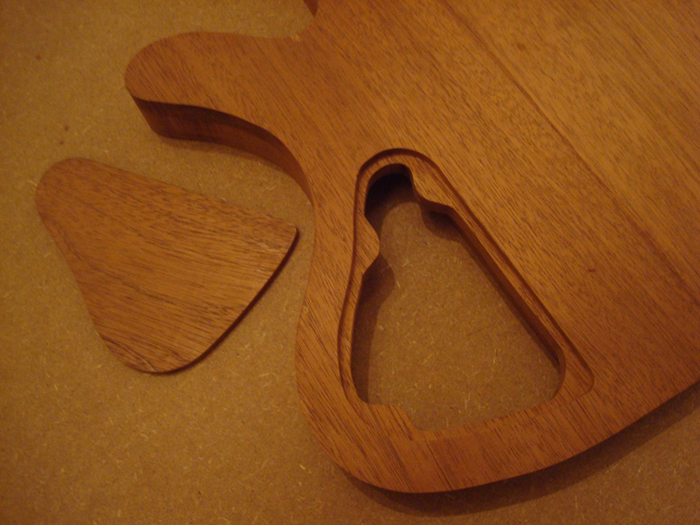
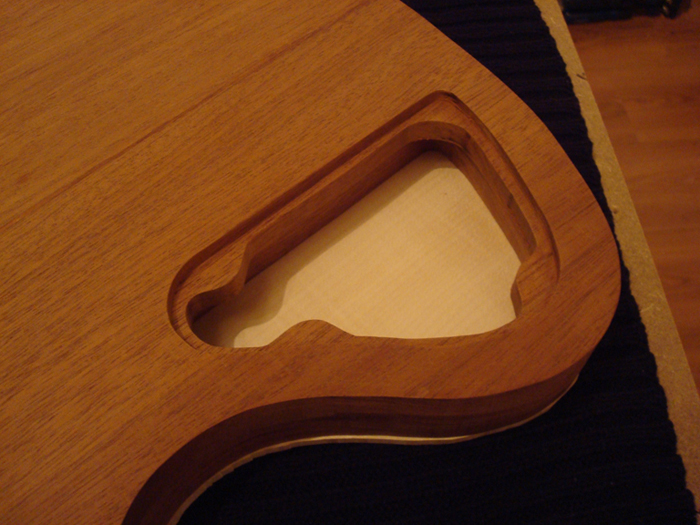
So I guess I’ve come to the scary part: routing out the body. Well, first, I’ll clean up my ‘shop’. Then, route some piece of scrap wood, because I never did this before and then I move on to the body. After that, I’ve got to route out the cavities for sound holes and electronics, cut out the sound holes and glue on the top. I can’t wait to see the body at this stage…

I love wood

Time to buy the wood! I ordered the body blank last week and this week I gave Vox Humana a call, if they also had a nice 6 mm maple top. They did and I drove to Vlaardingen on Thursday to pick up the wood, along with glue (Franklin Titebond!) and some useful tips. I must say this wood is really, really beautiful!! The Honduras Mahogany is about 40 years old, has a nice texture and of course, it’s bone dry.

I started out by glueing the two body halves together with Titebond. For this I bought three really heavy duty clamps and some tape to cover the wood around the joint to easily remove excess glue. Then I glued the top and drew the outline on it.

Today I spent almost all day on rough cutting the top and body with my jigsaw. Since the blade of a jigsaw easily bends when going around curves and 40 mm-thick hardwood isn’t an easy job for such a tool, you have to be patient and cut v-e-e-e-ry slowly. I tried to cut straight lines around the outline as much as possible and I think I did a great job.

Also I learnt that sawing mahogany produces a lot of dust compared to other kinds of wood.. and since I wasn’t wearing safety wear I now know what mahogany tastes like, how it feels up your nose and that it isn’t very pleasant to have in your eyes.

My first steps

Now I got the design I bought a 9 millimeter thick piece of beech plywood for the template and a brand new jigsaw with more precision and power, so I could also cut the body blank with it later on.

Since the template is used to guide the router after cutting the body with a jigsaw, it is very important that the contour of the template is as smooth as possible! So I took great care in sawing out the template. I bought a sawblade especially for cutting plywood which is also very small to get round curves easily. When I had sawn the template, I started sanding and filling the contours of it. Every once in a while I got back to it to feel, sand, fill, sand.. and so on.

This week I learnt that building a guitar is about being a perfectionist (which I am) and being patient (which I am most certainly not). Also great care and a slow working pace help to get it right.

On Saturday I ordered the body blank from Vox Humana, two separate pieces of honduras mahogany measuring 50 x 17,5 x 4 cm.

Back to the drawing board

This week, I started all over again with the design. Not on full scale, but just sketching body shapes on a small piece of paper. I think I drew like hundreds of ‘m. And when I almost gave up… well after midnight.. there it was! Okay, I must admit I’ve saw all possible basses I could find on the internet for some inspiration, but I drew it myself and I’m very happy with it!

Then I started thinking of the wood. Of course, I read a lot about tonewoods the past few weeks and I made up my mind about the wood I’d like to use. The body will be build from honduras mahogany, a nice reddisch brown wood with a warm tone and nice lows. Perfect for my bass! Then I want a good looking top, maybe something like flamed maple. This is a much brighter sounding wood and could be a good combination with the mahogany body.

Maybe I am going to make the body semi-hollow with a soundhole and a laminated center, built up from different kinds of wood (like ash or maple and wengé), but I am not yet sure about that. For the neck I am thinking about maple with an indian rosewood fretboard.

Designing a bass

So, I started designing the guitar, for that is the first step after all. I created a huge piece of paper by taping four A3-sized sheets together and made a full scale drawing of my future bass. I decided it should be a jazz bass with two classical jazz pickups, 4 strings and 24 frets. It took me over 3 days. And that’s when I learned that it’s actually not that easy to design a good looking bass with the right proportions…