Florence JB4

This is my first hand-built bass guitar, based on my own design. I am very pleased with the overall result and the sound of this semi-hollow custom jazz bass is very sweet! I had no real woodworking experience before I started this endeavour and I learned most of the techniques from reading books and online forums.

Headstock part 2

I planned to clean up the edges of the headstock with my router, using a plywood template. But when I actually got to this point, I realized it was a silly idea. First of all, the router is that large and heavy compared to the headstock, that I doubt if the result would be okay. And secondly, it is a handbuilt instrument after all, so I shouldn’t attack it with powertools exclusively. That being said, I took a rasp, a file and some sanding paper and started shaping the headstock. I really enjoyed working this way and it came out better than I thought it would.

Then I went on with the truss rod. I finally found some blue masking tape and used it to cover up the open side of the U-channel. For glueing I used a slow setting epoxy (usable for 2 hours, setting time up to 6 hours), so I could position it well and clamp it without rushing.

At the moment, I’m busy building a jig to cut the fret slots accurately.

Headstock part 1

I am going to speed the build up again! Last week I was ill and the more difficult part of the neck had slowed things down. But I want to see some more progress, so let’s get this neck finished!

Today I made a new headstock template, because I wasn’t satisfied with the one I made earlier. I cut it really slowly and spent more time getting the edges smooth. Also, I left some piece on as a handle and to prevent cutting too far and damaging the neck.

Then, I made a ramp to hold the neck, which makes it easier to work on the headstock. I carefully transfered the headstock outlines onto the veneer and started cutting with my jigsaw: so far so good! I only have to clean it up with the router, before moving on to the neck shape…

A truss rod access cavity

Last night I made the truss rod access cavity. I used a round file of the same diameter as the truss rod adjustment nut and it came out nicely. Then, I glued on the headstock veneer and copied the access cavity onto the veneer. It’s not much, but it took me quite a while to get it right.

The next step will be cutting out the headstock shape.

By the way: I ordered the pickups! A DiMarzio Ultra Jazz Set (DP149). According to bestbassgear.com and some other sites, this is exactly what I’m looking for. A traditional Jazz BassĀ® sound, but more: fat, funky and hum-cancelling!

Some small steps…

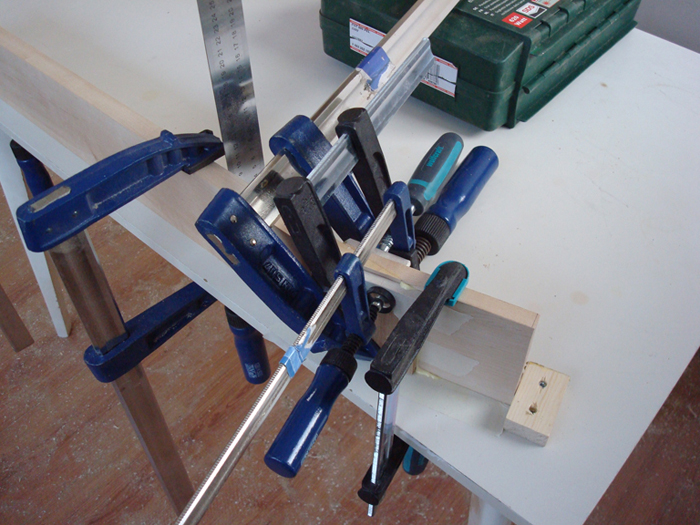
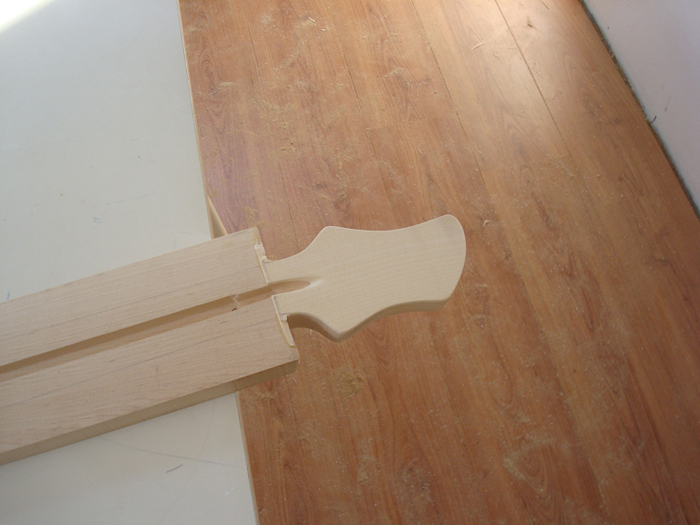
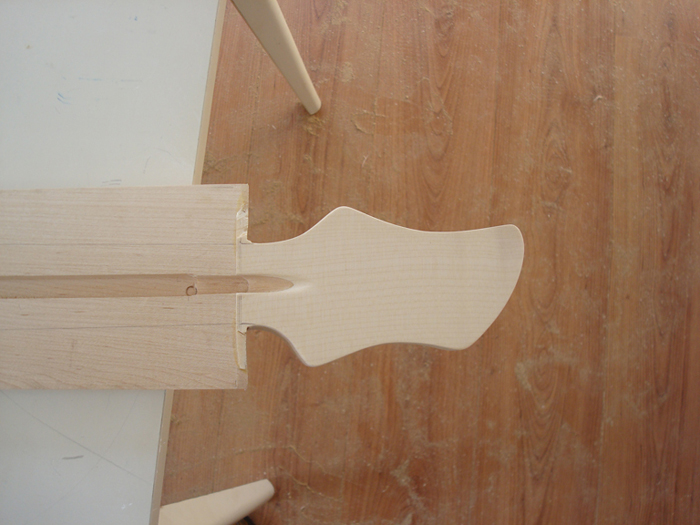
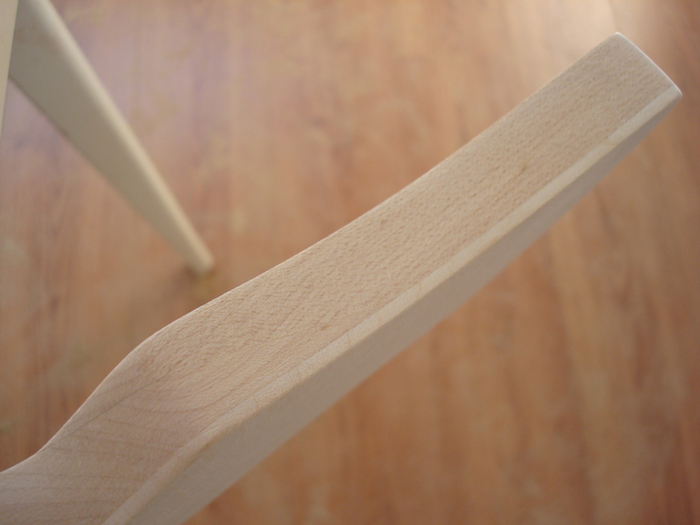
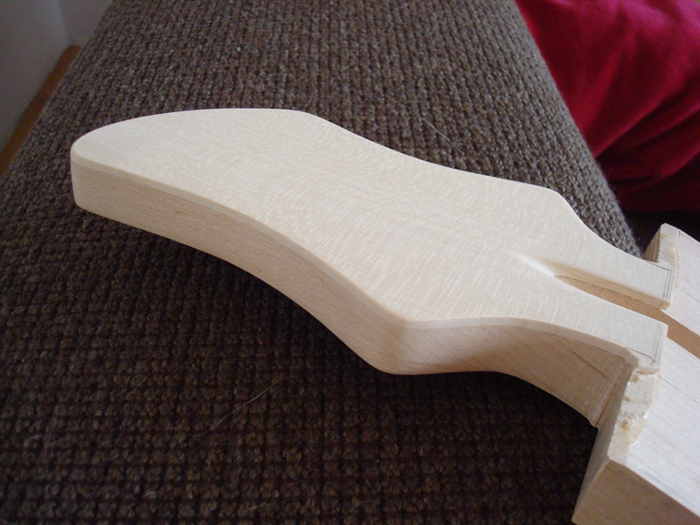
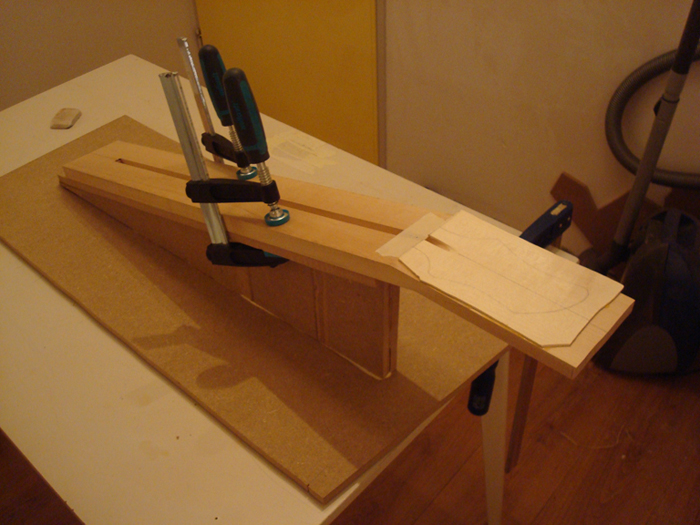
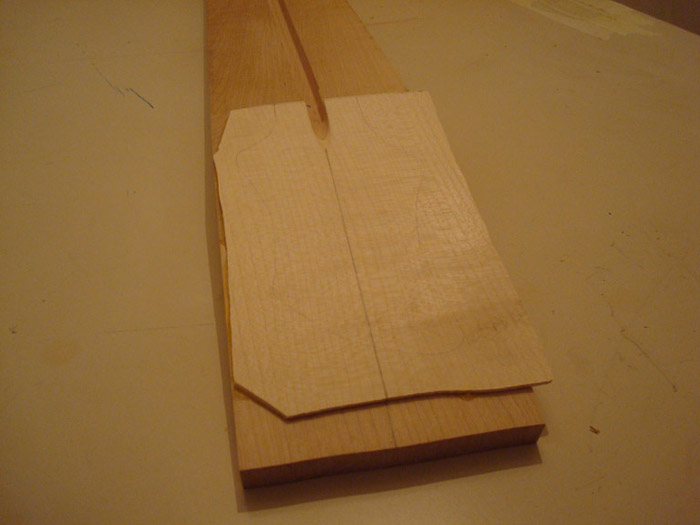
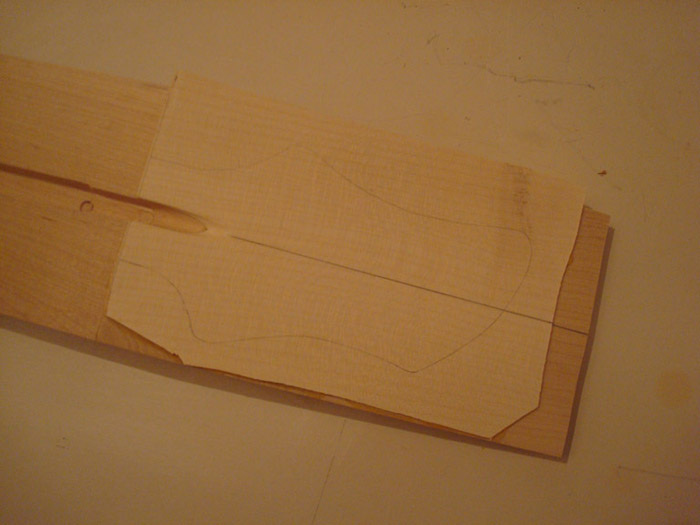
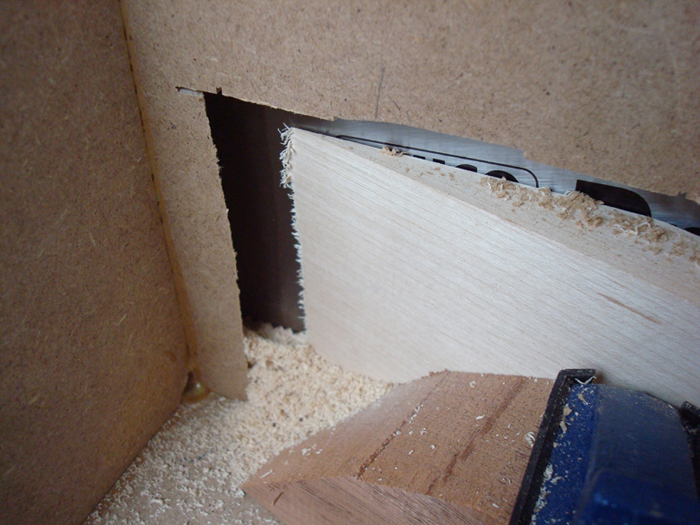
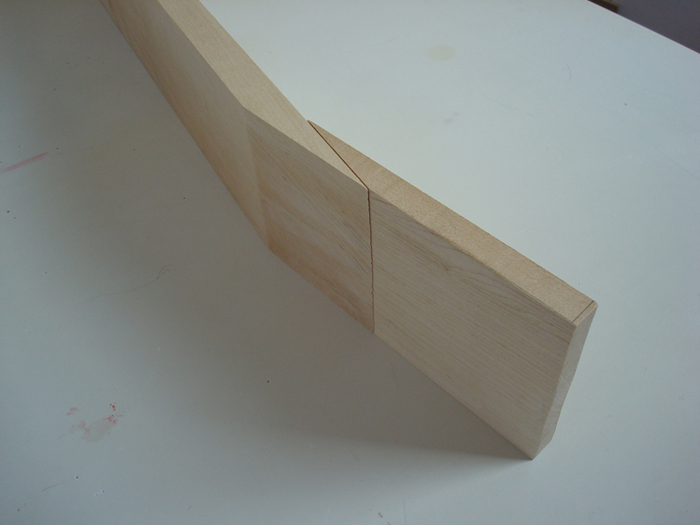
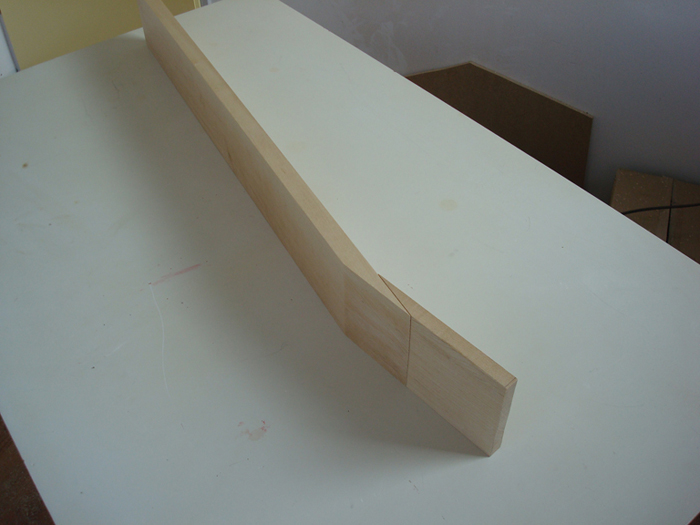
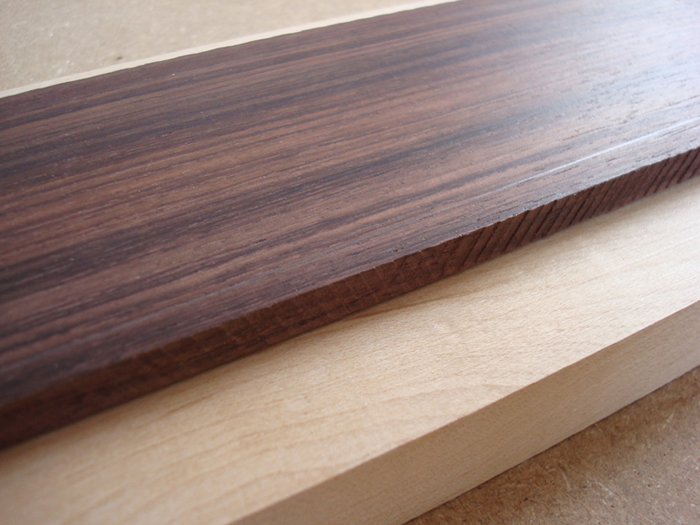
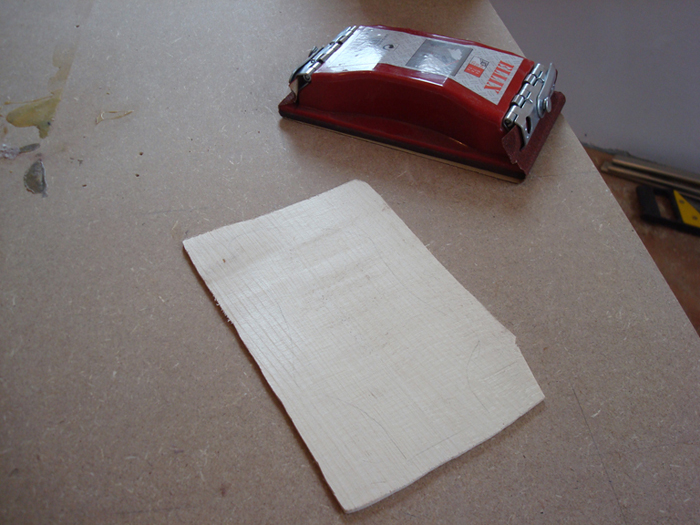
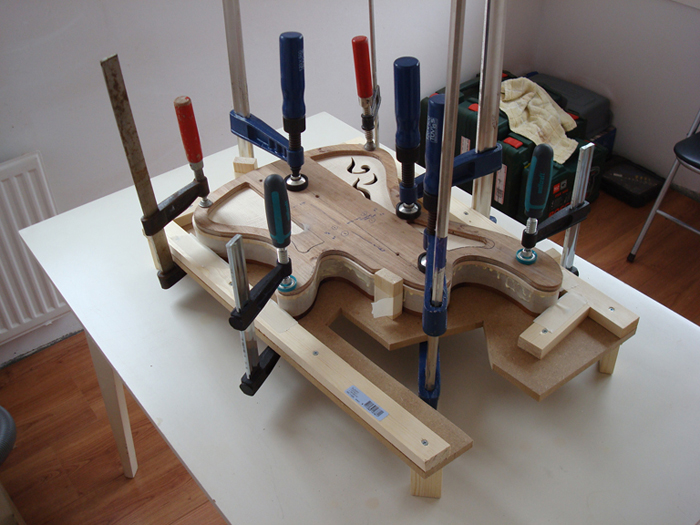
This week I finally glued the headstock piece to neck. This is a somewhat scary step, because this type of joint is difficult to clamp (if you put pressure on two slanted surfaces, they’ll slide away) and because the result should be strong enough to hold the tension of four bass strings. Before glueing I first sanded the surface again, but this time with an orbital sander to get it as smooth and flat as I could.

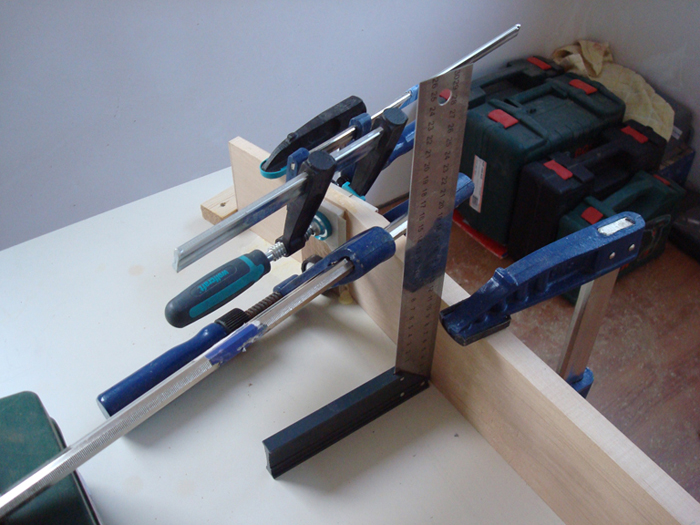
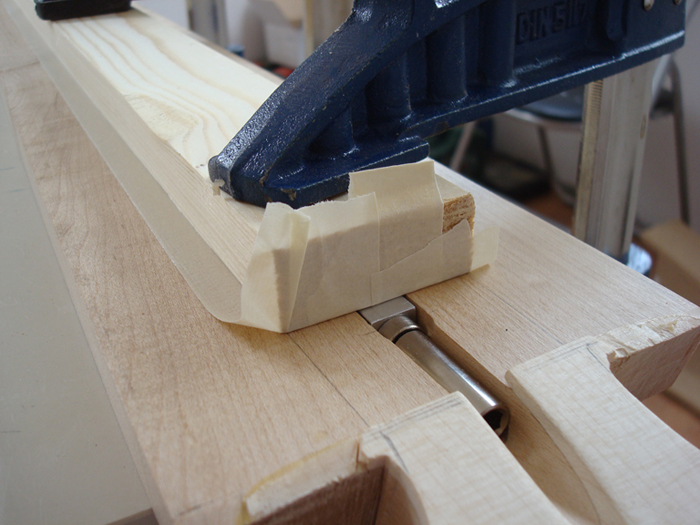
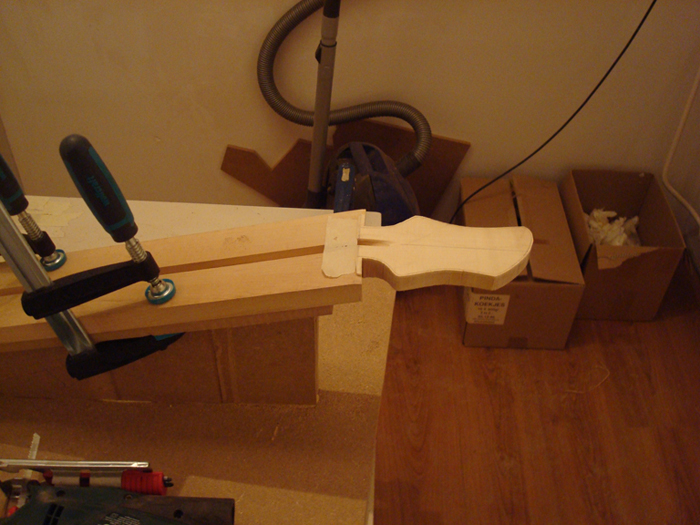
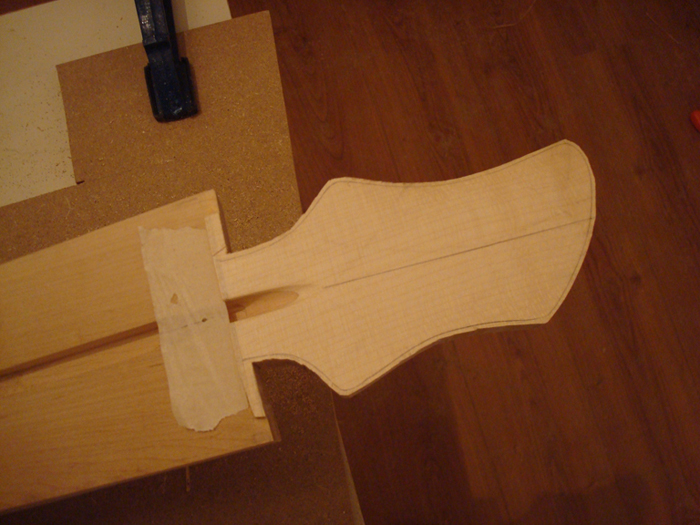
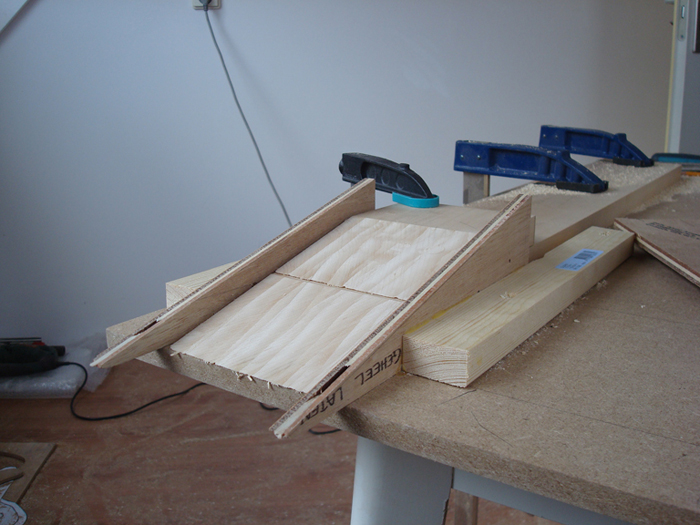
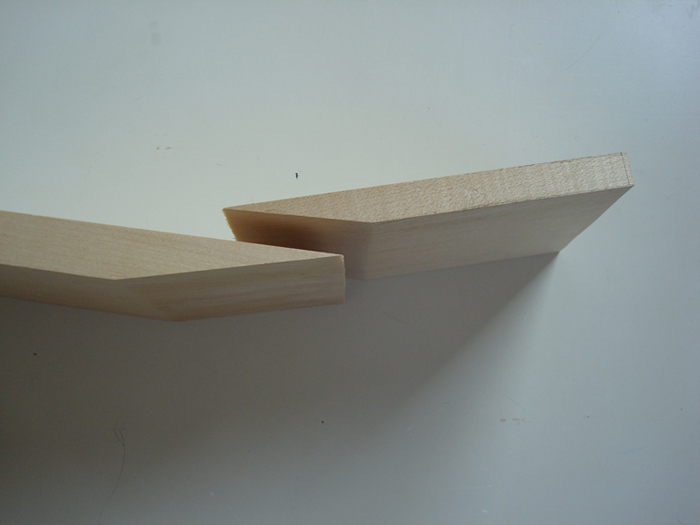
Then I clamped it on the table without glue, just to test my setup. I used seven clamps and two blocks of wood, screwed to the table. I also used two pieces of plywood, wrapped in tape, to divide the pressure of the clamps evenly over the joint. The last step was to glue it and wait… 24 hours later I removed the clamps, cleaned it up and got to see the result. It’s not bad for a first time scarf joint, but I think, with the experience I have right now, that the next one could be even better.

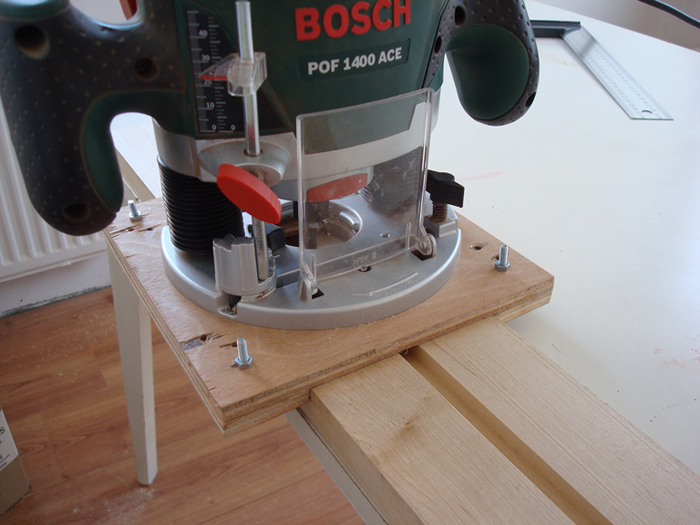
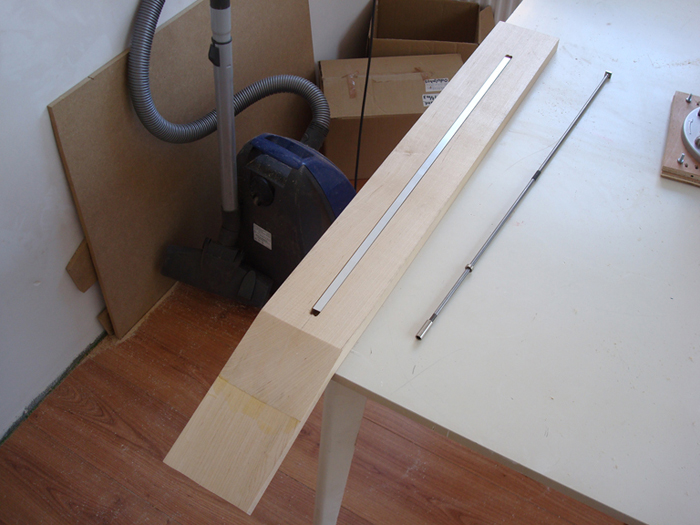
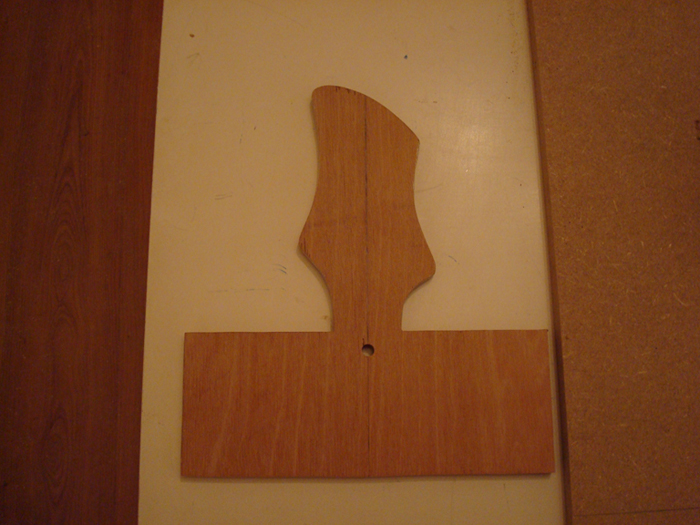
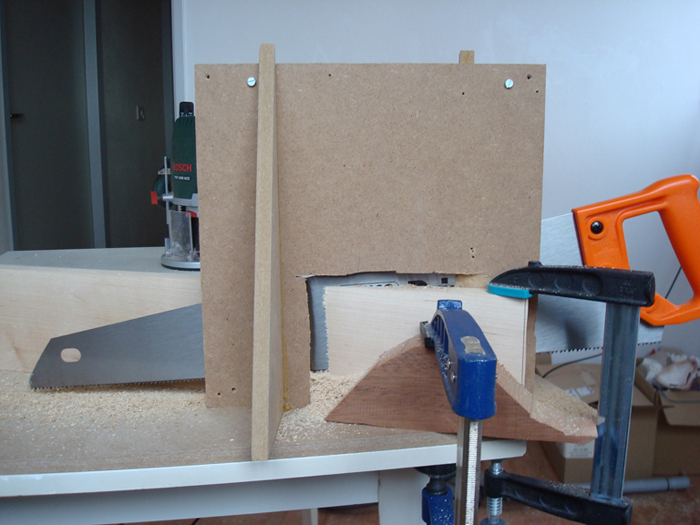
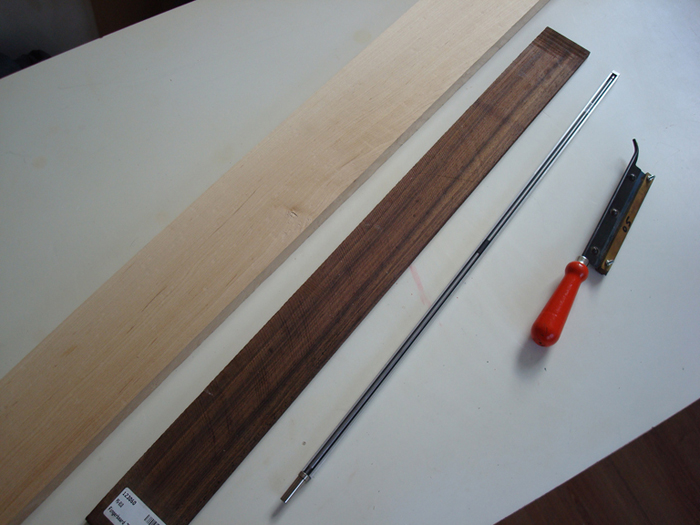
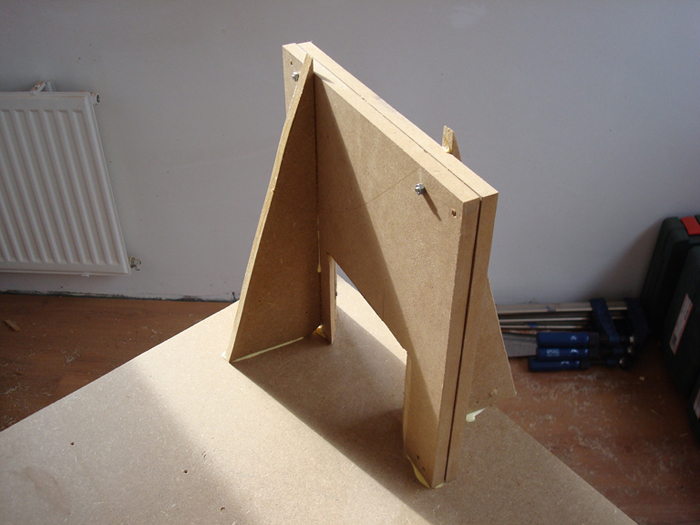
I spent the rest of the evening to create a saddle for my router to route the truss rod channel. It has a larger base plate than the original, supporting two guides to hold the router in place. Since the channel has to be 10 mm wide and I only have got a 6 mm and a 12 mm router bit, I had to use the 6 mm bit. I made the saddle in a way, that the bit was exactly 2 mm off center. If I’d centered the bit, it would route 3 mm on each side of the center line, but using this offset, it routed 1 mm on the left and 5 mm on the right. And when you turn it over, it’s the other way around, resulting in an 10 mm wide channel. This took me quite a while and I messed up two times, but I got there.

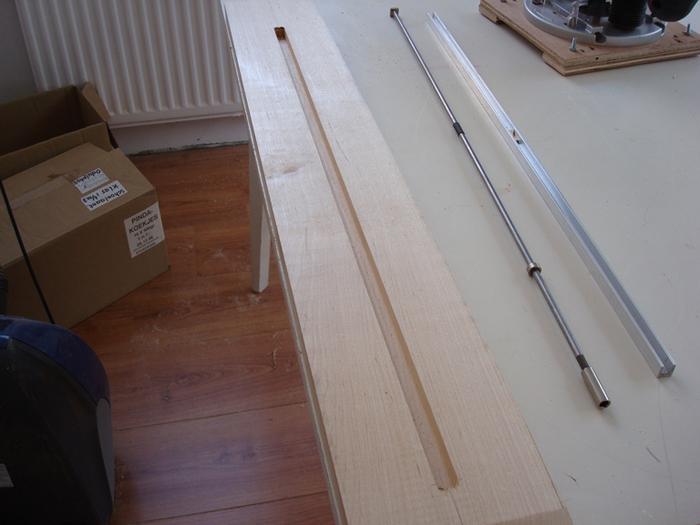
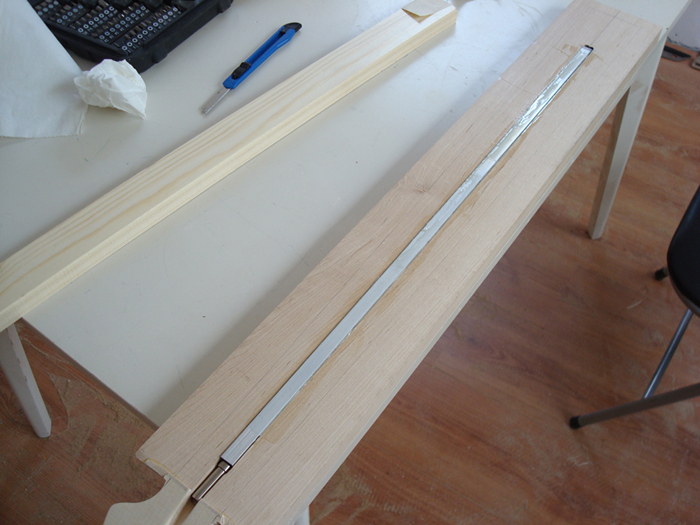
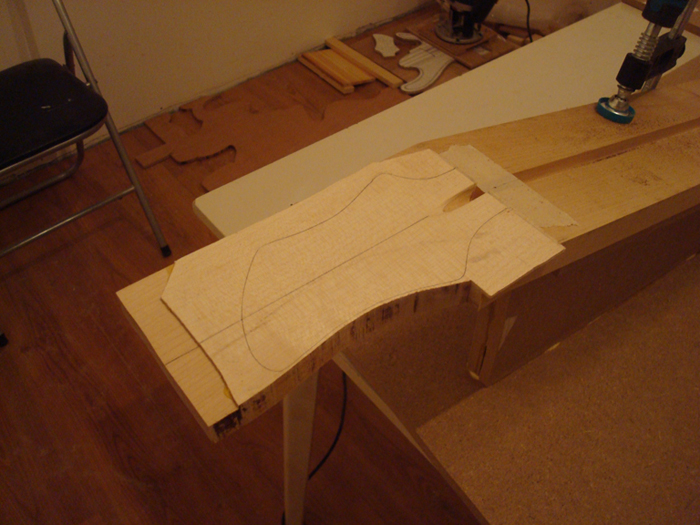
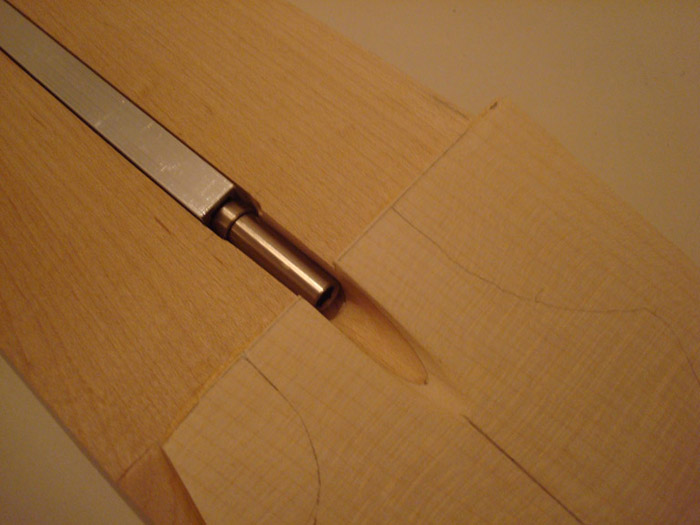
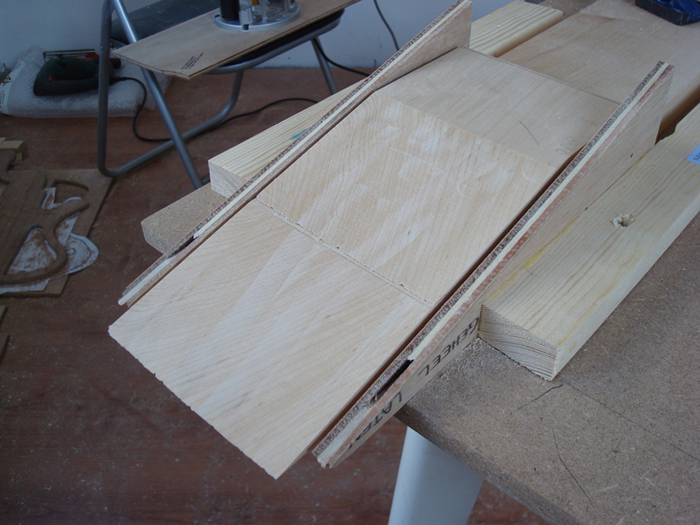
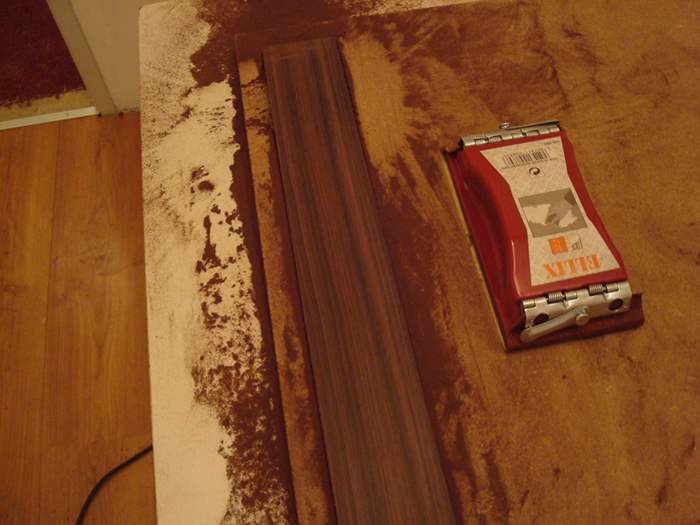
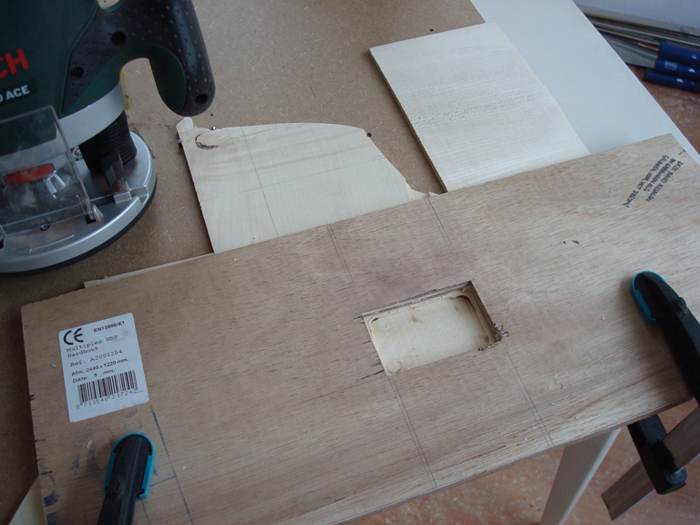
The next day I routed the channel, which was very easy, using the saddle I made. As you can see on the pictures, it fits quite nice. But it’s not finished, I still have to route a channel or drill a hole for the adjustment nut. Today I also ordered some slow setting epoxy to glue it in.

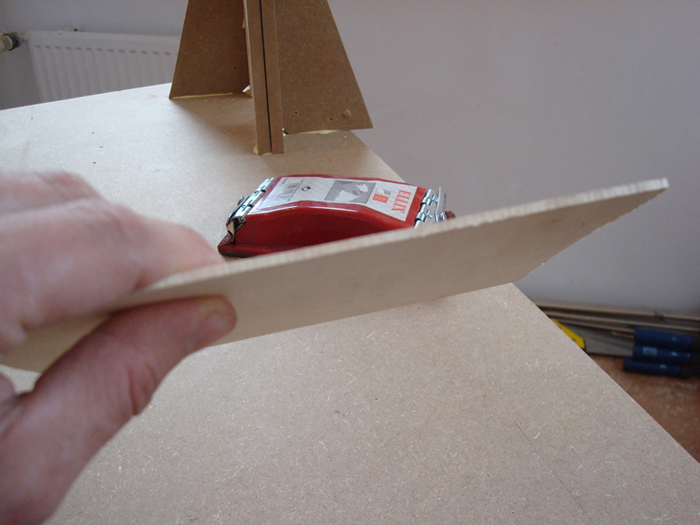
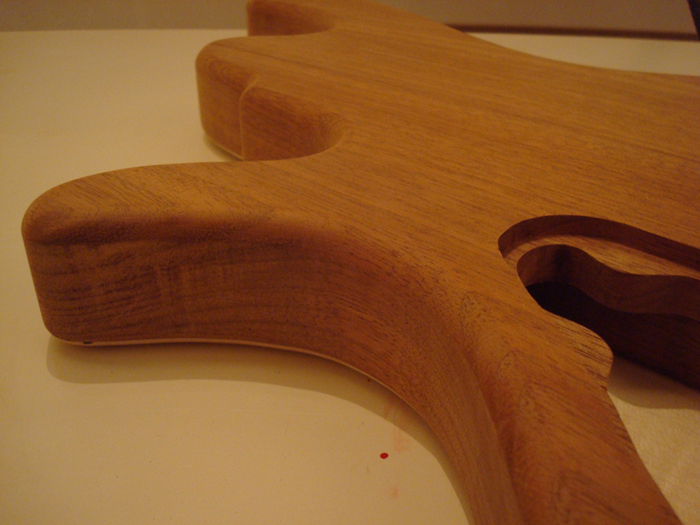
Ps. I discovered a new little helper this week: double sided tape. If you look at the pictures, it looks like the neck blank is just lying on the table, but it’s not! It’s secured with only three small pieces of tape and if you try to lift it, you’ll lift the whole table! And it doesn’t get in your way alot like clamps do!

Scarf joint challenge

After succesfully squaring the neck blank and building a jig, I started cutting for the scarf joint. The result has to be very accurate, because a sloppy cut would result in a slanted headstock or, even worse, a weak joint. I cut the blank by hand in an angle of 13 degrees.

Then I made another jig to plane the glueing surface flat with my router, followed by sanding it smooth by hand. After this step, I planed the headstock part down to somewhat over 13 mm. Together with the veneer, the headstock will be 16,5 mm thick.

The result seems to be perfect, but it isn’t. The glueing surface of the headstock piece still is a little convex, so it needs some sanding before I can get to the glueing part…

Catch up!

Last week, the neck wood arrived, together with a truss rod and a 0,5 mm saw for cutting the fret slots. The rosewood fingerboard looks gorgeous, although I have to plane it down from 9 to 6 mm. And then the saw: it’s second hand, I’m sure of that. It looks like it has served for a few years already and I couldn’t even cut my finger with it! (That’s safe, I know, but rosewood is rather tough…) So it will go back and I have to look for another one.

I also had a problem with the neck blank I ordered. It wasn’t straight. If I put it on the table, the ends of the blank hovered almost 2 mm above the table. Since I don’t have a jointer or planer, I couldn’t do it myself (or maybe with a block plane, but I doubt the result would be any better), so I Googled a bit and found a very nice local furniture / cabinet maker (Huub de Krom Meubelmakerij) who was willing to plane the blank for me. Now it’s perfectly flat and about the right thickness. Many thanks to Huub de Krom!

So it’s time to start working on the neck. First of all, I set up a jig to plane the fingerboard with my router and routed it to a thickness of almost 7 mm. It wasn’t flat and without a flat surface to start with, I can’t get the fret slots right. Then, I sanded it by hand for over an hour and it came out beautiful. I like the grain very much!

Then, I started working on the neck blank, since I couldn’t start cutting the fret slots. I routed the sides perfectly perpendicular to the top and bottom of the blank and also parallel to each other. This will help getting the scarf joint nice and straight. Having this done, I made a jig for the scarf joint. I am going to cut it by hand and the jig will assure the cut is straight and exactly 13 degrees (that’s where I am aiming for). While the glue of the jig is drying, I will look if I can make a figured maple veneer for the headstock out of the left overs from the body top.

[Some time later that day…]

I found I nice piece of figured maple that matches the body top perfectly! So I reused the jig from the fingerboard and planed it down to 2 mm thick. Then I cut it with the fretsaw (the one with the frame, not the one to cut fret slots) and sanded it smooth. I now have a wonderful piece of veneer! Can’t wait to see it on the headstock!

Slow but steady

Another small update. It doesn’t seem like much, but it did cost me two nights: I cut the neck template. It’s a very accurate job and I took my time, which paid off, ’cause it’s absolutely spot on.

I used a jigsaw to do the rough cut and then I used the sides of a MDF board, to route the edges dead straight. Now I should be able to route the neck without too much trouble.

I also cut the headstock template, but I’m not satisfied with the result, so I think I’ll do that again later on this week.

Designing the neck

Before starting with the neck, I first had to design this part of the bass. I started laying out the neck to get the right string spacing at the nut, the right fingerboard dimensions and the correct tuner placement. I wanted evenly spaced strings (not measured center to center, but edge to edge) and the strings should run straight to the tuners, without bending at the nut.

After finishing this I went to the design of the headstock shape. And again, it was harder than I thought it would be. In total, I think I drew over 20 headstock designs. But after two weeks of messing around, I am totally happy with it and it’s rather unique too (I didn’t copy an existing design, but who knows it resembles some other design….).

Today I ordered the wood for the neck, a truss rod and a japanese saw with depth stop. I am going to make the neck from a single piece of flat- to quartersawn hard rock maple, with a nice rosewood fingerboard.

So after two quiet weeks, I’m back on it again!

Ready for now

Last week I rough sanded the body with grid 40 sandpaper, followed by sanding the whole body with grids 80, 120 and 150. All by hand (I do not have a belt or spindle sander). It feels really smooth already and I managed to almost sand out all router marks and rough spots.

Yesterday I rounded off the edges of the body with a 3/8″ radius bit. I routed the top slightly deeper and sanded it to an oval like shape (but only half a mm or less).

So the body is ready for now. I only have to route the pickup cavities and the neck pocket. After that holes have to be drilled for the control knobs, output jacket and wiring the pickups. But first, I move on to the neck!

Ps.: The quality of the pictures isn’t very high this week, sorry for that…

Body almost ready

I glued the top to the body using my jig. After 3 hours I removed the clamps and cleaned up any excess glue. The next day I routed the top flush with the body and gave it a quick sand.

I think it came out great! The joint is really tidy and there are no gaps on the whole of the contour. Also, it’s aligned perfectly well, thanks to my jig.

Next: sanding, rounding over the edges and then I’ll move on to the neck!