And when the glue of the has cured, I flipped the whole assembly and clamped it in the same way, to again align the frames properly:
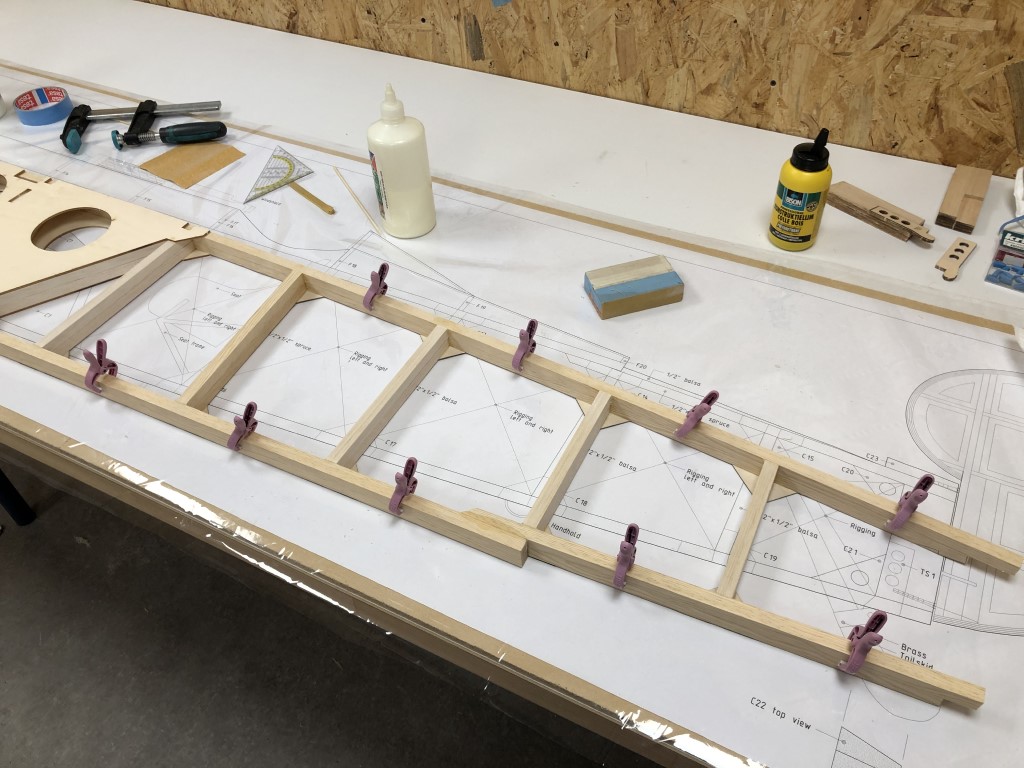
So I could glue on the reinforcement triangles, fixing the frame in the right position:
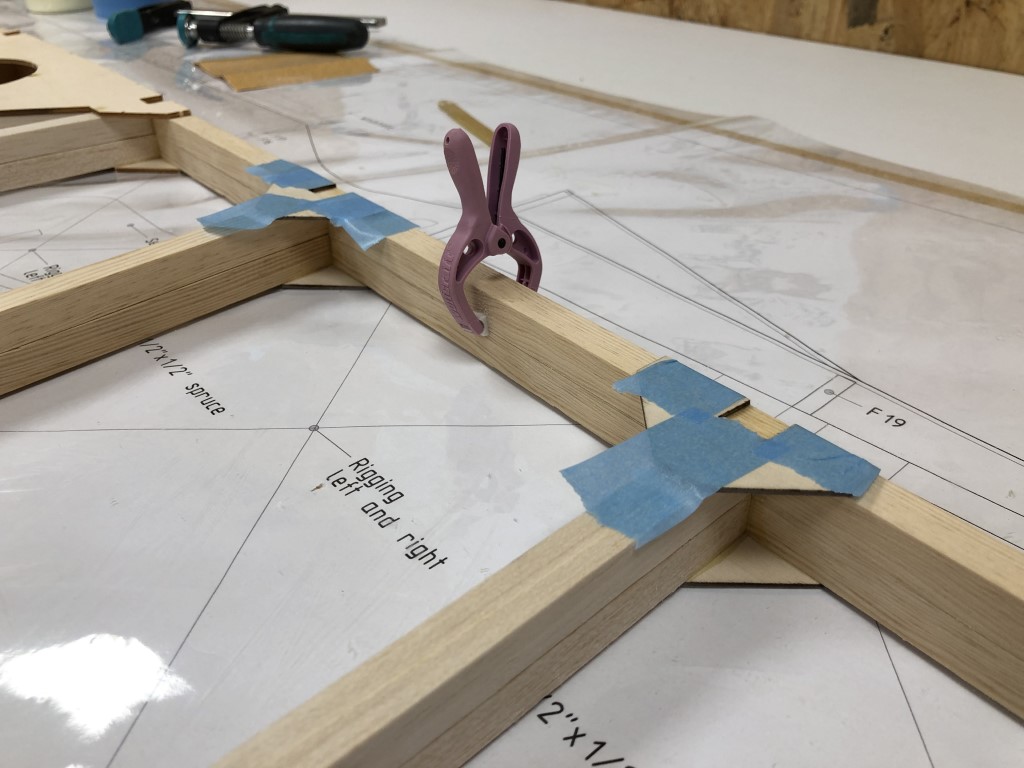
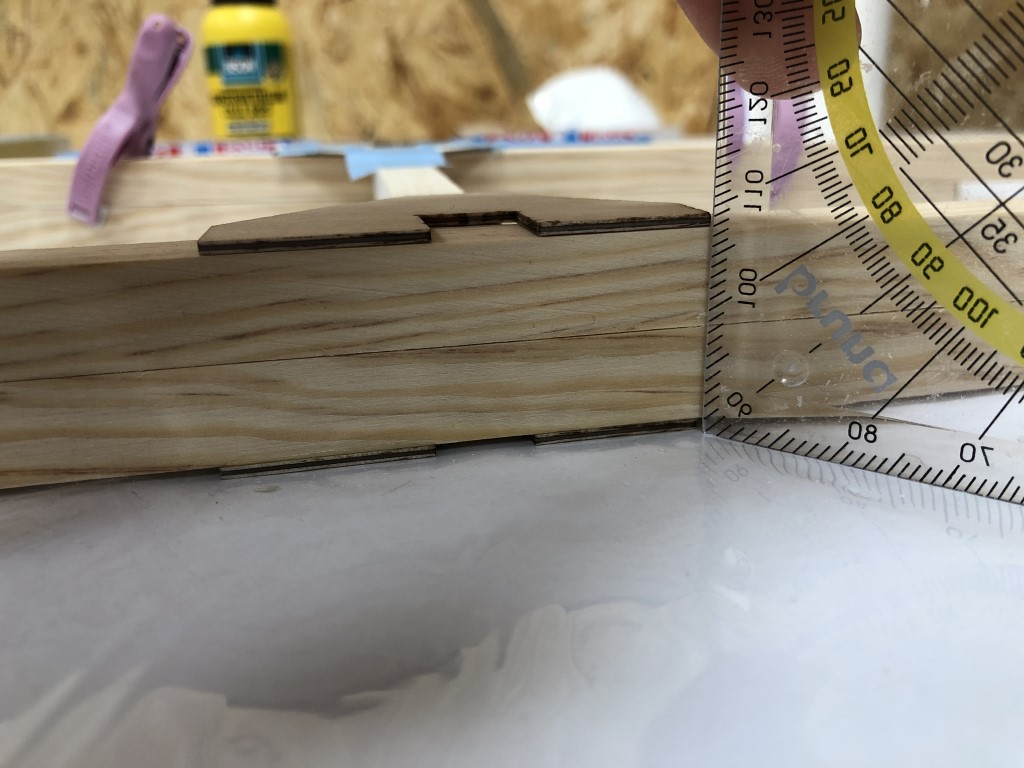
Another advantage of this method is that I could check the alignment of the reinforcements, so I’m absolutely sure my cross-beams for the fuselage (from left to right) will end up square as well:
All reinforcements are in place now (except the large ply doubler, which is only on there for alignment purposes):
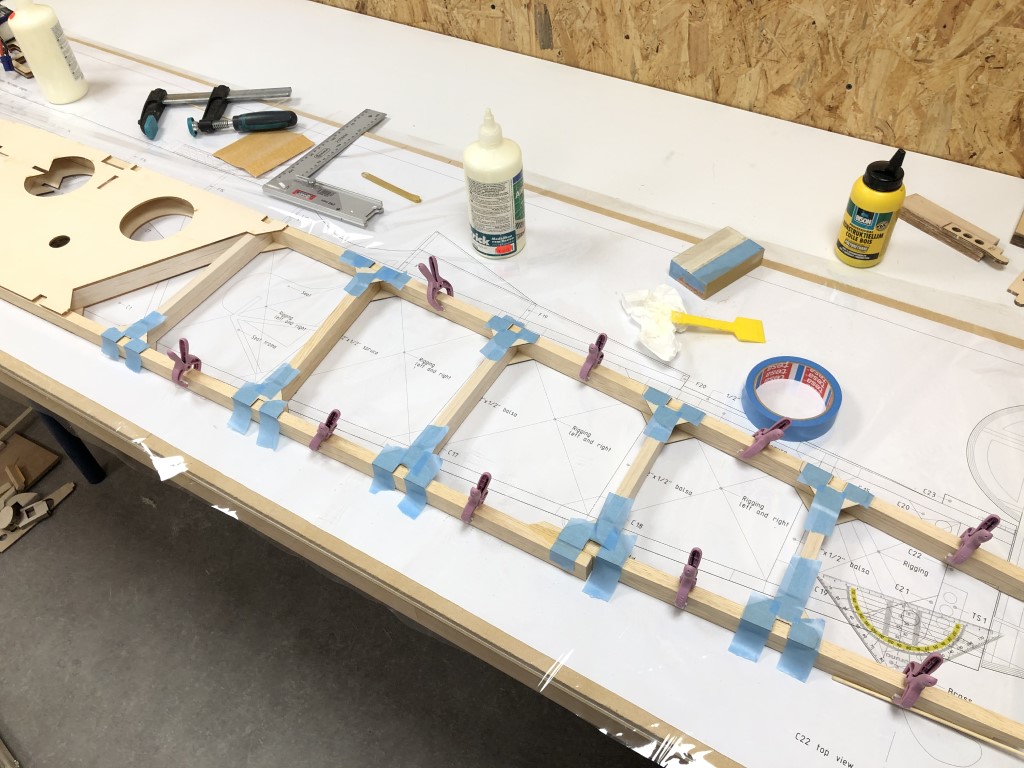
And now the frame is fixes and stable, I can check the front as well. It’s almost not visible, but this are two frames stacked on top of each other!
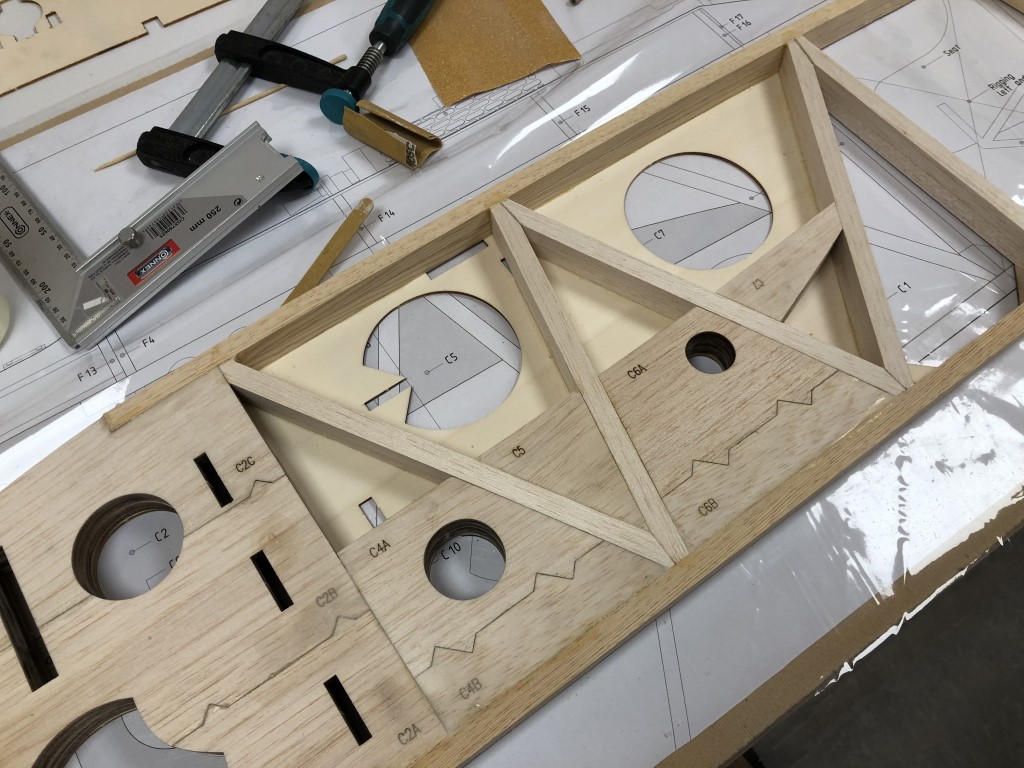
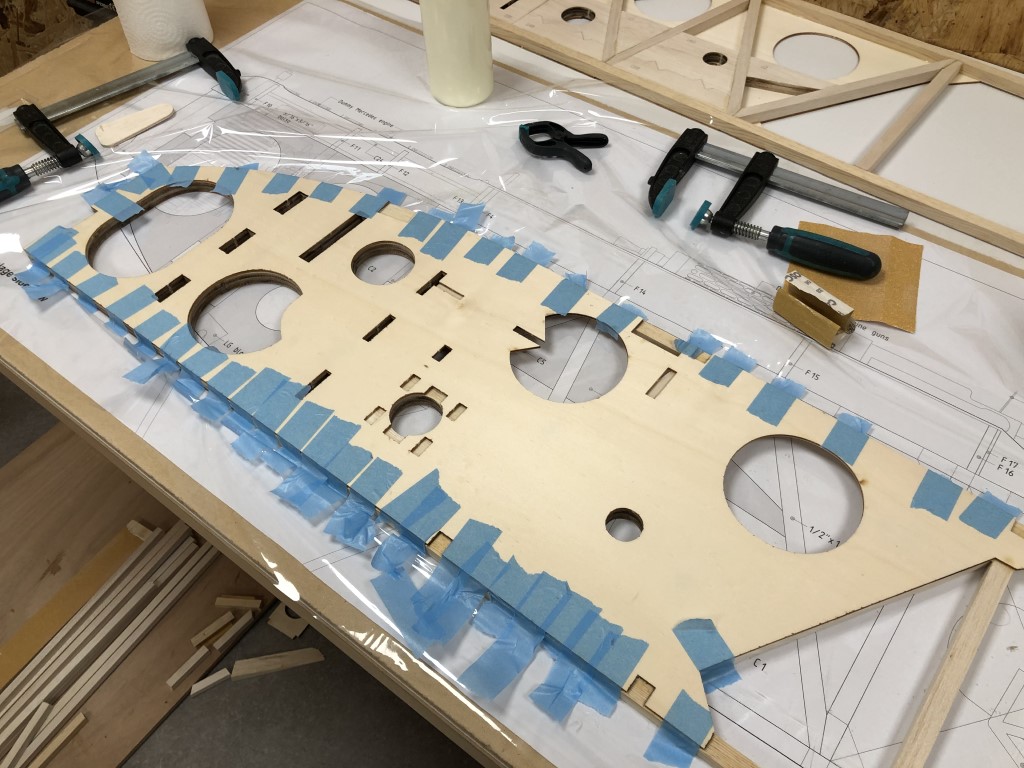
So now everything matches up, I can glue on the ply doubler. Besides taping the sides, I also used a press weight to fix the center of the doubler. And I again used the other frame as a guide while gluing this one:
