
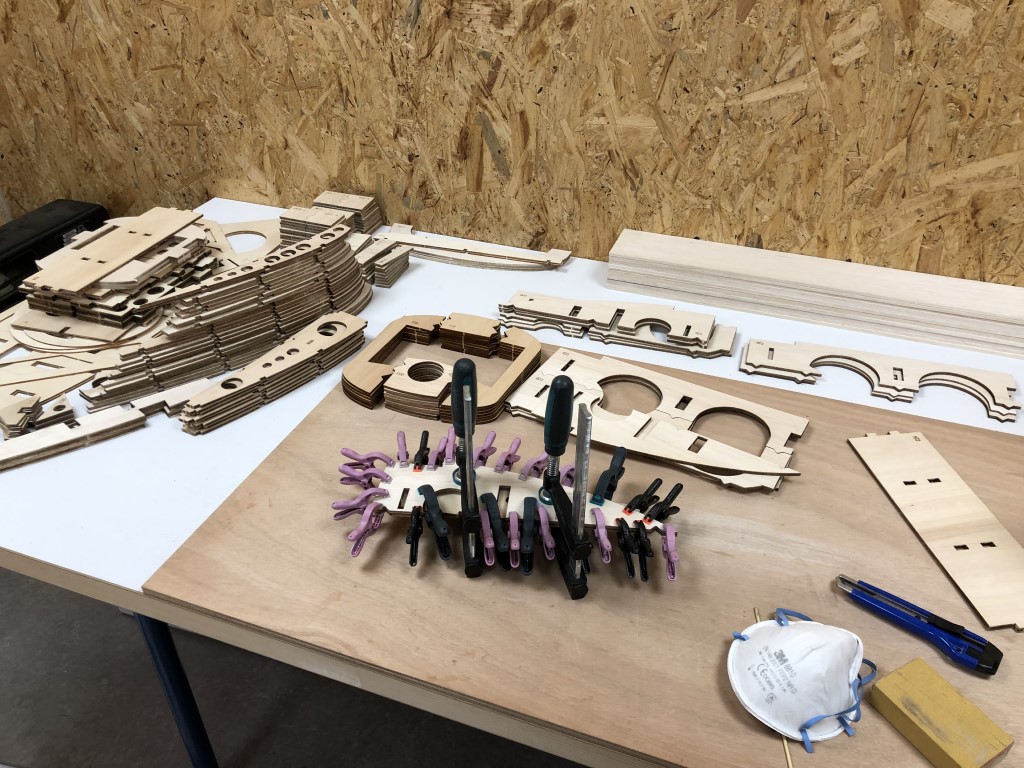
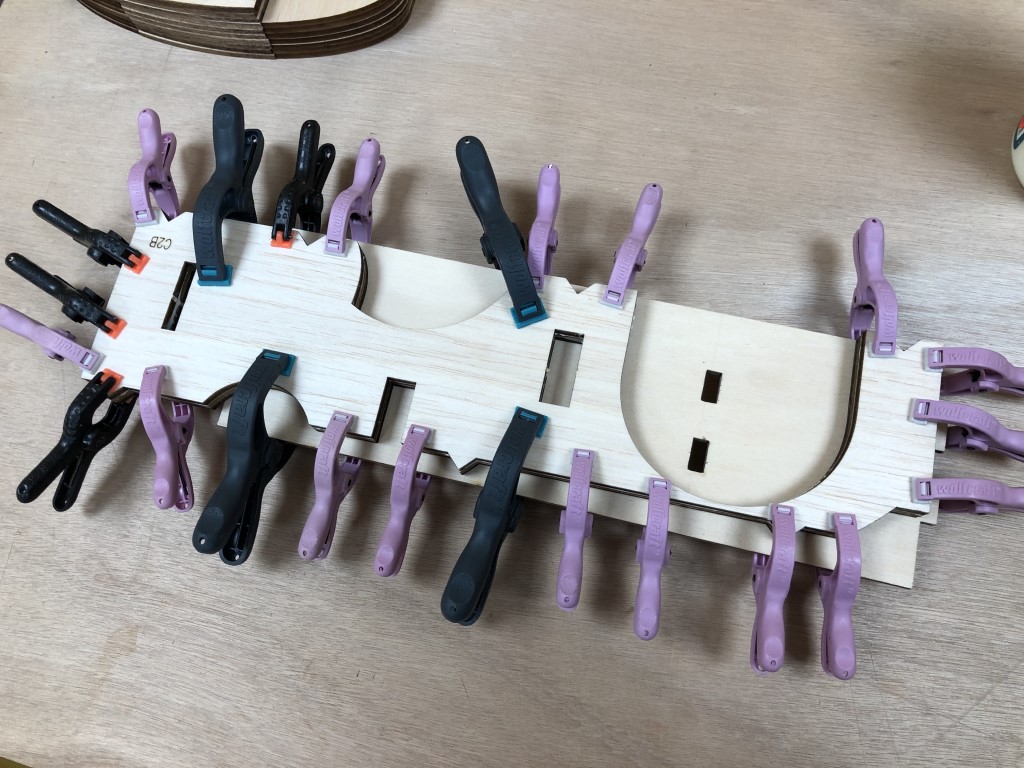
Some more pictures of the process of laminating and constructing the pre-cut fuselage side parts. First, laminating three layers per part:
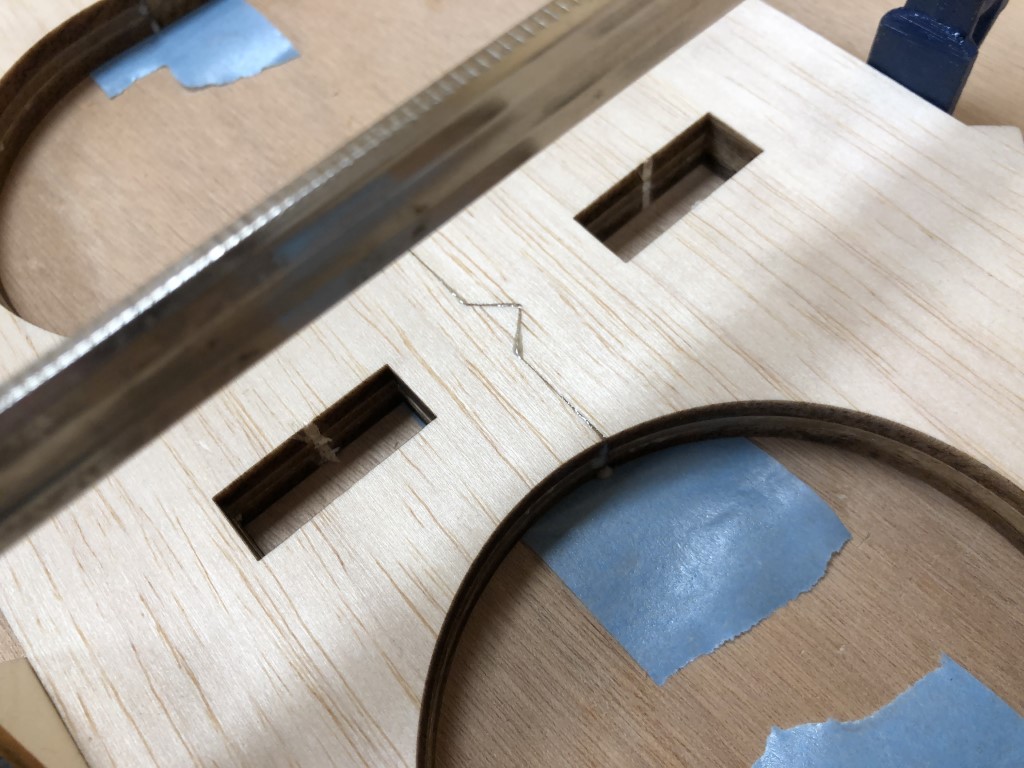
I’ve used a straight multiplex board as a guide to ensure the laminated parts came out straight and flat:
Which came out surprisingly well, only minimal sanding is required to straighten up the edges:
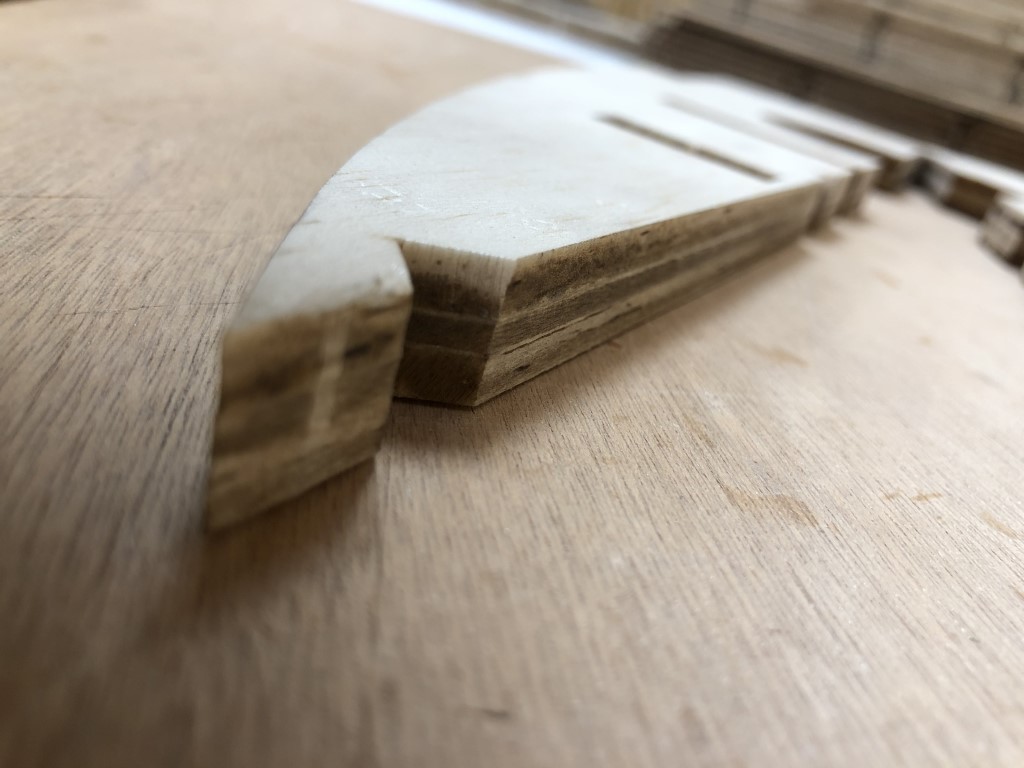
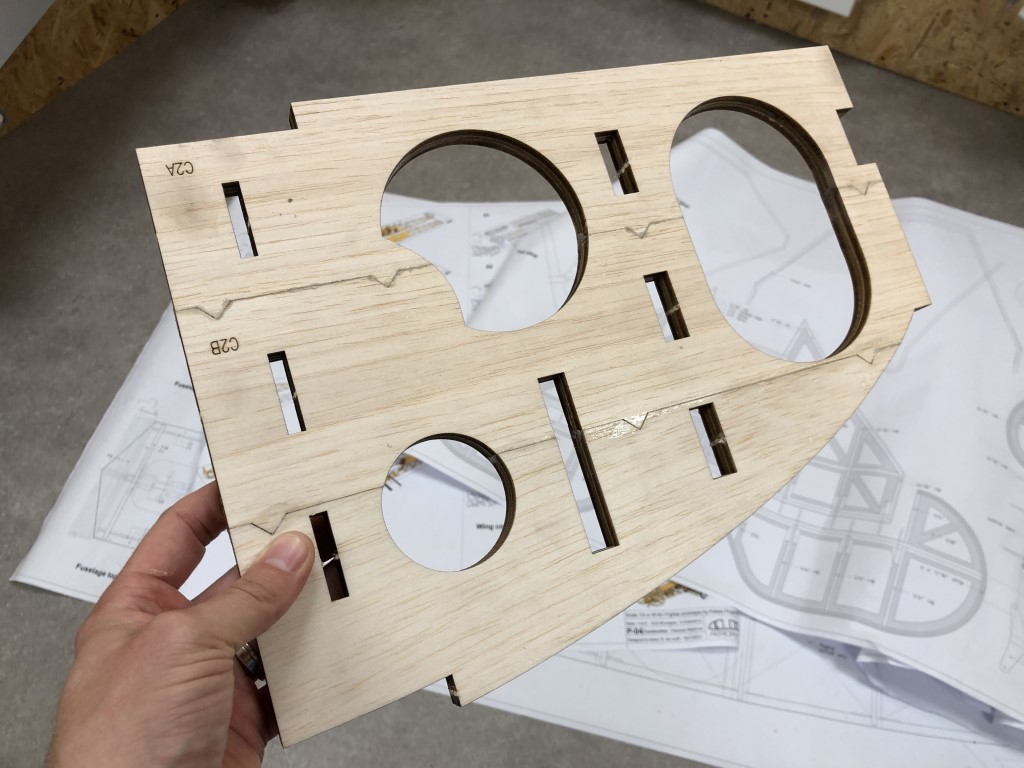
And then, I joined the laminated parts with Bison PU Max, which is slightly filling, a feature that comes in handy when the laminated parts aren’t perfectly square at the edge:
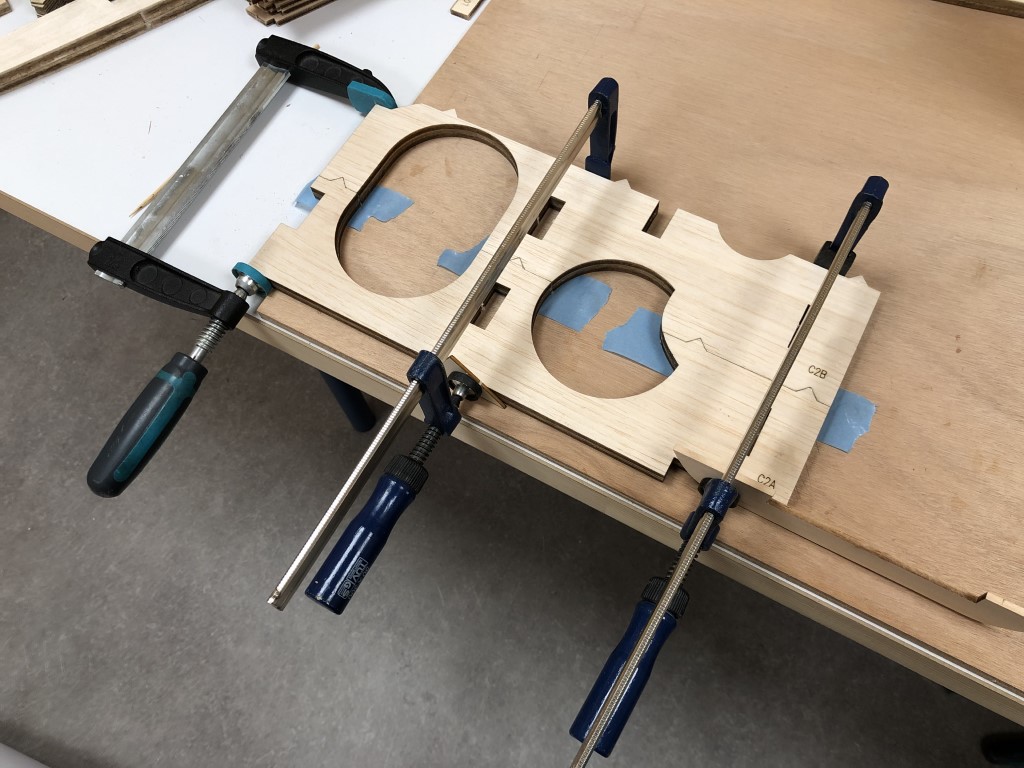
But still, I’m very happy with how those parts fit:
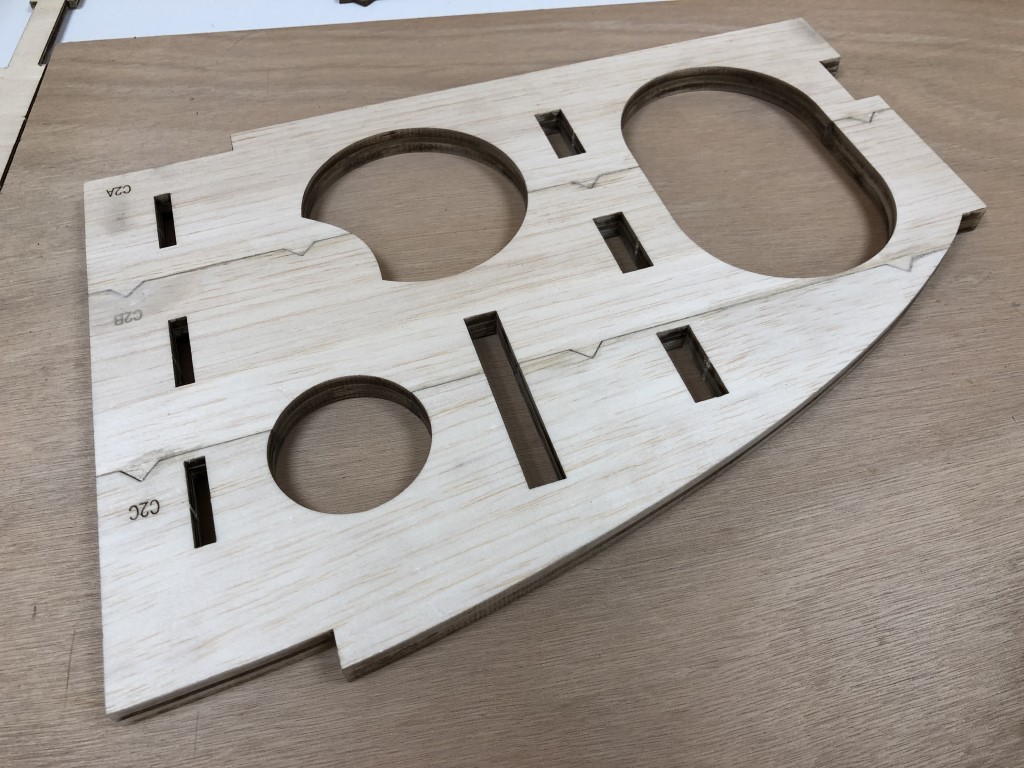
It took quite some time to get it straight and square, but it turned out nicely:
After some more sanding and cleaning up the surface, edges and glue residue, this part is ready for now:
I still need to build up a few more parts and then I’m ready to actually start building!