
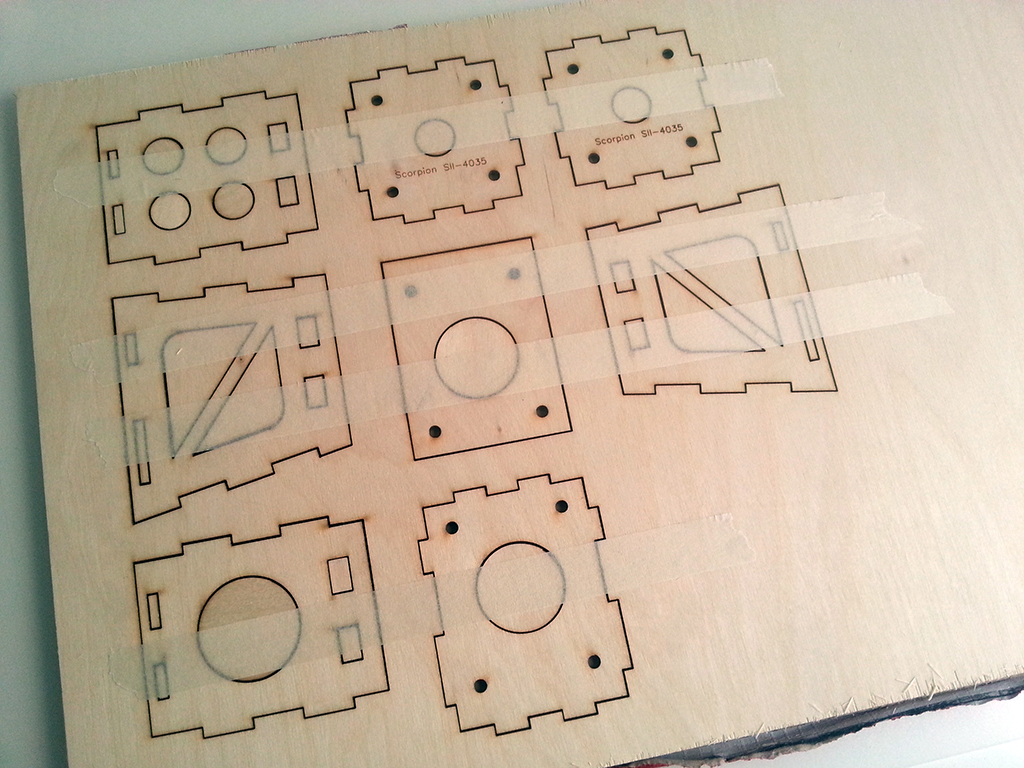
After cutting a prototype by hand I’ve changed the design of the motor mount slightly. The sides are cut out differently to save some weight and I’ve removed the cooling holes in the front for more strength. Also, the offset turned out to be too large and was reduced from 80 to 74.5 mm. Then I found that hand cutting didn’t deliver the results I’d hoped for and the plywood from the DIY-store wasn’t good enough (too much voids and hard to get clean cuts). So I decided to order my parts laser cut, which was easy because the design was made in CAD in the first place. I’ve added the motor brand and type engraved in the front, not only because it looks cool, but mostly because the front plates are the only parts where it’s difficult to tell which side is up.
Yesterday I received the parts cut by Laserbeest, only one day after placing my order! Looks good doesn’t it?
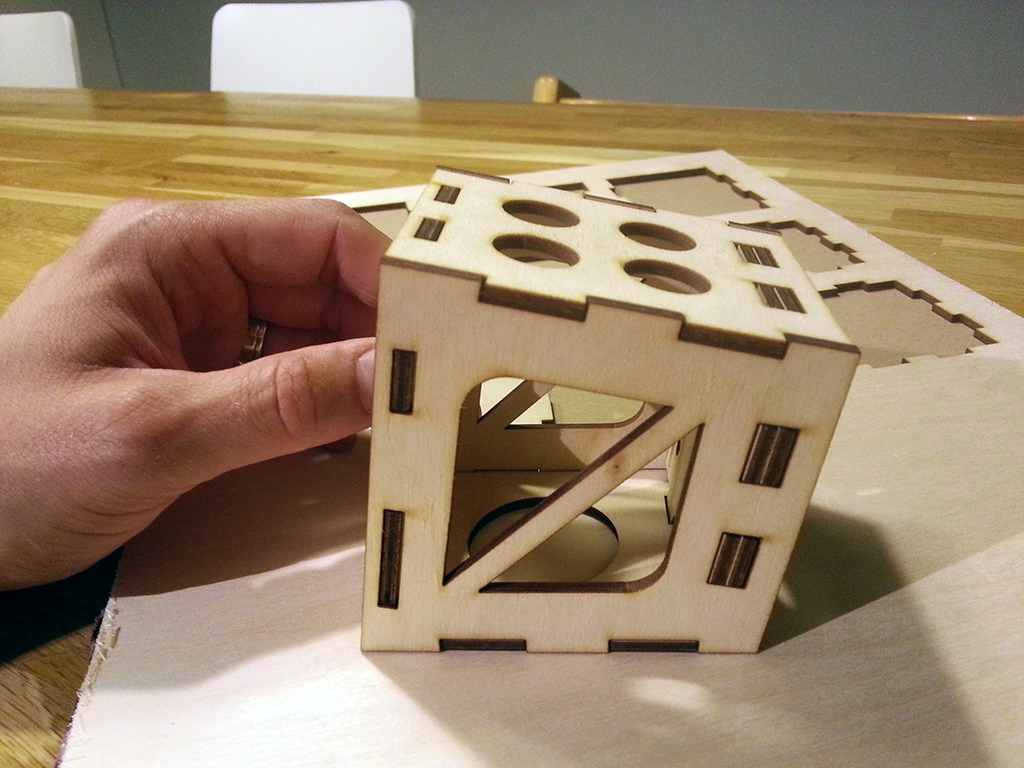
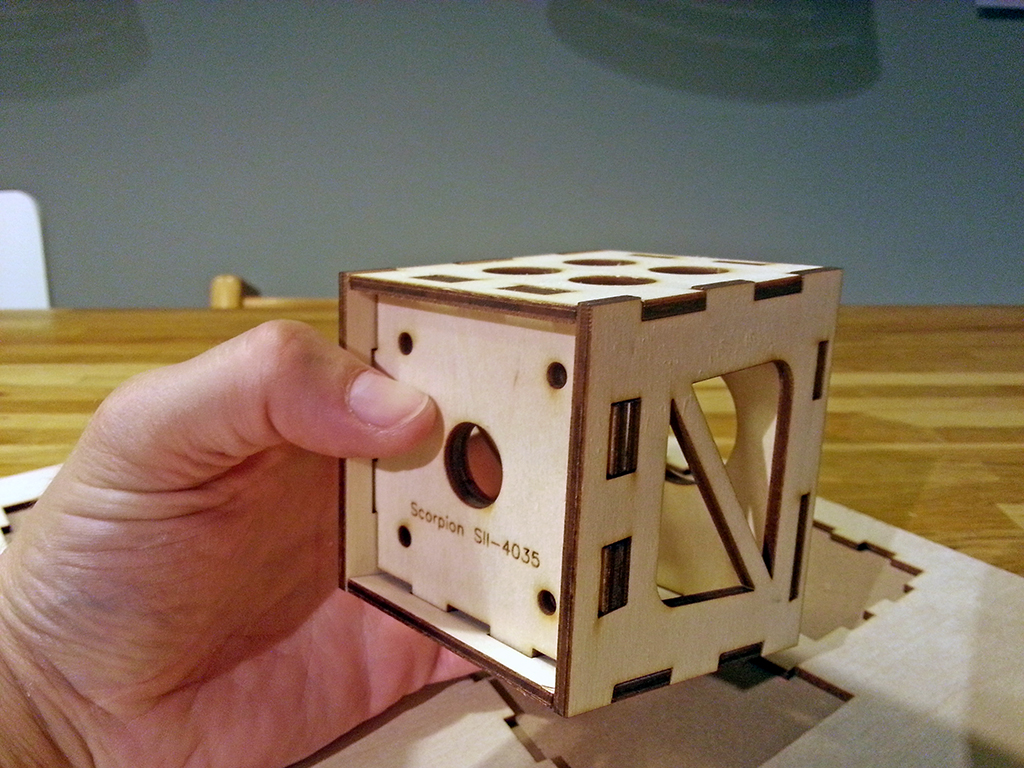
Because my design is interlocking, it doesn’t need glue to stay together in the direction of the pull of the prop, which lessens the change of ripping off the motor on a sudden throttle increase when a glue joints fails. All parts only fit in one way too, to make it fool proof to assemble. The exact offset for this application and the added one degree downthrust (I know this motor has way more torque than the adviced two- or four stroke engine as designed by Top Flite) make it a breeze to install. I hope the tapered design adds to supporting the relatively heavy and large motor.
Here’s a dry fit of all parts, which went together like a dream:
I really enjoyed the process of designing my own parts, maybe I’ll design a complete airframe in the (near) future… this tastes like more! Now find some time to assemble and install this mount and continue building the Jug :-).