
After a little tweaking and fine tuning the hole in the spinner back plate, I got it nearly perfect. The plane doesn’t vibrate anymore up to at least 75% throttle. On full throttle, there’s some slight vibration, but nothing serious. I might need to balance the spinner cone as well though.
But first, I wanted to finish the last steps of the build. One thing that was bothering me, was a bad solder joint in the battery harness for series packs I bought. I didn’t feel I could thrust these joints and after a little fiddling my suspicions were confirmed:
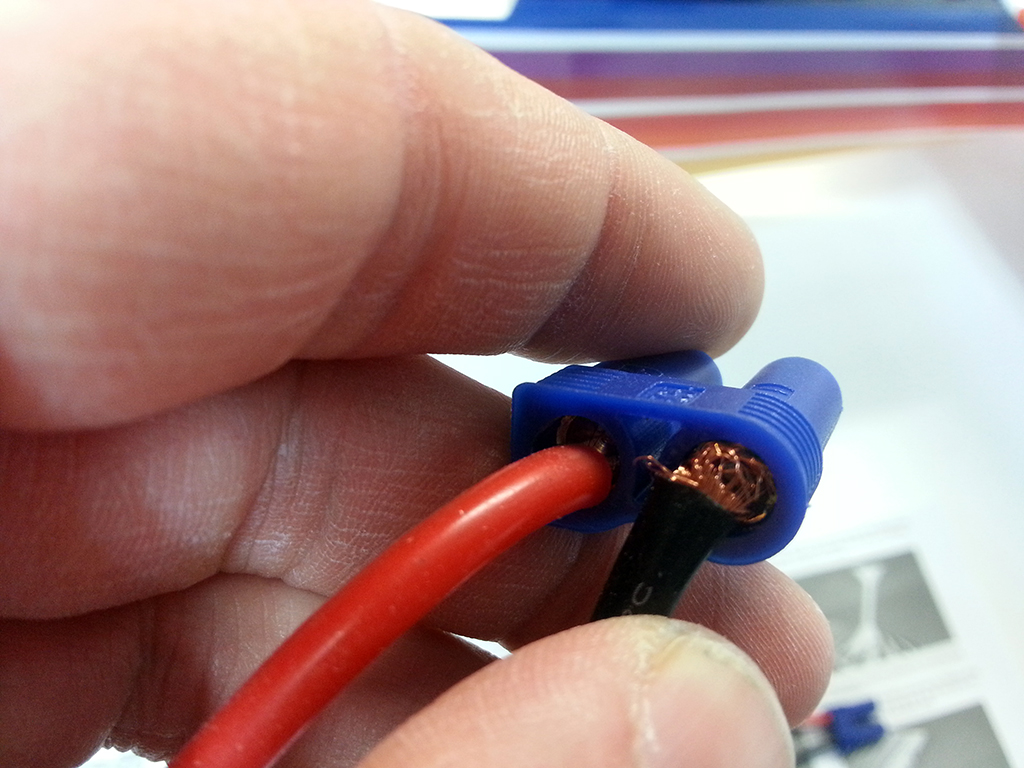
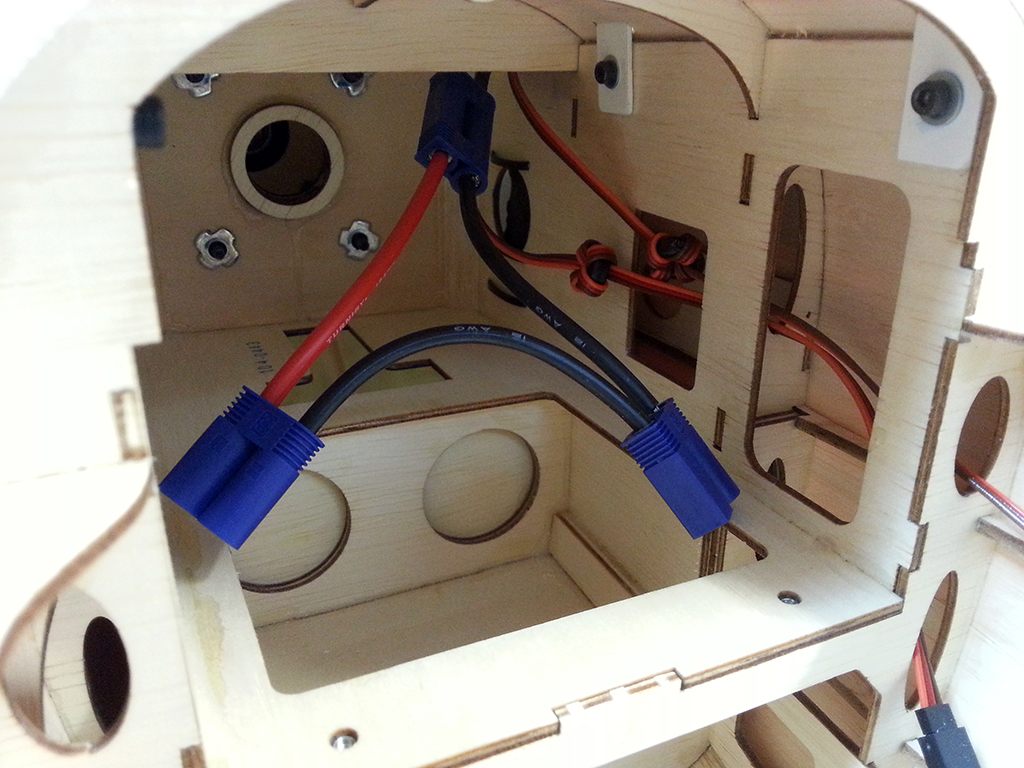
So I ordered a few more parts and made myself a new one with solder joints I could rely on. It’s also a little larger, so I could more easily reach the connectors when installing the batteries:
And then, I only had to install the wings and connect the ailerons of the bottom and upper wing panels. Per instructions I needed to slide them in, secure them with three machine screws (each bottom wing has one and the upper wings are connected with a screw too) and connect the servo cables of the ailerons to the receiver. But I was in for an unpleasant surprise. When screwing in one of the machine screws, which has to go in a pre-installed blind nut, the screw got stuck a little. I was sure I got it perpendicular to the surface in both directions so I continued with some more force applied. Then, it got stuck completely and the blind nut came loose, starting to turn with the screw.. this is bad. I couldn’t see or reach the blind nut, as it was pre-installed in a now hidden spot. I couldn’t reach it with pliers or so and there was no way the screw wanted to loosen up.
I tried a lot of things to get it out. I had to. The screw wasn’t fastened completely, but my wing was on… so this way I couldn’t transport the plane and I couldn’t fly it… I tried to drill the screw out, but the drill bit hardly made a dent in the hardened steel of the machine screw. The only solution I saw to literally save my plane was to cut the head off of the screw using a grinding disk and my Dremel tool.
The grinding made a mess inside my fuselage, but eventually, the head came off and the blind nut fell out. But I couldn’t prevent the washer from getting launched when I hit it with the grinding disk… it became so hot, it fell right through the covering on the bottom of the fuselage!
When the blind nut was out, the cause of all this became very clear. When installing the blind nut in the factory, the little barbs on the blind nut just folded inwards. This caused it to start turning, but this also made the blind nut going in in an angle, which was the reason my machine screw started binding in the first place.
I couldn’t use the blind nut anymore, since the thread was stripped, so I temporarily installed the wing using a regular machine screw and a butterfly nut. I then fixed the hole in the fuselage with an all white decal cut to size. You can imagine I wasn’t too happy with this crappy blind nut installation job.
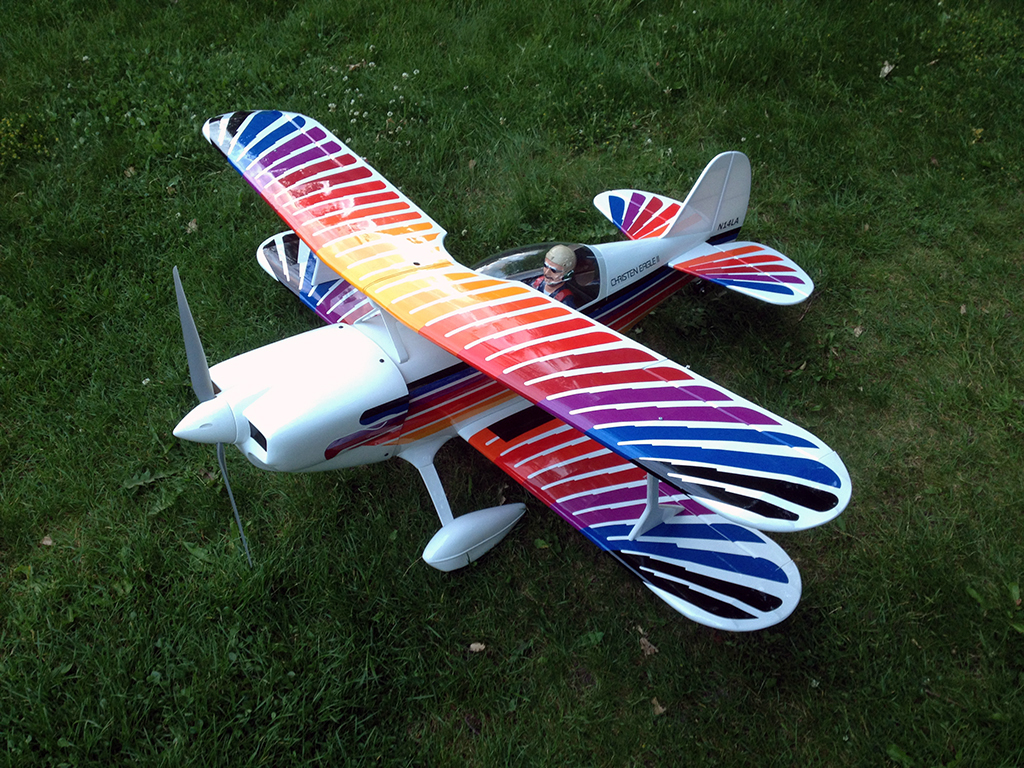
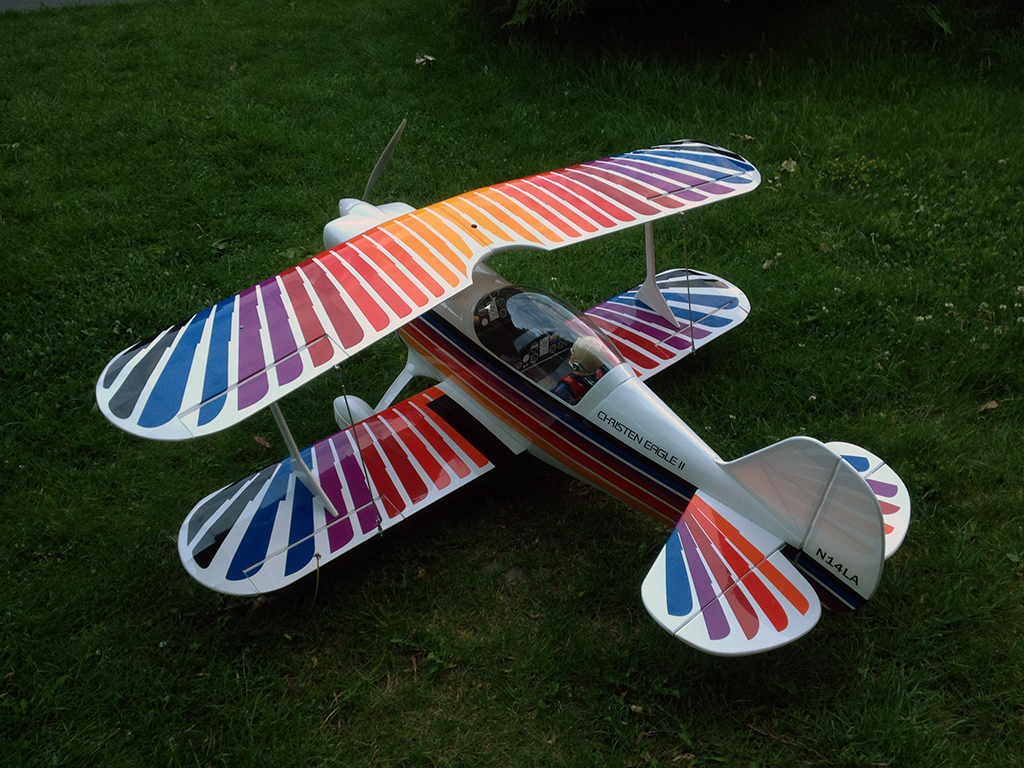
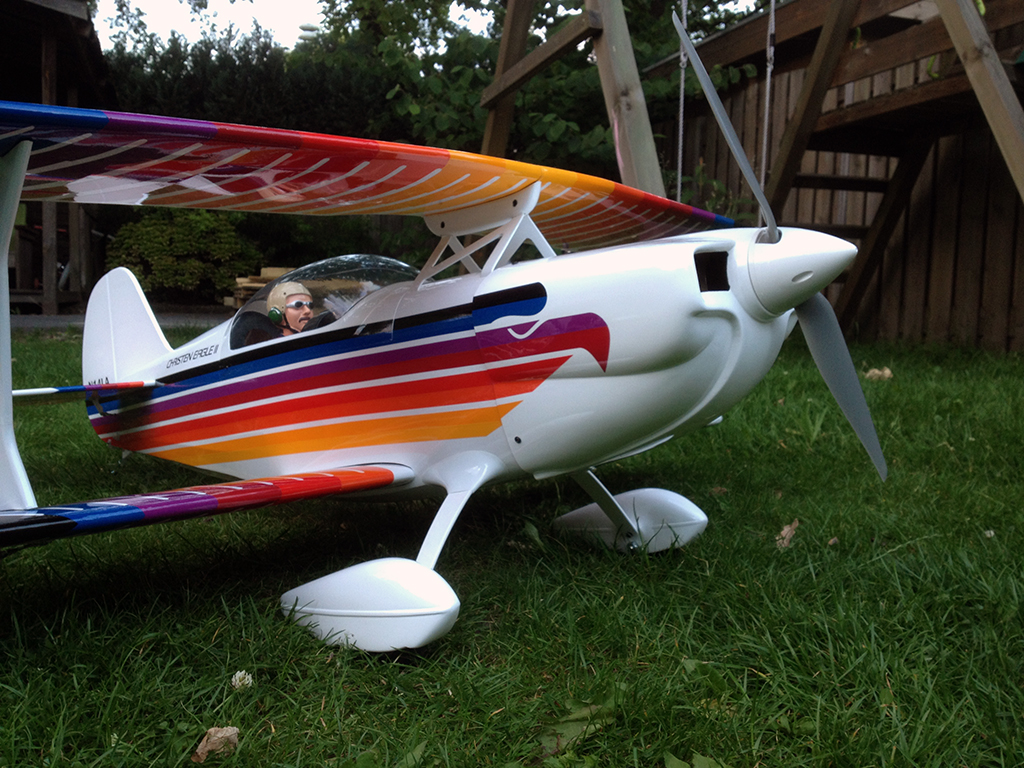
After having tackled this issue, everything went smooth again. The wings are on and I’ve assemblded the push rods inbetween the ailerons. And that was the last step of the building process in the manual. So today, only 18 days after I started ‘building’, I have finished my Christen Eagle II!
The CG was rather accurate straight away, but I will check again tomorrow and use some hook and loop tape to fix the batteries in the right place. The last thing left after that is checking and programming all control throws and maybe dialing in some expo.