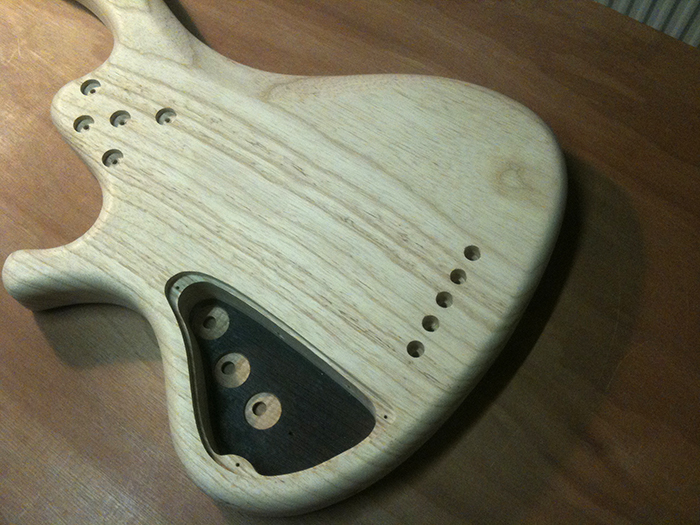
I’m happy! Why?… Take a look at this:
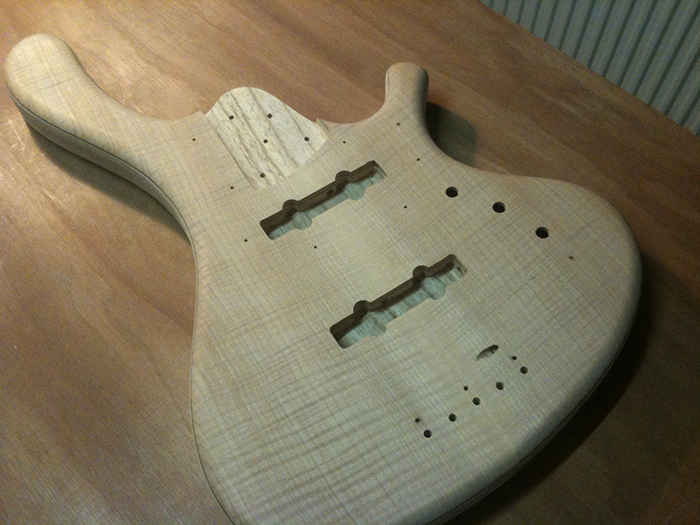
And at the front:
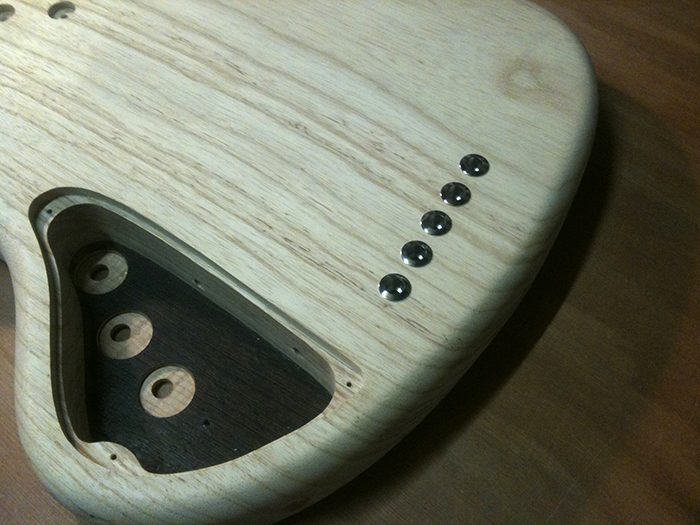
This was by far the scariest task of the hole building process, even more than the bridge grounding wire channel… of course I practiced my intended method first, but still, it’s scary. So you can imagine I’m very happy with the outcome! The holes are aligned perfectly and the distance between them is als equally devided.
I marked the locations at the front, measuring them to check distance and alignment, and drilled 5 mm holes (not completely through, about 1/3" shy of the back of the body). This went well, and it has to, because this step actually determined how the result would be in the end; this step determined the precision of the alignment and the mutual distance of the holes.
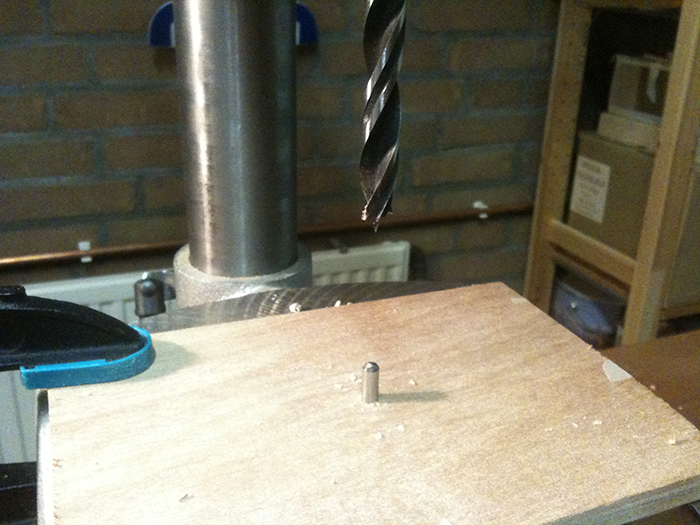
After that I removed the body and drilled the 5 mm bit completely through the board that served as a drill press table extension. Then I simply put my 5 mm in that hole and put an 11 mm brad point bit in the drill press:
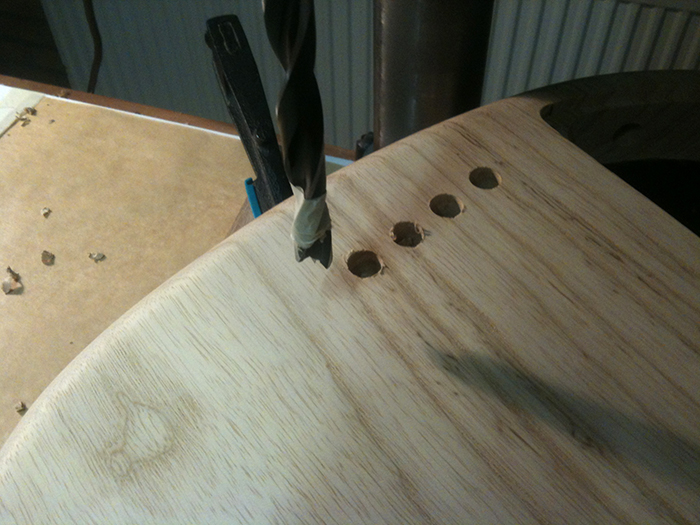
I flipped over the body, put it over the back end of the 5 mm drill bit with the freshly drilled holes and lowered the 11 mm drill bit, without any evidence it was in the right spot, sweat it my hands and shaking nervously (hardly exaggerating). After four holes I gained some confidence:
Luckily this method turned out to work very well and actually it was quite simple. Anyhow, I’m glad it’s over . Here’s a shot with the ferrules in:
So that’s it. All holes are drilled. Now back to the neck profile! Though I’ll have to be patient, because I can’t get any shop time in the next four days or so…

