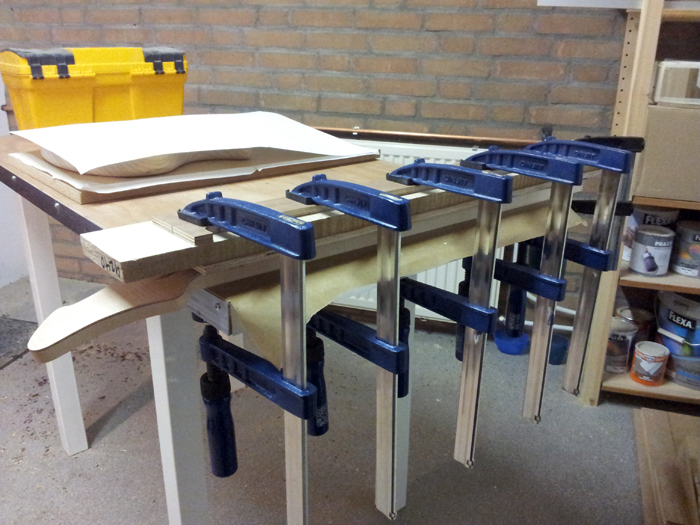
Today I made the second cut for the nut and I’ve routed the fingerboard ending towards the headstock. Then, I spent some time to perfectly align the board to the neck and made a fixture to hold the neck for drilling the alignment holes. I solved the problem of not having the right drill bit for the size of nails I have by simply drilling the hole with a nail. It works like a charm, wouldn’t have thought it would, but it does . I used 1.2 mm nails through the nut area and the 24th fret. Then I covered up the truss rod (which is just sitting in without any glue, kit or tape, except the plastic tube around the rod that came with the TR) and put some Titebond on the neck. I removed the tape and put the fingerboard on, aligning it with the nails. I’m very pleased and happy using this method, because there’s absolutely no moving around. Here’s the neck and fingerboard with some clamps on it:
After about one hour, I remove the clamps and clean everything up. At this stage, the glue has set, but the excess is still easy to remove. I also removed the nails at this point. Here’s before removing them:
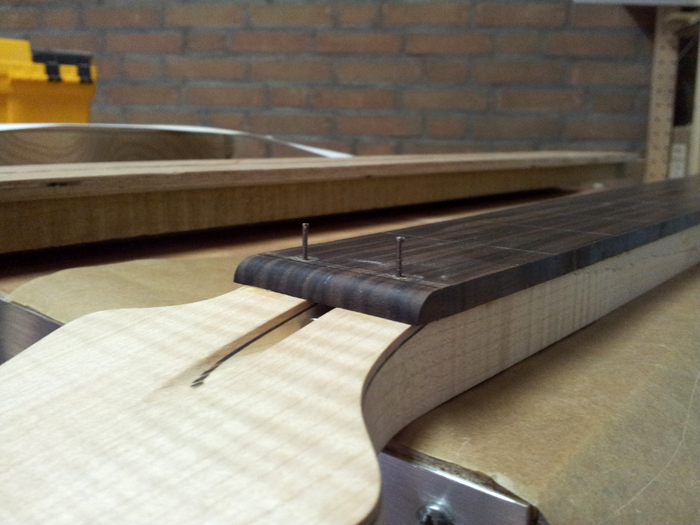
And after I removed them you can see the result of the fingerboard end at the nut, with the TR slightly protruding. I’m satisfied with this result. The little holes will be gone after putting in the nut:
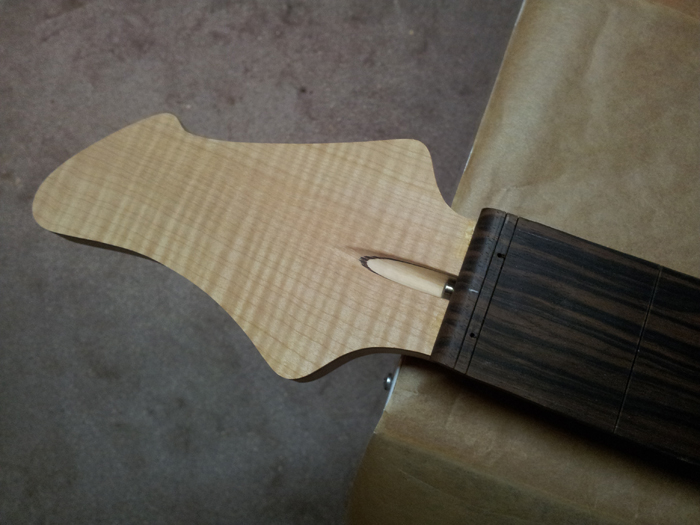
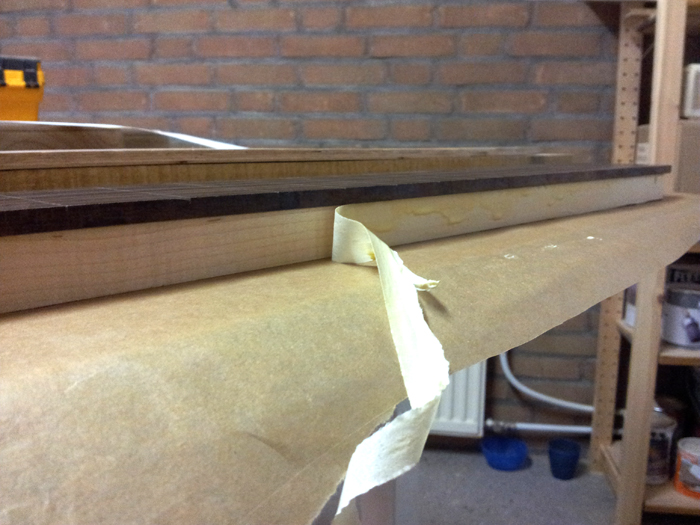
I also put tape around the neck before glueing, so I can easily remove excess glue afterwards. A great tip I’ve got a long time ago and I always use it. I hate sanding of excess glue if I don’t have to:
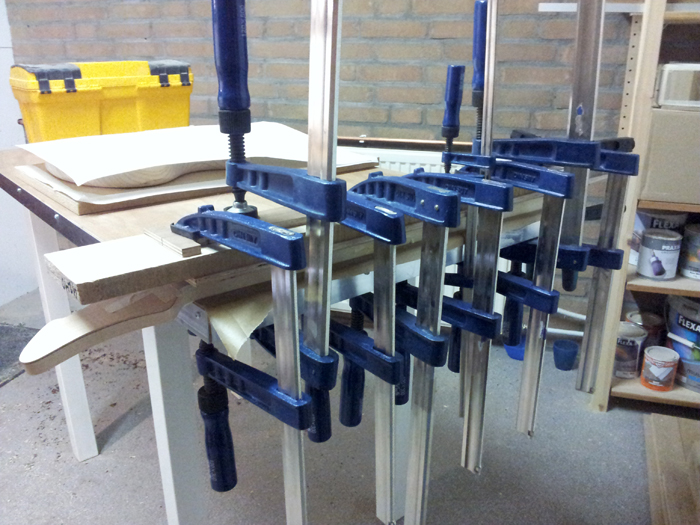
And after I’ve cleaned everything up, I put it back into the clamps so the glue can cure completely over night. I had a slight forward warp in the neck, so I made sure I clamped the sandwich (first time also) to a flat part of my workbench. As far as I could see it already helped a bit. So with the clamps back on, I can get some sleep now :-).