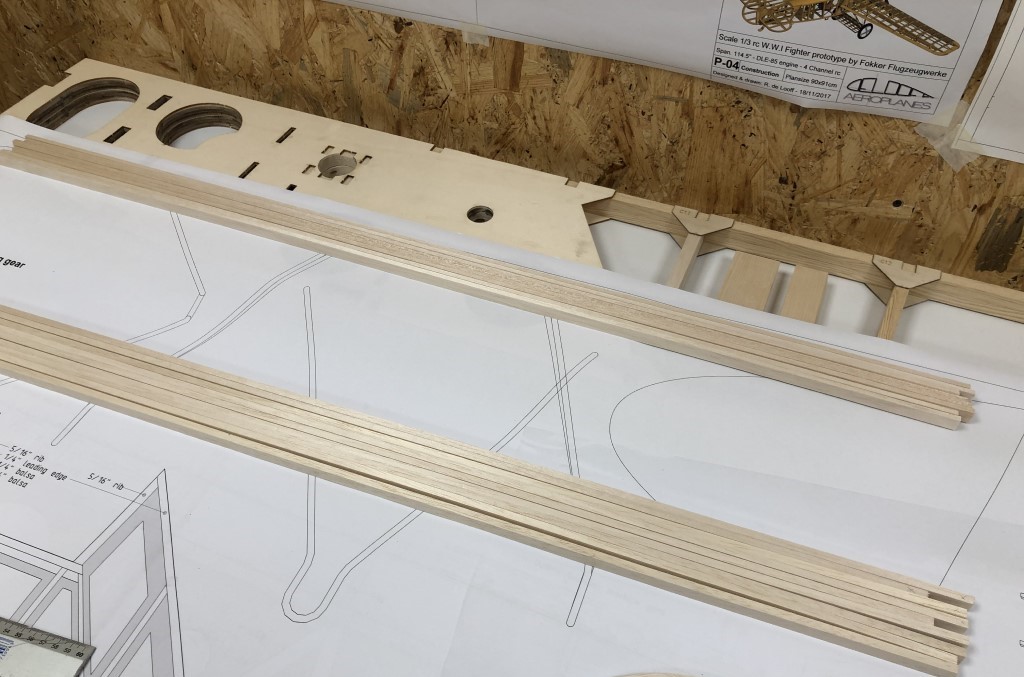
To take a break from the (for me) challenging metalwork I decided to start working on the tail-feathers of this bird to keep some progress in the woodwork as well. A fun and relatively easy job without any dependencies on other parts of the build that would complicate things (like fuselage vs. landing gear or fuselage vs. engine/exhaust). Construction is straight-forward: balsa ribs over a ply core. Only the ply is pre-cut, you have to scratch-build the ribs. There’s two widths: 1/4″ and 3/16″. All ribs are 1/2″ high. That’s why I used the balsa cutter to cut 1/2″ wide strips out of balsa sheets with a thickness corresponding to the two widths:
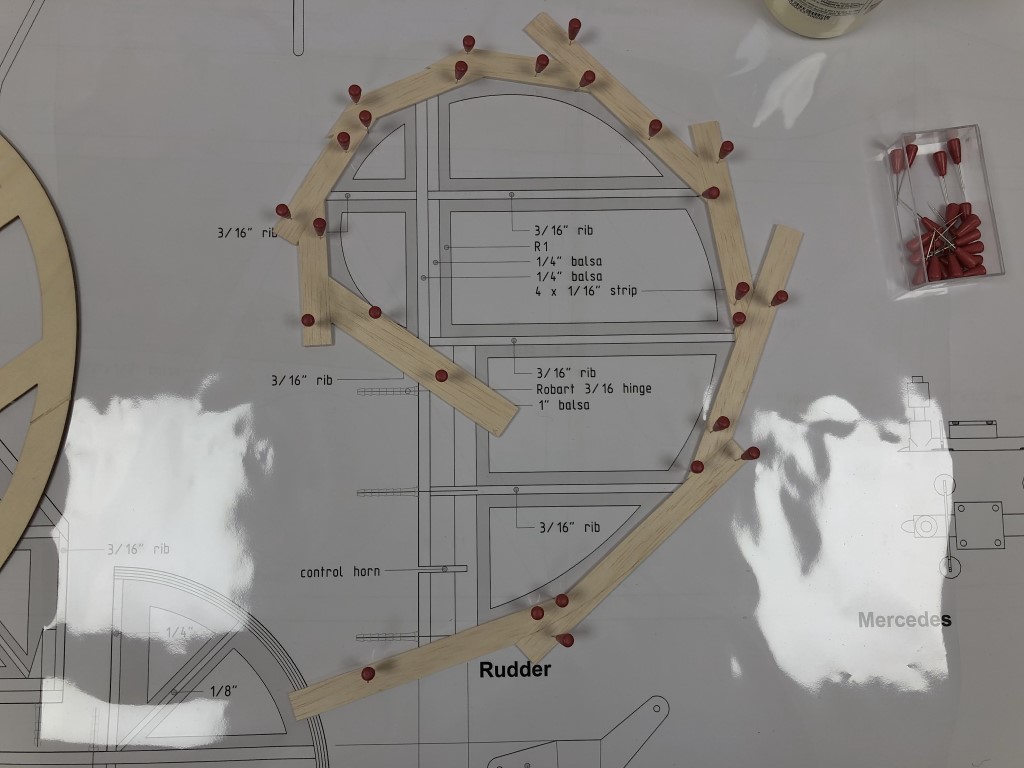
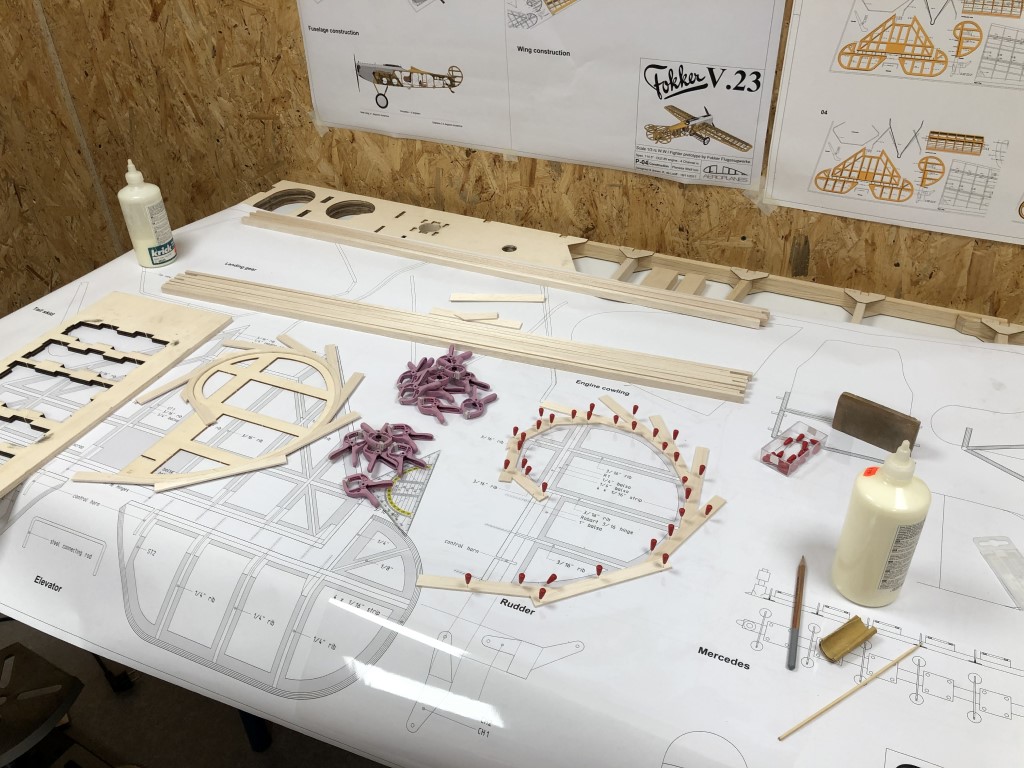
The edges of the rudder should be bent out of 4 layers of 1.5 mm thick and 3 mm wide balsa strips, on both sides of the ply core. So this bent edge lies on top of the core, not around it. The advantage of this is that the rudder will be less vulnerable for hangar rash with its strong core, but bending such small strips of balsa and gluing them sideways nice and flat will be challenging. Also, it doesn’t add much to the strength of the construction, as it would do when using the more conventional bent ply edge around a full balsa rudder. This reversed approach is however quite easy to build while still being strong and light. So, I decided to drop the idea of layered bent edges and went with gluing strokes of balsa around the nautilus shaped curve of the rudder to keep the grain in the right direction:
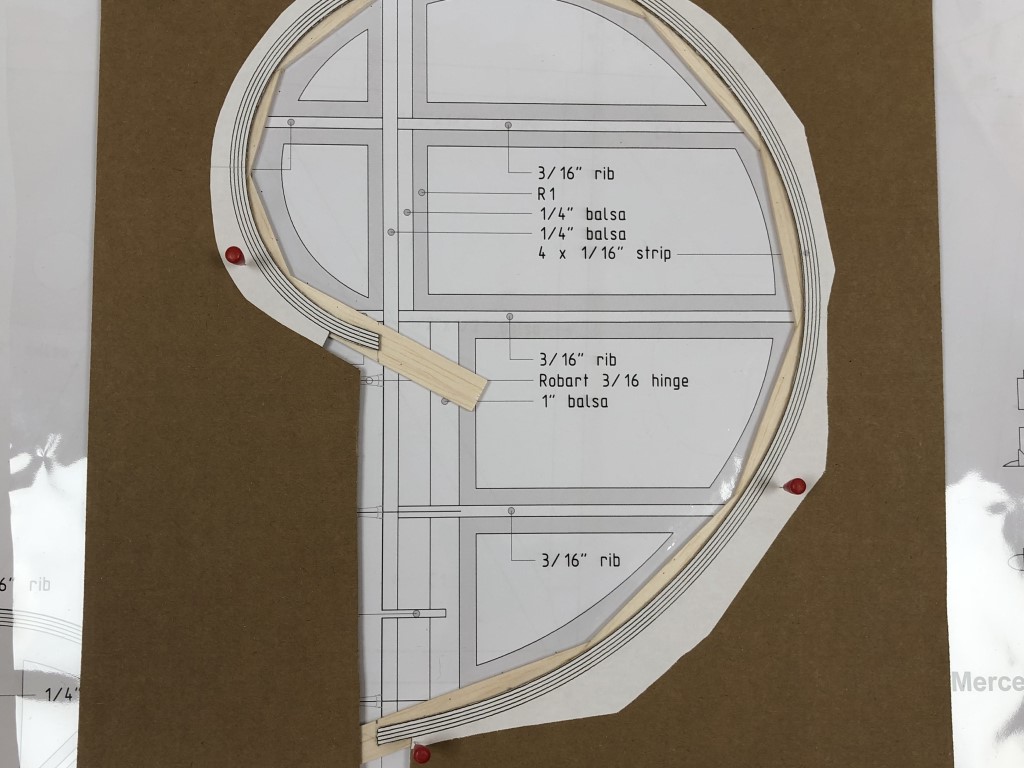
Then I’ve made a template from an old set of drawings and cut the inside of the edge:
And after carefully aligning the piece on the core, I’ve glued it using some scrap plywood that is thick and straight so to keep the rudder absolutely straight while the glue sets:
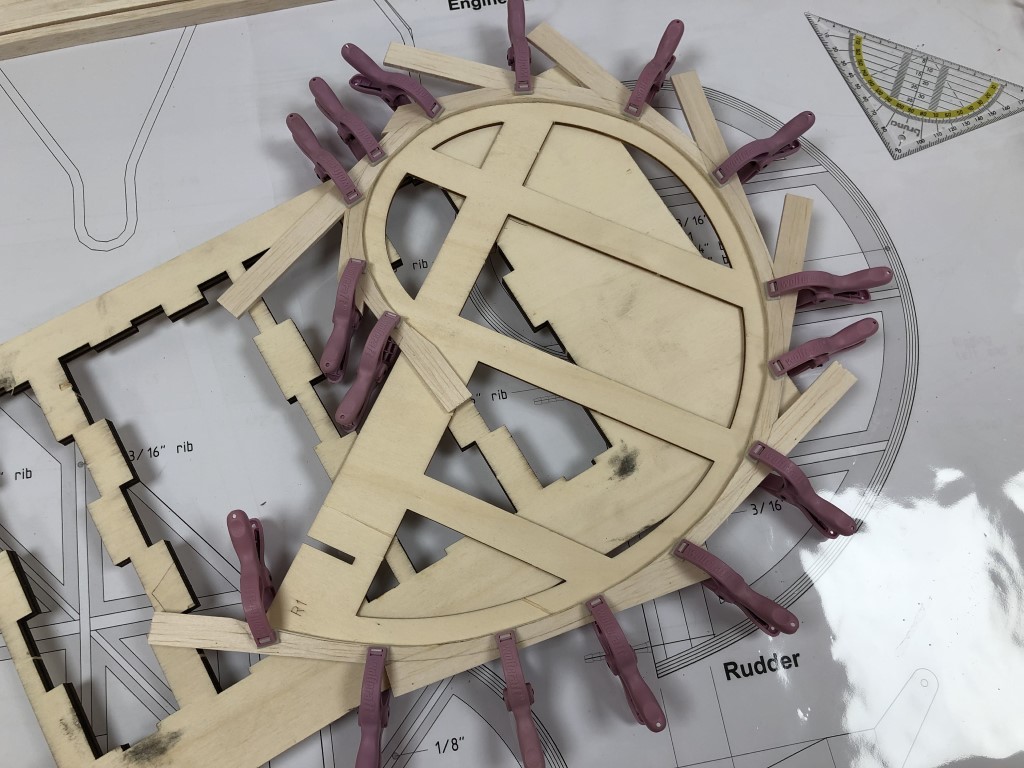
And one for for the rudder, enjoying the process:
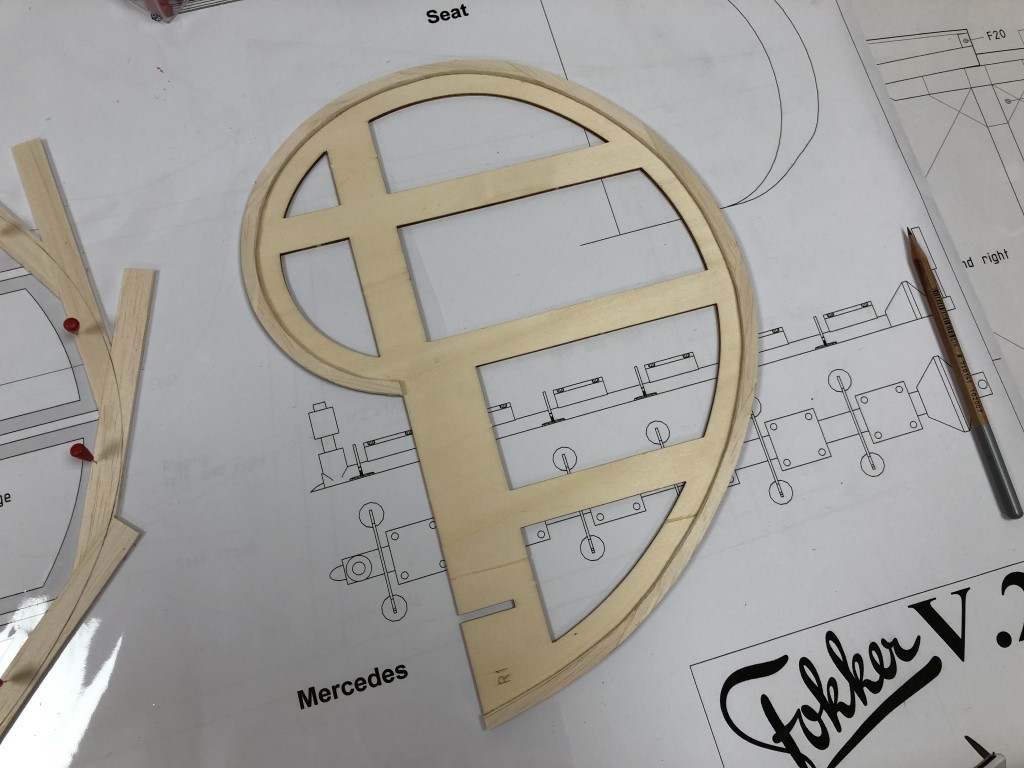
After cutting away the excess wood and sanding the edges I’m quite pleased with the result (and strength already). By the way, in the end this edge will be rounded to mimic the original tubes the rudder was built with:
Onto the ribs! The all are 1/2″ high in the center and slope towards the edge. Easy job, cutting them with the saw upfront and gluing them after sanding to a perfect fit:
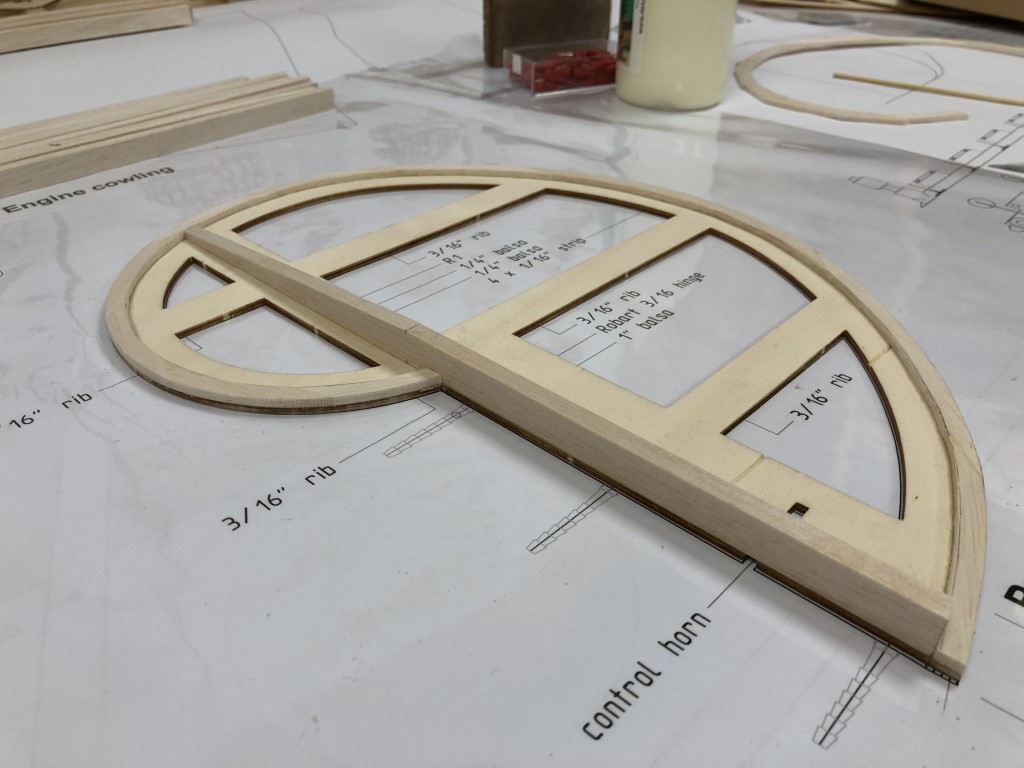
And one more, the rudder already is incredibly strong and still very light weight:
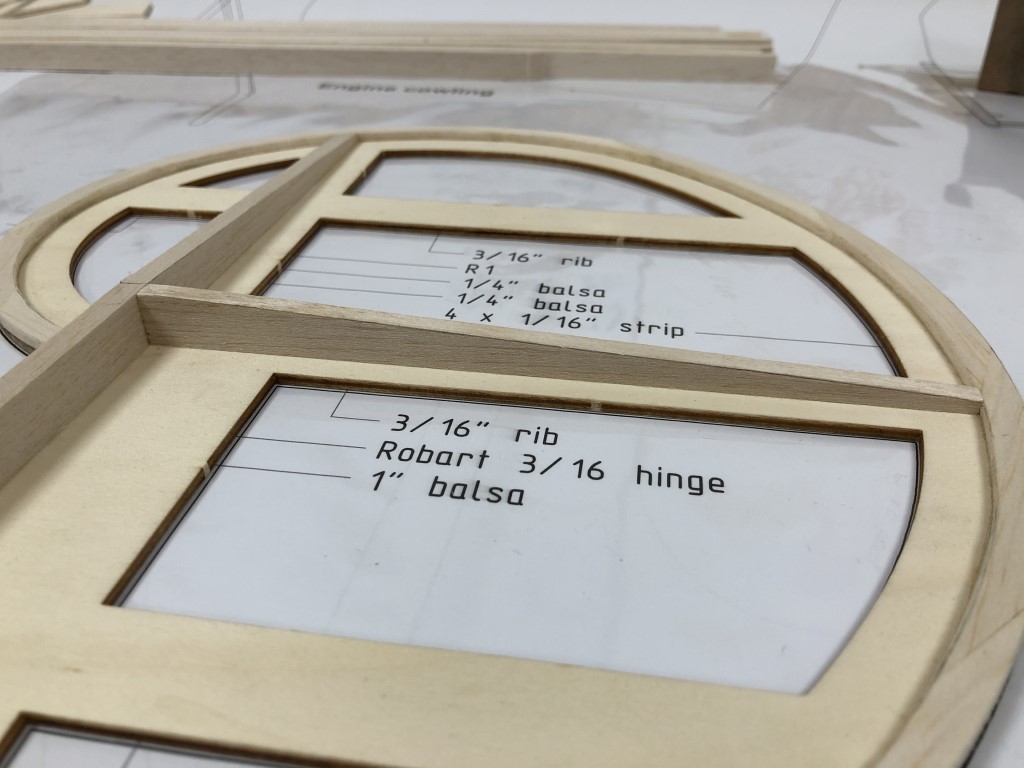
Now just finish all the other ribs, the other side of the rudder, and of course the enormous stabilizer and elevators. To be continued!
