Another pic heavy post, to report about the second part of the finishing adventure of the Paradox… Where the first part went smooth as planned, the second one was one of trial and error. Unexpected things happened and, so it turned out, I had to fix the consequences of a deviation from my test piece in the first part of the finishing.
I started with sanding back the black dye. This step proved to be rather difficult, to get an even shade on the low and high spots of the figured maple. Also, because I applied a well concentrated layer of black stain, I had to sand considerably more and longer than with my test piece. But, the result, at least to me, looked promising:
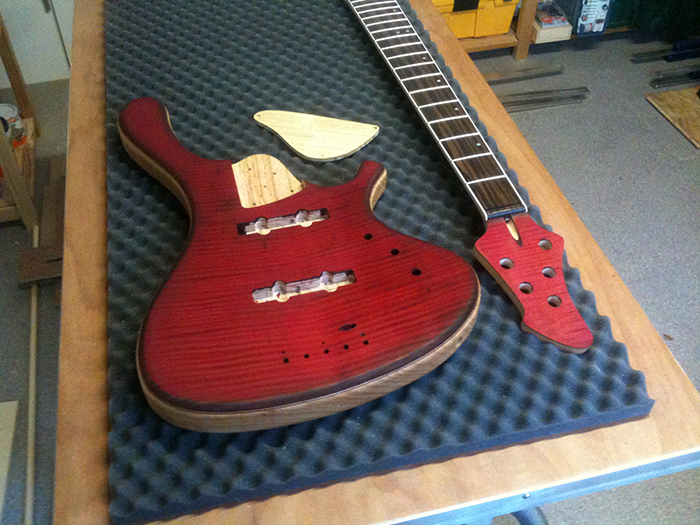
But while applying the red stain, it already became apparent that there was way too much black in the mix. It made the red a lot darker and when dry, it looked like this:
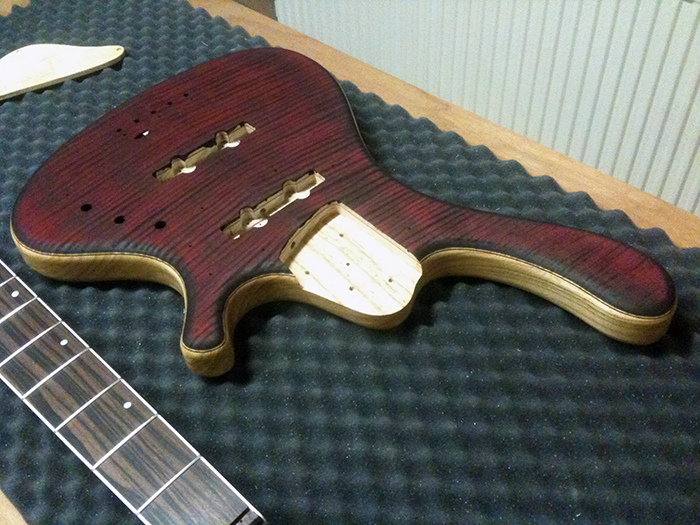
The edges look nice, the burst and flames too, but the colour is way too purple and dark compared to what I had in mind. Also, there are black patches on the top where the concentration of black is somewhat higher, making the finish irregular. This lead me to the conclusion that I used a too high concentration of black staining powder when I made the black dye. This is where I deviated from my test piece, intentionally, because I wanted a more pronounced figure. I should have really tested this change before applying it to the bass, but I didn’t see a reason why it wouldn’t work. Now, I do.
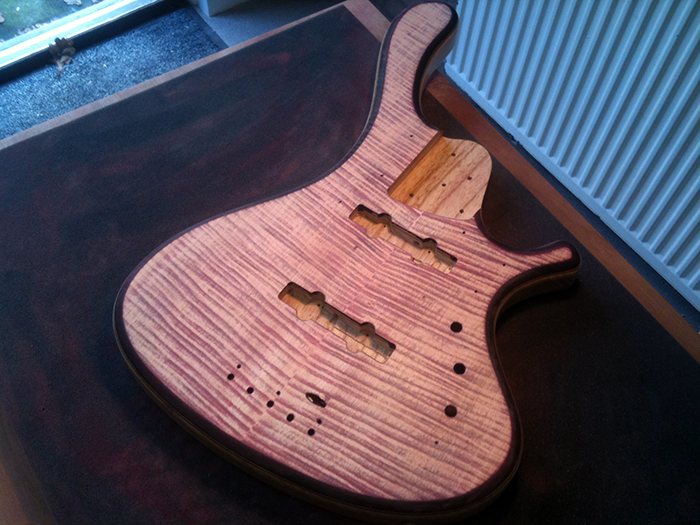
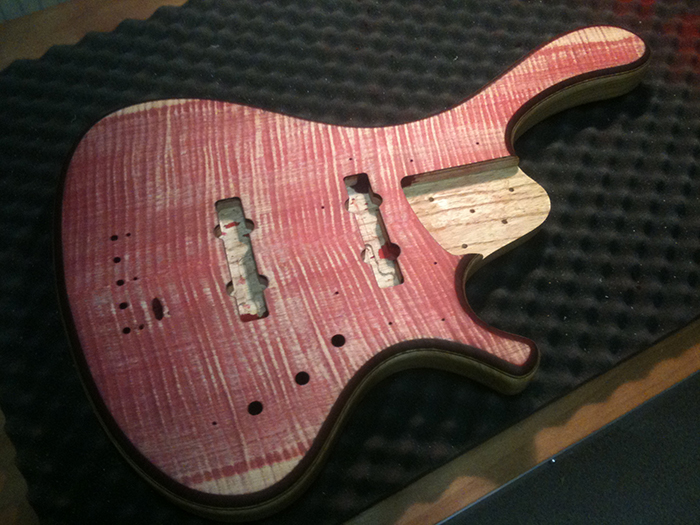
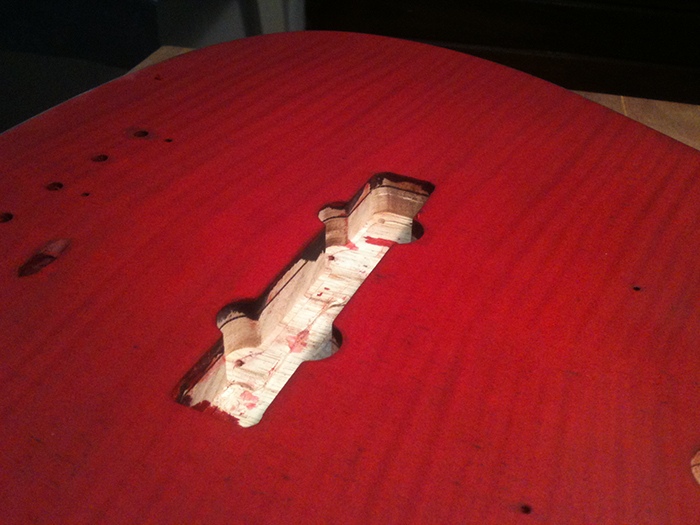
So I decided to sand back the top, again. As you can see, I went further back than the first time, and the colour in the grain is more red than black:
Because I didn’t see much black in the sanded back top I thought this would be a far better starting point. I applied a new layer of red stain:
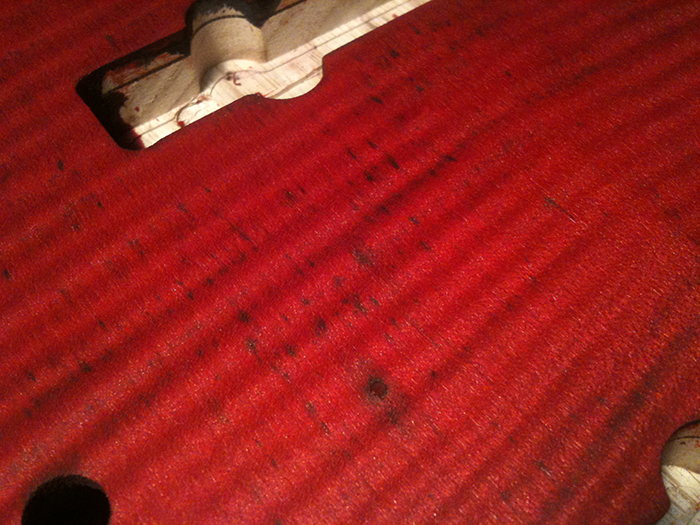
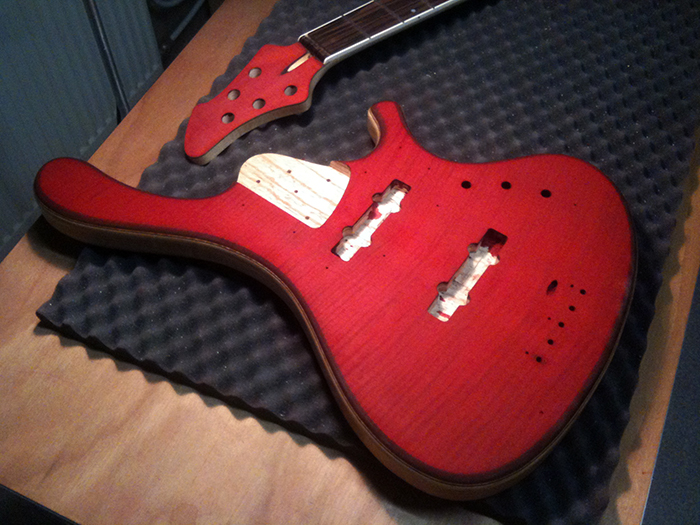
Right after applying the stain, everything looked great! But when the top started drying, the black pulled out, creating little black dots. I found out I could work them out by polishing the top some more with a stain cloth, but they kept coming back each time. Because I worked the top a lot more than intended, the black started mixing with the red again, so I ended up with a darker and more purple red than right after applying the red stain the second time. Anyhow, this second attempt came out way better than the first one:
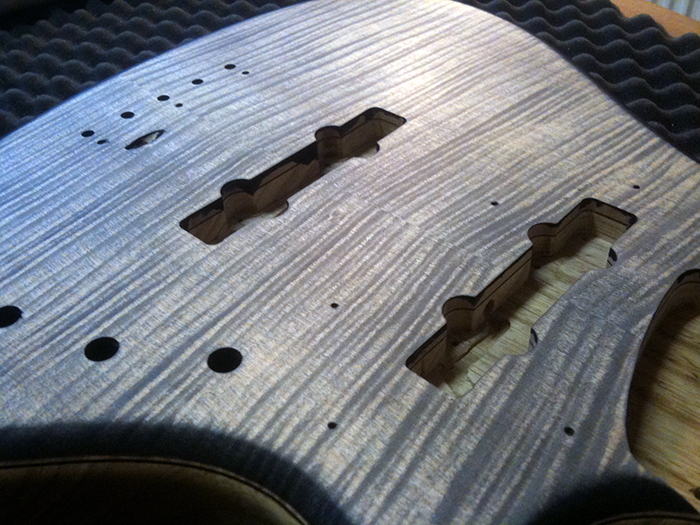
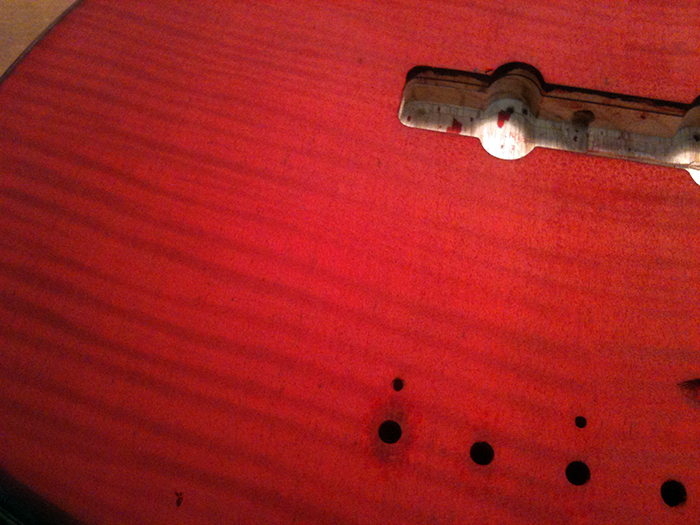
But, on close inspection, you could see the black spots were still present:
It’s very hard for me to understand why this happens. A lot of people use this technique, also for the first time, and I never saw this issue mentioned before. After much analyzing I suspect that this is also the result of the rich black stain mixture. If black powder particles, still undissolved, reside in the lower areas of the grain, they will be activated when the wet red stain hits the wood. Not immediately, so right after applying the red stain everything looks great, but when the black particles slowly dissolve as the red stain dries, little puddles of black stain appear, creating these ugly blemishes. Remarkably, the black dots could only be seen at daylight.
I thought about it for over a week and decided I couldn’t live with the result. So I took a deep breath and sanded the top back again:
As you can see, there was no need to go back as far as last time, because the amount of black already got to a minimum. Also, you can see plain maple streaks on the far ends of the top on both bass and treble side. This is a difference in flame and grain that’s part of the natural figure of the wood. I also saw this in the first passes and sanded those areas less to hide them, but I now discovered than the difference in height became too much and I also learned from the previous steps that this difference in figure didn’t really show after staining, so I decided to sand it flat this time.
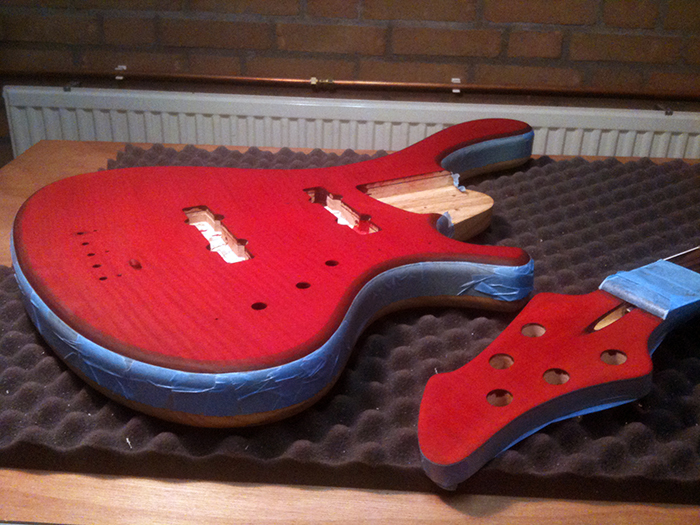
To get it right this time I decided to change a few things: I used a smaller cloth to apply the stain, with less water, so the top dried quicker, not giving the potentionally left behind black powder particles to dissolve. Also, I made the red mix a lot more concentrated. This proved to be a good decision, as the top, once dried, looked far better than my earlier attempts:
The figure is more subtle than planned, due to the black being removed along the way, but I actually like it thus far and the varnish will make it pop some more in the end. As you can see, these close ups show that the black spots disappeared to the bare minimum and the high exposed shots do show a good enough result to proceed with:
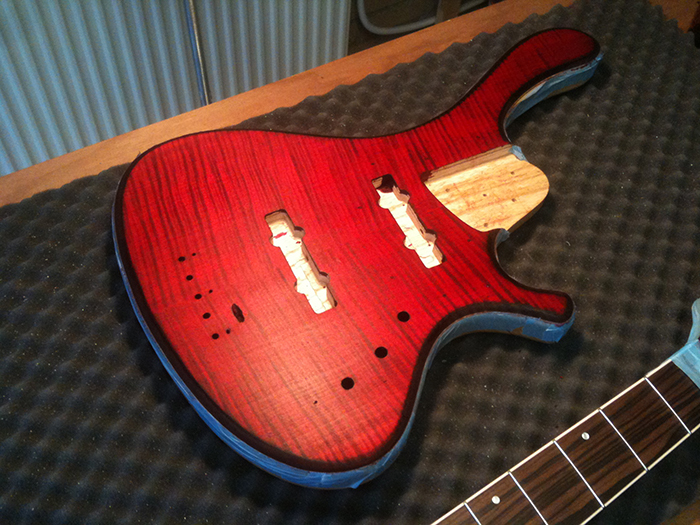
I am happy with the result, guess that third time lucky applies once again.. so I masked the bass partly to apply varnish to the top only this time:
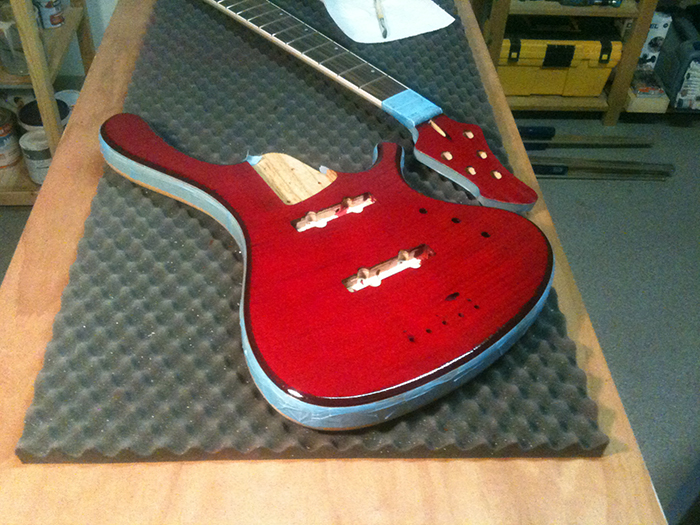
And hit it with the a first coat of varnish:
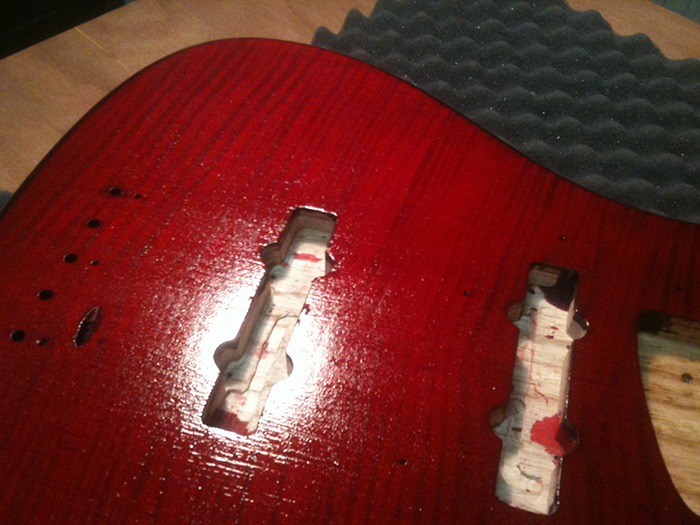
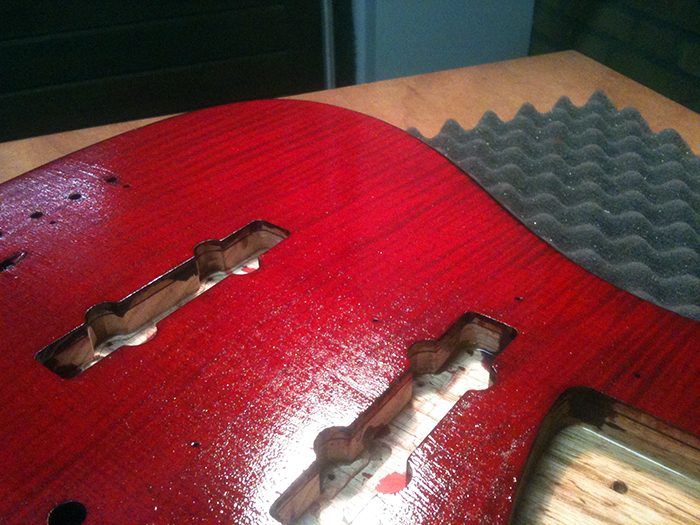
Cool! This is going to look nice. Here are some close ups of the flames, which are more clear than I thought they would be, but more subtle than initially planned. Frankly, I like this better than my test piece after all:
Because I applied the varnish with a brush, you can see some streaks in the wet varnish, but that’ll even out due to the fact it’s oil based. The shine it has now, when wet, will also disappear partly when drying, but that does come back mostly by applying consecutive layers of varnish.
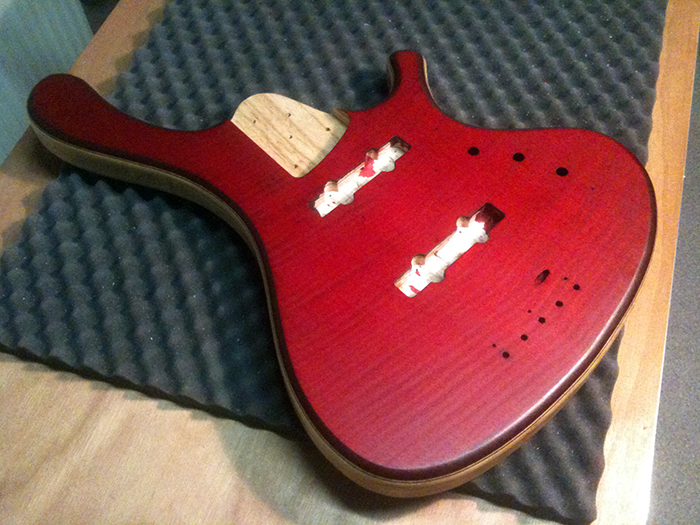
This is how it looks after a few hours, you can see it dried to a more satin finish, but very evenly. I’m happy so far!
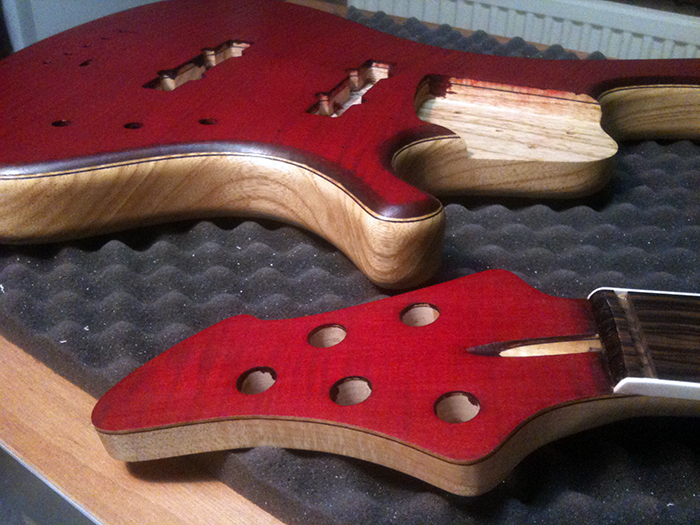
And a close up of all the laminate details both on body and headstock:
Next up will be the application of more layers of varnish, light sanding and buffing.

