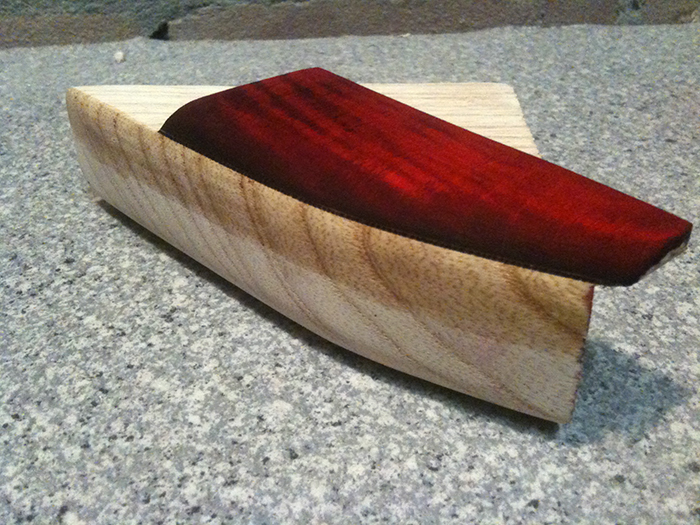
Time for another staining test! I learned a lot from the first one and needed to test my new ideas. So I sanded back my first test piece completely, removing all red and black stain. Besides the fact that this was easier than making a new body sandwich test piece, I also wanted to see how deep the stain went into the wood.
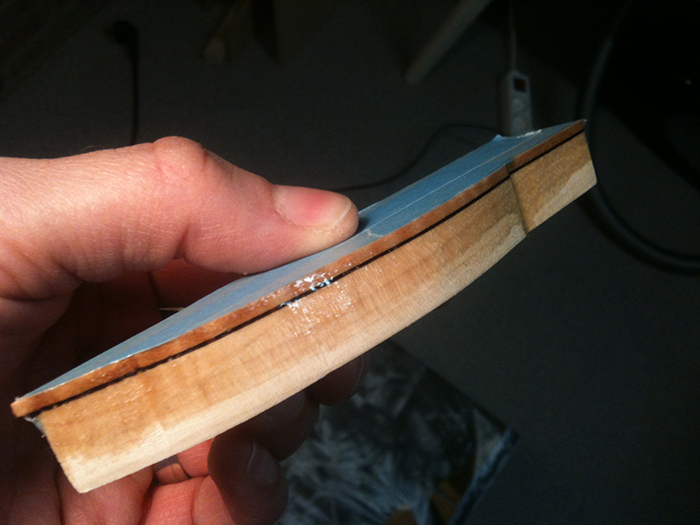
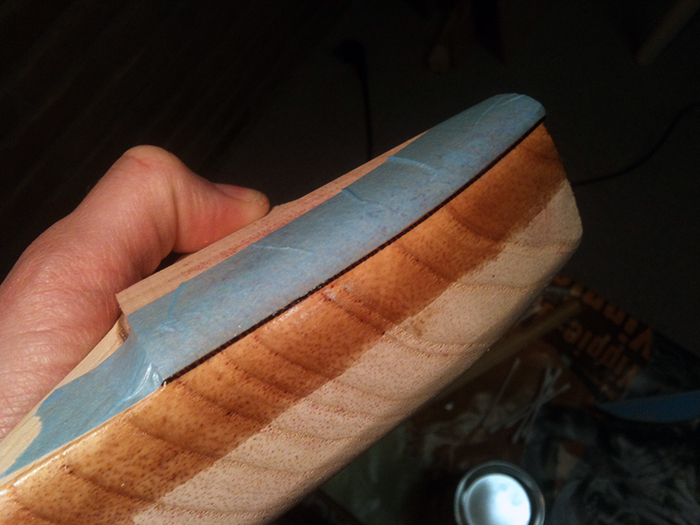
First I sealed the headstock and body test piece sides with PU Varnish. I also bought higher quality tape (thinner, more flexible to shape around the body curves, sticks better and less paper-like but the surface feels more like plastic, repelling water). I really rubbed the tape tightly against the wood and used Q-tips to seal the wood I don’t want to stain:
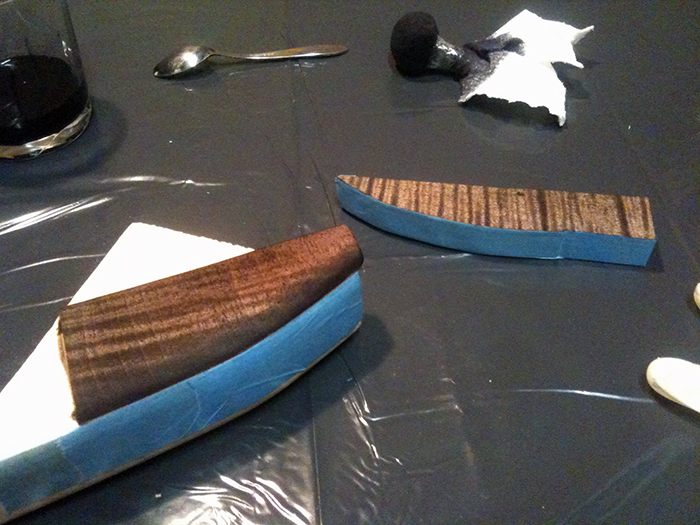
Then, after the varnish dried, I removed the tape and placed new tape over the varnish. I wet the wood with water so it accepts the stain better and stained the tops black. Really rubbed it in, also along the sides. I immediately saw a difference, the stain didn’t creep under the tape:
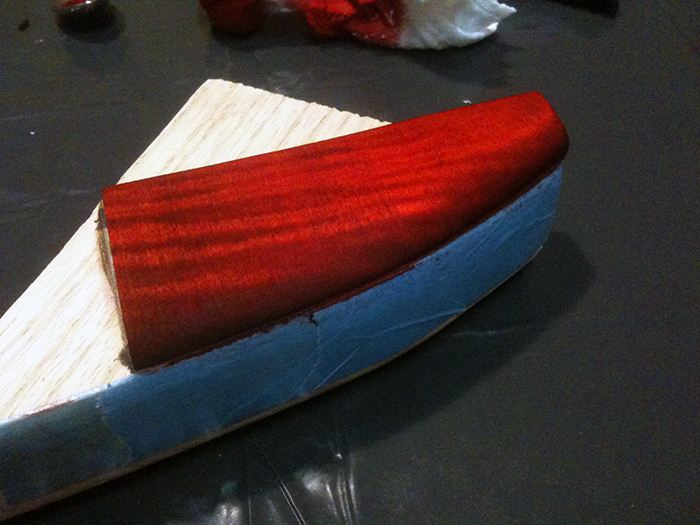
When this dried for about half an hour, I sanded it back. Then I made some red stain and stained the tops with bright red. I did not remove the black completely, to get a darker tint of red. I also left some more along the edges of the body, to get a very small burst effect along the sides:
I waited as long as I could (about 5 minutes) and removed the tape. I must say it’s a major improvement opposed to the first test. Didn’t expect it to be this nice after a second attempt! The only drawback of this colour scheme is that it pretty much hides the wenge accent line:
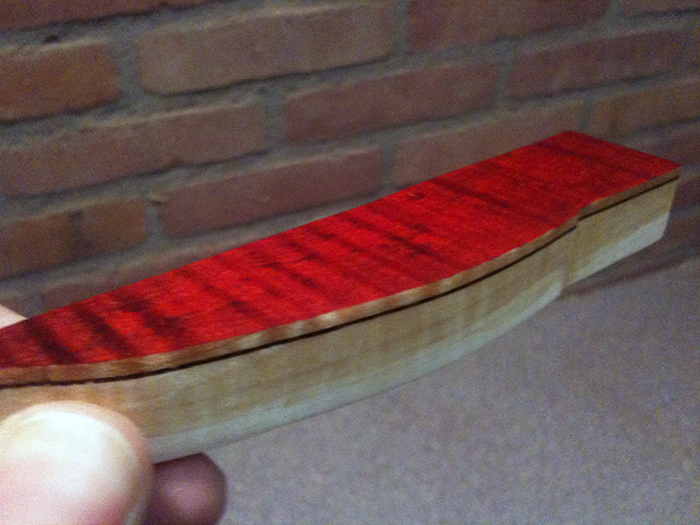
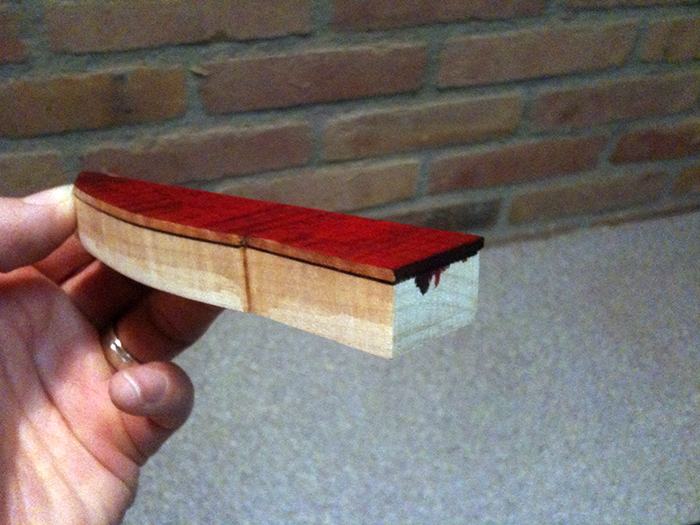
And the headstock test piece, exactly how I planned it – red top, natural maple side, wenge veneer and maple again. Cool!
And here you can see the difference between the varnished side and the unprepared side:
This photo shows the flames and gradient best (although the colour isn’t as bright as this, but (when dry) more towards a deeper maroon):
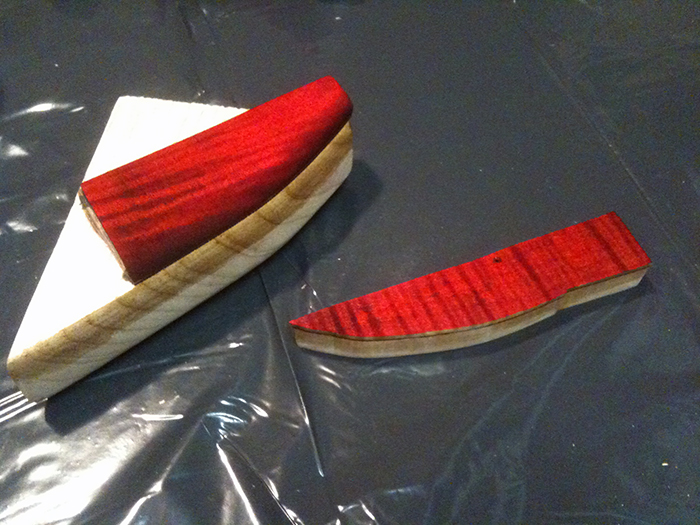
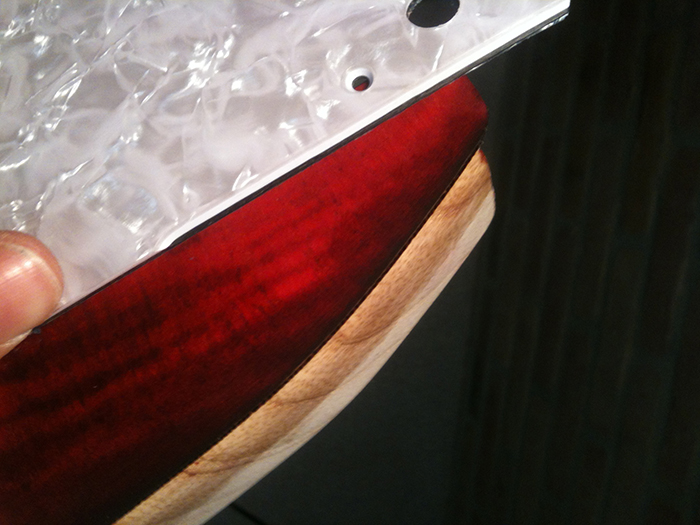
And one more thing I couldn’t resist, a shot with the pickguard material on the body test piece. This is going to rock:
There’s only one thing that needs to be sorted out before I can move to the real thing:
- The varnish is quite hard to sand back and even if you do so completely, it has filled the ash, making it impossible for the oil to penetrate into the wood. Thus I need to go for the varnish for the whole bass, dropping the oil, or I need to redo a test piece with the oil I want to use and see if it also seals the sides as nice as the varnish does. That way I can leave the oil on and just match the same number of coats on the front before I oil the entire bass.
- If I am going to use the varnish for the whole bass, because this technique doesn’t work with the oil (don’t no yet, but if), then I have to find out if PU Varnish is a suitable finish for a guitar. It seems quite thick and durable. Maybe it also has more shine to it than oil.

