Gluing the other fuse side

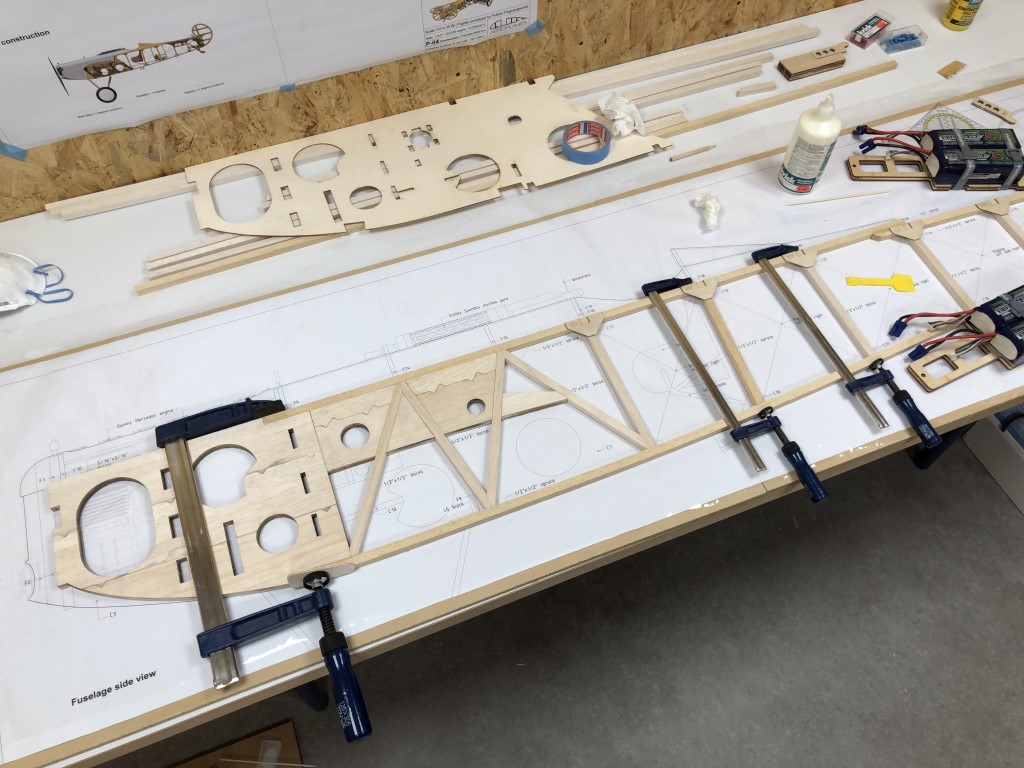
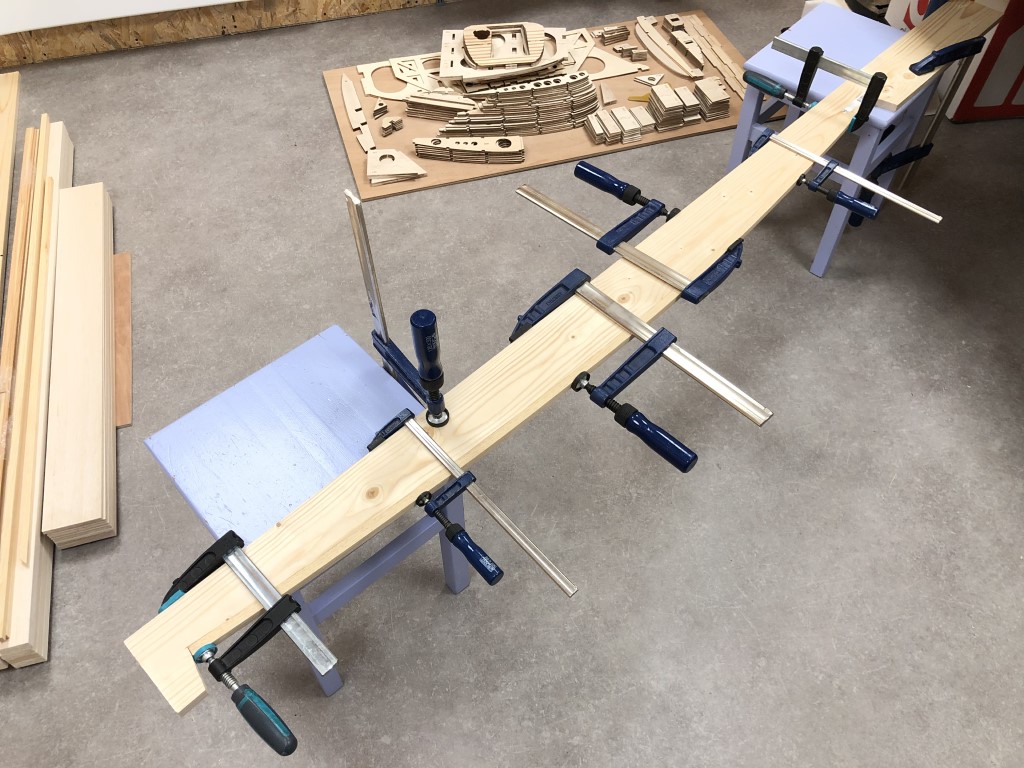
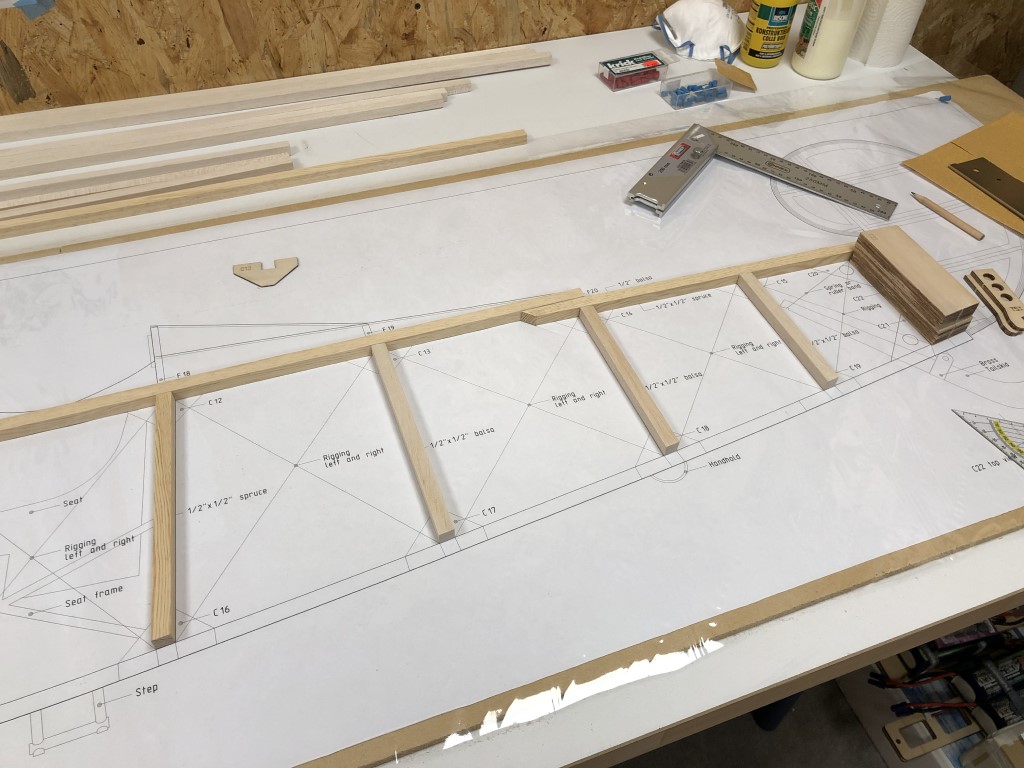
And when the glue of the has cured, I flipped the whole assembly and clamped it in the same way, to again align the frames properly:

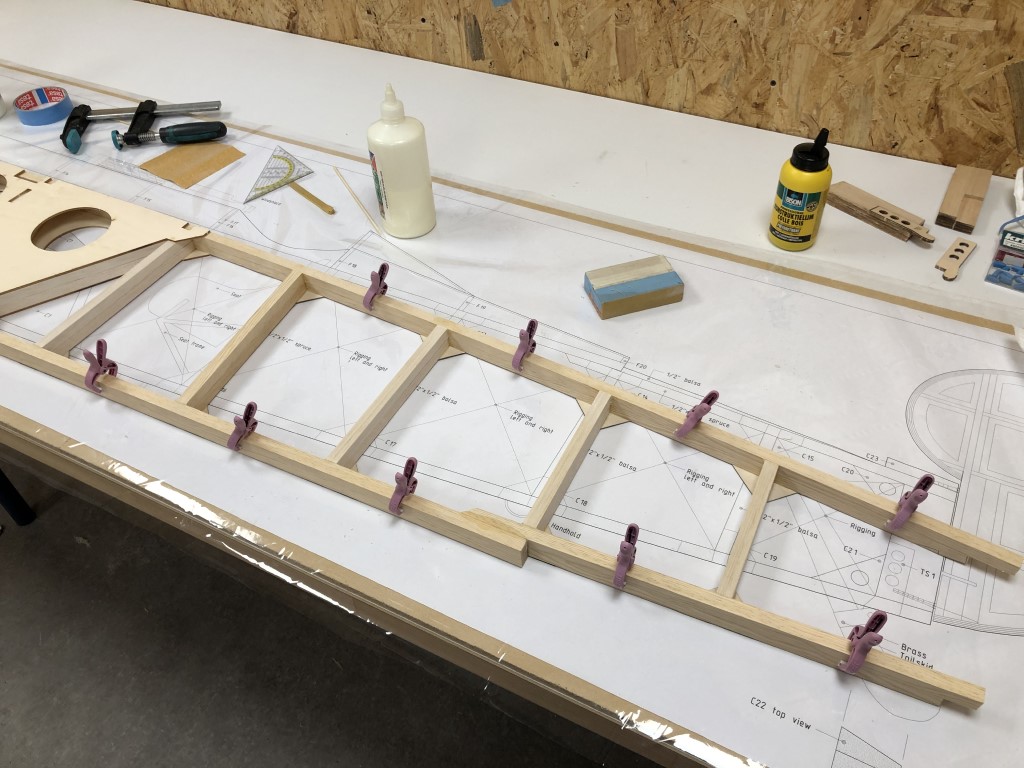
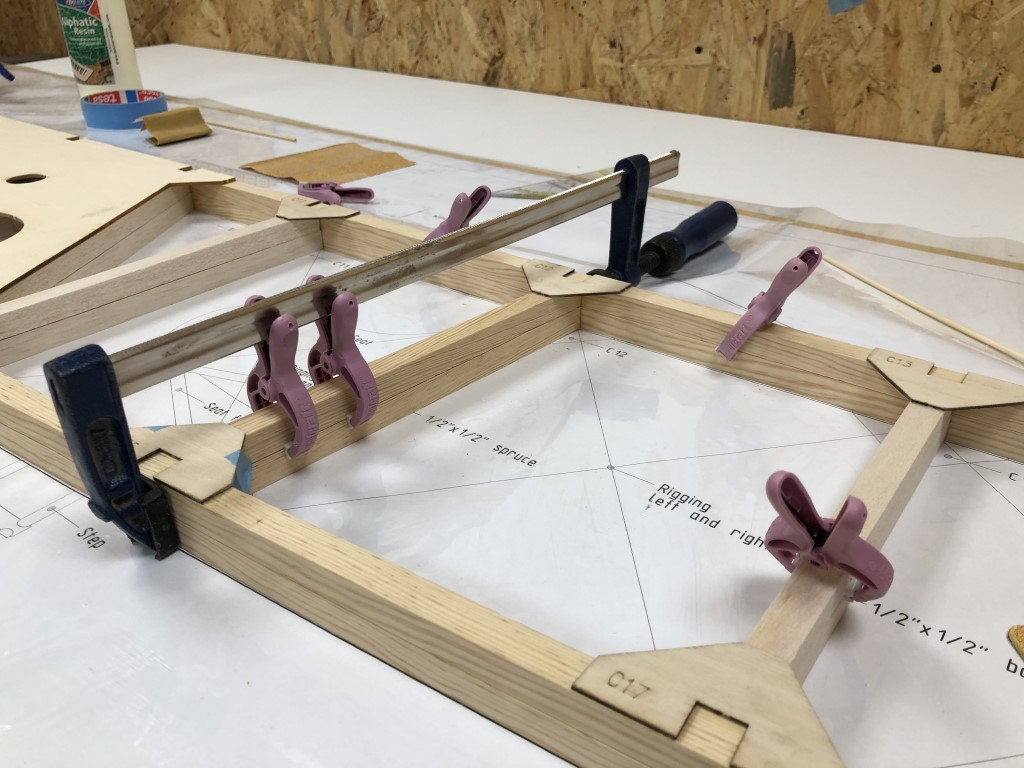
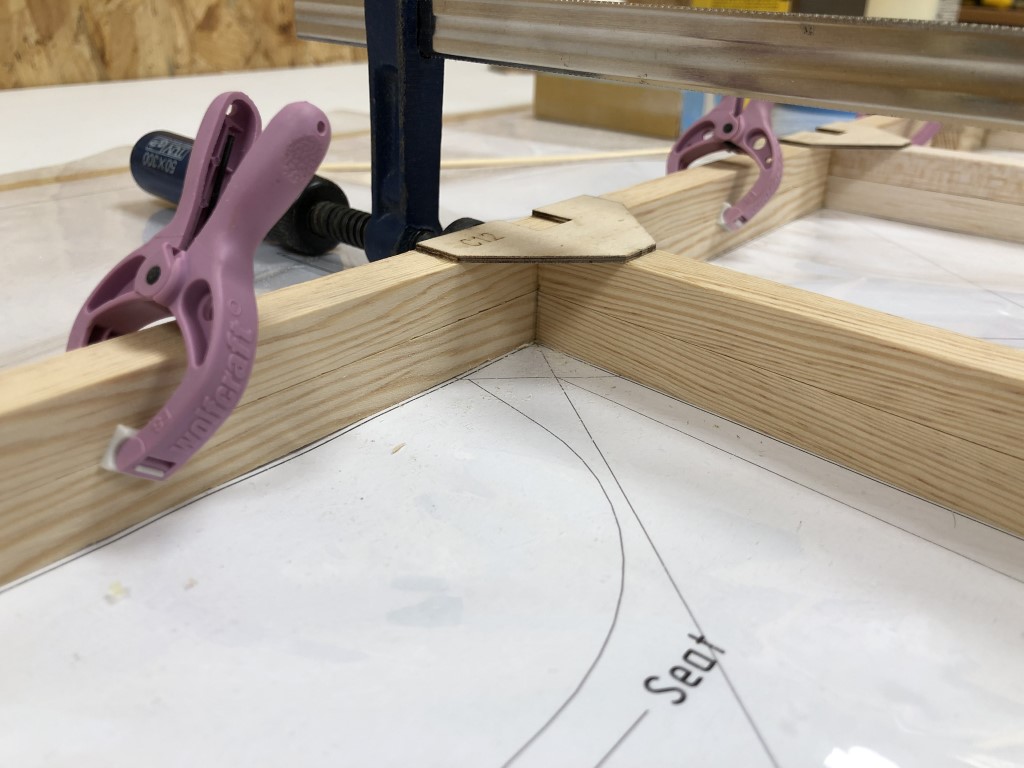
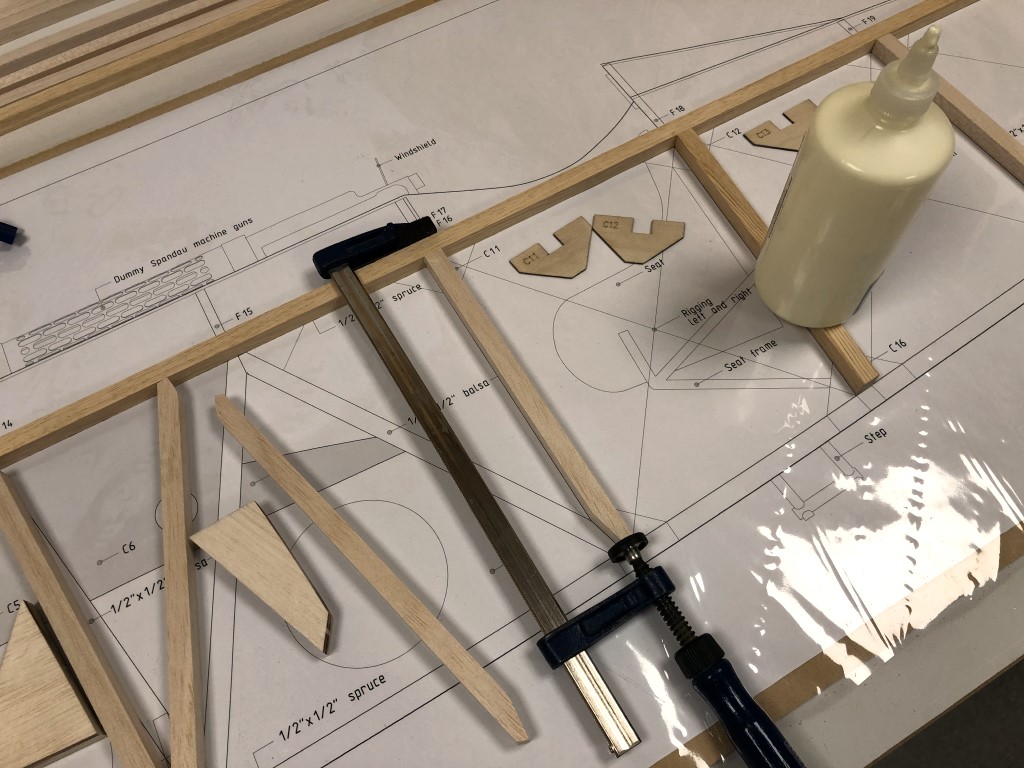
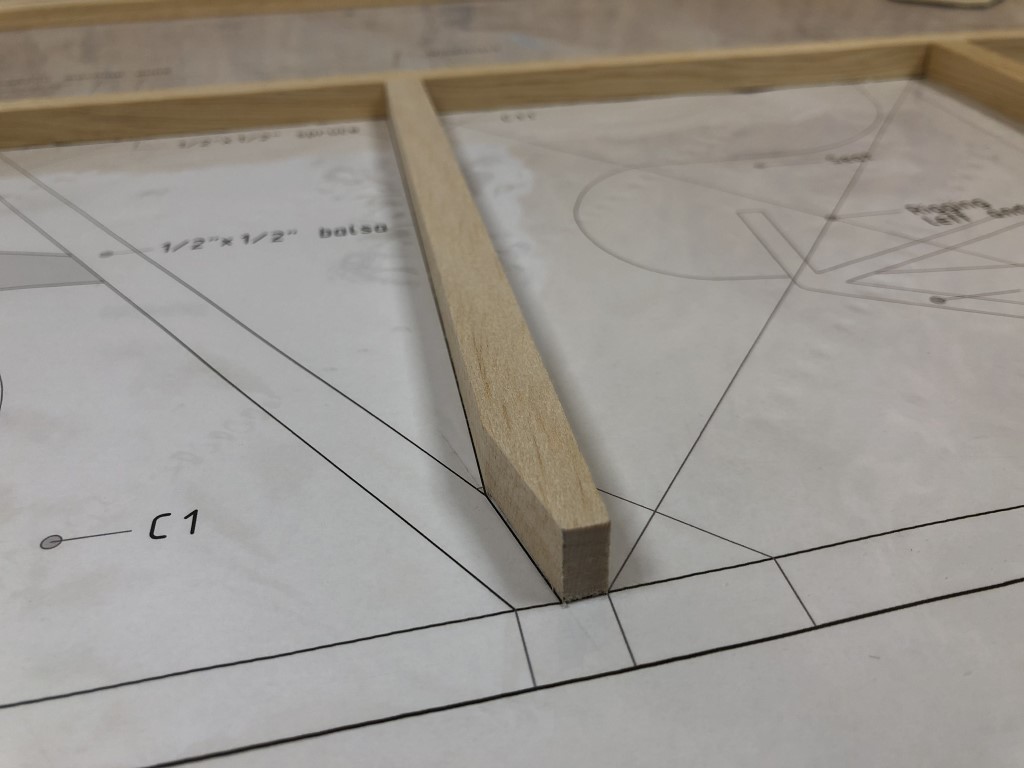
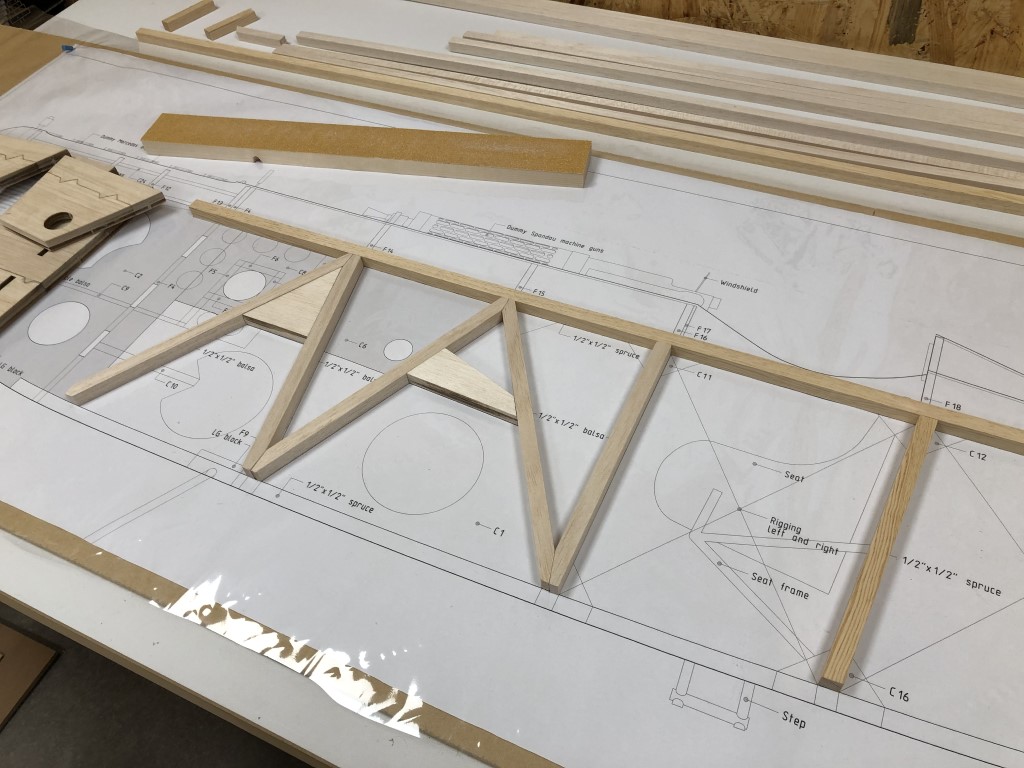
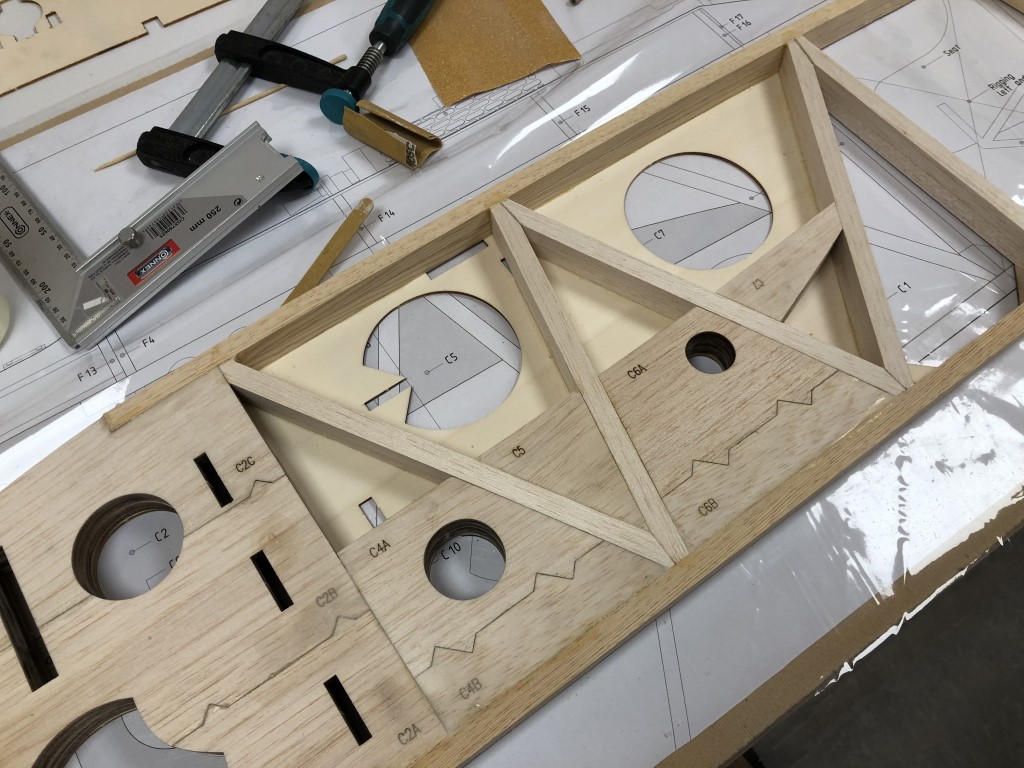
So I could glue on the reinforcement triangles, fixing the frame in the right position:

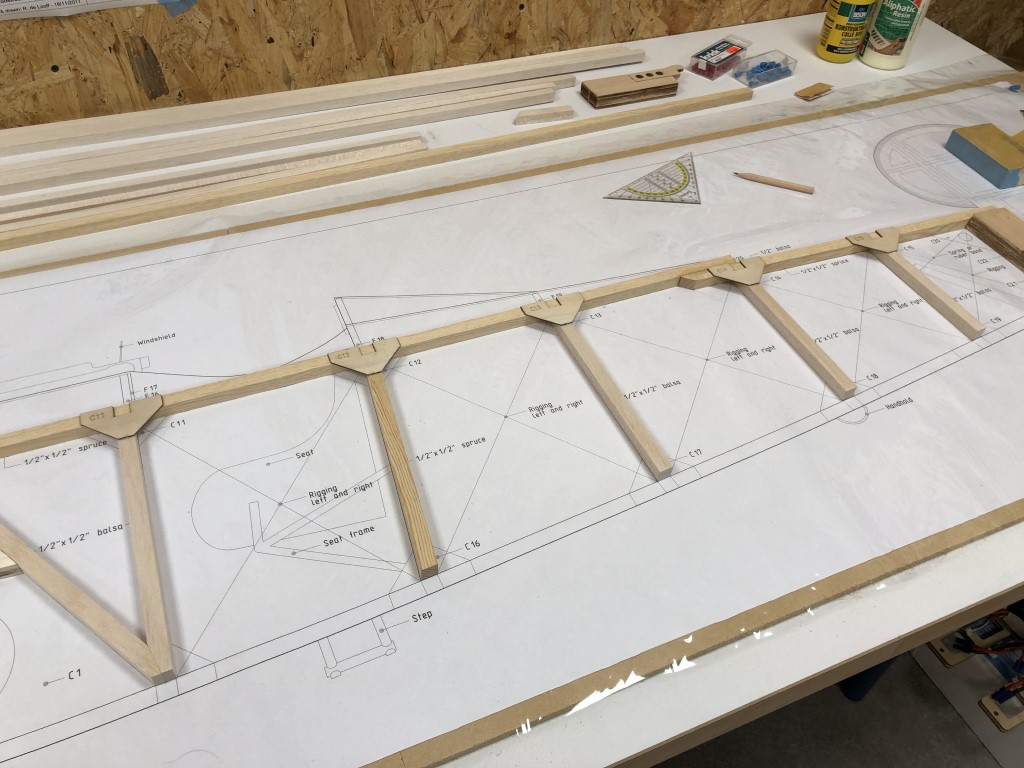
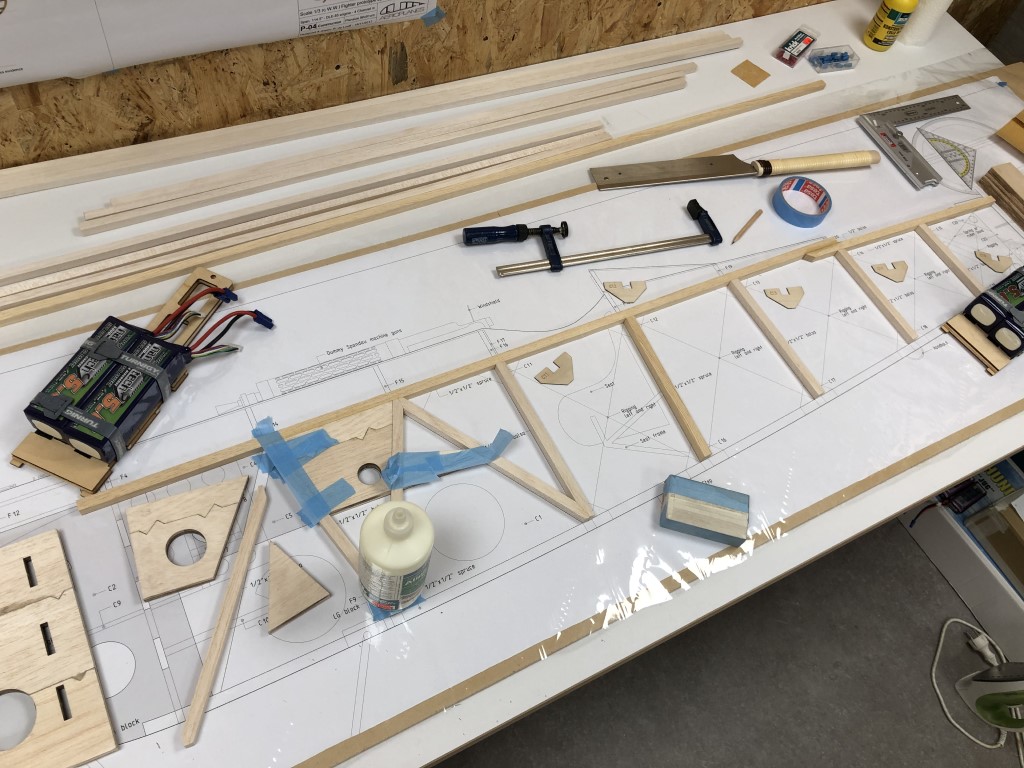
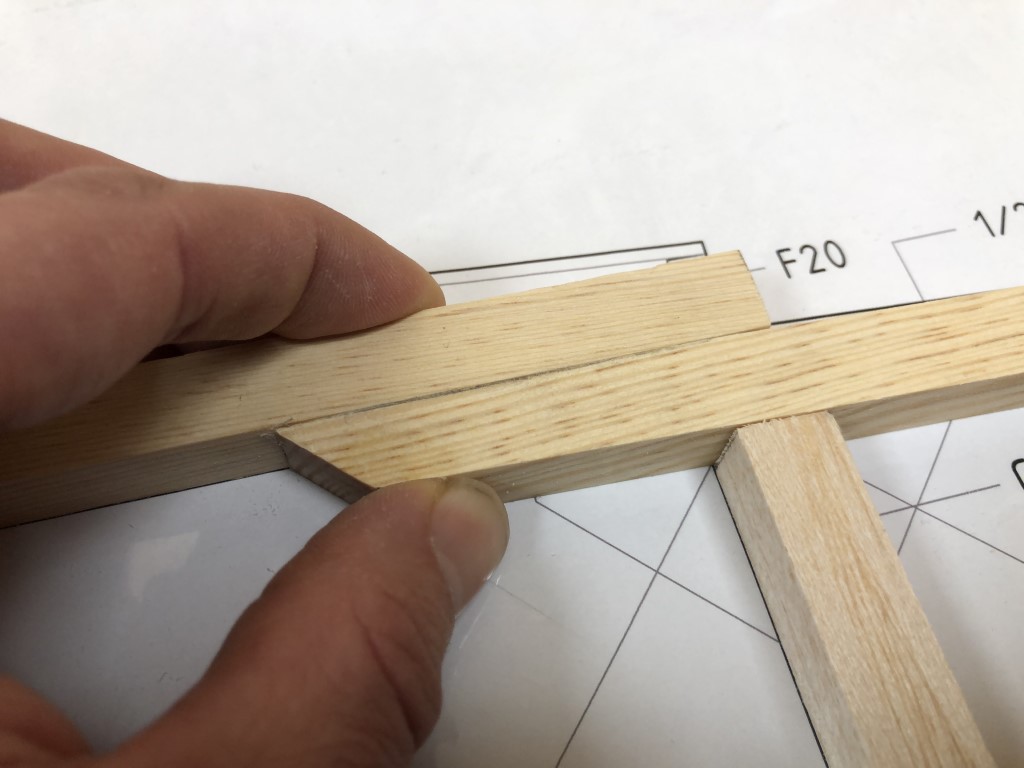
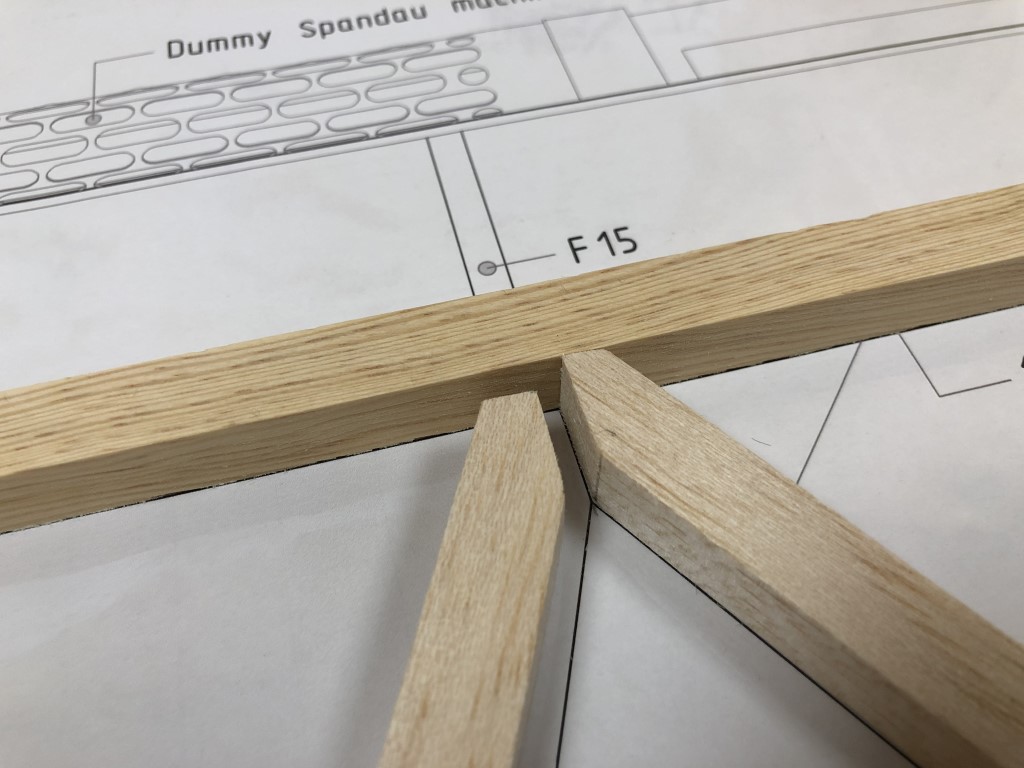
Another advantage of this method is that I could check the alignment of the reinforcements, so I’m absolutely sure my cross-beams for the fuselage (from left to right) will end up square as well:

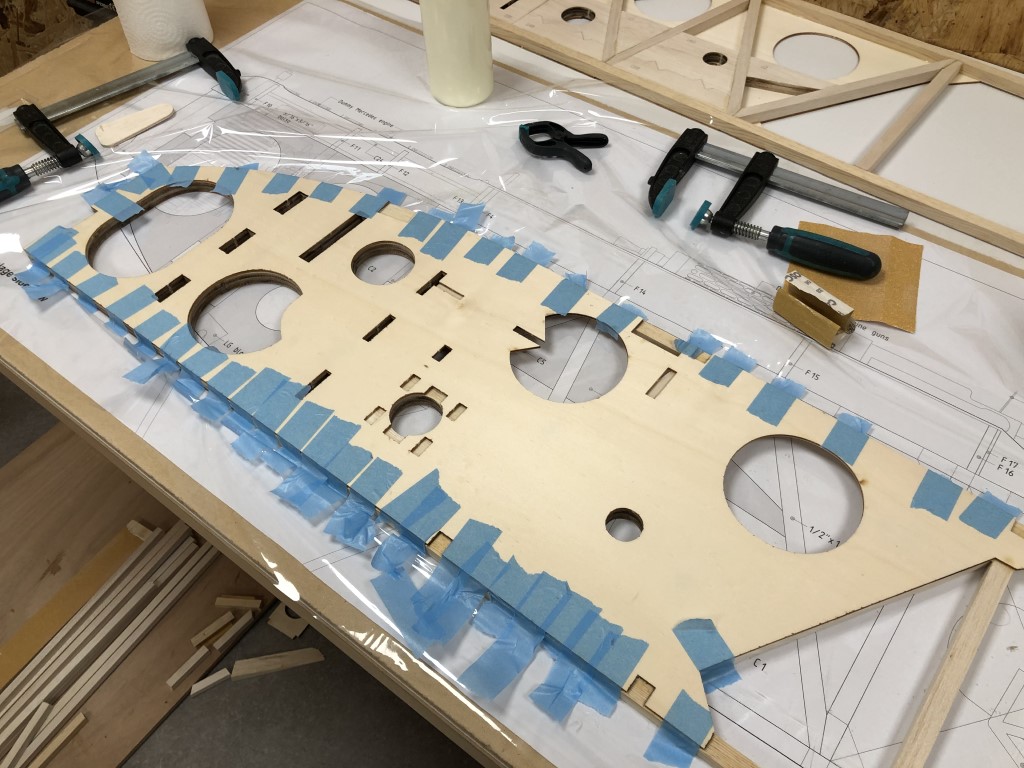
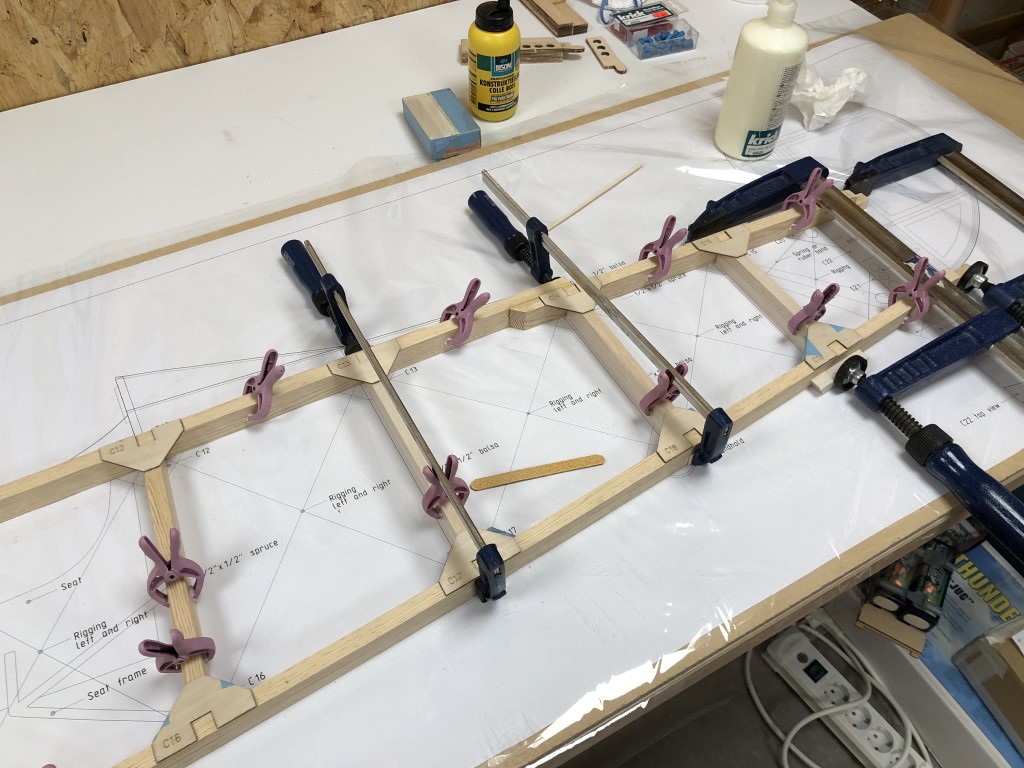
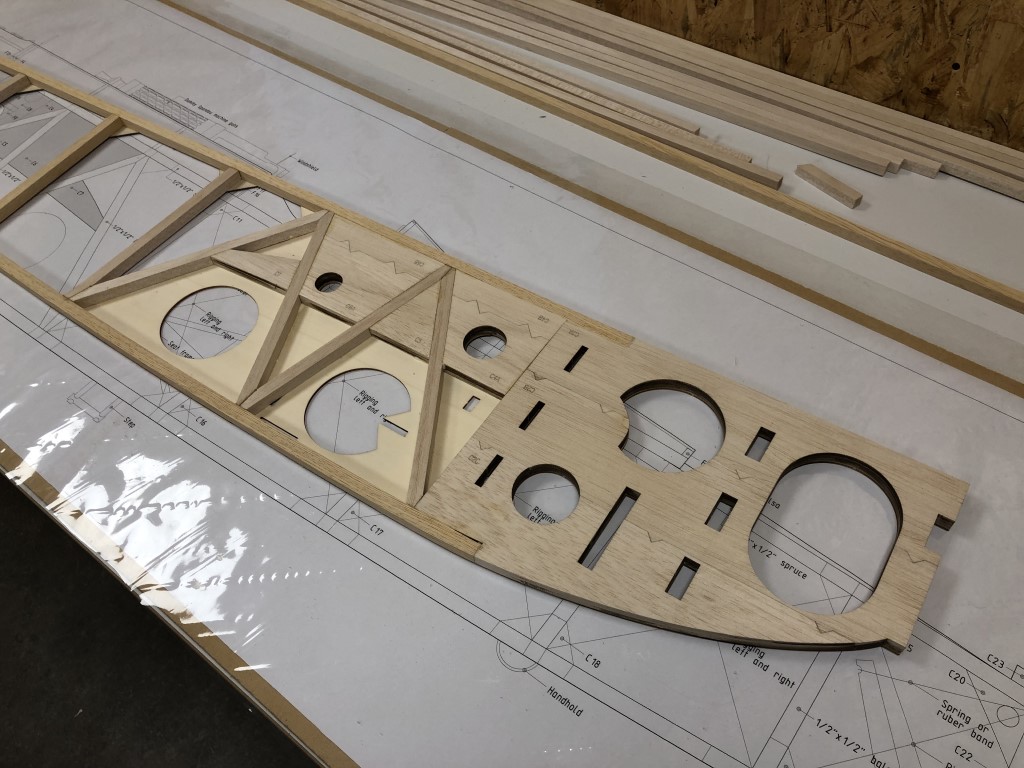
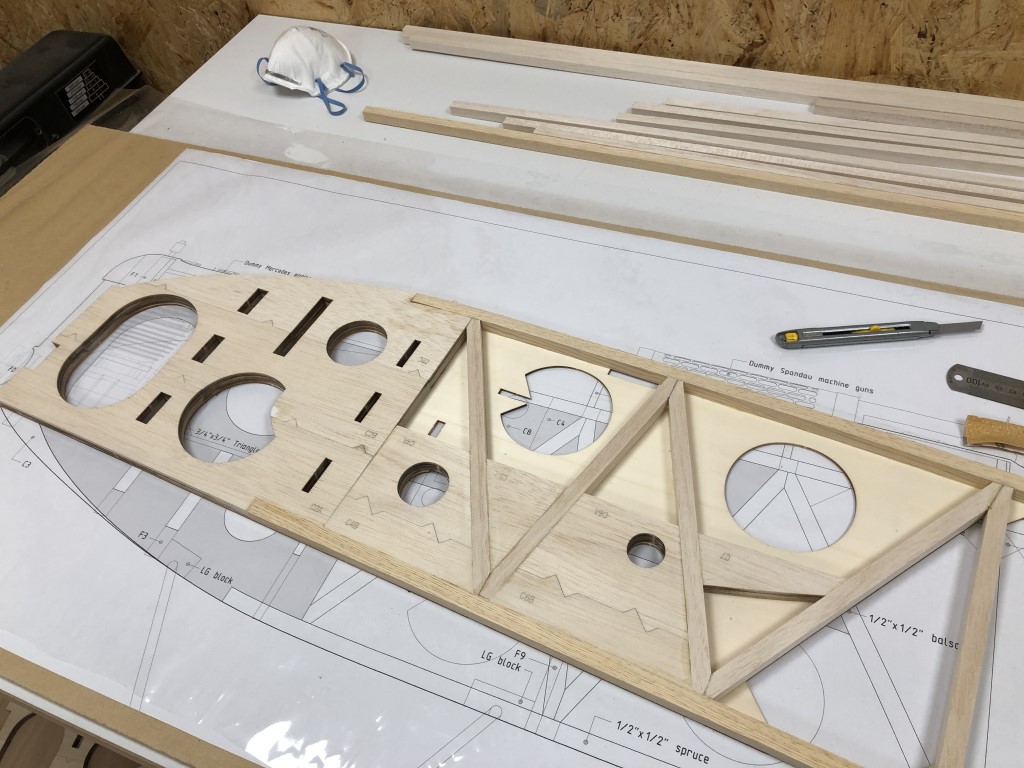
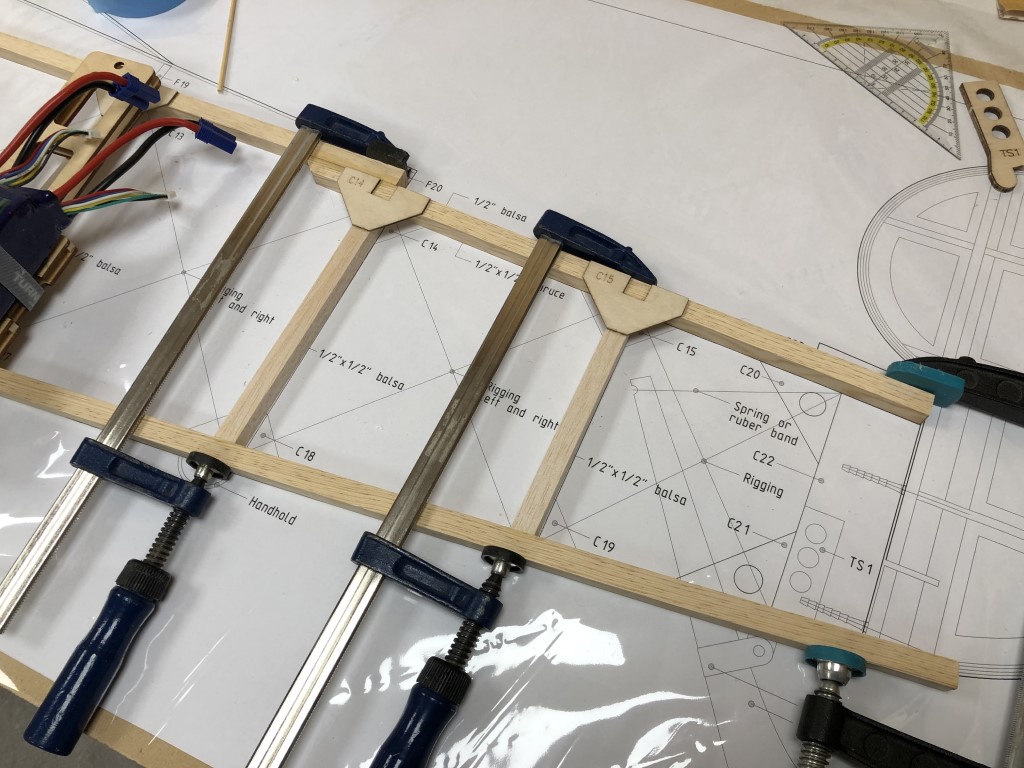
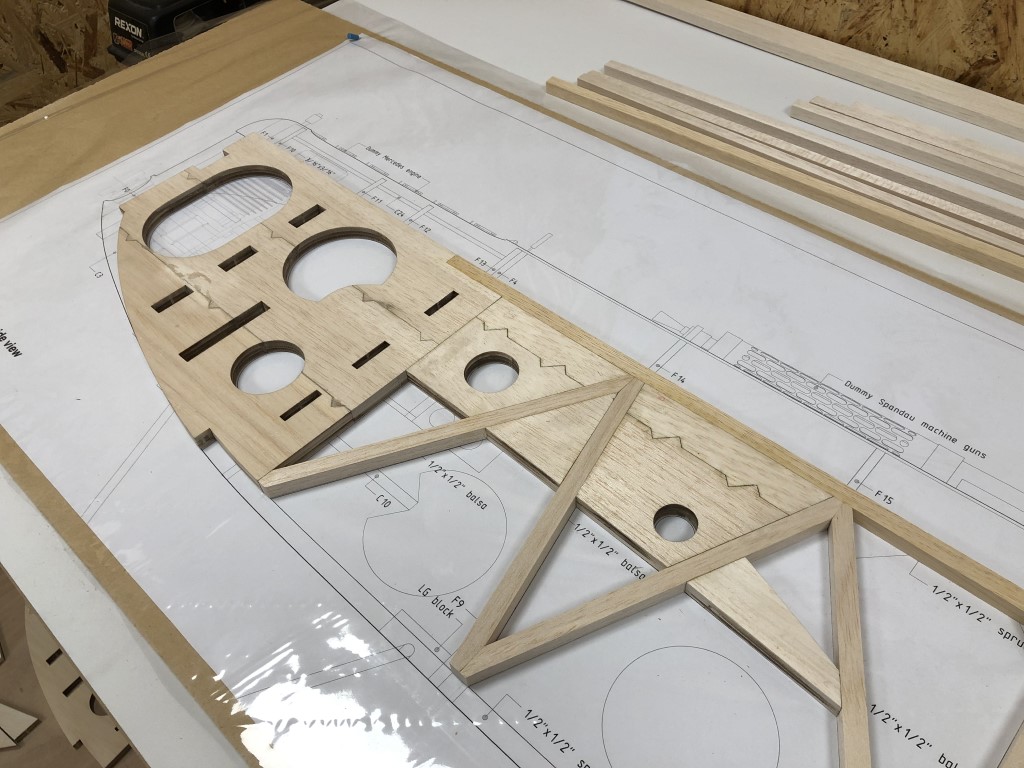
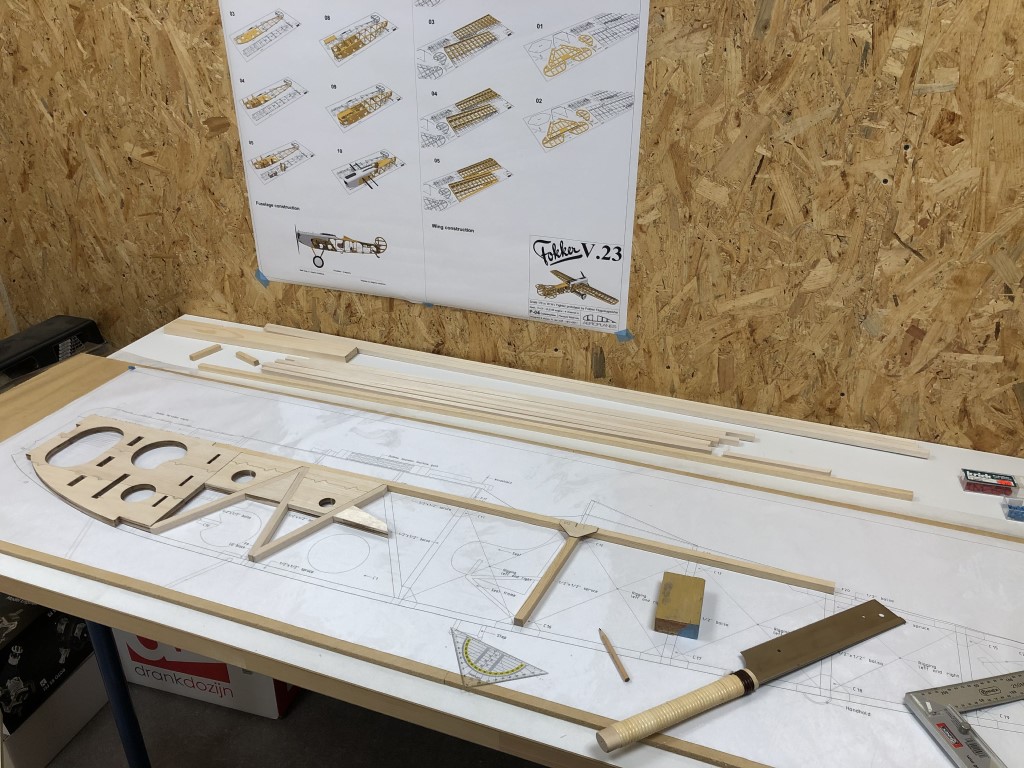
All reinforcements are in place now (except the large ply doubler, which is only on there for alignment purposes):

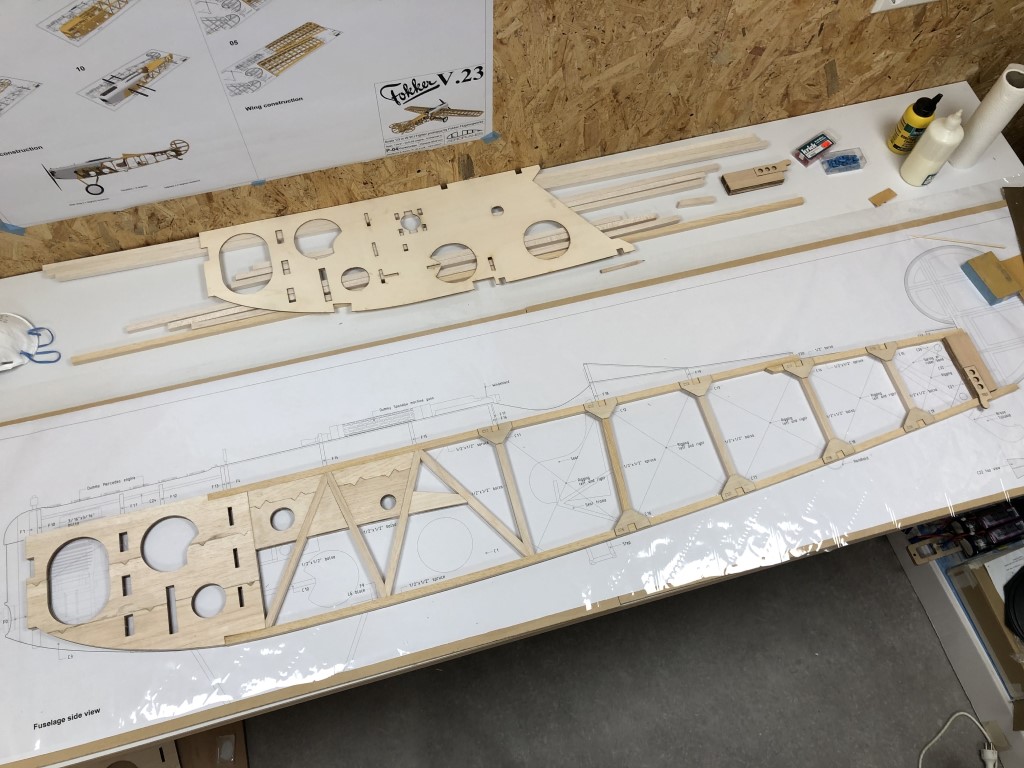
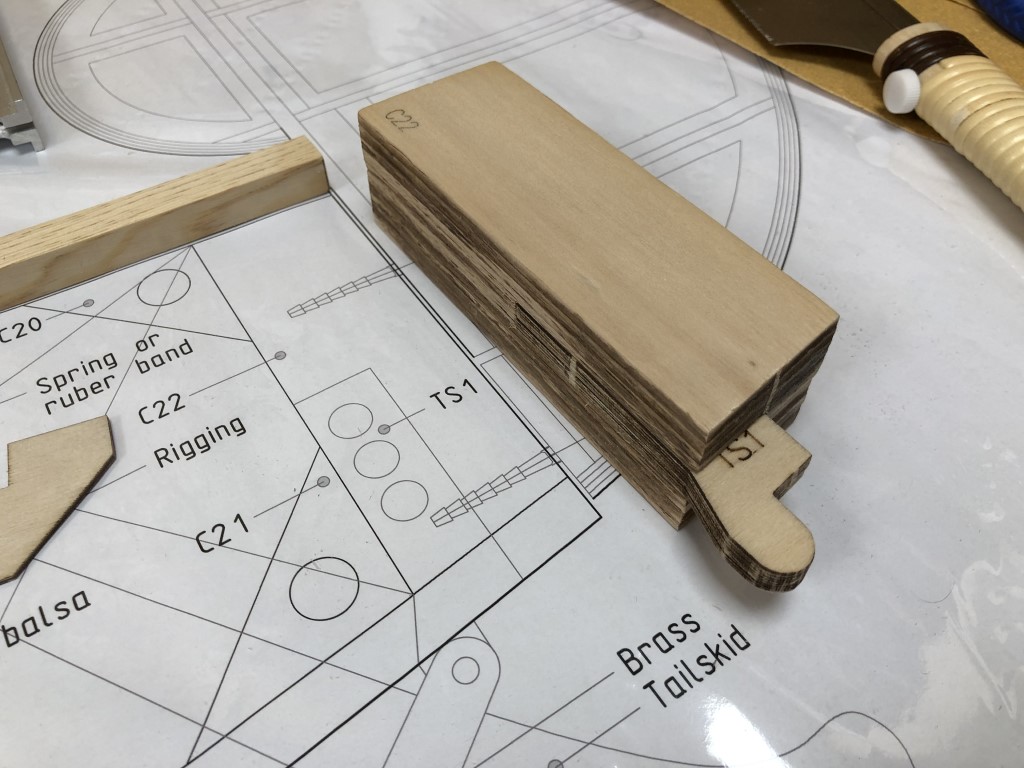
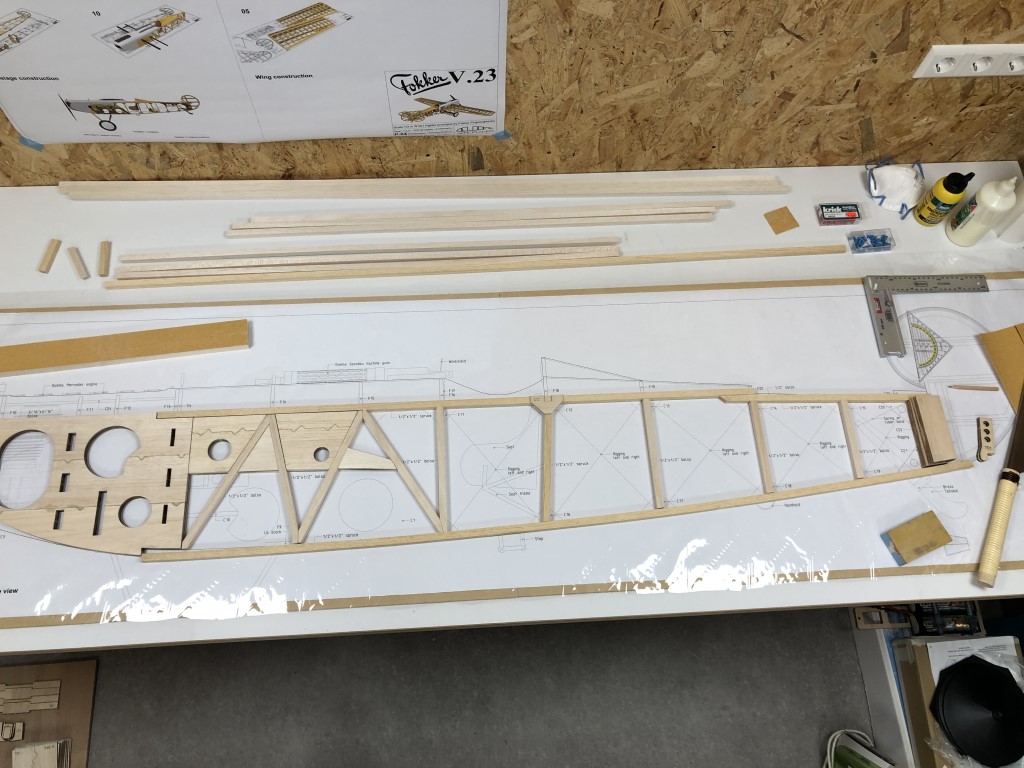
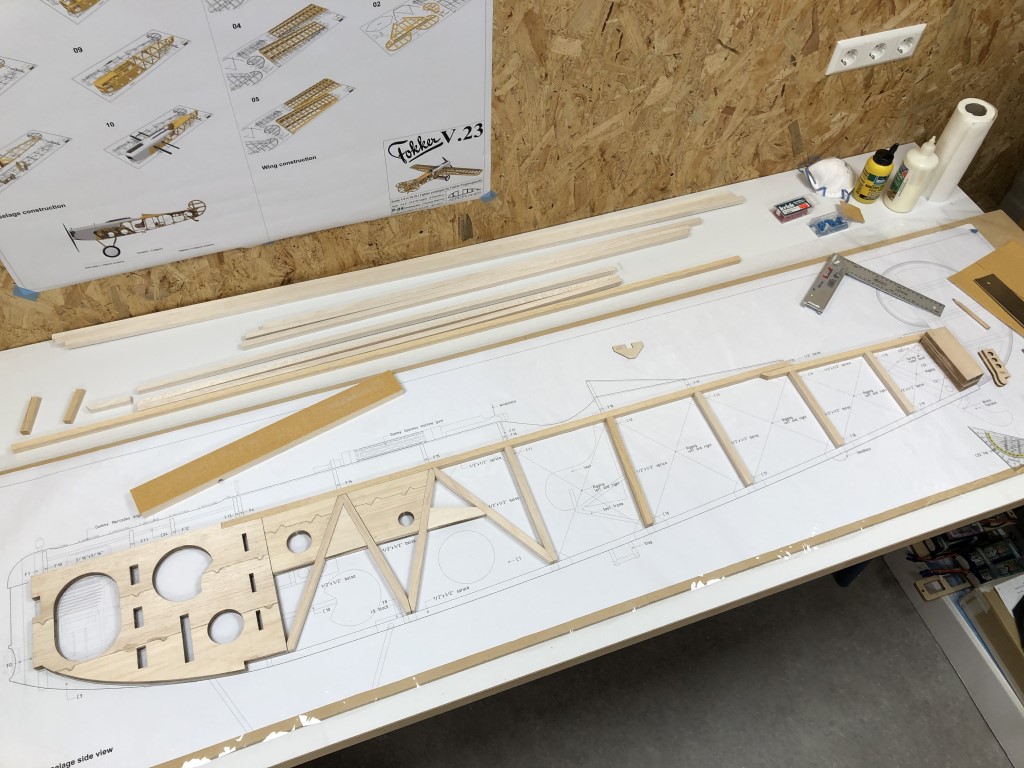
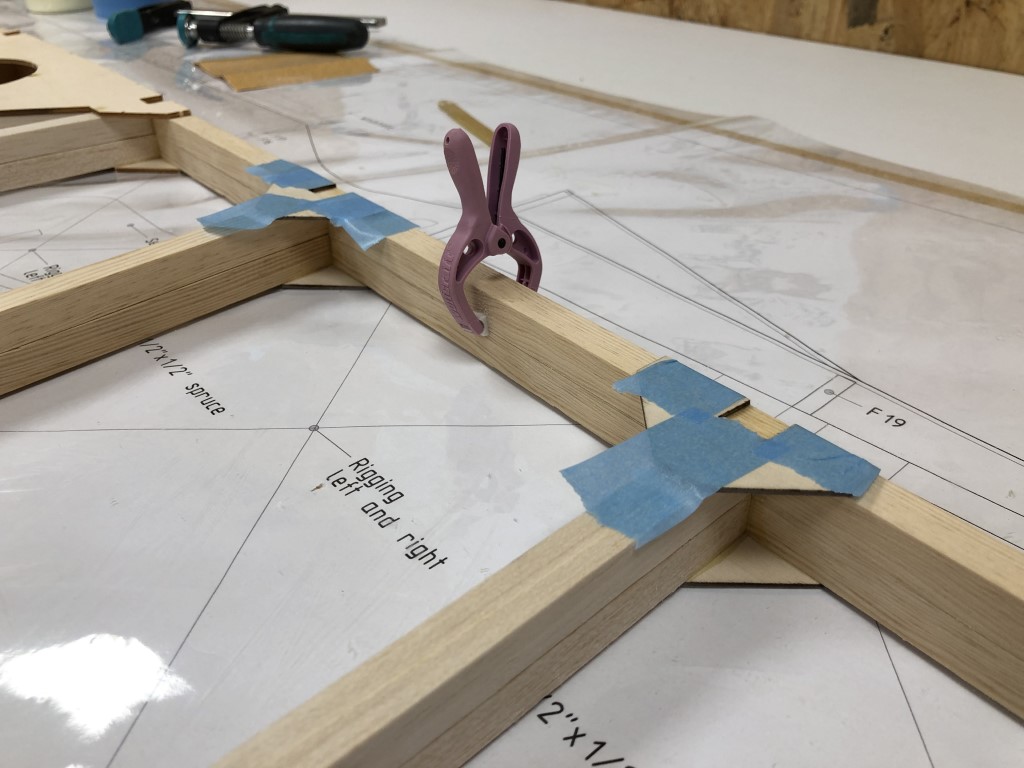
And now the frame is fixes and stable, I can check the front as well. It’s almost not visible, but this are two frames stacked on top of each other!

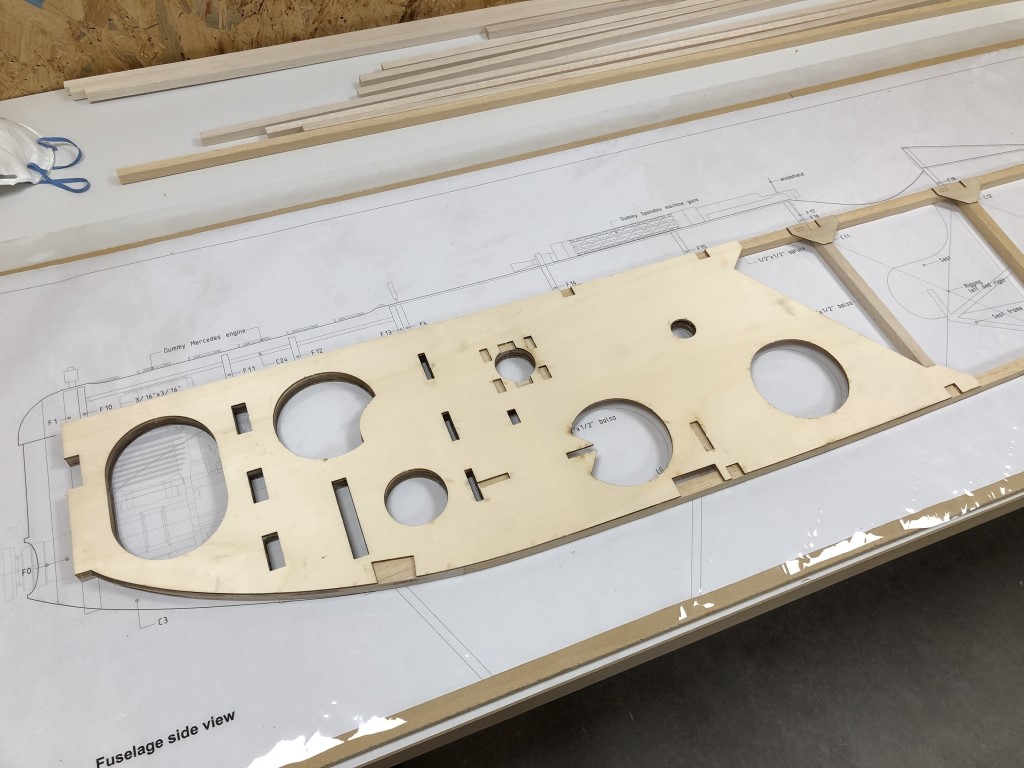
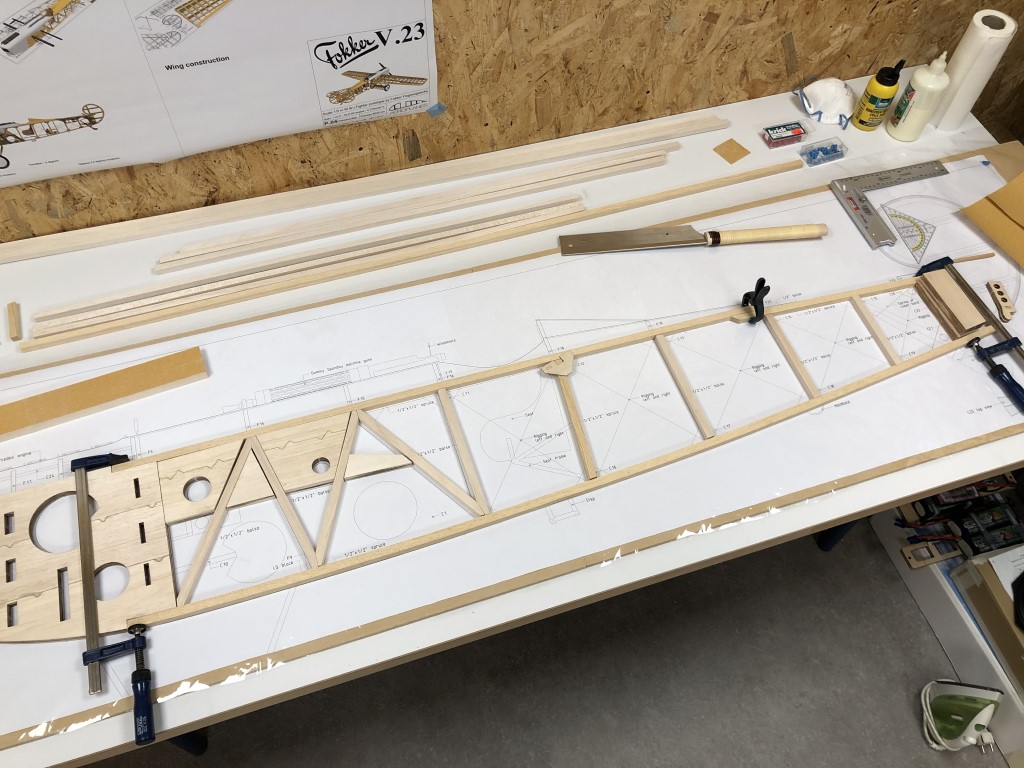
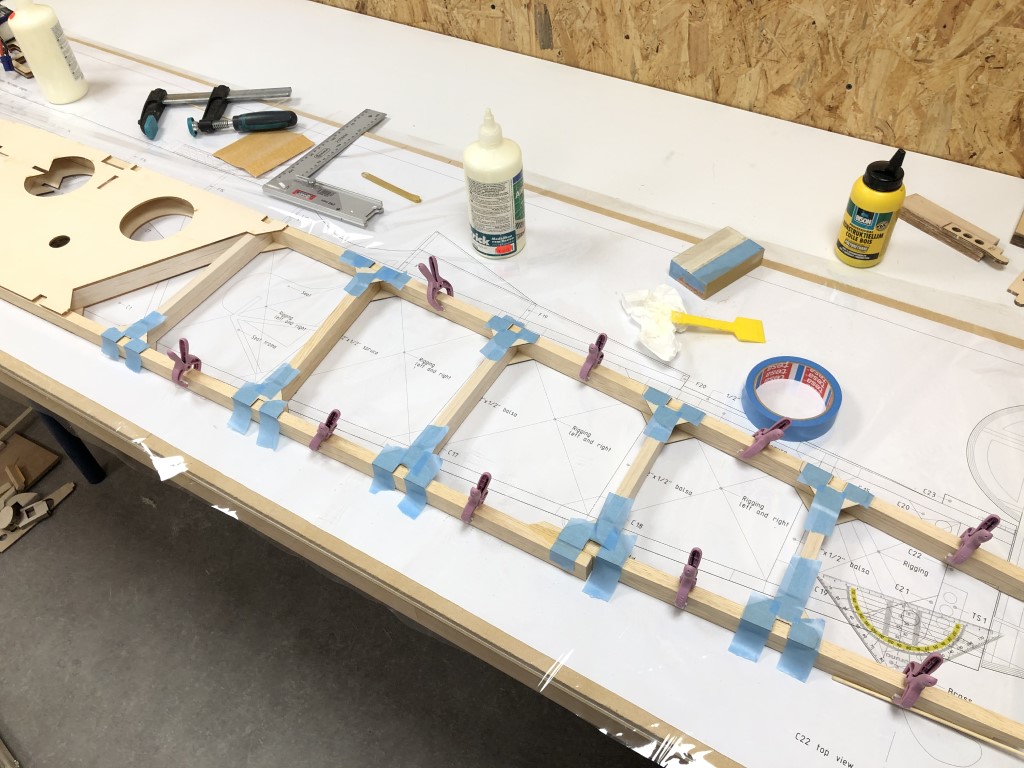
So now everything matches up, I can glue on the ply doubler. Besides taping the sides, I also used a press weight to fix the center of the doubler. And I again used the other frame as a guide while gluing this one:

Matching up the sides

After a few evenings cutting and puzzling all the parts for the other fuse side are ready:

I will glue them in the same way as the first side, using Aliphatic and clamps, but I will leave the reinforcement triangles off for now:

I do that because without them, the frame is still a little flexible. And even when trying to stick as close to the plans as possible, you’ll always end up with minor deviations. The trick is to use the other fuselage side as a guide. I clamped it on my new fuse side with little clamps, to force the new side in the right position. Of course, it required some minor adjustments before everything fit perfectly, but that’s well worth the effort to produce a straight frame in the end:

As you can see, both sides match up perfectly:

And then I worked my way to the aft of the fuselage, matching up the sides step by step:

One more fuse side

I won’t share the construction of the other fuse side in the same detail, as it is basically repeating the exact same steps. Though, I will share some of my progress to keep you posted.

Steam bending the other lower longeron. Here’s a soothing video for you on this lazy Sunday afternoon.. make sure to turn on your sound:

Meanwhile, I’m already halfway with all the cross-beams, glued the upper longeron and did sand most of the laser cut balsa parts to the right thickness. So the other fuse side is coming along nicely:

One fuse side finished!

With a little bit of glue and stress (what a surface to glue!) I’ve attached the ply doubler to the front half of the fuse side:

And from the outside, it now looks like this:

So now, the first fuse side is finished!

I’ve prepared the tail block having the right taper, and sanded the longer in the right angle, but won’t glue this before I assemble the aft of the fuselage:

And with a little cleaning up here and there, it looks the part:

Onto the next one!

Gluing the bent longeron

Last night I’ve glued the lower longeron step by step. The front-most joint with 30 min epoxy and a heavy duty clamp because of the sharp bend, the rest with Aliphatic and smaller clamps:

This clamping technique is working quite well. I even don’t need to fix the frame to the board, ensuring a stress-free assembly:

And after gluing all joints of this fuse side this is the result:

I’m going to taper the tail block, glue on the ply doubler, and then I can start with the other fuse side!

Ready for the lower longeron

After gluing all cross-breams and laser cut balsa, I started working on the tail block, which consists of multiple layers of balsa, recessed to accept the ply tail skid attachment point, sandwiched, and than later on tapered to fit the shape of the tail. It also functions as a guide to glue the longers to:

Recessing is finished, I only need to taper them now:

I also glued on the reinforcements for the frame. They act as a triangle supported the frame, and also to hold the cross beams in place between the fuse sides:

And after a few evenings of gluing, this is the result, ready for the lower longeron to be attached:

And a few close-ups of the work up until now:

I will not glue in the tail block now, I’ll safe that for after bending the fuse sides together, to be able to position it correctly, not depending on how the bend turns out.

Gluing the fuse side

To sand the laser cut balsa parts to the right thickness, I’ve used a neat little trick: attaching little pieces of the right thickness on either side of your sanding block. This way your sanding block will stay perfectly level and you will never sand too far, automatically stopping you when you’re at the intended thickness:

Thickness sanding becomes a breeze, but wear your dust mask, balsa dust is quite irritating:

After the epoxy has cured, I’ve started gluing the rest of the frame:

Which is coming along very well:

I will build both fuse sides flat on the building board, bending the aft inwards after the front fuselage frame is fully built up.

Started gluing the frame

Yeah!! The lower longeron came off the template very well, I’m super happy with the results! This is without any glue or clamps:

And this is an important test, without glue, and only three clamps, all parts stay in position virtually stress-free. Awesome!

So I’ve started gluing the frame. First joint of the upper longerons with 30 min epoxy, because it will take the full stress of the bend inwards later on. The rest of the frame will be glued with Aliphatic wood glue:

Bending take II

The bent longeron came out great, way better than I expected actually! I measured the spring back, which was only 15 mm on either side, arched the longeron a little more to those measurements, re-cut my template, and re-did the whole process:

Framing up a fuse side

Meanwhile the lower longeron is drying, I started cutting the cross-beams:

I’m cutting everything manually using my Japanese saw, which works a treat:

Because of the size of the frame (1/2″ square) the angles of the cuts need to be perfect in order for the joints to become strong and straight, so I’ll take my time cutting these:

The upper aft longeron is glued to the main longeron with epoxy in a shallow angle, to accomodate for the right angle of the stabilizer:

One more joint:

… and I’ve finished preparing both the front end:

and the aft part of the fuse side:

All the parts are ready for gluing:

I will glue this assembly first, before attaching the bent lower longeron, so the construction will be stable, might the bent longeron put any stress on the frame, it will be counteracted by the rest of the frame being square and straight already.

But before I can start gluing, I need to thickness sand all laser cut balsa pieces to exactly 1/2″ (they are 13 mm because I stacked them out of multiple metric sized layers, because they are re-cut to make some improvements on the prototype – this will not be necessary in the final kit).