I’m back again, overcame some difficulties, not yet completely satisfied with results and progress, but I’m confident I will still be able to make this project succesful!
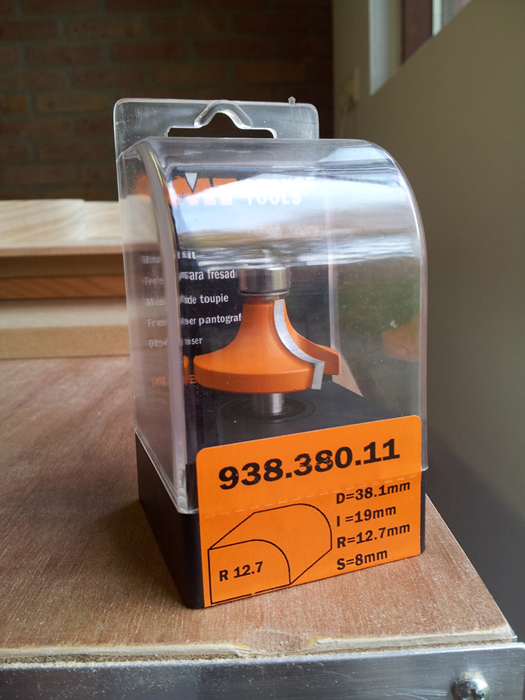
Today I received an important new tool, a 1/2" roundover bit. Pricy, but good quality. I’m a bit anxious using it on the swamp ash, since I got tear out last time, but I will make a test piece first.
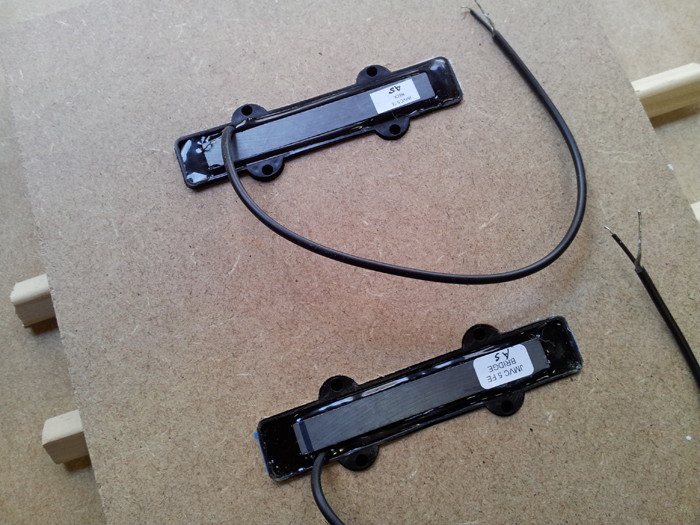
Then I test fitted the pickups in the template I’ve made. It still needs some small adjustments, but it’s pretty close already:
After some reshaping and masking tape patches, I’m ready to copy the master template into the template that also contains the neck pocket and gets shaped to the body contours for easy alignment. I will do that next time:

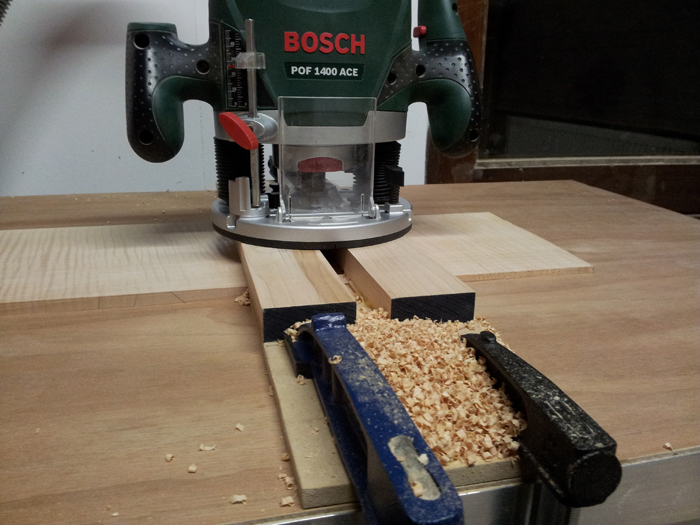
Back to the maple top. This is the jig I’ve used to plane it down from 8,5 mm to 6 mm. Don’t copy this method, results were bad:
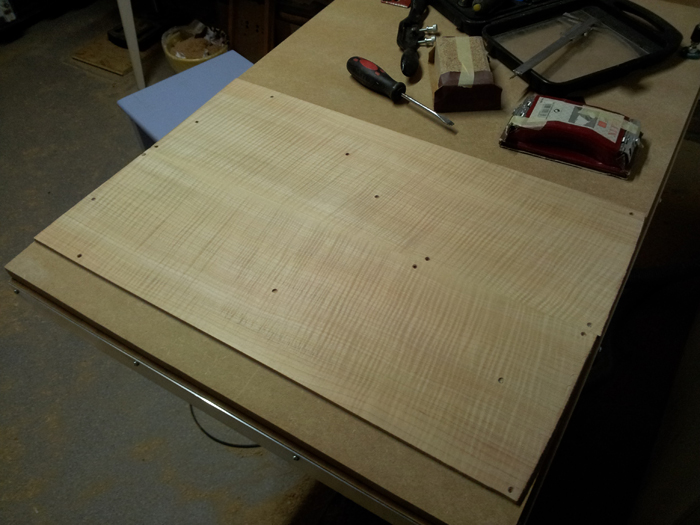
As I already told in the previous post, I used a sled (same method as with the control cavity cover) to correct this. That worked out pretty well (no pictures, sorry), but didn’t deliver a glueable surface as well. So, I screwed down the two halves of the top to a thick piece of MDF; the maple wasn’t completely flat and this ensured a flat working surface. The screws are all just outside the body contour and I will also use them when glueing the two halves together later on. I then sanded and scraped the two pieces flat, by hand, making them ready for glueing:
Time to glue the two halves of the top together. You can never have too many clamps and I barely got enough, as I used all of my clamps on this:
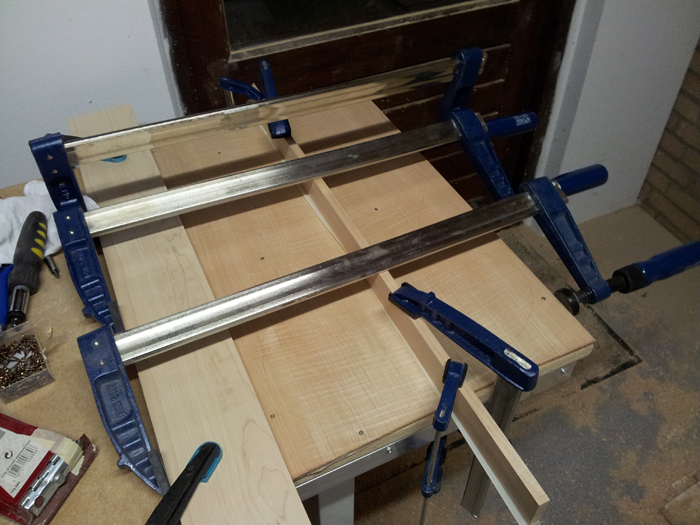
But, I’m rather pleased with the result, this being the glue line: