Now the fuse sides are ready, I’ve started preparing building up the fuse. There’s still a ton of things to do before I can start gluing in the formers:
- cut the longerons to the right length and angle, and recess them for TS1
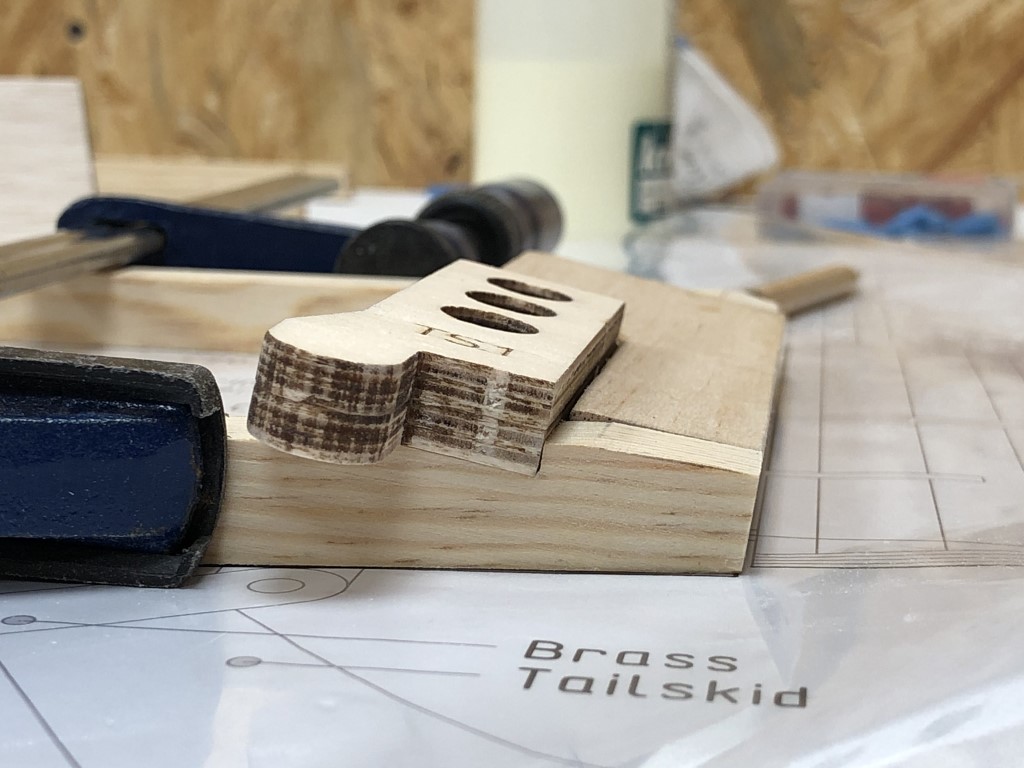
- finish shaping the tail block and glue it up
- enlarge the holes for the wing tubes in the fuse sides, as they are drawn for the tube itself only, but I need them to be larger to accept its sleeve – meanwhile, I will use this step to perfectly align the wing tube holes with the two fuse sides so they match up
- alter the firewall to accept the new engine, which is a tad longer, and if possible embed the down and right thrust into the firewall
- route slots in the wing tube former box to accept the wing tube sleeves as well
- adjust the thickness of the tabs of the wing tube former box to fit in the laser cut cut-outs
- build a fuselage box for alignment while gluing
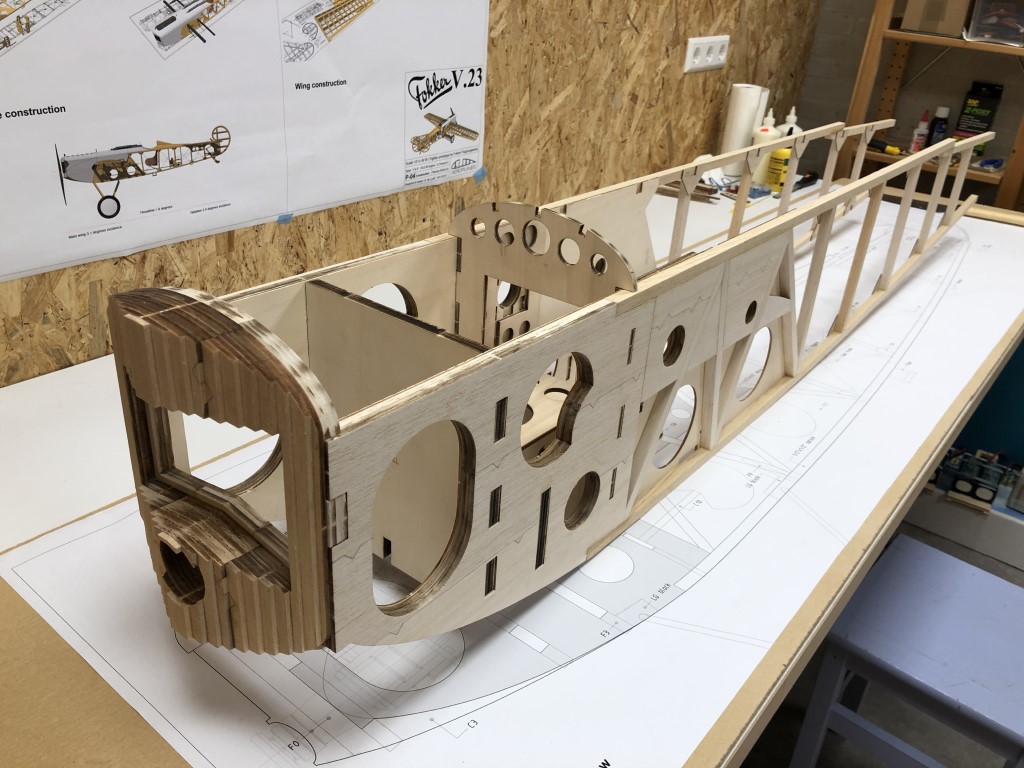
However, I needed to know how good the fit was, so here’s the first dry fit of the formers. I think it looks awesome!
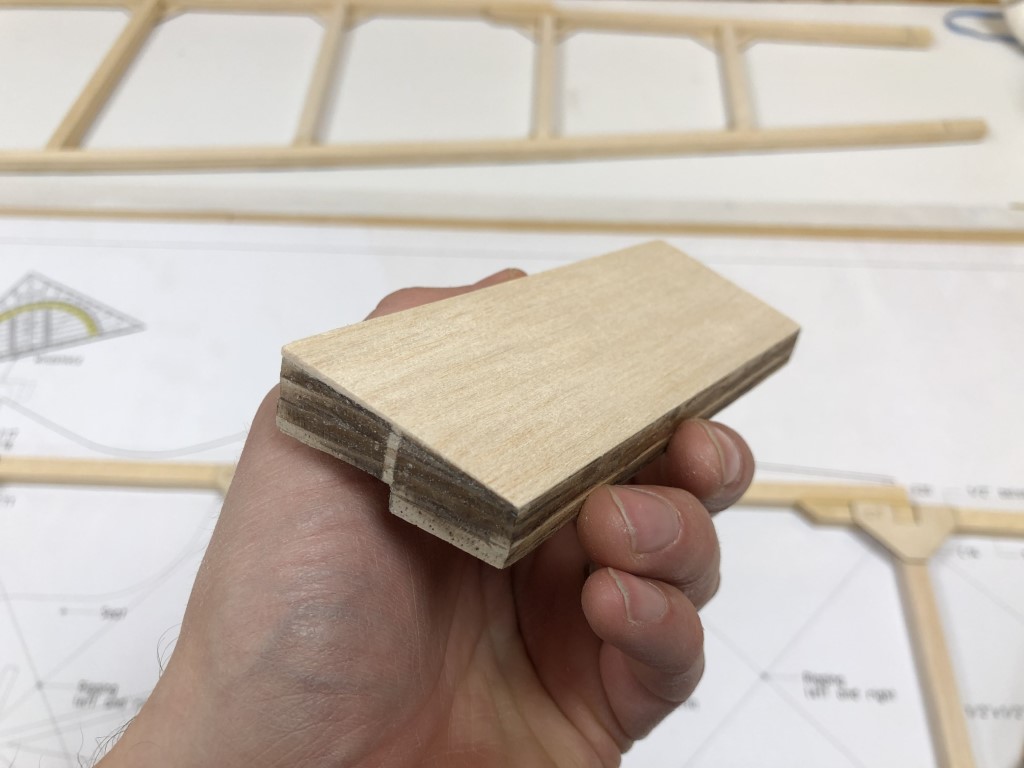
But first, let’s start with finishing the tail block. I’ve added a small layer of balsa on top of the hand cut side, to give it a smoother appearance and to add some material for final sanding after assembly:
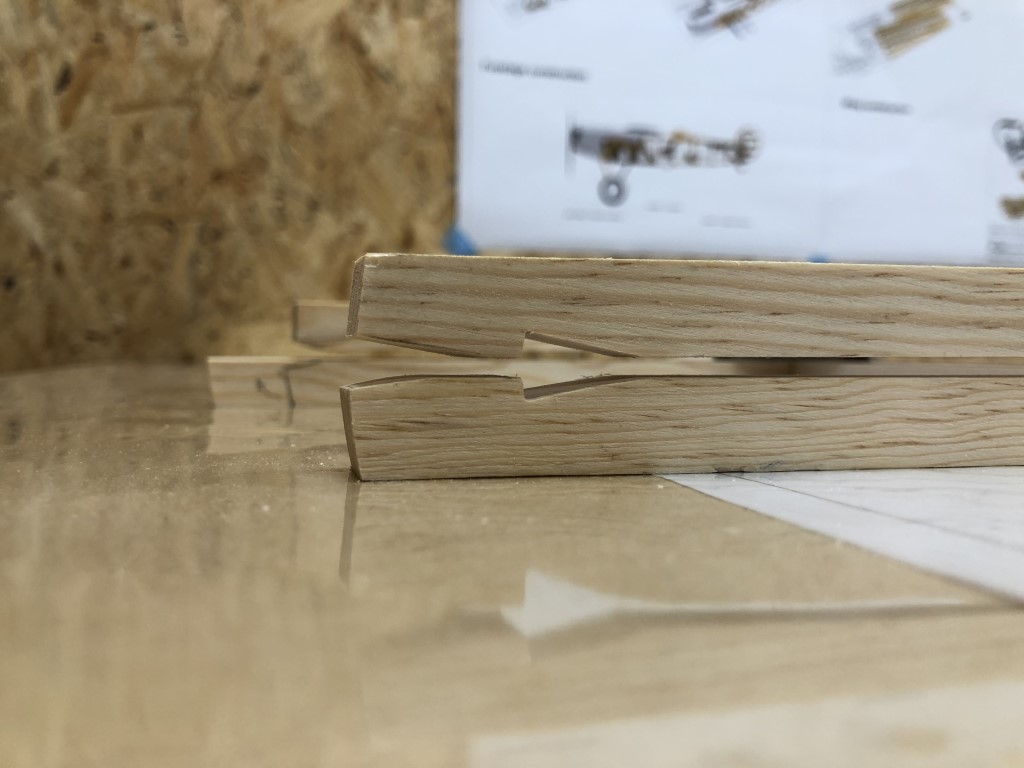
I was procrastinating this step because it is a bit complex, but today I decided to just go for it. The lower longeron has a double angle on the back (because of the curve) and a skewed recess that is not perpendicular to the longeron:
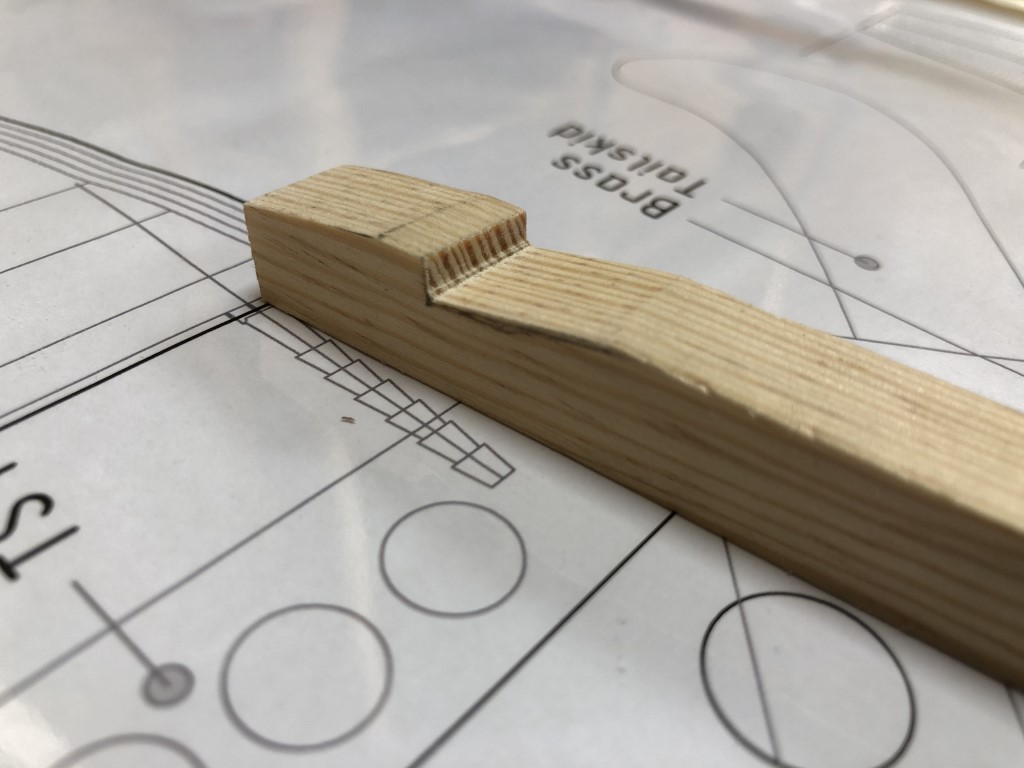
Why? Well, because the tail block has a cut-out for TS1 – the part that will hold the tail skid. And this part protrudes through the longer, while the tail block is lying in an angle to compensate for the bend:
And then, the other one.. not completely satisfied with the lower one on this photo, and I still need to cut one longeron to the right length (on the far left of this picture), but we’re almost there! In the background you can see the inspiring 3D render from the building plans :-)