
Time for some more Christen Eagle building. I need to get this bird flying ASAP so let’s continue!
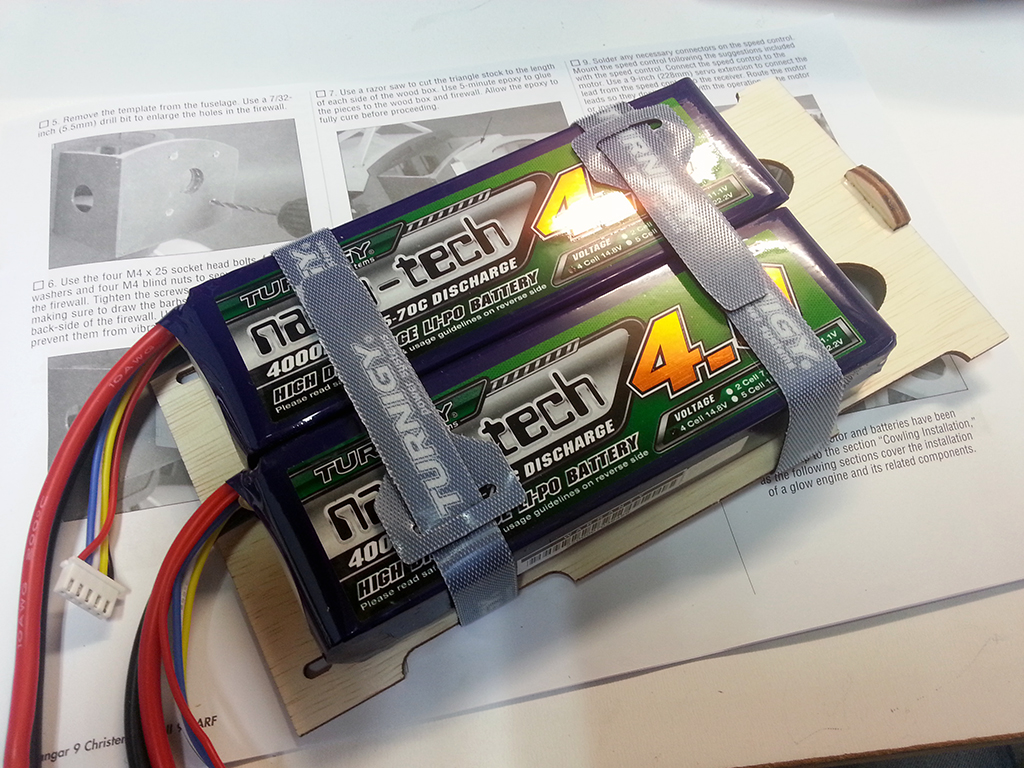
This is the battery tray with two 4s 4000mAh batteries. The Turnigy straps are of good quality, way more firm than regular hook and loop straps:
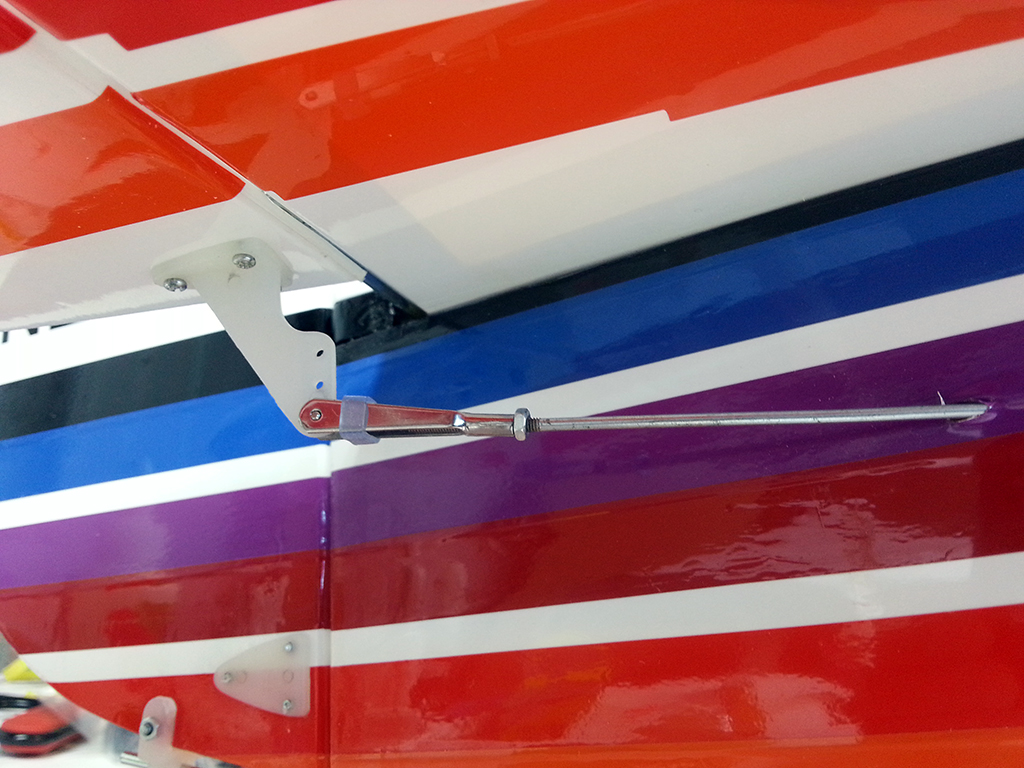
Installing the clevises to the control horns (and to the servo’s):
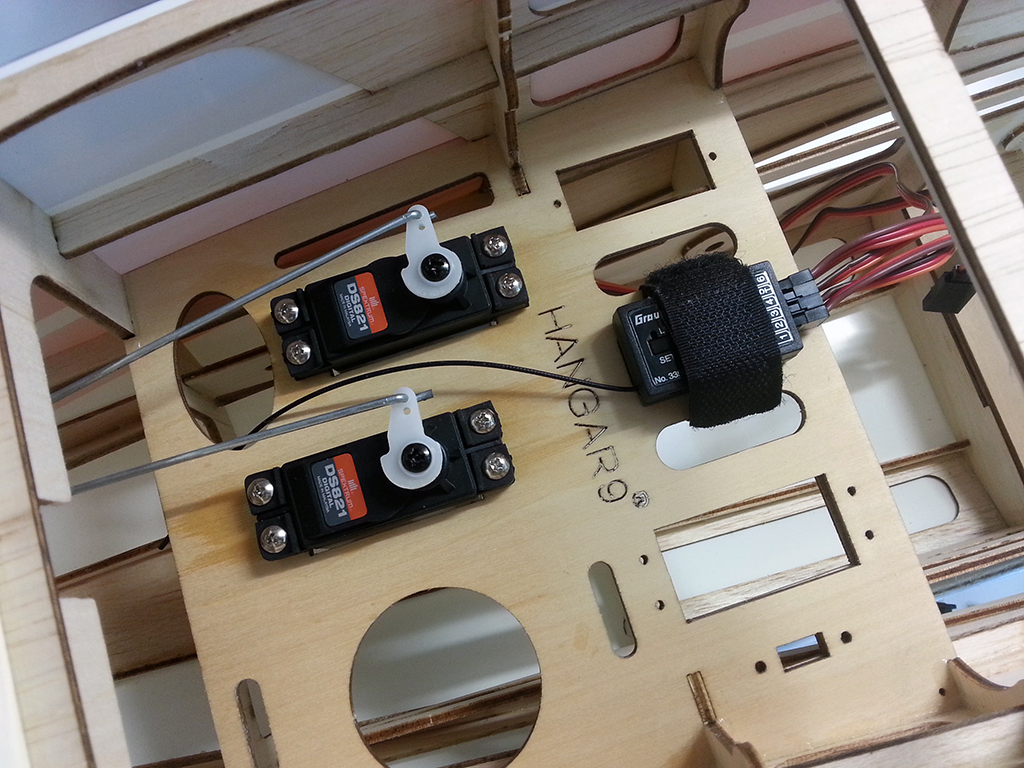
The fuselage is very, very roomy. For the electric version I’ve chosen, this section only contains two (digital) servos and a receiver:
Then I went on to the ailerons. Not pictured, but since it’s a biplane you need to hinge four ailerons, having three hinges each. The hinging itself was uneventful, but I came across three more issues during this part of the build.
First of all, the ailerons contain little tabs to connect them together (each pair of wings only has one aileron servo) and they protected the other wings in the shipping box from these tabs with little squares of foam rubber. That’s cool. But what’s not cool, is that Hangar 9 used a lot of high tack transparent tape to hold this protection in place. It took quite some time to remove the tape and I accidentally teared off some decorative covering (which was glued back later on). But after removing, I still needed to use strong chemicals to remove the remaining glue of the tape. I think, since this isn’t a structural functioning part of the plane itself, they should’ve used small parts of low tack tape. Apart from the tape, I found all ailerons to be curved a little, making it impossible to align them perfectly in the center of the aileron bay. The last issue I found while installing the ailerons was that the push rods from the aileron servos to the control horns actually hit the wing on full deflection. I recut the openings in the servo cover of the bottom wings and now everything is okay.
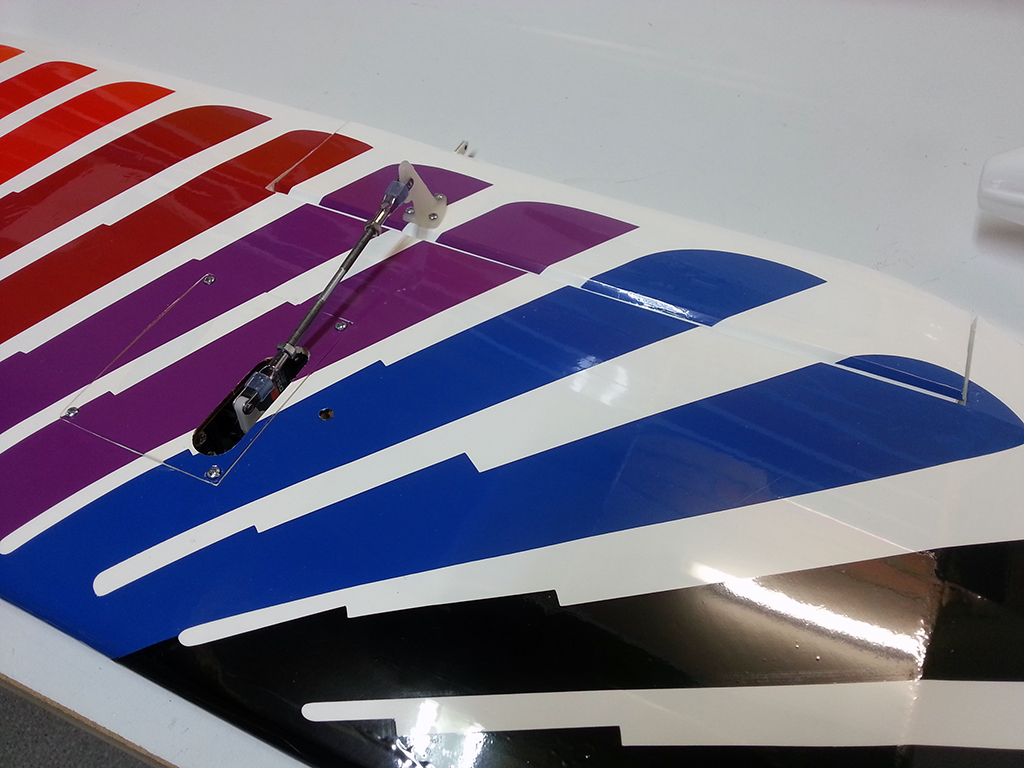
This is how the final aileron assembly looks:
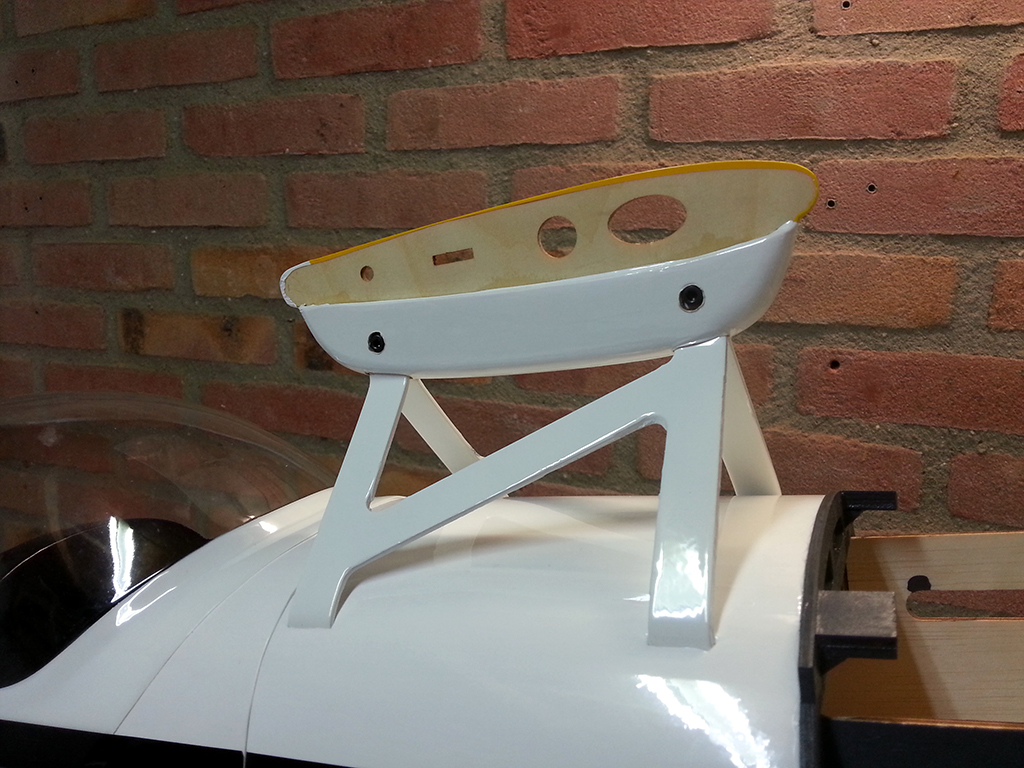
Next came the installation of the cabane struts for the upper wing. Looked easy, but it turned out one of the blind nuts inside the fuselage wasn’t positioned correctly. Since there’s no flex in the metal of the struts, it took some TLC to get them in place:
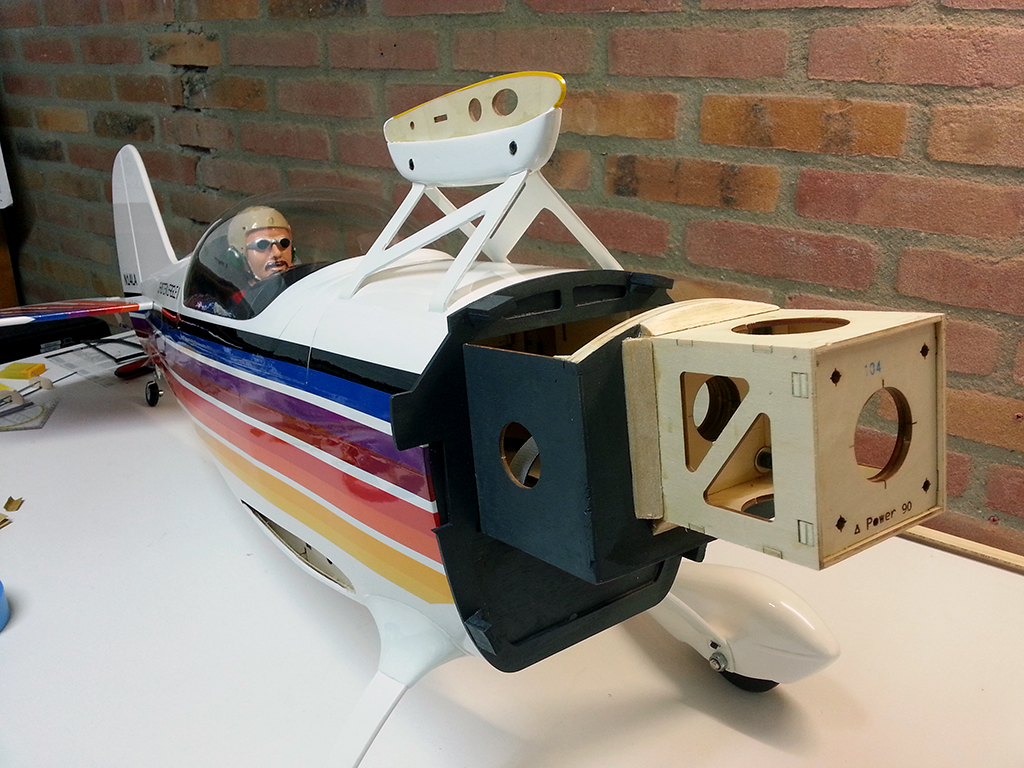
For the electric power option I chose, a motor box needs to be mounted to the firewall, using four blind bolts with socket head screws and triangle stock glued on with epoxy. A plywood drilling template is supplied and the motor box is completely preassembled. Couldn’t be any easier:
Next up is the motor and ESC installation, so I’ll have to get the soldering iron out. After that only the cowl and upper wings (together with the wing struts) have to be fitted.