Got the aft fuse top sheeted! Glad it came out so nice, although it took a second take.
It’s a rather pesky shape to sheet I must say.
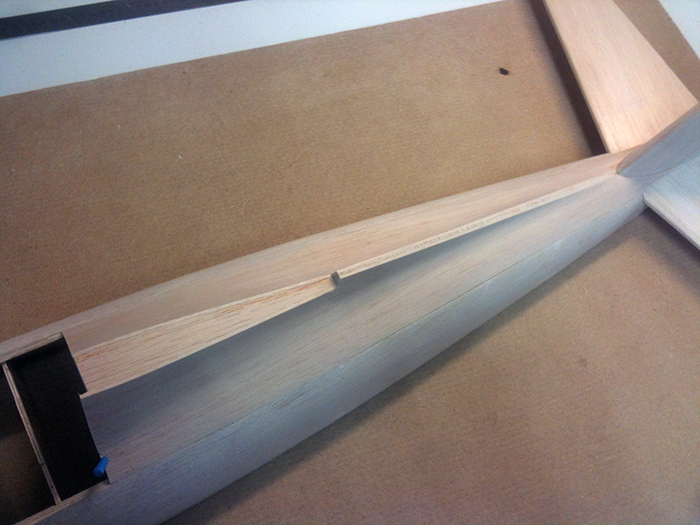
The first time I tried I followed the manual and only wetted the convex sides. Then I glued it in place while bending it in shape. Apart from the fact that the particular balsa sheets that came with the kit for this task were of poor quality (ranging from hard to very soft in one sheet), this method proved to be difficult. There was a lot of stress on the freshly glued joints, the water in the sheet prevented the glue from curing well and the sheets cracked a few times. I ended up ripping the sheet off again, cleaning everything up and driving to my local supplier for some new balsa.
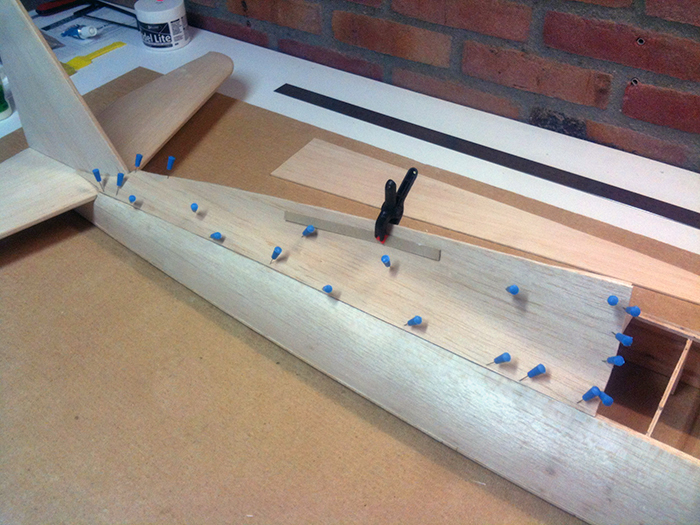
With the new balsa sheets I got some great advice. Make a mixture of water and a little dash of ammonia and use that to wet the sheets thoroughly. Let the sheets sit for a few minutes, until they become soft. Now, they’re strong and flexible at the same time, so you can really mold them well. Place the sheets on the structure and pin them in place. Let dry for a few hours.
When the sheets are completely dry, mark the location of all ribs, stringers and formers from the inside and remove the sheets from the structure. Now you can apply the contact glue (Bison Tix in my case), wait for ten minutes and simply press the sheets in place. Works like a charm!
Here you can see both sheets fitted when wet, secured with a lot of pins:
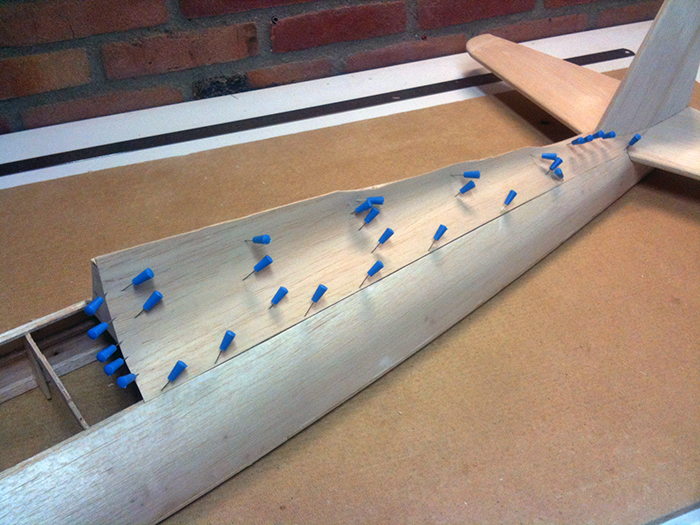
Contact glue applied and waiting for it to dry, you can clearly see the sheet holds it shape once removed from the structure:
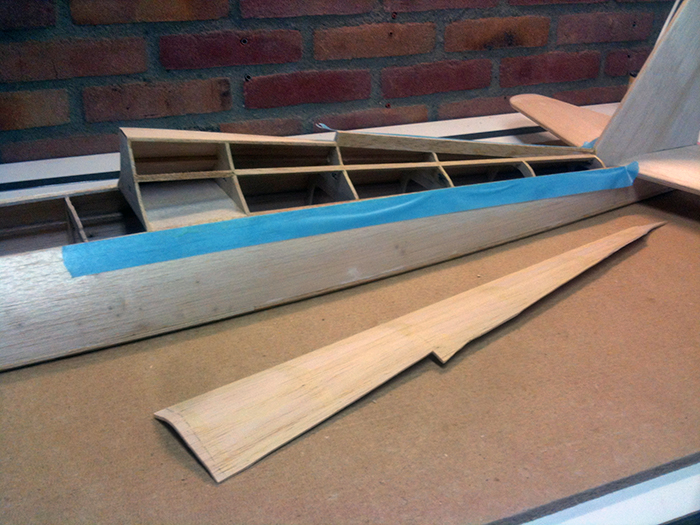
And pressed in place, easy does it:
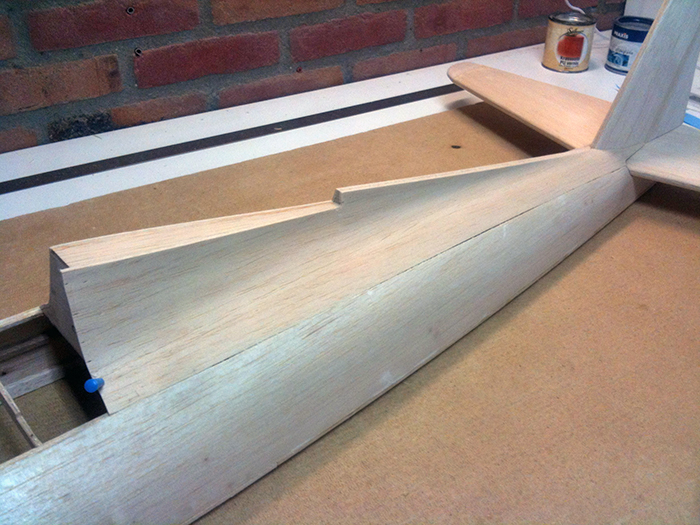
I like how the transition turned out from the aft fuse to the tail. Of course some filler is needed to really blend in the curves later on:
![]()
And the result of sheeting the aft fuse top, after some trimming and sanding: