
Finally, after a very long period of finishing, I am ready! Looking back, a nitro finish would have been a better choice than varnish, but I’m happy with the result nevertheless. Nitro is a rather common choice, but since I lack spraying experience, being afraid of drips and an irregular result, I opted for a brush applied varnish. While applying the finish, I learned a lot though, and with that knowledge I would’ve decided otherwise. Why? Brushing can also produce drips, but I learned how to fix them, which seemed fairly easy: let dry, cut it of with a sharp knife and wet sand afterwards. More importantly, you do not have to produce a perfectly flat finish while spraying, because the final sanding and buffing stage will take care of that. Lastly, I never wet sanded before, but that proved to be very doable and I built up enough skill during the process to produce a perfectly flat finish. So, frankly, all things needed to do a nitro finish are also part of varnishing.
But.. one welcome feature of nitro is that every consecutive layer dissolves the last one, creating one thick coat of finish in the end. A varnished finish, on the contrary, consists of separate layers lying on top of each other. This complicates the whole finishing process, because if you sand through the top layer, you will create what’s called ‘witness lines’. You can clearly see the step from one layer onto the next. The other difficulty of varnish is that it dries too slow to prevent dust nibs gathering in your finish, but too quick to spread out completely. It requires a good amount of experience and skill to apply varnish in as many coats as I did without leaving brush marks in the finish.
I was surprised how smooth and flat one can make a finished surface with wet sanding to 1500 grit or higher. If it wasn’t for the witness lines, I would’ve been able to create a perfectly high gloss finish with the varnish too. This makes me believe I would equally well have been able to do a nitro finish. To still make this project a success, I decided to go for multiple gloss coats, wet sanding inbetween and finishing off with a coat of diluted satin varnish. The satin coat hides witness lines way better than gloss coat and diluting it makes it spread better to prevent brush marks. This way, I didn’t need to sand in the final stage, omitting the witness lines problem. Besides that, doing a satin coat over multiple gloss coats gives a much deeper and less dull effect than constantly using satin varnish.
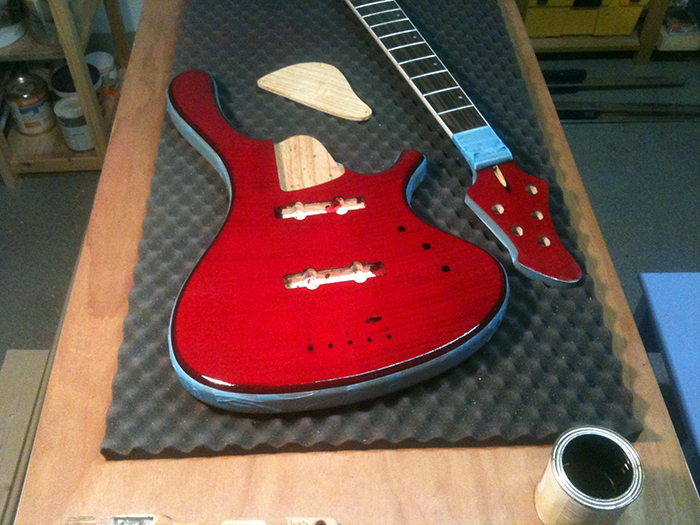
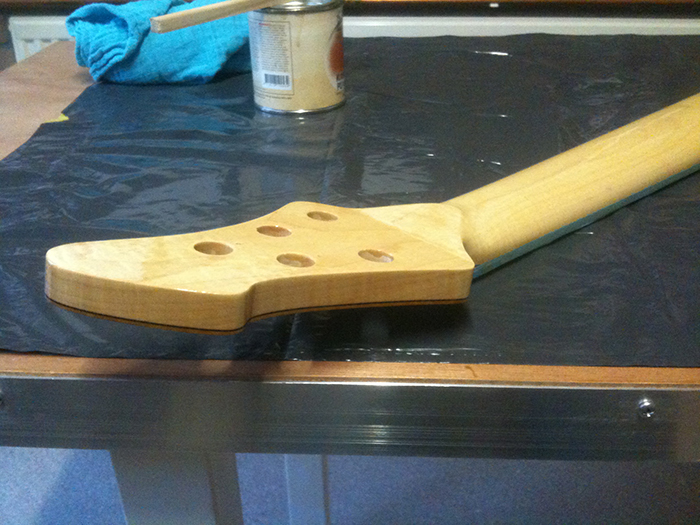
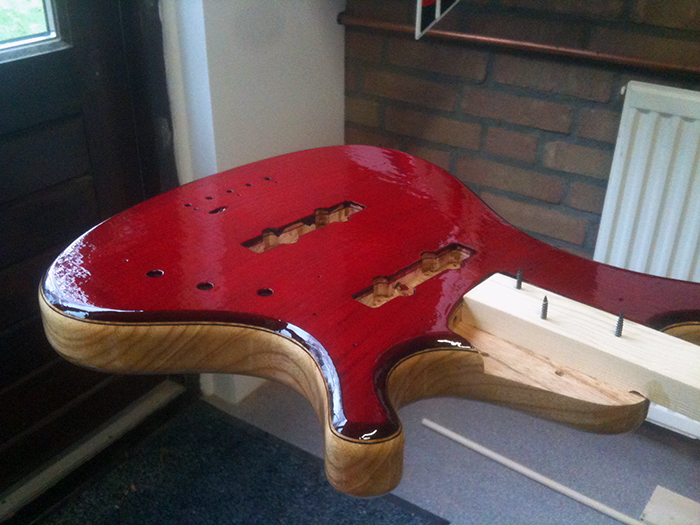
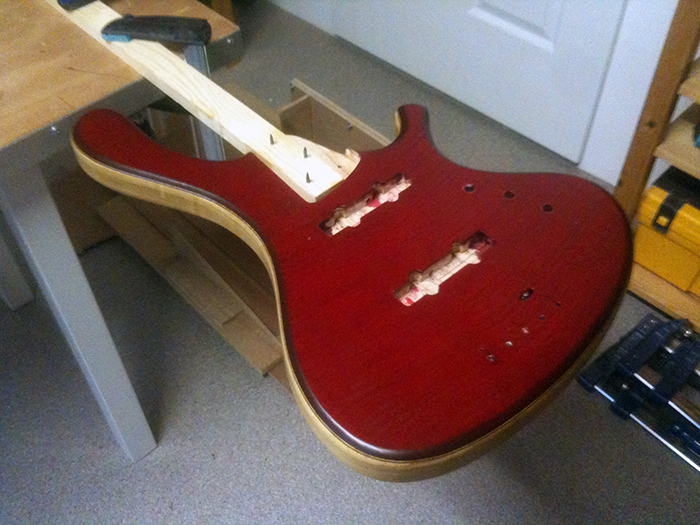
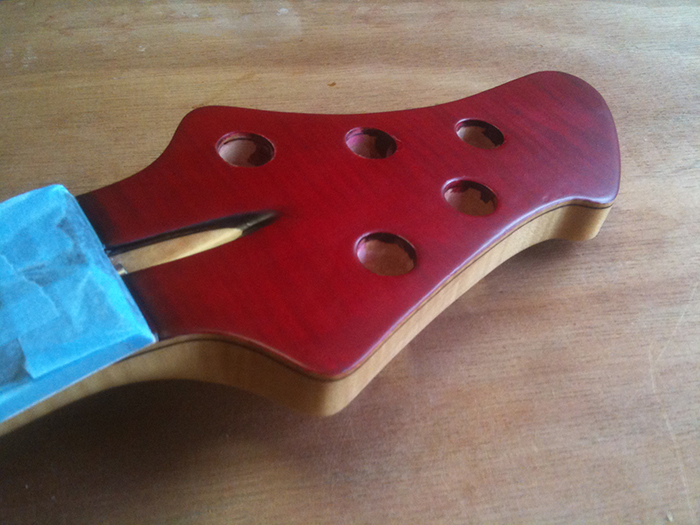
Here are some pictures of the application of the gloss varnish. In total I got up to 18 coats.
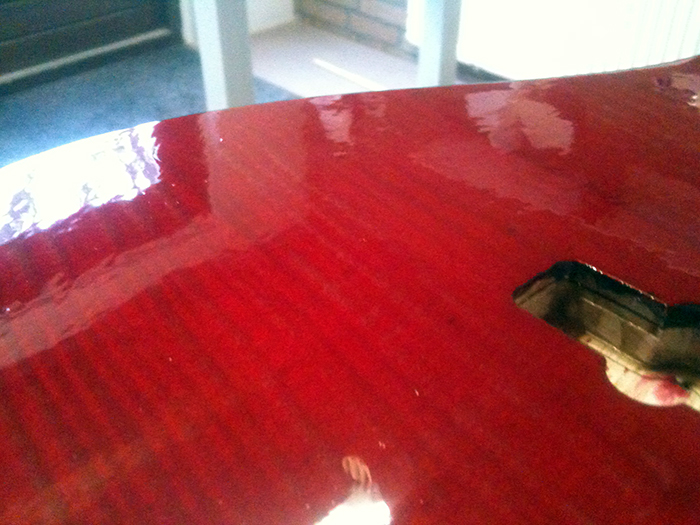
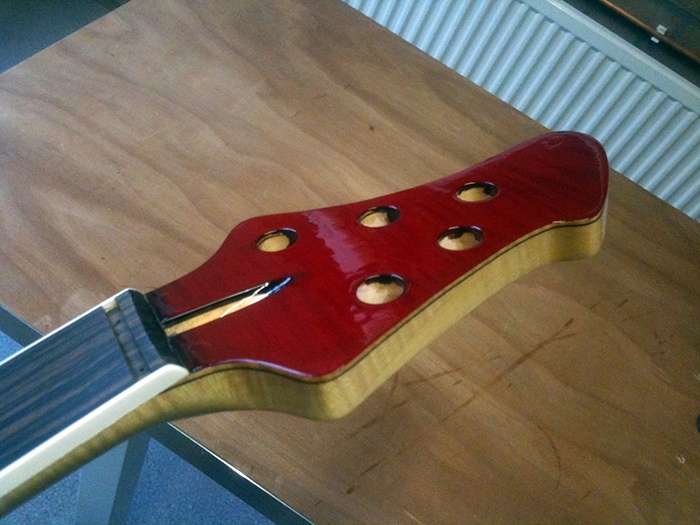
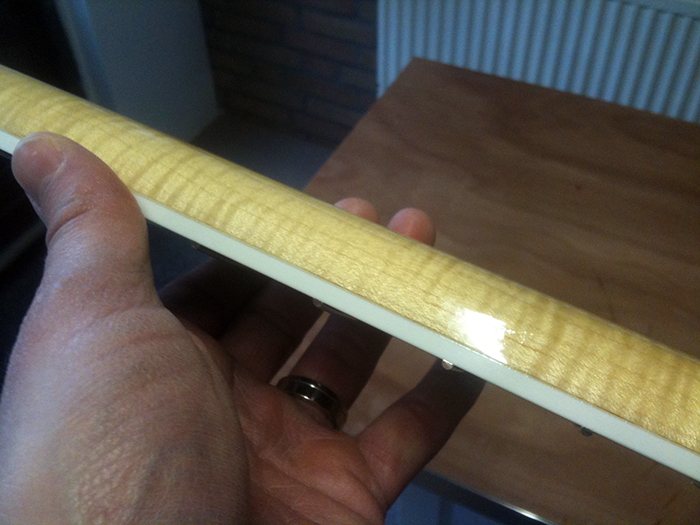
It’s a bit hard to see, but this is what I ended up with. It’s a very classy look. The gloss coat looks and feels really thick, but that immediately changes to a very thin and flat feel with the last coat of satin. I’m especially proud of the back of the neck, which looks and feels incredibly smooth.
I also made a HD video in daylight to show the feel and reflections of the finish. It’s not a great video cinematographically, so don’t mind my editing skills, camera angles and such ;)
Now it’s time to put the bass together. Mounting the hardware is the easy part, soldering the electronic circuit a bit more labor-intensive, but the only real time consuming task left is that of doing the fret dressing and making a perfect bone nut.