
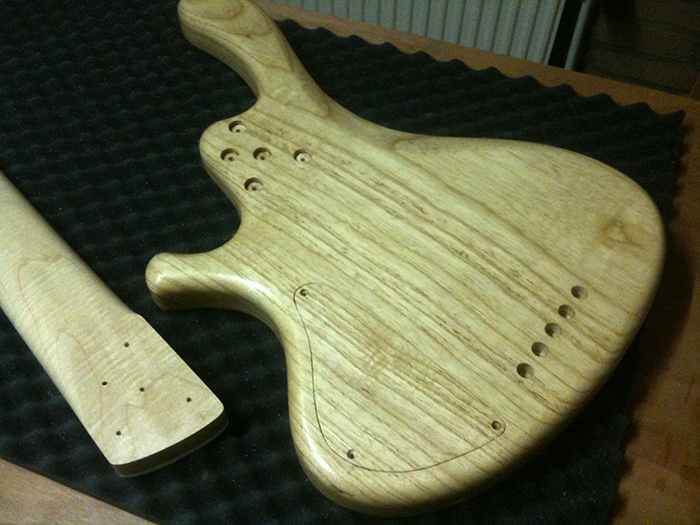
This is going to be a pic heavy post: part one of finishing the Paradox!
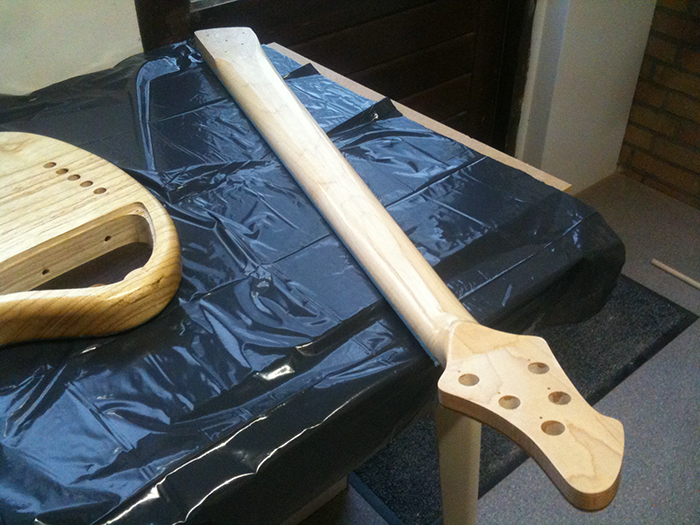
First, I masked the top of the body and the headstock, to varnish the other half of the bass, protecting it from the stain:

I do have the Wenge accent layer to disguise little mistakes, gives me some tolerance for the line between stained and clear finish. But it did bother me that the Wenge accent layer disappeared in the process. And it didn’t match the headstock, where due to only staining the top and not the sides, the Wenge is still visible.
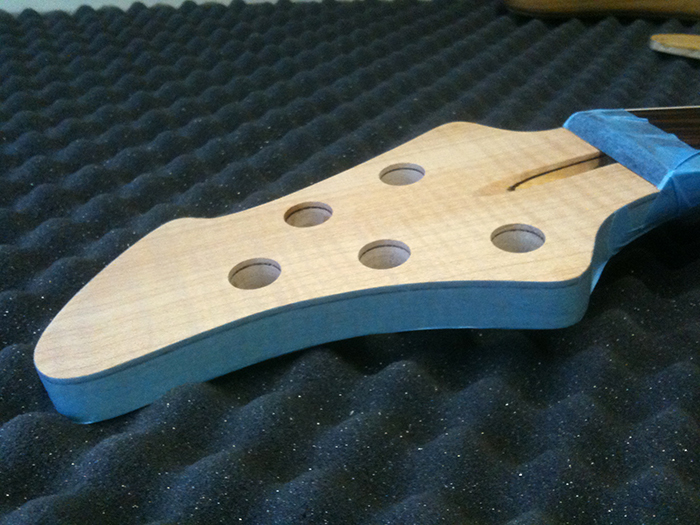
So I decided to take the plunge and go for… faux binding!

The top of the headstock got masked right up to the edge:
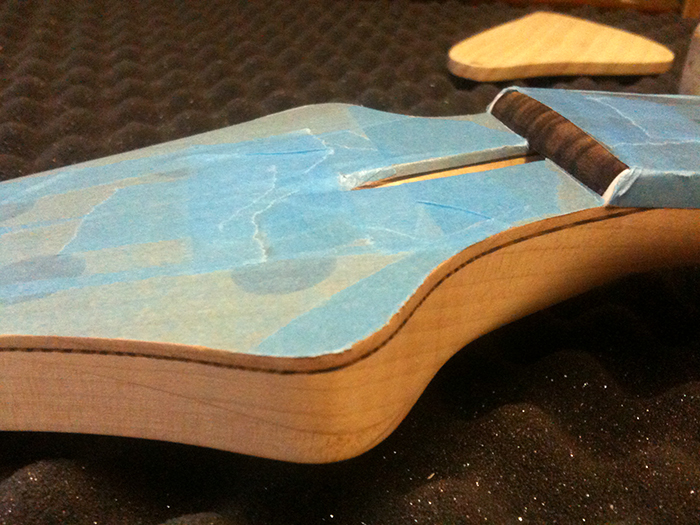
Time to apply the PU varnish with a brush:

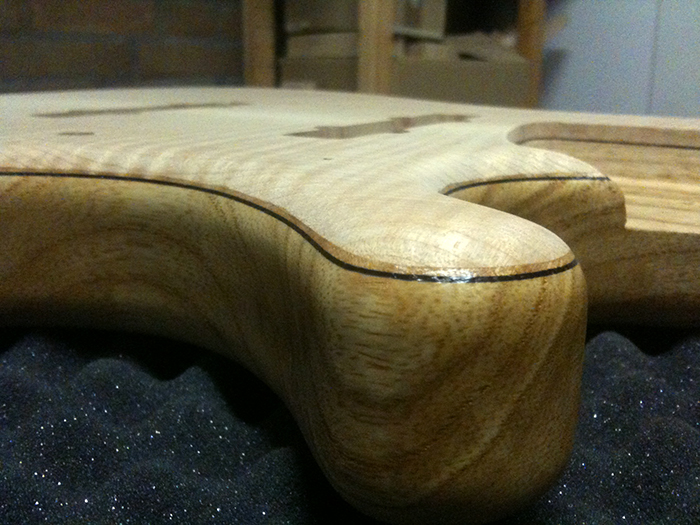
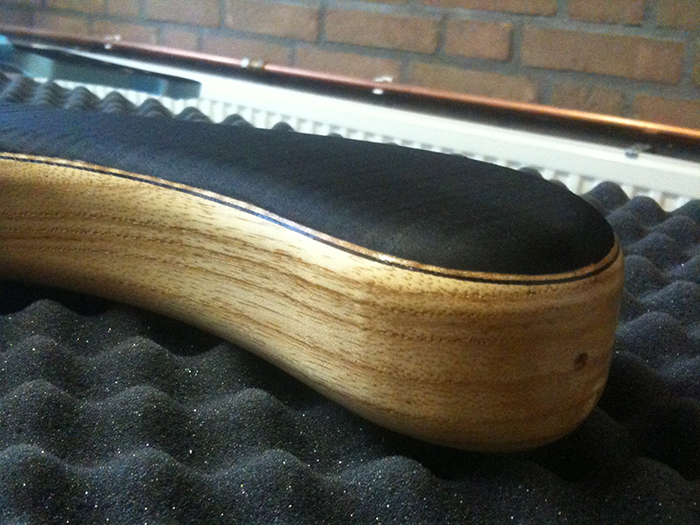
After two layers and a few hours I removed the tape. I was surprised to see that it approached clear lacquer a lot closer than I would’ve thought, although it coloured the wood slighty, but not in a bad way. The edges came out great:
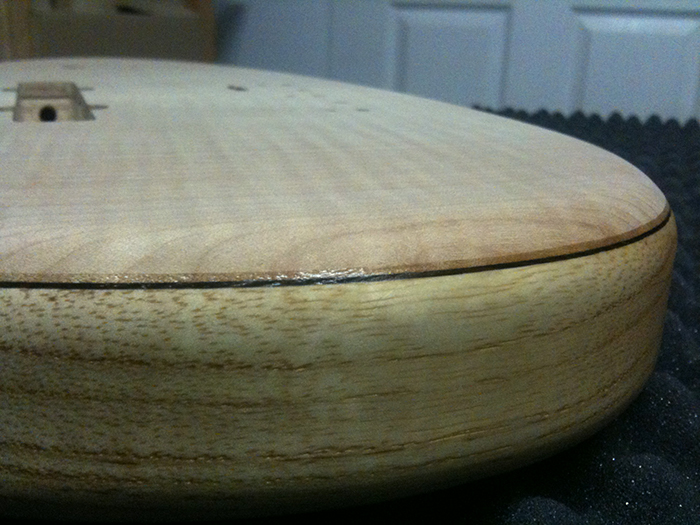
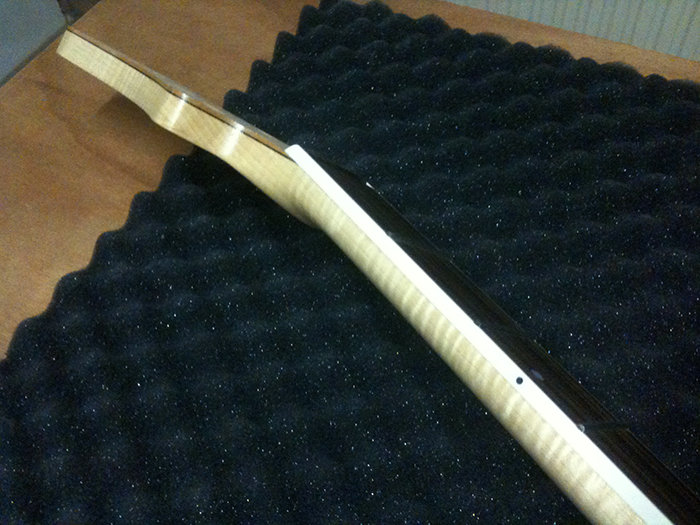
Look at the flames, and that shine!
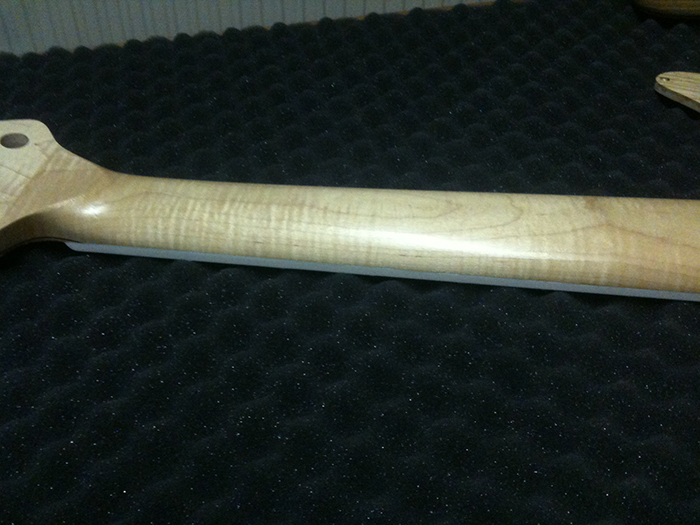
I did however learn a lesson while varnishing… I should’ve waited longer before applying the second layer, because the first one wasn’t dry enough. This made the second layer spread much less than the first one did. The first layer created a very smooth (but satin) surface. The second one made it shiny and of good thickness, but there are two areas that are a bit lumpy. So I need to sand those back until they’re smooth again before applying the next layer of varnish.
The next step in the finishing process is to mask the varnish, makes cleaning after staining unnecessary.

And.. on with the black stain! Staining went much, much better than with my test pieces. Apart from the fact that I got a bit of experience and improved a lot of small things, it’s just easier to stain a larger area that’s well prepared and sanded. The black looks heavy, kind of scary actually, but it also looks very good, surprisingly good.
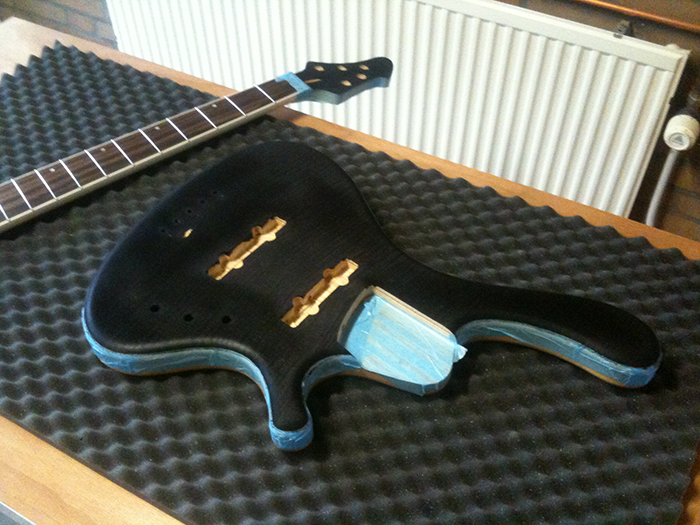
After some drying time, it struck me that the flames already popped out, just with the black on it, wow!

And then, remove the tape, simply wipe off one or two small spots of black on the varnish that still crept under the tape.. et voila:

Doesn’t that look the part? So far, so good! Coming out wonderfully if I must say so myself. Makes the next steps even more scary, but there’s no way back and all is going well, so let’s enjoy the process .
Oh.. and one more thing: I will probably leave some black on on the edges, as it is next to impossible to sand back the black stain exactly to the edge without damaging the varnished edge (still need that for the red stain!). This will created a very small but strong burst around the edges. Curious if that’ll be as nice as I imagine.