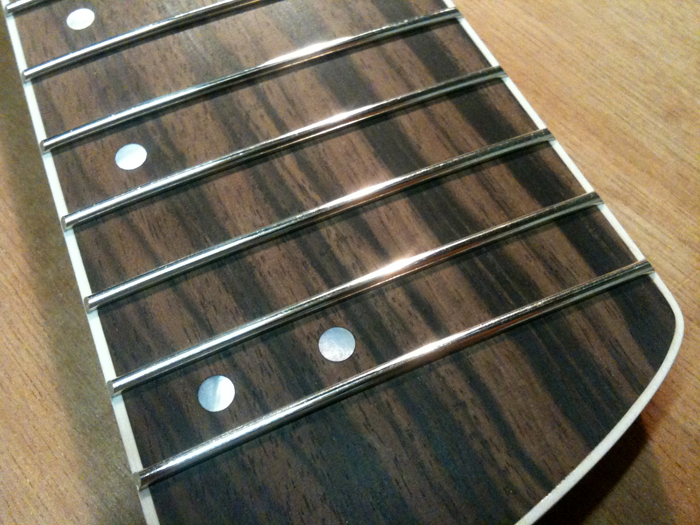
And they’re all in!

Funny thing.. you might remember the neck bent slightly forward (cup) due to the fact that I glued the carbon rods in with very low humidity (~20%) and the fact that the maple expanded when humidity got back to a more average level. Well, after hamering in all frets, the neck bowed back a little, just enough to correct almost all forward bow. The slots weren’t tight at all, and I could’ve used a little more back bow, but all in all it’s as good as it gets I guess; the rest is up to the truss rod.
For my first build I bought a real fret cutter at a guitar parts supplier and paid over 20 dollars for it. They are supposed to cut the frets flush to the fingerboard, like the one from Stew-Mac does. But it didn’t, at all… more than two millimeters of fretwire proudly protruding the fingerboard. So I actually never used it… Yesterday, I bought a tiny end cutting plier from the hardware store, a little over five dollars.. and it’s great! Cuts the fretwire almost flush, leaving so little to file off, I could start using my fret beveling file right away!
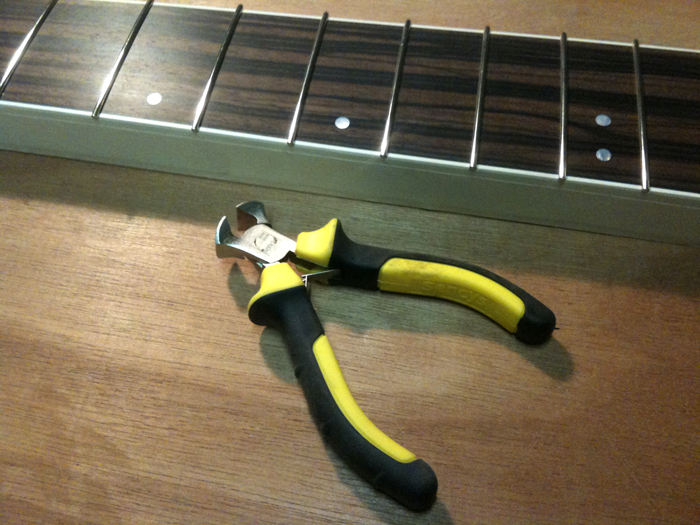
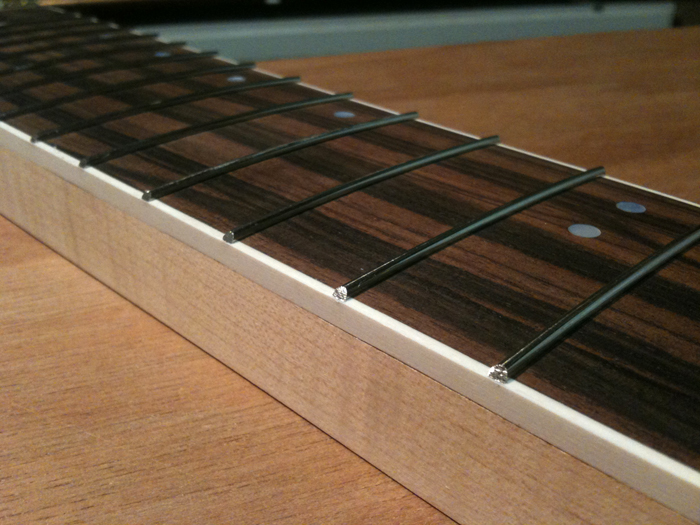
Using these pliers it took me no more than a few minutes to cut away all the fret ends on both sides:
Here you can see my fret beveling file ‘in action’. Another relaxing task that doesn’t take long:

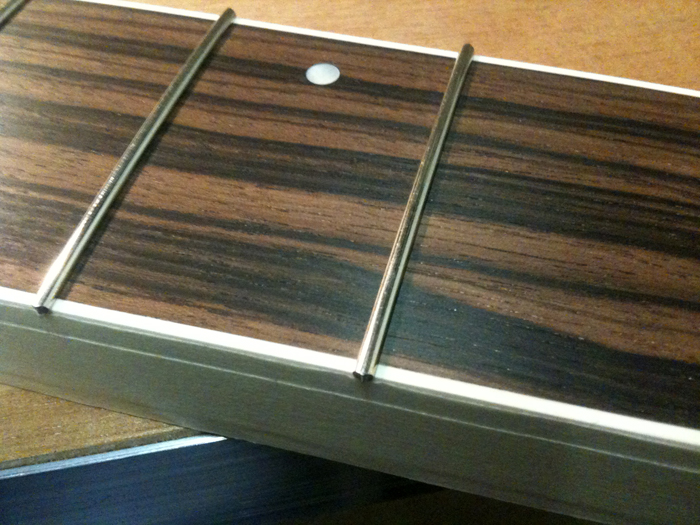
I filed the ends right to the point were the binding started to appear:
Here’s a close up showing the result. A little more sanding and filing and I’m ready to start carving a neck